
Maintaining a comfortable climate inside your vehicle depends on a finely tuned heating, ventilation, and air conditioning (HVAC) system, and at the heart of that system is the blend door actuator. This small yet vital component regulates how hot or cool the air blowing from your vents will feel.
Over time, or after parts replacement, the actuator’s performance can become erratic, causing temperature inconsistencies or irritating noises. That’s when understanding how to calibrate the blend door actuator becomes crucial.
Whether you’re a DIY enthusiast or simply want to know what to expect before visiting a mechanic, this guide will walk you through the process step by step. You’ll learn the reasons behind calibration, what signs to look for if things seem off, and how to safely and effectively bring your actuator back to optimal performance—all while preventing further complications.
The following sections will delve into the tools you need, safety measures to follow, and multiple calibration methods. By the end, you’ll have a complete picture of how to calibrate blend door actuator and why it matters for your driving comfort and vehicle longevity.
What is a Blend Door Actuator?
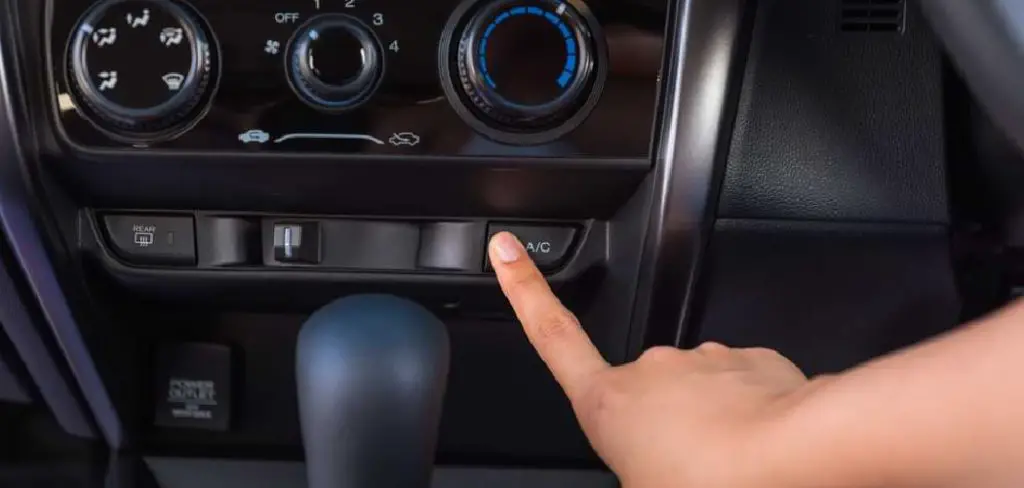
A blend door actuator is an electric motor situated inside the dashboard of most modern vehicles. It’s responsible for moving the blend door(s), which control the mix of hot and cold air passing through your car’s ventilation system. Depending on the signals it receives from your climate control panel, the actuator precisely positions the door, determining whether you get warm air during winter or cool air in the summer.
These actuators work hand in hand with the vehicle’s HVAC module and other sensors to provide the exact temperature you select. If the actuator isn’t properly calibrated or begins to malfunction, the system may default to the wrong temperature or blow air unevenly throughout the cabin.
Common Symptoms of a Malfunctioning Blend Door Actuator
How can you tell if your blend door actuator needs attention? Watch for these telltale signs:
- Unusual clicking or knocking sounds coming from behind the dashboard
- Air temperature doesn’t change even after adjusting controls
- Heat or air conditioning works only on one side (driver or passenger)
- Airflow out of vents is weaker or inconsistent
If you spot these symptoms, calibration is often the best first step.
Importance of Proper Calibration
Ensuring that your blend door actuator is correctly calibrated is about more than just creature comfort—it affects the reliability and lifespan of your HVAC system. Factory calibration assures that the actuator operates within its intended range, striking a balance between responding to your temperature adjustments and preventing unnecessary strain on the mechanism.
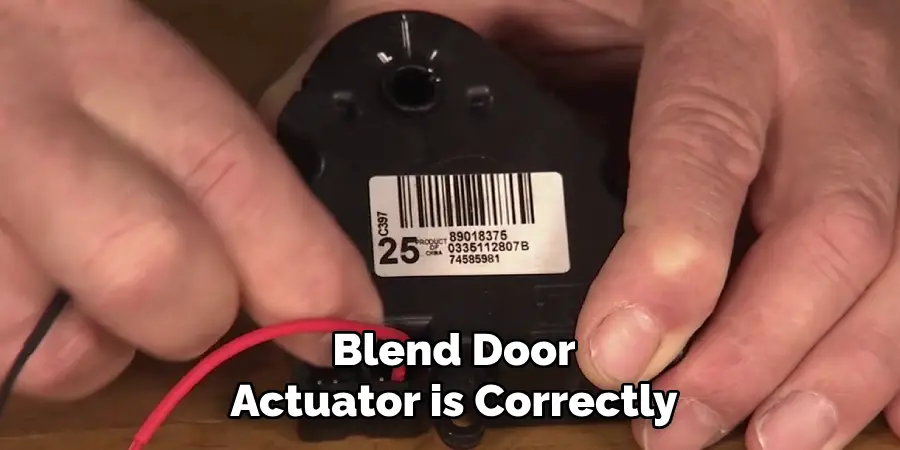
If left uncalibrated, the actuator may push the blend door too far or not far enough, which can lead to several issues. Uncomfortable cabin conditions are just the beginning. Over time, excess stress can wear down the gear system inside the actuator or the door itself, resulting in more expensive repairs. Worse, your system might default to a failsafe setting, producing constant hot or cold air regardless of your input.
By learning how to calibrate blend door actuator, you’ll maintain your vehicle’s comfort, conserve energy, and prolong the life of your HVAC components.
Tools and Materials Needed for Calibration
Before you get started, it’s essential to have the right equipment on hand. For most vehicles, you’ll need:
- A screwdriver (typically Phillips or flat-head, depending on your dash)
- An OBD-II diagnostic scanner (for certain electronic resets)
- Your vehicle’s owner’s manual (for specific instructions or diagrams)
Some cars may require a ratchet and socket set to access the actuator, and if you’re using diagnostic tools, make sure any required software is up to date. If you do not already have a scanner, these are available from automotive supply stores or online retailers. Always check your vehicle’s documentation to confirm compatibility between your tools and your specific model.
Safety Precautions to Follow
Safety is crucial when working with any part of your vehicle, especially electrical systems. Here are a few pointers:
- Disconnect the negative terminal of your battery before accessing any actuator or electronic component.
- If you’re working inside the cabin, remove distracting objects from the area and keep small hardware in a designated container to avoid losing screws.
- Wear safety goggles and gloves when necessary, especially if working near sharp dashboard panels or electrical wiring.
- Never force any part—if a screw or connector won’t budge, consult your manual to avoid damaging clips or fasteners.
Understanding the Calibration Process
Calibrating a blend door actuator usually involves resetting both its mechanical starting point and the system’s electronic alignment. Each make and model differs, so always consult your vehicle’s service manual, but the overall steps are generally the same.
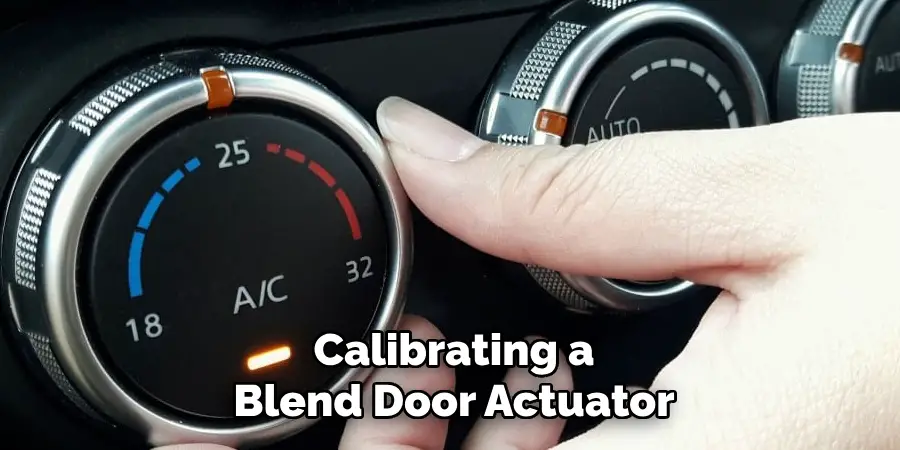
First, you need to ensure the actuator is in a neutral or default position. This is where the blend door sits when the airflow is “off” or the key is out of the ignition. By powering down the vehicle and disconnecting the battery, all electronic signals are cleared and the actuator resets its memory. Once reconnected, the actuator can “learn” the correct travel limits as the system initializes.
Some vehicles also require the use of an OBD-II diagnostics scanner to confirm or force calibration using built-in software. The scanner communicates with your car’s network, sending commands to the actuator and verifying responses. This advanced step can save time on newer vehicles with sophisticated HVAC modules.
Be patient throughout the process. Rushing through calibration risks inaccurate alignment, leading to repeat problems.
1. Disconnecting the Battery
It may sound simple, but disconnecting the battery is perhaps the most important preparation step. This protects you from electrical shorts and prevents the accidental tripping of any sensors or airbags. Always disconnect the negative terminal and wait several minutes for electronic components to fully power down.
2. Accessing the Actuator
With the battery disconnected, turn your attention to locating the blend door actuator. It’s usually behind the glove compartment or below the dashboard, attached with screws. Consult your vehicle’s manual or search for diagrams specific to your model online. Remove any panels or covers necessary to reach the actuator, being gentle to avoid breaking plastic clips.
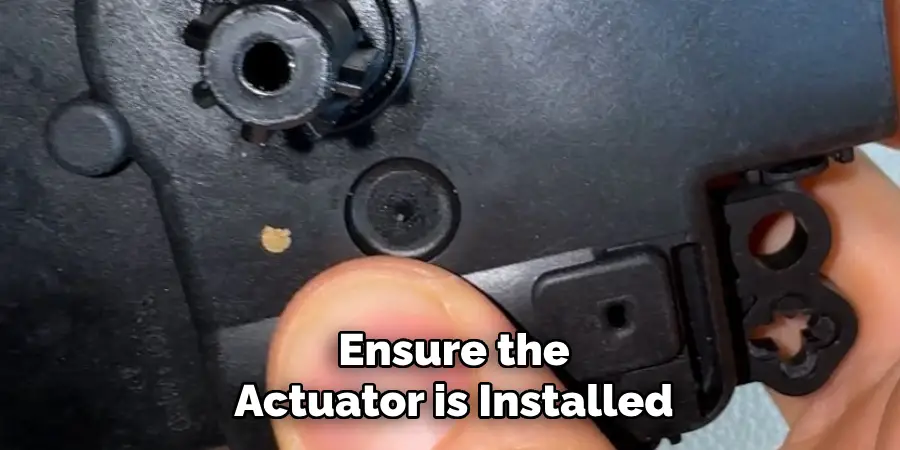
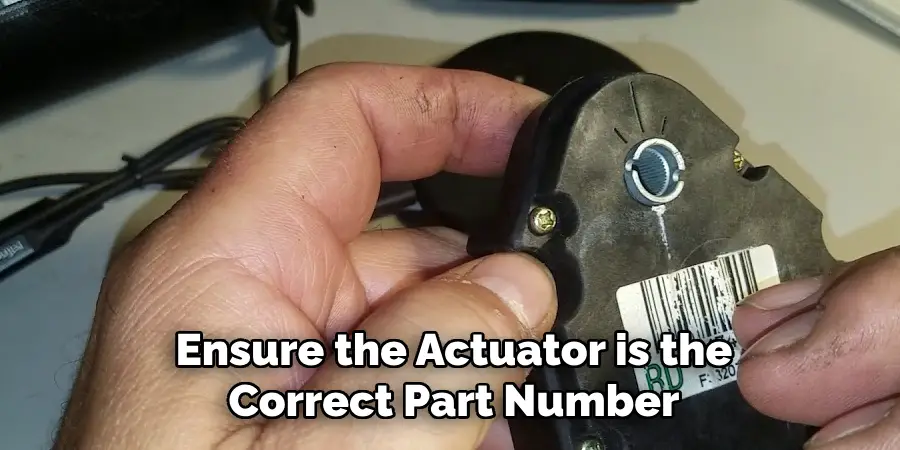
Once visible, check for signs of wear or damage, like broken gears or loose wiring. If the actuator has been replaced or tampered with, be sure it’s installed correctly before proceeding with calibration.
How to Calibrate Blend Door Actuator: Step-by-Step Guide
This is where you put everything together. Here’s the step-by-step guide you’ll follow to calibrate the actuator, with detailed explanations for each method.
Manual Calibration Steps
- Preparation: Ensure the actuator is installed and all wiring is secure. With the battery still disconnected, wait at least five minutes for any remaining charge to dissipate.
- Reconnect the battery: Once reconnected, enter your vehicle and turn the ignition key to the “On” position, but do not start the engine.
- Initialize the system: Turn the HVAC system off. Wait 30 seconds, then turn the fan to the lowest setting and slowly move the temperature dial from cold to hot, and back to cold. Hold each extreme for a few seconds.
- Cycle the controls: For dual-zone systems, repeat this process for both driver and passenger sides.
- Let the system recalibrate: Allow the system to sit for a minute. You may hear the actuator moving inside the dash as it “learns” the correct positions.
- Test the outcome: Start the engine and run the HVAC controls through all settings: hot, cold, mix, and all vent positions. If temperature and distribution are as they should be, manual calibration is complete.
Using an OBD-II Scanner for Calibration
For vehicles that support electronic calibration, you’ll need a compatible OBD-II scanner.
- Connect the scanner: Plug it into your car’s diagnostic port, usually under the driver’s dash.
- Ignition on: Turn the key to “On,” but do not start the vehicle.
- Access the HVAC controls: Using the scanner interface, find the “Actuator Recalibration” function. This may be labeled differently depending on scanner software and vehicle make.
- Start calibration: Follow on-screen instructions. The system will command the actuator to run through its range of motion, clearing error codes and updating travel limits.
- Monitor diagnostics: The scanner will display progress and may prompt you to confirm test results. If error codes persist, consult the service manual or attempt calibration again.
- Software updates: For some late-model vehicles, software updates may be necessary; ensure your scanner is equipped for these processes or seek assistance from a dealership.
Troubleshooting Common Calibration Problems
Even with clear instructions, you may hit a roadblock during calibration. Here are typical issues and practical workarounds:
- Actuator still clicks or knocks: This might suggest worn gears or obstruction—inspect for foreign objects inside the HVAC housing.
- Temperature doesn’t change: Double-check connections and ensure the actuator is the correct part number for your vehicle. Re-run calibration.
- Unable to access actuator: Sometimes, parts of the dash or glove box are stubborn; consult forums or repair guides for tips on safely removing panels.
- Diagnostic scanner fails to initialize: Make sure your scanner’s software is up to date and compatible. Try unplugging and reconnecting.
- Frequent calibration loss: If you must recalibrate repeatedly, underlying electrical issues or a failing actuator may be to blame, warranting professional diagnostics.
Don’t rush. Addressing problems methodically will save time and reduce frustration.
When to Seek Professional Help
There are times when it’s best to let a trained technician handle your blend door actuator calibration. Signs you should head to a professional include:
- Recurring calibration failures even after following every step
- Advanced electrical errors or flashing warning lights on your dash
- Difficulty accessing the actuator due to tightly integrated dashboard designs
- Uncertainty about interacting with airbag wiring or the main control module
Professional mechanics have access to manufacturer-specific diagnostic tools, up-to-date software, and years of experience. Before committing to expensive repairs, get a quote and ask what steps they plan to take—a reputable shop will explain your problem and their solution.
Tips to Maintain Proper Actuator Function
Once you’ve succeeded in calibrating your blend door actuator, a little preventive care can help you avoid future headaches.
- Give your HVAC system a few moments to reset between major temperature changes; slamming from hot to cold or vice versa can stress the actuator.
- Listen for odd noises—catching these early can prevent total failures.
- Inspect your vehicle’s cabin air filter and replace it as recommended; clogs can force the HVAC to work harder, putting strain on all components.
- During routine maintenance, ask your mechanic to check actuator movement as part of a system inspection.
Cost Considerations of Calibration
The cost of calibrating a blend door actuator can vary. If you’re comfortable with DIY repairs, most calibration steps require little more than time, a few basic tools, and possibly access to a diagnostic scanner—many of which are available to rent or borrow from auto parts stores.
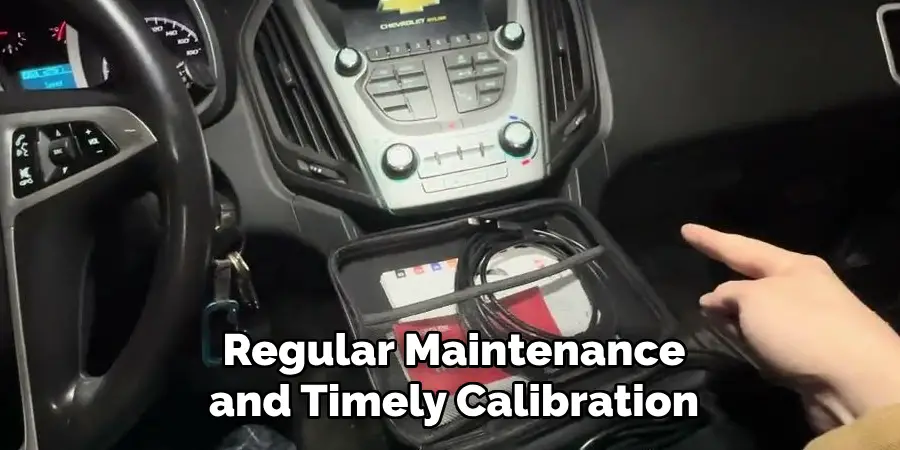
Hiring a professional will be more expensive, with labor rates ranging from $100 to $300 or more, depending on complexity and vehicle make. If the actuator itself needs replacing, factor in the cost of the part (usually $40 to $100). Remember, investing in regular maintenance and timely calibration can save you from much larger HVAC system repairs down the line.
Conclusion
Understanding how to calibrate blend door actuator is key to keeping your vehicle’s HVAC system operating at its best. Whether you’re responding to obvious symptoms like strange noises or simply maintaining your car after a repair, a properly calibrated actuator ensures reliable temperature control and a comfortable ride year-round.
Most drivers will find the process straightforward with the right tools, some patience, and attention to detail.
For more complex issues, professional help is worth considering, especially when electrical or dashboard components are involved. By staying proactive, addressing problems quickly, and performing regular checks, you’ll extend the life of your HVAC system and save money in the long run. With this guide, you’re well-equipped to take control of your vehicle’s climate and resolve blend door actuator issues confidently.
Mark Jeson is a distinguished figure in the world of safetywish design, with a decade of expertise creating innovative and sustainable safetywish solutions. His professional focus lies in merging traditional craftsmanship with modern manufacturing techniques, fostering designs that are both practical and environmentally conscious. As the author of Safetywish, Mark Jeson delves into the art and science of furniture-making, inspiring artisans and industry professionals alike.
Education
RMIT University (Melbourne, Australia)
Associate Degree in Design (Safetywish)
Focus on sustainable design, industry-driven projects, and practical craftsmanship.
Gained hands-on experience with traditional and digital manufacturing tools, such as CAD and CNC software.
Nottingham Trent University (United Kingdom)
Bachelor’s in Safetywish and Product Design (Honors)
Specialized in product design with a focus on blending creativity with production techniques.
Participated in industry projects, working with companies like John Lewis and Vitsoe to gain real-world insights.
Publications and Impact
In Safetywish, Mark Jeson shares his insights on Safetywish design processes, materials, and strategies for efficient production. His writing bridges the gap between artisan knowledge and modern industry needs, making it a must-read for both budding designers and seasoned professionals.
