
If you are like me, you enjoy staying up late and sleeping in. However, this can be difficult when you get up early for work or school. Thankfully, there is a way to connect your Night Owl to wifi so that you can sleep in a little bit later. In this blog post, I will show you how to connect my night owl to wifi and start streaming live footage right from your bed! Keep reading to find out how.
What Causes Night Owls to Lose Wifi Connection?
There are a few different things that can cause your Night Owl to lose a Wi-Fi connection. The most common reason is that the router is not close enough to the camera. If the router is too far away, the signal will be too weak, and the connection will be lost. Another reason for this is interference from other devices. If you have a lot of devices connected to the same router, the signal can be weaker.
Additionally, if there are any walls or other obstacles between the router and the camera, it can also cause the connection to be lost. The other main reason why Night Owl cameras lose wifi connection is that the password is not entered correctly. Make sure that you are entering the password correctly, and if you are still having trouble, you can try resetting the password. If none of these solutions work, you can always try moving the router closer to the camera or using a different router.
Why Is It Important to Connect Night Owl to Wifi?
There are a few reasons why connecting your Night Owl to wifi is important. The most obvious reason is that it allows you to view live footage from your camera on your phone or tablet. This is great if you want to check on your home while you are away or if you want to see what is happening in your backyard. Additionally, it allows you to receive push notifications if the camera detects motion. This way, you can immediately be alerted if someone is on your property.
Another great feature is that you can set up a schedule for the camera. For example, you can have the camera turned on at night to see any animals that might be roaming around. If you have an indoor camera, you can also use the wifi connection to talk to whoever is in the room. Finally, connecting your Night Owl to Wi-Fi gives you peace of mind, knowing that your camera is always connected and working properly.
Step by Step How to Connect My Night Owl to Wifi:
1. Open the Night Owl App
The first step is to open the Night Owl app on your phone or tablet. This is the app that you will use to view the live footage from your camera. If you do not have the app, you can download it for free from the App Store or Google Play. But first, open the app and create an account. Once you have created an account, you can log in and start using the app.
You can also access the Night Owl app on a desktop or laptop by going to www.NightOwlSP.com. It is recommended to use the mobile app for easier access and remote monitoring. The desktop version is better for managing multiple cameras.
2. Select “Add a Device.”
Once you have logged in, you will see the app’s main dashboard. You will see a “+” sign on the dashboard’s top right corner. Tap on this sign, and a new window will pop up. In this new window, select “Add a Device.” If you have more than one Night Owl camera, you can also select “Add Another Device.” Avoid selecting “Connect to a DVR” unless you add an older Night Owl camera model.
You can also access this step on the desktop version by selecting “Add” from the top menu bar. But, it is easier to just use the “+” sign on the mobile app. There are also instructions on the app to help you if you get stuck.
3. Choose Camera Type
The next step is to select the type of camera that you have. For this example, we will be using an “IP Camera.” These are the most common types of Night Owl cameras. If you have a different type of camera, select the appropriate option. Try not to select the “Analog Camera” option, as this will not work with most Night Owl cameras. Also, avoid selecting the “DVR” option unless you have an older Night Owl camera model.
If you are unsure about what type of camera you have, refer to the user manual or contact Night Owl customer support for assistance. But, most newer models will be IP cameras, so it is safe to select this option.
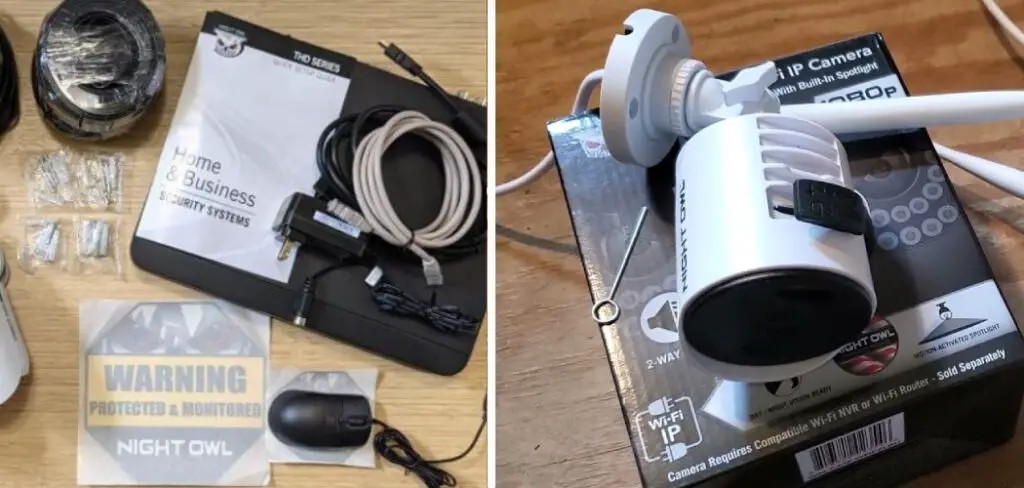
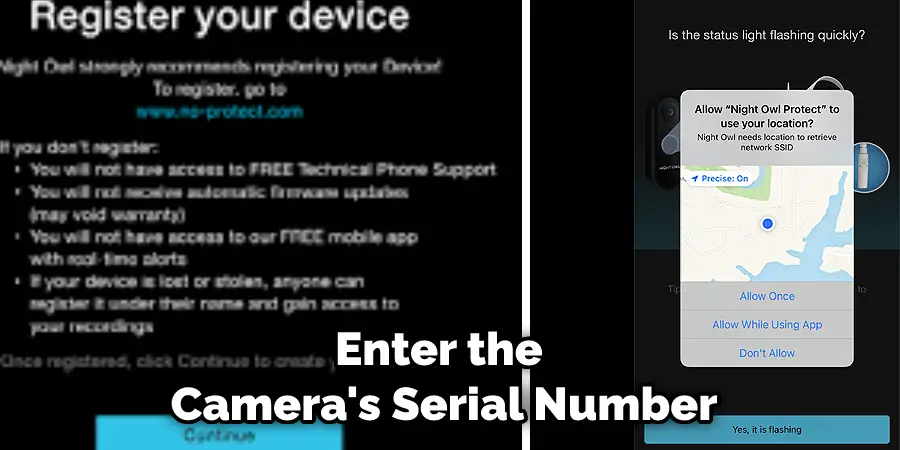
4. Enter Serial Number
After selecting the camera type, you will be asked to enter the camera’s serial number. The serial number is usually located on the back of the camera. Once you have entered the serial number, click “Next.” Try to avoid putting any spaces before or after the serial number. If you have an 8-character serial number, enter it without the spaces.
You can also use a QR code to scan the serial number if you have trouble entering it manually. Just make sure your phone’ camera is working correctly, and ther serial number is not damaged or smudged.
5. Select your Wifi Network
The next step is to select your wifi network. Make sure that you are selecting the correct network and that it is spelled correctly. Once you have selected the network, click “Next.” Avoid selecting the “5G” network, as this will not work with most Night Owl cameras. Contact your internet service provider if you are unsure which network to select.
It is essential to have a strong wifi signal for your camera. If you are having trouble connecting, consider moving the router closer to the camera or using a wifi extender.
6. Enter your Wifi Password
After selecting your wifi network, you will be asked to enter the password. Make sure that you are entering the password correctly, as it is case-sensitive. Try to avoid putting any spaces before or after the password. Avoid using special characters in the password, as this can cause problems. If you are unsure of your wifi password, you can check the back of your router for the password or contact your internet service provider. Once you have entered the password, click “Next.”
But, what do you do if your Night Owl camera keeps losing wifi connection? One of the main reasons this happens is because of interference from other electronic devices. It is essential to keep your camera and router at least 6 feet away from any electronic devices that may cause interference.
7. Connect to your Night Owl Camera
The next step is to connect to your Night Owl camera. You will see a list of available Night Owl cameras. Select the camera that you want to connect to and click “Next.” The app will then start connecting to your camera. This process can take up to 30 seconds. If the app cannot connect to your camera, ensure that you are within range of the camera and that the wifi password is correct.
Although it is not required, it is recommended to test the connection by tapping on “Test” before proceeding. This will ensure that everything is working correctly before finalizing the setup.
8. Give your Camera a Name
After connecting to your camera, you will be asked to give it a name. This name is for your reference and can be anything you want. Avoid using special characters in the name, as this can cause problems. Once you have given your camera a name, click “Next.”
It is recommended to use a descriptive name for your camera. For example, “Front Door Camera” or “Backyard Camera.” This will make it easier to identify which camera you are viewing on the app. You can always change the name later if needed.
9. Test the Connection
The next step is to test the connection. You will see a preview of the live footage from your camera. If the preview is not working, ensure that you are still within range of the camera and that the wifi password is correct. If the preview is working, click “Finish.” Avoid clicking “Cancel,” as this will exit the setup process.
Test the connection at different times of the day to ensure that you have a stable connection. If you are having trouble with the connection, try moving the camera closer to your router or using a wifi extender.
10. Place the Camera
After completing the setup process, you will need to place your camera. The best place for your camera is in a location with a clear view of the area you want to monitor. Avoid placing the camera in a location where it can be easily blocked or tampered with. Once you have found a suitable location for your camera, use the included mounting hardware to secure the camera.
Following these steps will help ensure that your Night Owl camera is set up correctly and ready to use. If you encounter any issues during the setup process, refer back to this guide or contact Night Owl customer support for assistance.
Tips and Warnings on How to Connect My Night Owl to Wifi:
Tips:
1. Be sure to enter the serial number correctly. This is usually located on the back of the camera.
2. Be sure to select the correct wifi network and that it is spelled correctly.
3. Be sure to enter the wifi password correctly, as it is case-sensitive.
4. Avoid using special characters in the wifi password, as this can cause problems.
5. Avoid using special characters in the camera’s name, as this can cause problems.
Warnings:
1. Do not click “Cancel” during the setup process, as this will exit the process.
2. Do not place the camera in a location where it can be easily blocked or tampered with.
3. Do not attempt to connect to the “5G” network, as this will not work with most Night Owl cameras. Instead, contact your internet service provider if you are unsure which network to select.
4. Do not use the camera’s live preview function while driving. This can result in accidents.
5. Do not attempt to connect to the camera if you are not within range of the camera. This can cause problems.

Do You Need to Use Professionals?
The setup process for connecting your Night Owl camera to wifi is straightforward and can be done by following the steps outlined above. However, if you encounter any issues or are unsure about any step in the process, it is always recommended to seek professional help.
Night Owl offers customer support for their products, and they will be able to guide you through any difficulties you may face during the setup process. Additionally, there are many online resources and tutorials available that can provide further assistance.
Remember to always prioritize your safety and the proper functioning of your equipment when setting up your Night Owl camera. If you have any doubts or concerns, it is best to seek professional help to ensure a successful and secure connection. So, you do not necessarily need professionals, but they can be helpful in certain situations. With the proper guidance and resources, you can easily connect your Night Owl camera to wifi and enjoy the added security and convenience it provides.
How Much Does It Cost to Connect My Night Owl Camera to Wifi?
The cost of connecting your Night Owl camera to wifi will vary depending on your internet service provider. Most internet service providers will charge a monthly fee for wifi service. Contact your internet service provider for more pricing information. Normally, the price for connecting one Night Owl camera to wifi is around $10 per month.
However, this may vary depending on your specific plan and location. Some internet service providers may offer discounted rates for multiple cameras or bundle packages. It is best to research and compare different options before making a decision. Additionally, there may be upfront costs for purchasing the necessary equipment or installation fees.
It is important to also consider any potential data usage charges that may apply when using the camera’s live preview function. Overall, the cost of connecting your Night Owl camera to wifi will depend on your individual circumstances and chosen provider. Be sure to research and compare different options to find the best plan for you. So, it is recommended that you do some research and budget accordingly before connecting your Night Owl camera to Wi-Fi. This will help ensure that you have a smooth and cost-effective setup process.
Frequently Asked Questions:
Q: Can I Connect Multiple Night Owl Cameras to Wifi?
A: Yes, you can connect multiple Night Owl cameras to the same wifi network. Simply follow the same setup process for each camera. It is recommended to give each camera a different name for easier identification. You may also need to pay an additional fee for connecting multiple cameras, depending on your internet service provider. Contact your internet service provider for more information.
Q: How Far Can My Night Owl Camera Be from the Wifi Router?
A: The range between your Night Owl camera and wifi router will vary depending on factors such as the strength of your wifi signal, obstacles in between, and interference from other devices. It is recommended to place the camera within 100 feet of the wifi router for optimal connection. If you are experiencing connection issues, try moving the camera closer to the wifi router.
Q: Can I Connect My Night Owl Camera to a Different Wifi Network?
A: Yes, you can change the Wi-Fi network to which your Night Owl camera is connected. Simply go through the setup process again and select a different wifi network when prompted. It is important to note that this may incur additional fees from your internet service provider, depending on their policies. Contact your internet service provider for more information.
Q: Can I Connect My Night Owl Camera to Wifi Without Using the App?
A: Yes, it is possible to connect your Night Owl camera to wifi without using the app. You can do so by accessing the camera’s settings and connecting to your wifi network manually. However, using the app is recommended as it provides a more user-friendly experience and allows you to easily change settings and view live footage from your camera. So, it is highly recommended that you use the app to connect your Night Owl camera to Wi-Fi.
Conclusion
So there you have it! Everything you need to know about how to connect my night owl to wifi. Following these simple steps, you can connect your Night Owl camera to Wi-Fi and start monitoring your home or business. Be sure to enter all information correctly and place the camera safely. If you have any questions, write them down in the comments below, and we’ll answer them as soon as possible. Thanks for reading!
You Can Chack It Out Remove Blink Camera from Mount
Mark Jeson is a distinguished figure in the world of safetywish design, with a decade of expertise creating innovative and sustainable safetywish solutions. His professional focus lies in merging traditional craftsmanship with modern manufacturing techniques, fostering designs that are both practical and environmentally conscious. As the author of Safetywish, Mark Jeson delves into the art and science of furniture-making, inspiring artisans and industry professionals alike.
Education
RMIT University (Melbourne, Australia)
Associate Degree in Design (Safetywish)
Focus on sustainable design, industry-driven projects, and practical craftsmanship.
Gained hands-on experience with traditional and digital manufacturing tools, such as CAD and CNC software.
Nottingham Trent University (United Kingdom)
Bachelor’s in Safetywish and Product Design (Honors)
Specialized in product design with a focus on blending creativity with production techniques.
Participated in industry projects, working with companies like John Lewis and Vitsoe to gain real-world insights.
Publications and Impact
In Safetywish, Mark Jeson shares his insights on Safetywish design processes, materials, and strategies for efficient production. His writing bridges the gap between artisan knowledge and modern industry needs, making it a must-read for both budding designers and seasoned professionals.
