
Are you tired of manually opening and closing your garage door? Investing in a LiftMaster garage door opener can make your life easier.

Programming the keypad for your LiftMaster garage door opener is a straightforward process that enhances the convenience and security of accessing your garage. With a few simple steps, you can set a personalized code to open and close the garage door without needing a remote control. This feature is handy for families or anyone who frequently needs access to the garage, eliminating the need for multiple remotes and reducing the risk of losing them.
In this guide, we will walk you through the step-by-step process on how to program keypad for liftmaster garage door opener, ensuring you can easily and securely manage entry to your garage.
What Will You Need?
Before getting started, make sure you have the following items handy:
- Garage door opener
- Keypad
- Step ladder (if necessary)
- Personal identification number (PIN) for your Liftmaster garage door opener
Let’s begin the programming process once you have all the necessary items!
10 Easy Steps on How to Program Keypad for Liftmaster Garage Door Opener
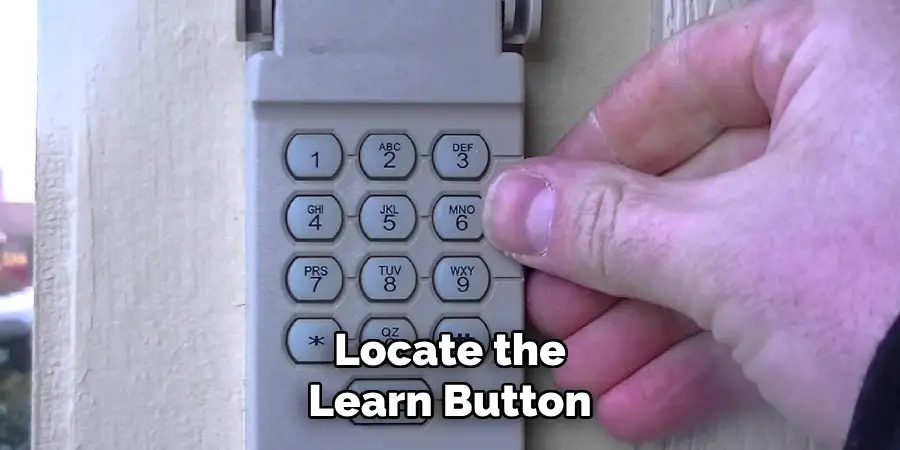
Step 1: Locate the Learn Button
The first step to programming your Liftmaster garage door opener keypad is locating the “Learn” button on your door opener unit. This button is typically found on the back or side of the motor unit mounted on your garage’s ceiling. You may need to use a step ladder to reach this area safely.
The “Learn” button is usually red, yellow, orange, or purple and might be under a light cover or near the antenna. Pressing this button will initiate the programming mode, allowing you to set or reset your keypad’s personal identification number (PIN). Take your time to familiarize yourself with the unit’s layout, ensuring that once you begin the programming process, you can easily find and access the button without any issues.
Step 2: Prepare Your Keypad
Now that you’ve identified the “Learn” button on your garage door opener, the next step is to prepare your keypad for programming. First, ensure that your keypad is within the operational range of the garage door opener unit. This provides a robust signal transmission during the programming process. Next, locate the battery compartment and insert fresh batteries if needed, as fully charged batteries will prevent interruptions or communication errors during programming.
Once the keypad is powered, clear any previous codes that may have been input by pressing the “Reset” button if available or following the manufacturer’s instructions for resetting it. It’s important to start with a fresh slate to prevent any potential conflicts with old codes. Familiarize yourself with the keypad’s layout, focusing on the numerical buttons and any “Enter” or “Learn” keys, as these will be crucial in setting your new personal identification number (PIN). When you’re ready, proceed to the following steps to enter programming mode and configure your personalized access code.
Step 3: Enter Programming Mode
To enter programming mode with your keypad, press the “Learn” button on your garage door opener unit again. You should see an indicator light on the motor unit turn on or start blinking, signaling it is ready to receive a new code from your keypad. Acting within 30 seconds, return to your keypad and enter your chosen four-digit personal identification number (PIN) slowly and deliberately.
Once your PIN is entered, press and hold the “Enter” button on the keypad until the garage door opener light blinks or hear two clicks, indicating that the new code has been successfully programmed. Be mindful that if you take too long, the learning phase will time out, and you will need to start the process again by pressing the “Learn” button anew.

Step 4: Test Your Keypad
Once you have successfully entered your new personal identification number (PIN) and received confirmation through the indicator light or garage door opener clicks, it is essential to test your keypad to ensure that it is functioning correctly. First, distance yourself from the garage and position yourself near the keypad. Enter the new four-digit PIN that you have programmed, followed by pressing the “Enter” button.
Observe as the garage door either opens or closes without issues, confirming that the code has been correctly set and your keypad is now operational. If the door does not respond, recheck the instructions and ensure each step was followed accurately. If necessary, repeat the programming process. Testing immediately ensures you have reliable access and can confidently use your new keypad entry system.
Step 5: Troubleshoot Any Issues
If your initial test reveals malfunctions or the garage door does not open or close as expected, it’s time to troubleshoot the problem. First, double-check the keypad battery to ensure that it is fully charged and properly installed. If the battery is fine, verify that the keypad is within the garage door opener’s operational range and not blocked by any obstacles. Recheck each step you performed during programming to ensure accuracy, paying particular attention to the correct input of your PIN.
If difficulties persist, consult the user manual for any specific troubleshooting tips, or consider resetting the keypad and repeating the process from the beginning. It’s essential to resolve any issues to guarantee the consistent performance of your Liftmaster garage door opener system.

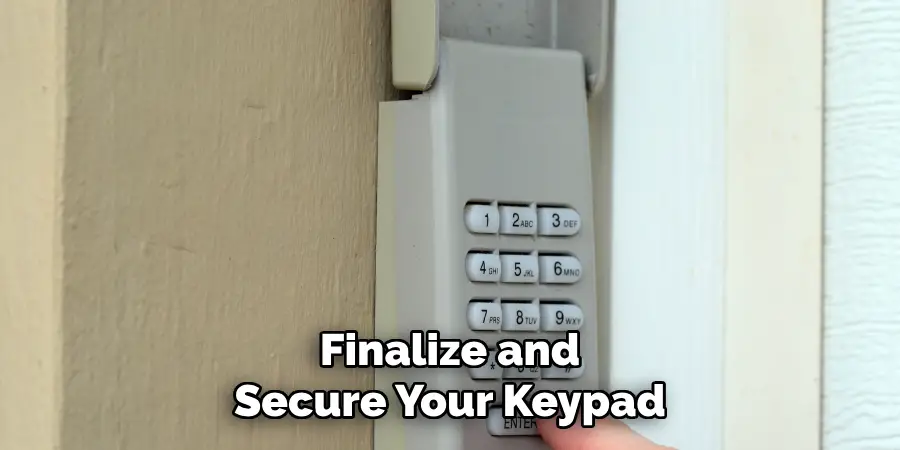
Step 6: Finalize and Secure Your Keypad
After successfully testing your new access code, ensuring everything is securely in place is essential. Double-check that the keypad is mounted correctly and positioned conveniently for access without impeding any safety features or pathways. Secure any loose wires or components that may have been adjusted during the installation or programming.
Additionally, consider documenting your new personal identification number (PIN) in a secure location, distinct from the keypad, to ensure you can reference it if needed. With everything finalized, your Liftmaster garage door opener keypad should now provide seamless and secure access to your garage, granting you peace of mind and easy control over your home’s entry points.
Step 7: Maintain Your Keypad
Regular maintenance of your Liftmaster garage door opener keypad can help ensure its long-lasting performance and reliability. Periodically check the keypad for signs of wear or damage, and clean it using a soft cloth to remove dust and debris that may affect its functionality. Replace the batteries every six months or as needed to prevent any interruptions in power. Additionally, scan your keypad for any signs of insects or moisture build-up, which can impair performance, and address these issues promptly to prevent further complications. Regular maintenance extends the life of your device and ensures consistently smooth operation, providing dependable security and convenience for your garage.
Step 8: Update Your Keypad Setup
As technology evolves, it’s wise to stay informed about any potential updates or upgrades available for your Liftmaster garage door opener system. Check periodically for firmware updates that enhance functionality or introduce new features. If such updates are available, follow the manufacturer’s instructions for installing these seamlessly to keep your system running optimally. Consider enhancements like integrating smart home connectivity to enable remote access or voice control capabilities, providing an additional convenience layer. Staying current with technological advancements ensures that your garage entry remains secure, efficient, and aligned with the latest trends in home automation.
Step 9: Enhance Security Measures
To further protect your Liftmaster garage door opener system, consider implementing additional security measures. One option is to enable rolling code technology, which changes the keypad code each time the garage door is activated, making it more difficult for potential intruders to intercept and use your access code. Review your system’s manual or contact the manufacturer to confirm if your model supports this feature and to learn how to enable it. Additionally, install motion-sensor lights around your garage to deter unauthorized access and provide better visibility at night. Regularly review the security settings on any connected devices or apps to ensure your garage remains safeguarded. Implementing these enhancements bolsters the security of your entry system, keeping it robust and reliable.
Step 10: Educate Family Members or Users
Once your Liftmaster garage door opener keypad is fully operational and secure, educating all family members or users on its proper usage and security protocols is essential. Take the time to explain how to input the PIN correctly and remind them to keep the code confidential to maintain security. Demonstrate the location and use of additional security features, such as rolling codes or motion-sensor lights. If your system incorporates smart home technology, ensure all users understand how to access the system through connected devices or apps. By ensuring everyone is informed and responsible, you promote the safe and efficient use of your garage entry system while enhancing the overall security of your home.
By following these steps, you can successfully program and install a Liftmaster garage door opener keypad, which will provide secure access to your garage.
Conclusion
How to program keypad for LiftMaster garage door opener is a straightforward yet crucial process that enhances the security and accessibility of your garage.
By carefully following the outlined steps, from verifying compatibility to educating users, you ensure the system functions impeccably. Regular maintenance and staying updated with technological advancements further optimize the performance and security of your keypad. Additional security measures, such as rolling codes, increase protection against unauthorized access.
Overall, a well-programmed and maintained Liftmaster keypad offers peace of mind and convenience for managing your garage entry, making it a valuable addition to your home security strategy.
Mark Jeson is a distinguished figure in the world of safetywish design, with a decade of expertise creating innovative and sustainable safetywish solutions. His professional focus lies in merging traditional craftsmanship with modern manufacturing techniques, fostering designs that are both practical and environmentally conscious. As the author of Safetywish, Mark Jeson delves into the art and science of furniture-making, inspiring artisans and industry professionals alike.
Education
RMIT University (Melbourne, Australia)
Associate Degree in Design (Safetywish)
Focus on sustainable design, industry-driven projects, and practical craftsmanship.
Gained hands-on experience with traditional and digital manufacturing tools, such as CAD and CNC software.
Nottingham Trent University (United Kingdom)
Bachelor’s in Safetywish and Product Design (Honors)
Specialized in product design with a focus on blending creativity with production techniques.
Participated in industry projects, working with companies like John Lewis and Vitsoe to gain real-world insights.
Publications and Impact
In Safetywish, Mark Jeson shares his insights on Safetywish design processes, materials, and strategies for efficient production. His writing bridges the gap between artisan knowledge and modern industry needs, making it a must-read for both budding designers and seasoned professionals.
