
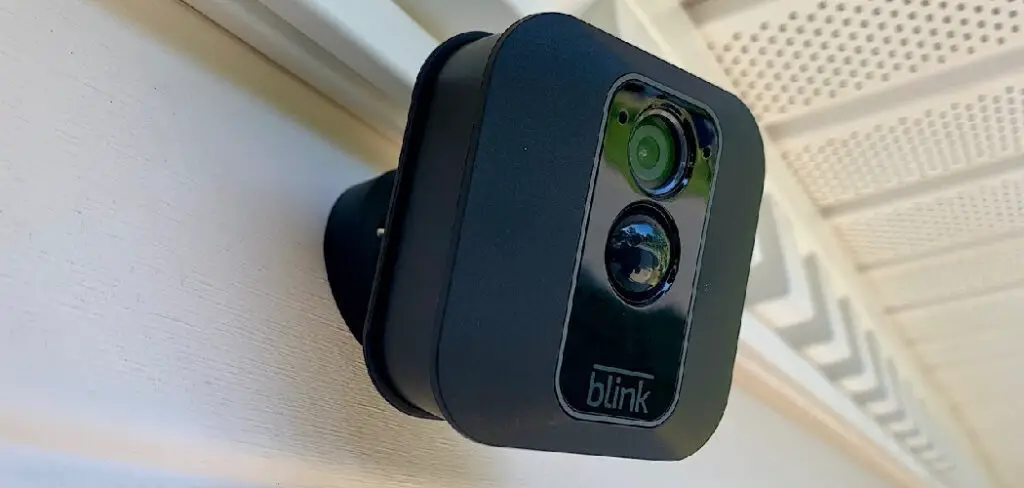
If you’re looking for a way to keep an eye on your property or want to add security measures to your home, you may be interested in mounting a Blink Outdoor Camera. These cameras are easy to install and provide you with peace of mind. We’ll show you how to mount blink outdoor camera in this post. Then, keep reading for more information!
There are several reasons why it’s essential to mount your Blink Outdoor Camera. First, mounting the camera will help you keep an eye on your property and deter criminals. Additionally, mounting the camera can help you catch criminals if they decide to strike. Finally, having a mounted camera can also provide you with peace of mind knowing that your home is safe and secure.
Why It’s Important to Mount Your Outdoor Camera?
- To keep an eye on your property
- To add security measures to your home
- For peace of mind
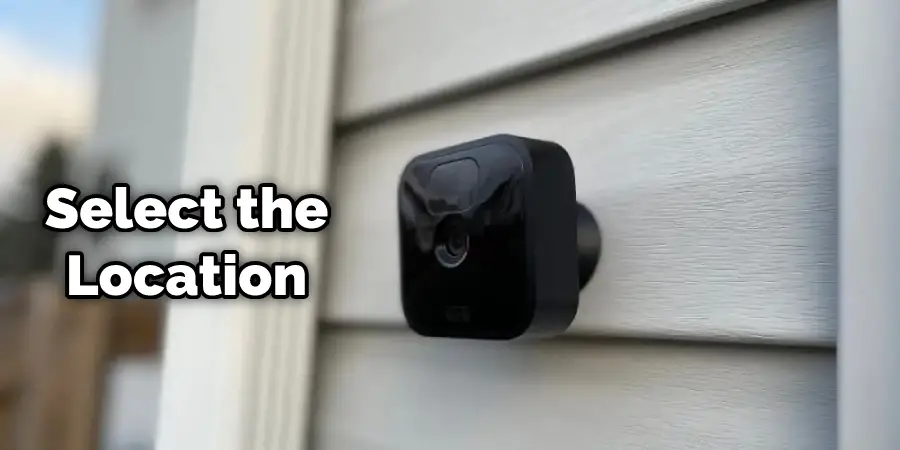
Before you mount your outdoor Blink Camera, choosing the location is important. The camera needs to have a clear view of the part of your property you want to monitor for security purposes. Ideally, you’ll also enjoy an area that will be regularly lit up by the sun during the day and not hidden behind concealment.
Best Places to Mount Blink Outdoor Cameras
1. Ideal Camera Placement
Mount your Blink camera near the front door, in the corner of the porch, or on the side of the house. Make sure to place it in an area that is well-lit and has a clear view of the entranceway.
2. Front Door
A porcelain doorbell button is perfect for your Blink outdoor camera. Unscrew the existing doorbell button and screw in your Blink camera. The light on the front of the Blink will reflect off of the front door, giving it a clear view of anyone who approaches the front porch.
3. Garage
Mount your Blink camera inside the garage, and it will be able to see who approaches the door. The downside is that if someone sees your camera while still in the garage, they can turn around and leave without anyone watching them.
4. Brick Wall
Your Blink outdoor camera should not be placed on a brick wall (or any other wall that is not white). If your Blink camera is placed on a light-colored wall, its infrared beam will produce a dark shadow, and the person approaching can easily spot it.
How to Mount Blink Outdoor Camera Step by Step Guide
Step 1: Determine the Location
The Blink has an adhesive pad to attach to a wall or ceiling in your home. You’ll want to place the Blink about 30 feet away from its mounting location, which will allow for optimal coverage.
Step 2: Secure your Mounting Location
Before drilling into any walls, test out hanging the Blink in your picked location. The Blink comes with a built-in level to help keep your camera straight and secure, but if there’s any way it could fall or be bumped out of place, test out how securely it attaches to the wall, so you don’t run into issues later.
Step 3: Drill in your Nails
If everything is in place, drill screws into the wall. The Blink comes with two mounting plates you can use to mark how deep to drive them in, which will help keep your camera secure. Just be sure you don’t accidentally drill into any electrical wiring or anything that might lead to damage if it accidentally gets pulled.
Step 4: Mounting your Camera
Now that you’ve tested out how well the Blink securely attaches to your home, it’s time to drill into the wall. Place a mark where your camera will be mounted, and use an electric or cordless drill to make sure it’s secure in place.
Step 5: Connect your Blink Camera
Now that the camera is securely attached, it’s time to snap on the cover and screw in the base. The Blink has a small pinhole where you can insert a paperclip to eject the SIM cardholder. Just pull it out and disconnect power if you need to reset your system, which will take you right back to the initial setup process.
Step 6: Pairing your Camera with the Base
Now that you’ve got everything set up, it’s time to pair your camera and base. It doesn’t matter which one you connect first; they will both start blinking green and red as part of the pairing process. Once they stop blinking, you’ll know they’re paired.
Step 7: Prepare for Outdoor Use
Before going outside, the Blink has a few final steps to get it ready for your outdoor adventures. It’s best to place it out at least 30 feet from its base and expose one side of the host to direct sunlight. This will reduce any potential fail rates during cold or cloudy days.
Step 8: Keep your Blink Camera Ready
To keep your camera powered up for months, the first is finding a mounting location that receives direct sun exposure six hours of the day. After that, connect it to its base, which will allow it to charge automatically whenever sunlight hits its solar panels.
Step 9: Installing Motion Tracking Software
The best security includes a camera that captures everything happening around it and software that will monitor any movements and alert you as soon as it detects them. After setting up your Blink camera, go back to the app and select your device. If your camera is plugged into a power source, unplug it and plug it back in to complete the installation process.
Now that you’re done with this step, consider how much storage space you’ll need with Blink. If you want to know more about how to mount a blink outdoor camera, keep reading.
Where to Avoid Mounting Blink Outdoor Cameras
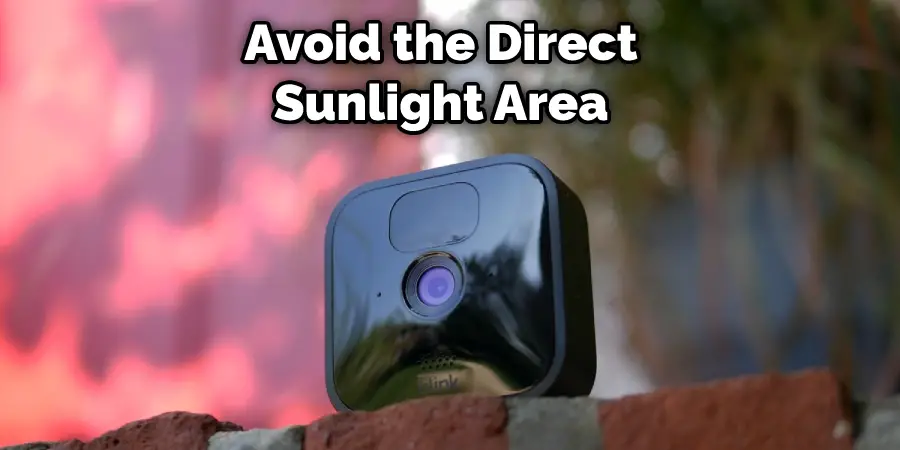
1. Areas With Direct Sunlight
Blink outdoor cameras should be mounted in areas that are shaded by the sun. This is to prevent the camera from overheating and becoming damaged.
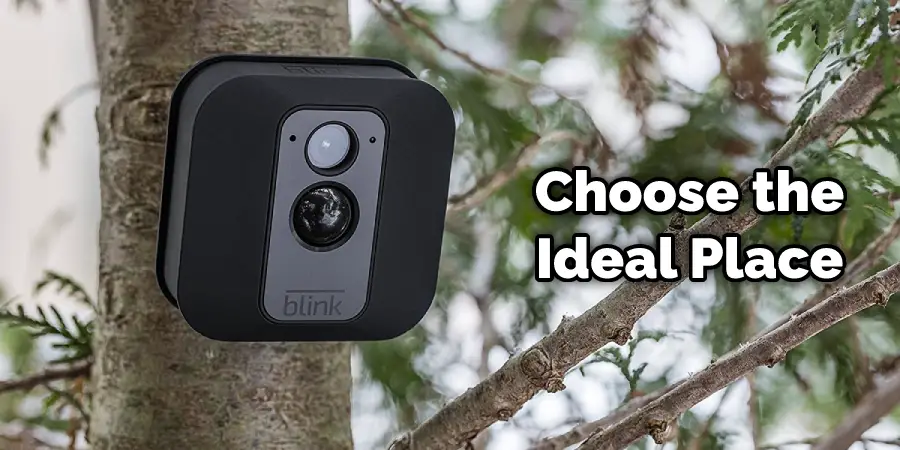
2. Near Trees
It is also advisable not to mount Blink outdoor cameras near trees as it may obstruct the camera’s view and reduce its effectiveness. This is especially true during winter when there are leaves on the tree.
3. Areas With Good Network Coverage
Blink’s video security system requires a constant and steady flow of networks in order to work effectively. Blink’s night vision feature will not be up to par if the internet is slow.
4. Areas With High Humidity Levels
Blink outdoor cameras are weatherproof. However, too much moisture in an area can damage the Blink camera system, so you might want to rethink mounting it in that location.
5. In Front of Big Windows
Blink outdoor cameras’ wide-angle view can be good if you want to monitor the front of your house, even from the inside. But, make sure not to place it too close to windows as it may reflect some lights and give false alarms or notifications.
6. Anywhere Low To The Ground
Blink outdoor cameras are weatherproof. However, too much moisture in an area can damage the Blink camera system, so you might want to rethink mounting it in that location. Also, make sure not to place them directly on the ground as thieves and animals can tamper with your wiring and entire Blink system by stepping on it.
7. In Areas with Air Pressure or Heat
Blink outdoor cameras were designed to be weatherproof, making them ideal for mounting outside your house. However, make sure not to place it in an area where there’s too much air pressure or heat from a heater, as it may damage the camera and render it useless.
How Do You Mount a Blink Camera?
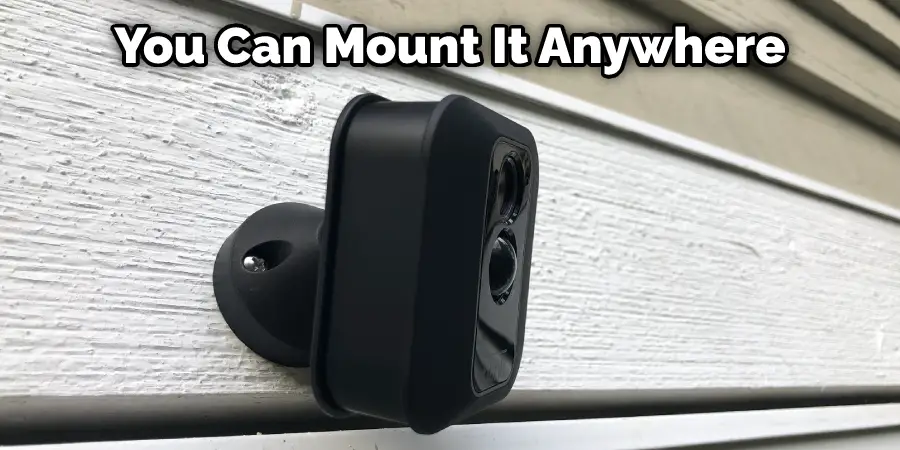
Blink cameras are battery-operated security cameras that you can set up to monitor your home or office. The Blink video system includes one indoor camera and either one or two outdoor cameras, depending on how many you buy. Since all the components of the system use wireless technology, it’s easy to mount the indoor camera anywhere indoors.
When it comes to mounting outdoor Blink cameras, however, you have to be a little more careful how you go about it. Here are some helpful tips for how to mount Blink cameras outdoors without damaging the finish on your exterior walls. If you want to know more about how to mount blink outdoor camera, keep reading.
Expectations and Realities
Expectations
When you purchase a Blink camera, you may expect that it is easy to mount outdoors. After all, it is a wireless camera, and who doesn’t love the convenience of wireless technology?
Reality
While it is true that Blink cameras are wireless, this does not mean that they are easy to install outdoors. If you are not careful, you may damage the finish on your exterior walls when mounting them.
Nighttime Surveillance and LED Indicator
One of the great benefits of the Blink camera system is that it can provide surveillance footage both during the daytime and at night. In addition, the Blink camera features an LED indicator that will let you know when the camera is recording. This is a great feature, especially if you use the camera to monitor your home while away.
What Else to Keep in Mind When Mounting a Blink Camera?
Before you go out to install your Blink cameras, there are a few things that you should keep in mind. In addition to how to proceed with mounting them, this includes how much distance you have between where the indoor and outdoor Blink cameras. Since these cameras use wireless technology, they need approximately 50 feet of space between their indoor and outdoor cameras. This distance allows for the Blink system to have clear surveillance coverage in your home or office.
Outdoor Installation Tips
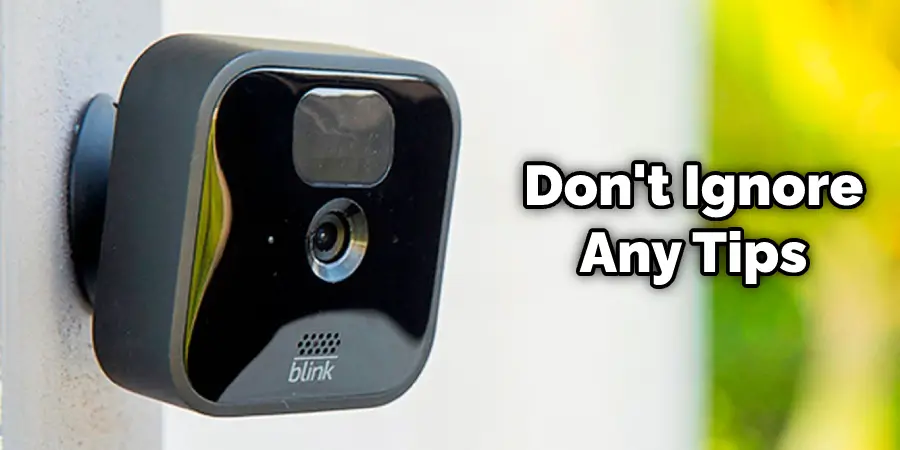
While installing Blink cameras outdoors may seem easy, you must remember these tips. If you ignore them, the cameras may not work properly, and you could end up damaging your exterior walls.
Mount Blink Cameras Without Screws
One of the biggest mistakes that many people make when installing Blink cameras is using screws to mount them. While this seems like a good idea, it will damage your outdoor wall’s finish. Keep reading for more information about how to mount blink outdoor camera.
Frequently Asked Question
Do Blink Cameras Come With Mounts?
Blink cameras come with a mount that can be attached to the wall.
How High Should I Mount My Blink Camera?
When mounting your Blink camera, make sure that it is at least 7 feet high. This will ensure that the camera has a clear view of your property.
What Size Screws Come With Blink XT2?
The screws that come with the Blink XT2 are 1 inch long.
How Far Will Blink Camera Pick Up Motion?
Blink cameras have a detection range of up to 50 feet. This means that they will be able to pick up motion from a distance of up to 50 feet away.
Can I Put My Blink Mini Outside?
The answer to this question is yes. However, keep in mind that you need to mount it in a sheltered area so that it is not exposed to the elements. It is not too close to an air conditioning unit or heating vent, as this could damage the camera.
Conclusion
So, Blink is the perfect option, whether you’re looking for a security camera to protect your home and family or want to keep an eye on what’s happening outside while you’re away. And if you need any help mounting your outdoor camera, our team is here to assist. Check out our latest blog post on how to mount blink outdoor camera. Thanks for reading!
You can also read: How to Install Simplisafe Glass Break Sensor

1 thought on “How to Mount Blink Outdoor Camera”