
Using a temporary door can be an effective solution for those who need to close off an area quickly and don’t have the time or resources to purchase and install a permanent door. A temporary door is also helpful if you’re unsure whether you will need a permanent one in the future and want to avoid unnecessarily purchasing one. It can also be used to close off an area while a more permanent solution is being sought or installed.
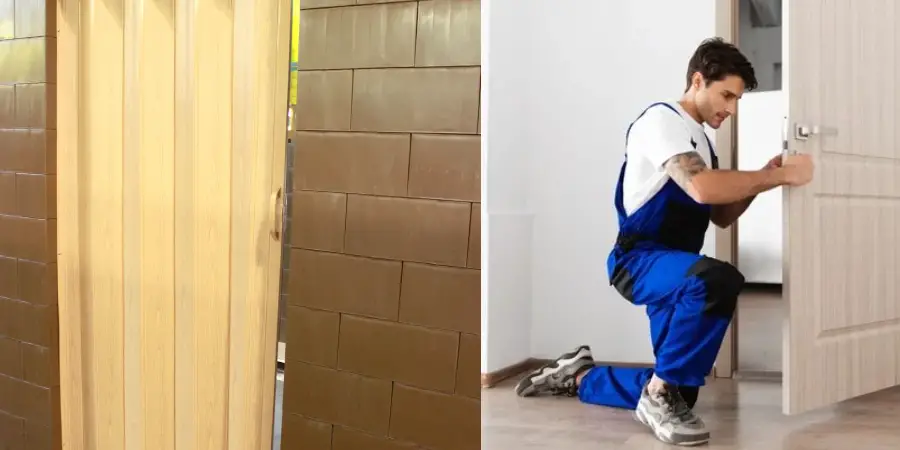
A temporary door can be beneficial to homeowners and renters in a variety of situations. It provides privacy, security, and an easy solution for those who need a quick fix until they are able to replace the existing door. Additionally, having a temporary door helps reduce heat loss or gain from outside temperatures, making it more energy-efficient. Temporary doors are also much less expensive than replacing the existing door, making them a great option for those working with a limited budget. You can find step-by-step instructions on how to make a temporary door in this blog article.
Materials You Will Need
- Measuring tape
- Hammer
- Screwdriver
- Nails
- Wood boards (2)
- Hinges (2)
- Latch
- Door knob with lock and keyhole
- Sandpaper
- Paint or stain (optional)
Step-by-step Instructions for How to Make a Temporary Door
Step 1: Inspect the Space
Before beginning the process, take the time to inspect the space you’ll be using and ensure you have enough materials to cover the area. Measure twice and cut once when selecting supplies for your temporary door.

Step 2: Assemble Your Materials
Gather all of your necessary tools and materials beforehand, such as a drill, hammer, screws, saw or jigsaw, hinges, handles, and the material you’ve chosen to construct your temporary door. Sandpaper can also come in handy if you plan on painting your door.
Step 3: Cut Your Door Frame
Cut two pieces of wood of equal length to create the frame for your temporary door. Next, cut four additional pieces of wood for your frame’s base, top, and sides. Use screws and a drill to join the pieces together in order to create the door frame. If desired, you can use nails or glue as well.
Step 4: Add Hinges and Handles
Measure the height and width of your door frame, then use a drill to attach hinges and handles on the frame. Ensure they are flush with each other and all screws are tight. Use a saw or jigsaw to cut the material you chose for your temporary door. Make sure the material is cut to fit your frame.
Step 5: Attach Door Material to the Frame
Use glue, nails, or screws to attach the door material to the door frame. Make sure it is secure and that all screws are tight. Smooth any rough edges of the door with sandpaper if desired. Then, paint the door in your desired color.
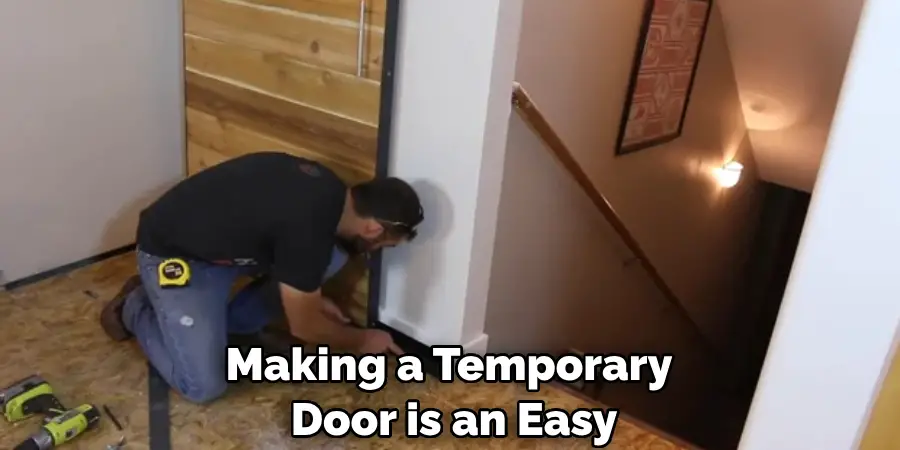
Step 6: Hang the Door
Install the temporary door by attaching it to your installed hinges and handles. Make sure to check for any gaps between the frame and door material. If desired, install a lock on the door for additional security.
Following these steps should help you make a functional temporary door in no time. Just remember always to measure twice and cut once when selecting materials for your project.
Tips for How to Make a Temporary Door
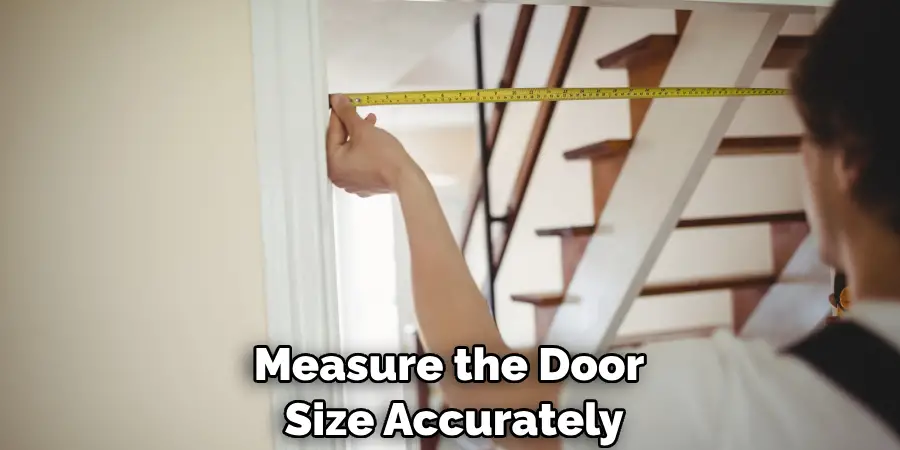
- Make sure to measure the door size accurately and prepare the necessary materials accordingly.
- Double-check that all screws, nails, and other fasteners are tight so that they do not come loose during use.
- Use a good quality saw or drill to cut any wood needed for the frame of the door, such as 2x4s.
- Avoid using nails and screws that are too long, as this could weaken the structure of the door, leading to a higher risk of collapse or breakage.
- Use a good-quality lock on the temporary door for added security if possible.
- Use a level to ensure that all door components are installed and secured properly.
- Before using the temporary door, test it to make sure that all components of the frame fit together correctly and that it can open and close without difficulty. If any repairs or adjustments need to be made, do so before use.
By following these simple steps when constructing a temporary door, you can ensure that it will be safe and secure for use.
How Long Will the Door Last?
The longevity of a temporary door largely depends on the materials you choose to use and how it is constructed. Generally, if made correctly, a temporary door can last anywhere from a few months up to several years. Replacing or repairing parts as needed over time may be necessary to ensure that your door remains in good condition. If you are using lightweight material such as cardboard or thin wood, the door may not last as long as if you used something sturdy like plywood.
Additionally, ensuring your door is properly sealed and insulated will help prevent drafts, water damage, and other issues that can cause it to deteriorate faster. With proper maintenance, a temporary door can be a reliable solution for your needs. When constructing a temporary door, it is important to consider what materials you will use and how you will secure the door in place. Depending on your specific needs, some doors may be hung with nails or screws, while others may require more permanent installation methods such as hinges or tracks.
How Can You Secure the Door in Place?
Once the door is finished, it will need to be secured in place. Depending on the type of material used, this can be done with either nails or screws. If you are using a wooden door, use 3-inch galvanized nails that have been pre-drilled into the wood. If your temporary door is made of metal or plastic, use self-tapping screws to secure it in place. Ensure that the screws are long enough to penetrate through the door and frame’s materials.

It’s also important to make sure that your temporary door is properly sealed. This can be done by using caulk or weather stripping around the edges of the door frame. This will help keep out drafts and pests and will also give the door a finished look. Finally, you may want to add a handle or knob onto the temporary door for easy opening and closing. Once secured with screws, your temporary door is ready for use! With just a few simple steps, you can easily make a temporary door that provides an effective and safe barrier for any space.
How Do You Remove a Temporary Door and Clean Up After Installation?
Once you’ve completed making a Temporary Door, the next step is to remove it. To do this, begin by carefully unlatching and opening the door in order to avoid any further damage that may have been caused during installation. If there are screws or nails used to secure the temporary door frame into place, use a screwdriver or hammer to remove those fasteners.
Once you have successfully removed the temporary door, it’s time to clean up any debris left behind from installation. Start by sweeping up any dust, dirt, and debris that may have accumulated near and around the frame of the door. Then, use a household cleaner to wipe away any stubborn residue that may have been left behind. When cleaning, be sure to use a soft cloth in order to avoid any scratches or other damage to the surface of the temporary door frame.
How Can You Make Sure the Door Fits Properly and Looks Good?
When it comes to making a temporary door, the key is getting a good fit. To make sure your door fits properly and looks nice, start by measuring the opening you’re working with before purchasing materials. Consider how wide and tall the doorway must be so that you can purchase lumber accordingly. Before assembling the frame of the door, you’ll want to get a sense of how its components connect. It might be helpful to draw a diagram of your frame and label the pieces so that you know which boards go where when it’s time to put them together.
Once the frame is assembled, test fit it in the doorway opening. Adjust the frame as necessary to make sure it fits snugly and securely. When everything looks good, secure the frame in place with screws or nails. Next, you’ll want to attach a sheet of plywood or other paneling material to the door frame. This will give your temporary door its finished look and provide added stability. Again, measure and test fit before securing the paneling in place.
Conclusion
In conclusion, making a temporary door is an easy and inexpensive solution to fill in doorways. Whether you need something that can be taken down quickly or just have a space to close off, creating one yourself is simple if you have the right materials and tools. All you need is some kind of building material like plywood, 2x4s, hinges, screws, and a drill.
Depending on the configuration of your doorway, you may need to add some additional materials like screws, glue, or insulation. But no matter what type of temporary door you make, it can provide an effective solution for any space. I hope this article has been beneficial for learning how to make a temporary door. Make Sure the precautionary measures are followed chronologically.
You Can Check It Out To- Secure Front Door That Opens Out
Mark Jeson is a distinguished figure in the world of safetywish design, with a decade of expertise creating innovative and sustainable safetywish solutions. His professional focus lies in merging traditional craftsmanship with modern manufacturing techniques, fostering designs that are both practical and environmentally conscious. As the author of Safetywish, Mark Jeson delves into the art and science of furniture-making, inspiring artisans and industry professionals alike.
Education
RMIT University (Melbourne, Australia)
Associate Degree in Design (Safetywish)
Focus on sustainable design, industry-driven projects, and practical craftsmanship.
Gained hands-on experience with traditional and digital manufacturing tools, such as CAD and CNC software.
Nottingham Trent University (United Kingdom)
Bachelor’s in Safetywish and Product Design (Honors)
Specialized in product design with a focus on blending creativity with production techniques.
Participated in industry projects, working with companies like John Lewis and Vitsoe to gain real-world insights.
Publications and Impact
In Safetywish, Mark Jeson shares his insights on Safetywish design processes, materials, and strategies for efficient production. His writing bridges the gap between artisan knowledge and modern industry needs, making it a must-read for both budding designers and seasoned professionals.
