
Automatic gates add an immense level of convenience and security to both residential and commercial properties. Among the most popular systems is the LiftMaster gate opener, renowned for its reliability and seamless operation.
However, even the most dependable automated gates can face challenges—particularly when the power goes out or there’s a technical malfunction. In these moments, being able to operate your LiftMaster gate manually can mean the difference between frustration and swift access.
If you’re dealing with a sudden power outage and wondering how to open liftmaster gate manually, this guide will provide clear, actionable steps. We’ll walk you through every stage of the process, emphasize safety, highlight common issues, and offer maintenance tips to keep your gate performing at its best. Whether it’s a one-time emergency or just regular preparedness, knowing how to operate your gate manually is an essential aspect of property management.
Understanding the Basics of LiftMaster Gates
LiftMaster gates are designed with user convenience in mind, leveraging advanced motors and electronics to enable smooth, automated operation. Typically, the gate functions at the press of a button, responding to signals sent from remotes or access panels. The system includes sensors, safety features, and a strong motor mechanism—each reliant on a consistent source of power.
How LiftMaster Gate Systems Work
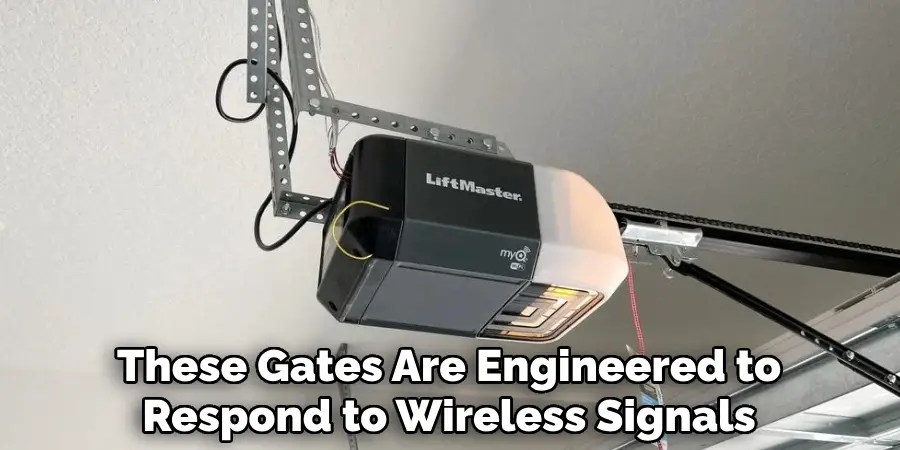
At their core, LiftMaster automated gates consist of a powerful motor, responsible for moving the gate, and a control panel that interprets user commands or programmed schedules. These gates are engineered to respond to wireless signals, keypads, and sometimes smartphone apps. Most importantly, they are programmed with built-in safety checks, such as auto-reversal when an object is detected in the pathway.
Common Scenarios Requiring Manual Operation
Despite robust engineering, there are scenarios where automatic control is interrupted. The most frequent culprit is a power outage. System glitches, remote control failures, or tripped circuit breakers can also leave your gate nonresponsive. In these cases, the gate’s manual release mechanism becomes your fallback, allowing you to operate the gate by hand until the electric system is restored or repaired.
Safety Precautions Before Manual Operation
Switching to manual operation involves interacting directly with mechanical parts that normally function under motor power. For this reason, safety is paramount. Before making any attempt to disengage the motor, ensure you have a clear area around the gate to prevent personal injury or property damage.
- Always turn off power to the gate at the main supply or breaker box to prevent accidental activation.
- If your system has a battery backup, disconnect it as well.
- Wear gloves to protect your hands from sharp parts or unexpected movements.
- Never attempt manual unlocking if the gate is under visible stress, off-track, or damaged; call a technician instead.
With these basic precautions, you can proceed safely to the next step.
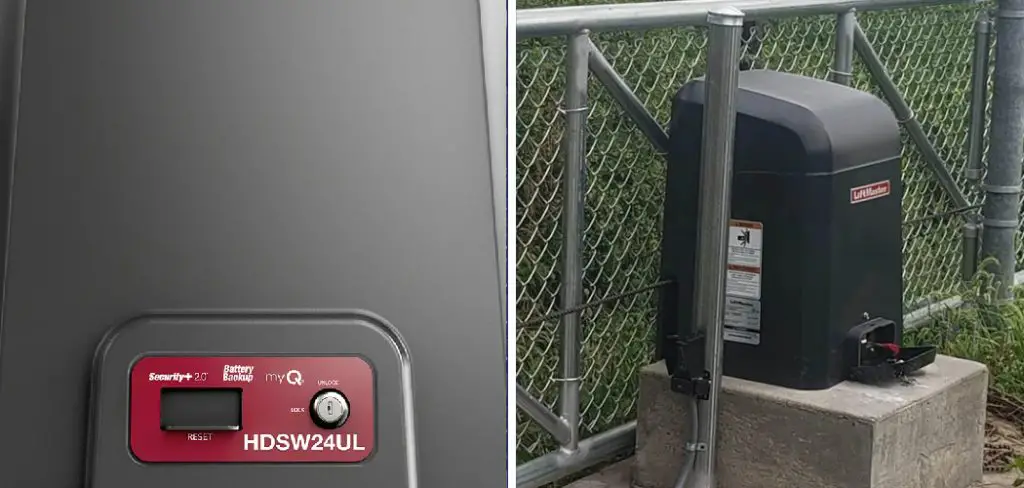
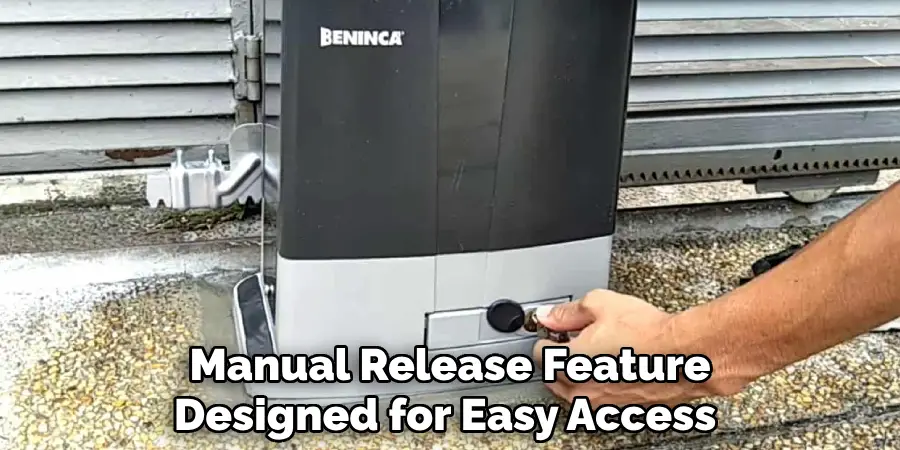
Locating the Manual Release Mechanism
Each LiftMaster gate model has a built-in manual release feature designed for easy access during emergencies. This mechanism is typically found on the gate motor case and is often red for quick identification. Consult your gate manual for a diagram specific to your model if you’re unsure.
Finding the Release Lever or Key
Manual release comes either in the form of a lever, a handle, or a lock that requires a special key (sometimes called an “emergency release key”). Look for the release component attached to the motor housing or gate post, marked or colored differently than the rest of the system. For many models, the lever must be pulled or turned to disengage the motor drive from the gate.
Tools You Might Need
You may need a LiftMaster-provided release key—usually supplied at installation—for releasing some gate models. A flat-head screwdriver or Allen wrench can be useful for accessing locked panels or covers. Keep these tools handy in a safe, accessible place for emergencies.
How to Open LiftMaster Gate Manually: Step-by-Step Guide
Knowing the theory is helpful, but practical step-by-step instructions are crucial when you need to access your property quickly. Follow these steps to open a LiftMaster gate manually:
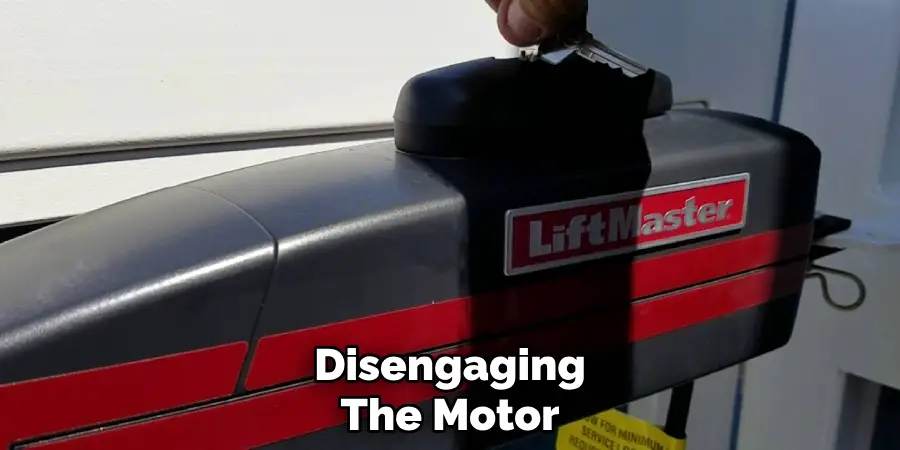
Disengaging the Motor
- Ensure the System Is Powered Off: Double-check that the main supply, as well as any battery backup, is switched off.
- Find the Manual Release Lever or Key Slot: Locate the manual release mechanism on your LiftMaster motor assembly.
- Insert the Key or Pull the Lever: If your system uses a key, insert it and turn it according to the manufacturer’s instructions. If it has a release lever or handle, pull it fully. This action disengages the motor from the gate, allowing for manual movement. You may feel a slight click or release.
- Check That the Gate Is Free: Gently nudge the gate to confirm it moves without resistance from the motor. If the gate is still stuck, verify the release mechanism is fully disengaged.
Moving the Gate Manually
Once the gate is released from the motor drive, grip the gate by a sturdy, non-mechanical part—such as a crossbar or reinforced frame. Slowly push (for swinging gates) or slide (for sliding gates) the gate in the desired direction. Go slowly to prevent unnecessary strain on hinges or tracks.
- Tip: If the gate feels unusually heavy or resists movement, stop—there could be debris, damage, or an engaged lock elsewhere. Never force the gate.
Avoiding Damage While Moving
Physical gates are designed to move smoothly when disengaged. If you’re encountering friction or the gate sags, it’s best to inspect the hinges, wheels, and tracks for obstructions. Forcing the gate can bend the frame or damage the mechanism.
Securing the Gate After Manual Opening
After you’ve manually opened the gate, it’s important to stabilize it and avoid unintentional closure—especially in windy or high-traffic areas.
Locking the Gate in a Fixed Position
Some LiftMaster models feature manual locks to fix the gate in place once opened. If your gate doesn’t, use a heavy-duty latch, chain, or suitable wedge to hold the gate steady until normal operation resumes. Always make sure your solution is secure but not damaging to the gate or its paintwork.
Re-engaging the Motor for Normal Use
Once power is restored or technical issues are resolved, you’ll want your gate to return to automatic function. Here’s how:
- Return the Release Lever to Its Original Position: Or, re-engage the lock with the emergency key.
- Restore Power: Switch the circuit breaker or battery backup back on.
- Test Automatic Operation: Use your remote or wall controller to activate the gate. The motor should catch and operate the gate as before.
- If the Gate Doesn’t Re-engage: Double-check the manual release is fully reset and try again. Refer to your model’s troubleshooting guide if the issue persists.
Troubleshooting Issues During Manual Operation
Even with careful preparation, you may encounter a few bumps along the way while manually operating your LiftMaster gate.
Common Problems and Quick Fixes
- Stuck Release Lever: Gently apply lubricant and wiggle the lever back and forth. Never force it with excessive strength.
- Gate Doesn’t Move Freely: Inspect for obstacles in the gate’s path, obstructions in the track (for sliding gates), or rusted hinges (for swinging gates). Clear any debris or apply lubricant to troublesome spots.
- Release Mechanism Won’t Reset: Sometimes, the release mechanism needs to be jiggled slightly or realigned while power is restored.
When to Seek Professional Help
If the gate continues to resist manual operation, the release lever is broken, or you notice physical damage such as bent tracks or snapped cables, it’s best to call a certified LiftMaster technician. Attempting further DIY fixes could void your warranty or worsen the problem.
Benefits of Knowing Manual Operation Procedures
Understanding how to open a LiftMaster gate manually isn’t just a skill for emergencies—it’s a practical aspect of responsible gate ownership.
- Time Savings During Emergencies: A blocked or nonfunctional gate can delay urgent trips or hinder deliveries. Knowing these procedures lets you act fast.
- Protecting the System: Correct manual operation prevents unnecessary damage to the gate’s motor and mechanical parts, extending the life of your investment.
- Peace of Mind: Confidence in manual operation means less stress when confronted with unexpected outages or malfunctions.
Preventive Maintenance to Avoid Gate Malfunctions
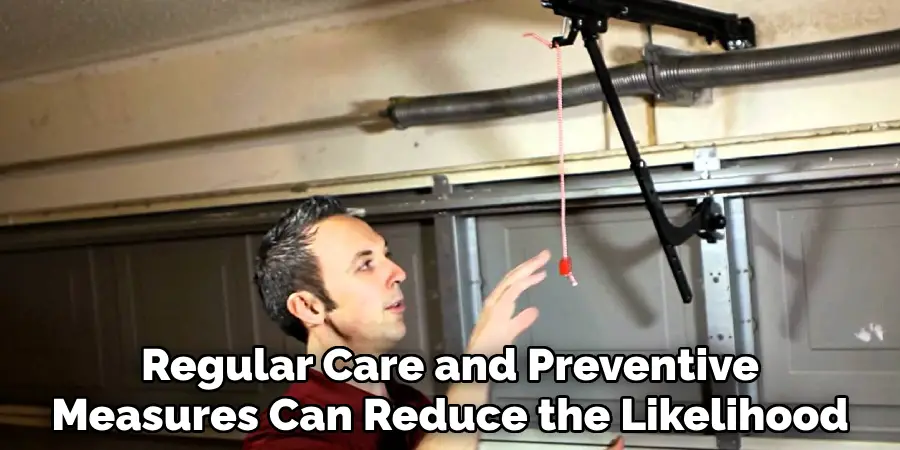
Regular care and preventive measures can reduce the likelihood you’ll need to open your LiftMaster gate manually.
Regular Testing of Manual Release Mechanism
At least once every few months, give your manual release a test:
- Turn off the power to the system.
- Disengage the release.
- Move the gate a short distance manually, then re-engage the motor and restore power.
This routine ensures that everything works smoothly when you need it most.
Keeping the Gate and Mechanism Clean
Dirt, leaves, and even cobwebs can clog moving parts. Wipe down the motor housing, clear tracks, and apply suitable lubricant to hinges, latches, and locks. Protect any electronics from moisture or pest infestation by regularly inspecting the area around the gate opener.
Final Thoughts
By learning how to open LiftMaster gate manually, you gain a critical skill that can save time, reduce stress, and protect your property during unforeseen malfunctions or power outages. This guide has covered every stage—from preparation, safety, and step-by-step instructions, to troubleshooting and preventive maintenance. By following these steps, you’ll quickly learn how to open a LiftMaster gate manually, ensuring access even during unforeseen issues.
Commit these procedures to memory, and keep your user manual handy for additional support. This preparedness means smoother experiences in the face of unexpected interruptions.
Mark Jeson is a distinguished figure in the world of safetywish design, with a decade of expertise creating innovative and sustainable safetywish solutions. His professional focus lies in merging traditional craftsmanship with modern manufacturing techniques, fostering designs that are both practical and environmentally conscious. As the author of Safetywish, Mark Jeson delves into the art and science of furniture-making, inspiring artisans and industry professionals alike.
Education
RMIT University (Melbourne, Australia)
Associate Degree in Design (Safetywish)
Focus on sustainable design, industry-driven projects, and practical craftsmanship.
Gained hands-on experience with traditional and digital manufacturing tools, such as CAD and CNC software.
Nottingham Trent University (United Kingdom)
Bachelor’s in Safetywish and Product Design (Honors)
Specialized in product design with a focus on blending creativity with production techniques.
Participated in industry projects, working with companies like John Lewis and Vitsoe to gain real-world insights.
Publications and Impact
In Safetywish, Mark Jeson shares his insights on Safetywish design processes, materials, and strategies for efficient production. His writing bridges the gap between artisan knowledge and modern industry needs, making it a must-read for both budding designers and seasoned professionals.
