
Watering your garden or lawn doesn’t have to mean wasteful overwatering, especially when nature has already taken care of it for you. That’s where a rain sensor comes in, taking the guesswork out of irrigation. Installing a rain sensor on your sprinkler system is not only an eco-friendly move but also a cost-effective way to maintain healthy greenery.
Before starting the installation, gather the necessary tools and materials, including the rain sensor, wire connectors, a drill, and screws. Begin by identifying an appropriate location for the sensor, preferably an open area where it can directly detect rainfall without obstruction from trees or structures. Once the location is decided, securely mount the sensor using the provided hardware. Next, connect the sensor’s wires to the sprinkler system controller according to the manufacturer’s instructions; this often involves wiring into the “sensor” or “rain” terminals on the controller. After completing the connections, test the system to ensure the sensor is functioning correctly and interrupting irrigation during rainfall.
By automating your sprinkler system to shut off during rainy weather, a rain sensor ensures efficient water usage, reduces your utility bills, and contributes to responsible water conservation. The best part? Installing one is a straightforward process that even beginners can handle. This guide will walk you through how to install a rain sensor on a sprinkler system, complete with practical steps and helpful tips to make the process easy and stress-free.
Why Install a Rain Sensor on a Sprinkler System
Rain sensors are one of the simplest upgrades you can make to a sprinkler system, yet their impact can be profound. Here are some reasons why installing a rain sensor is a smart decision:
Save Water and Reduce Waste: Rain sensors keep your system from watering your lawn while it’s raining or just after a rainstorm. This eliminates overwatering, which is both wasteful and potentially harmful to your plants.
Lower Utility Bills: An automatic rain sensor pause can significantly reduce water usage, saving you money on your water bill month after month.
Eco-Friendly Landscaping: By cutting down on unnecessary watering, you contribute to water conservation efforts, a critical priority in many areas dealing with drought.
Protect Plants: Overwatering can lead to soggy soil, root rot, and other plant health issues. A rain sensor helps maintain the proper moisture balance for healthy plants and lawns.
Compliance: Some municipalities require rain sensors on irrigation systems to ensure water conservation standards. Installing one might even help you avoid penalties.
Understanding the benefits makes a compelling case for installing a rain sensor. Luckily, this DIY task doesn’t require advanced technical skills—just a little guidance, which you’ll find in the following step-by-step guide.
Step-by-Step Guide on How to Install a Rain Sensor on a Sprinkler System
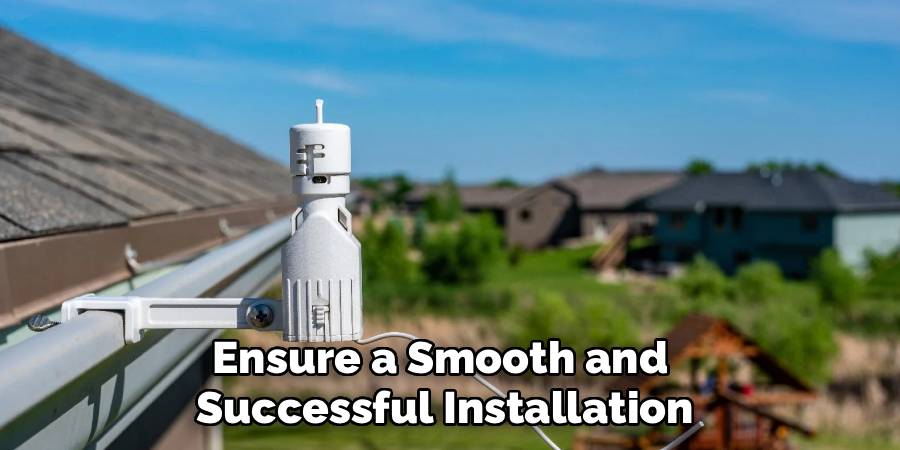
Installing a rain sensor on a sprinkler system can seem intimidating, but with the right instructions, it’s a straightforward process. Follow these steps to ensure a smooth and successful installation from start to finish.
Step 1: Choose the Right Rain Sensor for Your System
Before starting the installation, make sure you purchase a rain sensor compatible with your sprinkler system. Check your system’s specifications, as some controllers require specific sensor models. Opt for a wired sensor if you prefer traditional setups, or go for a wireless sensor for flexibility.
Step 2: Identify the Best Location for the Sensor
The effectiveness of your rain sensor largely depends on where you place it. Look for a spot that is open and free from obstructions, such as overhanging tree branches or structures. The sensor should be installed in a location where it can accurately detect rainfall, away from sprinkler spray or roof runoff.
Step 3: Turn Off the Sprinkler System Power
Safety is key! Before starting the installation, power off your sprinkler controller to avoid any electrical hazards. Locate the controller’s circuit breaker or unplug it entirely.
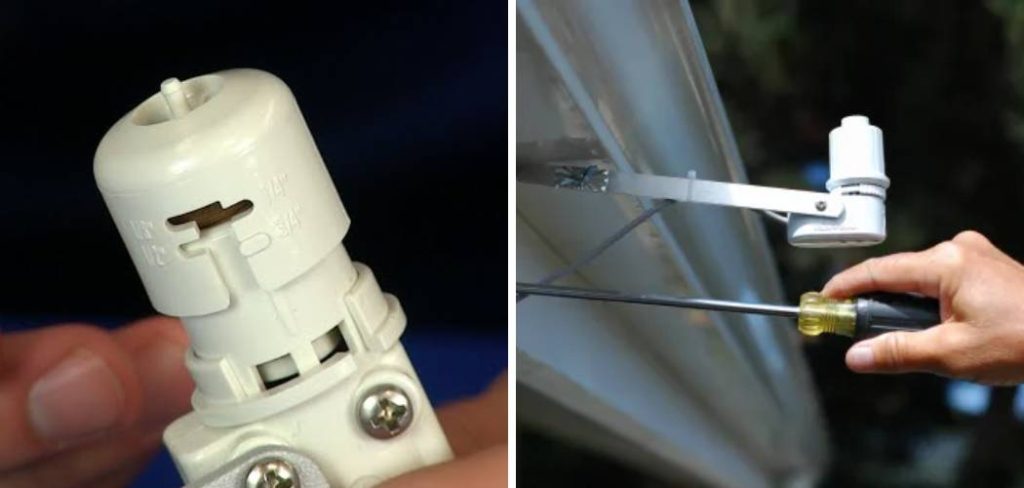
Step 4: Mount the Rain Sensor
Using the provided mounting bracket, secure the rain sensor in its chosen location. The sensor should be mounted vertically and firmly to ensure it can collect rain effectively. Avoid placing it too low to the ground where puddling could occur or too high where it may be affected by strong winds.
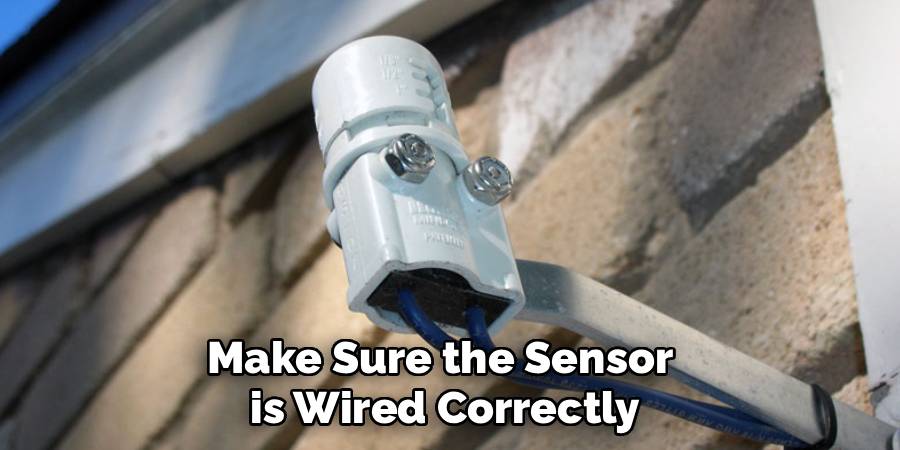
Step 5: Connect the Sensor to the Sprinkler Controller
Access the wiring compartment of your sprinkler controller. Most rain sensors come with two wires that need to be connected to the sensor terminals of the controller. If your controller doesn’t have dedicated sensor terminals, refer to its manual for alternate wiring instructions. Secure the connections with wire nuts for stability.

Step 6: Configure the Sensor’s Rainfall Adjustment
Many rain sensors allow you to set the amount of rainfall needed to pause the sprinkler system. Adjust this setting based on your local climate and your plants’ watering needs. A common range is between 1/8 inch and ¾ inch of rainfall.
Step 7: Test the Sensor Installation
After connecting and installing the sensor, turn your sprinkler system power back on. Simulate rainfall by lightly wetting the sensor to ensure it pauses the system as intended. If it doesn’t, double-check your wiring and configurations.
Step 8: Secure and Protect the Wiring
Once you’ve confirmed the sensor works correctly, ensure all wires are neatly secured to prevent tripping or damage. Use cable ties or conduit to protect the wiring from weather and physical wear.
Step 9: Fine-Tune the System’s Programming
Adjust your sprinkler controller’s irrigation settings to align with your sensor’s rainfall activation levels. Ensure the system resumes operation only when it’s truly needed.
Step 10: Regular Maintenance Checks
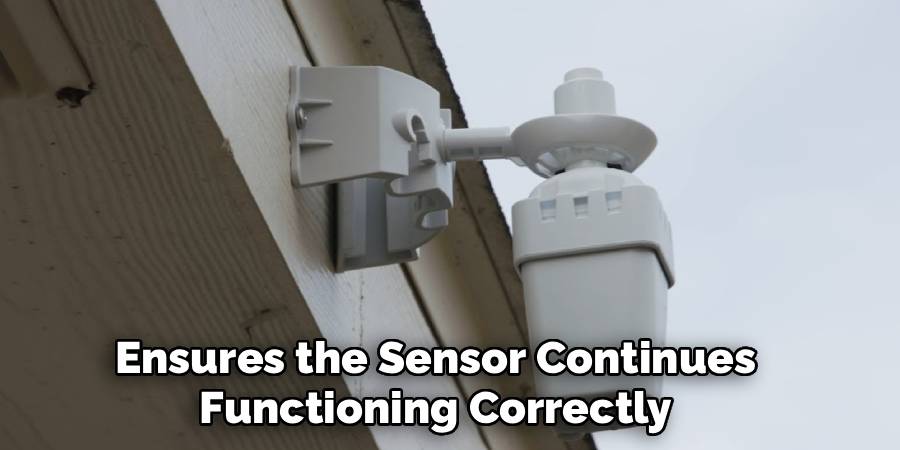
A rain sensor is a low-maintenance device, but it’s still important to inspect it periodically for dirt or debris that might affect its performance. Clean it gently and test its functionality every few months to ensure consistent results.
By following these steps, you’ll successfully complete how to install a rain sensor on a sprinkler system and enjoy the benefits of a smarter, eco-friendly irrigation system.
Troubleshooting Tips for Rain Sensors
Even with proper installation and maintenance, occasional issues may arise with your rain sensor. Here are some common problems and troubleshooting tips:
Sensor Not Activating During Rain
Check if the sensor’s location is exposed to rain and away from obstructions like overhanging branches or gutters. Make sure the sensor is wired correctly and the control panel settings are adjusted to recognize the device.
Sprinkler System Not Turning Off When It Rains
Ensure the sensor discs or internal components are clean and free from dirt or debris. If they are too dry or stuck, the sensor might not disable the sprinklers. Test the sensor manually by activating it with water to confirm its functionality.
False Readings or Intermittent Performance
Inspect the wiring for any loose connections or damage. External factors like heavy wind or insects might also cause false readings. Relocate the sensor if the environment seems to be triggering unintended activations.
Sensor Not Resetting After Rain
If the sprinkler system stays off long after the rain has stopped, the sensor’s drying time might be too slow due to excessive dirt or clogged vents. Clean and inspect the sensor, ensuring proper airflow around the drying elements.
If issues persist despite addressing these checks, refer to the manufacturer’s manual or consider consulting a professional to evaluate your system. A well-functioning rain sensor ensures efficient irrigation and prevents water wastage.
Frequently Asked Question Section
1. How does a rain sensor work?
Rain sensors typically feature absorbent materials that expand when wet, triggering an electrical switch that pauses your irrigation system. This mechanism ensures your sprinklers don’t operate when sufficient rainfall has occurred. Some advanced models use technology to measure soil moisture or rainfall intensity for even more precise control.
2. Is installing a rain sensor difficult for beginners?
No, installing a rain sensor is relatively simple and beginner-friendly. Most sensors come with clear installation instructions, and with the guidance in this article, you can complete the task in just an hour or two. No advanced technical skills are required.
3. Do rain sensors work with all sprinkler systems?
Not all sprinkler systems are compatible with rain sensors, but most modern controllers have built-in connections to accommodate them. If you’re uncertain, check your sprinkler system’s manual or consult with a professional to ensure compatibility.
4. How often should I maintain my rain sensor?
Rain sensors require minimal maintenance, but it’s a good idea to inspect them every few months. Remove any dirt, debris, or spider webs that could block rainfall from reaching the sensor. Periodic testing ensures the sensor continues functioning correctly.
5. Can I install a rain sensor during any season?
Yes, a rain sensor can be installed during any season, but dry weather is preferable to avoid complications with wiring and testing. Avoid installing the sensor during heavy rains or freezing temperatures, as both can make placement and calibration more challenging.
Conclusion
Installing a rain sensor on your sprinkler system is a simple way to save water, reduce bills, and support environmentally friendly practices while maintaining a lush, healthy lawn. By following this guide on how to install a rain sensor on a sprinkler system, you’ve already taken the first step toward smarter irrigation. With just a little time and effort, you can enjoy the peace of mind that comes with knowing your system is working smarter, not harder.
Take action today and install a rain sensor to make your irrigation system eco-friendly and efficient—your garden, wallet, and the planet will thank you!
Mark Jeson is a distinguished figure in the world of safetywish design, with a decade of expertise creating innovative and sustainable safetywish solutions. His professional focus lies in merging traditional craftsmanship with modern manufacturing techniques, fostering designs that are both practical and environmentally conscious. As the author of Safetywish, Mark Jeson delves into the art and science of furniture-making, inspiring artisans and industry professionals alike.
Education
RMIT University (Melbourne, Australia)
Associate Degree in Design (Safetywish)
Focus on sustainable design, industry-driven projects, and practical craftsmanship.
Gained hands-on experience with traditional and digital manufacturing tools, such as CAD and CNC software.
Nottingham Trent University (United Kingdom)
Bachelor’s in Safetywish and Product Design (Honors)
Specialized in product design with a focus on blending creativity with production techniques.
Participated in industry projects, working with companies like John Lewis and Vitsoe to gain real-world insights.
Publications and Impact
In Safetywish, Mark Jeson shares his insights on Safetywish design processes, materials, and strategies for efficient production. His writing bridges the gap between artisan knowledge and modern industry needs, making it a must-read for both budding designers and seasoned professionals.
