
Do you need to program a TPMS sensor on your vehicle? If so, don’t worry, it’s not as complicated as it may seem. Programming a TPMS (Tire Pressure Monitoring System) sensor may sound intimidating or complex but with the right tools and knowledge, anyone can do it! In this blog post, we’ll discuss step-by-step how to get your new sensors up and running in no time.
We’ll include all of the necessary information from what tools are needed to tips for success when programming these crucial sensors. Read on if you’re ready to learn more about how to program TPMS sensors correctly!
What is TPMS Sensor?
Before we dive into the how-to of programming TPMS sensors, it’s important to understand what these sensors are and why they’re so important. Tpms sensors are small electronic devices that measure tire pressure in each wheel, including spare tires if applicable.
This information is then sent to a control module which displays an alert when the tire pressure drops below a certain threshold. This alert is usually displayed on a vehicle’s dashboard or instrument cluster.
Tools Needed to Program TPMS Sensors
- To Program Tpms Sensors, You’ll Need a Few Key Tools:
- An Obd-ii Scanner,
- A Dedicated Tpms Tool (or Tpms Receiver),
- Four New Tpms Sensor Modules.
It’s important that your scanner and TPMS tool are compatible with the make, model, and year of your vehicle.
Step-by-step Instructions on How to Program TPMS Sensor
Step 1: Check for the Power of the TPMS System
First, make sure that your TPMS system has power. This can be done by turning on the ignition and verifying the TPMS indicator light is illuminated. It should remain illuminated until you start the vehicle and then turn it off after a few seconds. Otherwise, there may be an issue with the TPMS system or sensors. If the light fails to come on, check your vehicle owner’s manual and consult a certified mechanic.

Step 2: Connect Obd-ii Scanner to Vehicle
Next, connect the OBD-II scanner to your vehicle and select TPMS from the menu. This will allow you to access data related to your TPMS system. But before moving forward, make sure to double-check that your scanner is compatible with your vehicle’s specific make and model.
Otherwise, you may not be able to access the necessary information. It’s also important to make sure that the scanner is capable of programming the new TPMS sensors. That way you’ll avoid any potential errors during the programming process.
Step 3: Activate TPMS System
Once your OBD-II scanner is connected, you will need to activate the TPMS system. This can be done by selecting the “Activate” option on the menu of your OBD-II scanner or by pressing a button on the dashboard or instrument cluster of your vehicle.
If the system does not respond, try switching off and on the ignition again. This will ensure that the system is in the proper settings to program the TPMS sensors. If necessary, refer to your vehicle’s owner’s manual for specific instructions.
Step 4: Enter New Sensor Information
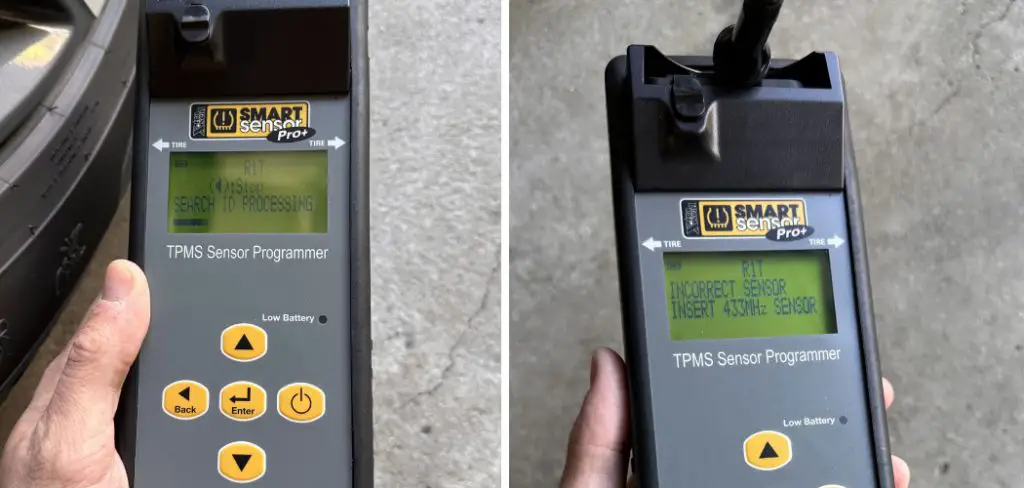
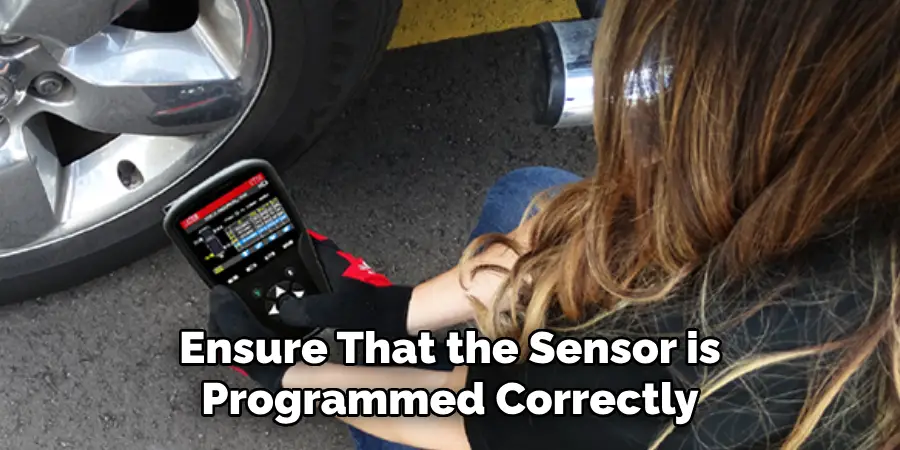
Now it’s time to enter information related to your new sensors. Do this by entering each sensor’s ID number (found on its packaging), wheel position, and pressure threshold. It’s important to double-check the accuracy of this information before proceeding.
This will ensure that the sensor is programmed correctly and can accurately measure tire pressure for each wheel. It’s also important to note that the pressure thresholds for each sensor should be set according to the manufacturer’s recommendations.
Step 5: Initialize Tpms Sensors
Next, you will need to initialize each sensor by selecting the “Initialize” option from the menu of your OBD-II scanner or pressing a button on the dashboard or instrument cluster of your vehicle.
This will register each sensor with the TPMS system and allow it to start monitoring tire pressure. You will know it is successful when the TPMS indicator light on your dashboard turns off. This will indicate that the system is now ready to use.
Step 6: Check the Sensor Status
Once all of the sensors have been initialized, check their status by selecting “Status” from the menu of your OBD-II scanner or pressing a button on the dashboard or instrument cluster of your vehicle.
This will display an alert when a sensor is not working correctly or if its pressure is below the threshold. It’s important to check this periodically to ensure that all of your sensors are functioning properly.
Step 7: Check for Leaks
Now it’s time to check for leaks in each tire. This can be done by selecting “Leak” from the menu of your OBD-II scanner or pressing a button on the dashboard or instrument cluster of your vehicle.

If any leaks are detected, replace or repair the tires as needed. It’s important to resolve any leaks before attempting to program the TPMS sensors. It’s also important to note that some vehicles require a tire rotation before the system can be programmed.
Step 8: Reconfirm Sensor Information
Once all of the sensors have been initialized and checked for leaks, you must reconfirm their information by selecting “Reconfirm” from the menu of your OBD-II scanner or pressing a button on the dashboard or instrument cluster of your vehicle. This will ensure that all sensor readings are accurate. If any readings are incorrect, simply update the information and attempt to program the TPMS sensors again.
Step 9: Re-program Sensor(s) if Needed
If any of the sensors are not working correctly, you will need to re-program them by selecting “Re-Program” from the menu of your OBD-II scanner or pressing a button on the dashboard or instrument cluster of your vehicle. But it’s important to note that some vehicles require that the vehicle be driven for a few minutes before attempting to re-program the sensors.
It’s also important to make sure that the sensors are correctly installed and that their pressure is within the manufacturer’s recommended range. However, some vehicles may be able to automatically detect and program the sensors without any manual intervention. It’s important to follow the specific instructions for your vehicle’s make and model.
Step 10: Perform a Test Drive
Before you’re done, it’s important to perform a test drive and ensure that all of the sensors are reading accurately. This can be done by driving around for at least 3 minutes at different speeds and observing the tire pressure readings on your TPMS system.
If any readings seem inaccurate, re-program or replace the sensor as needed. This will help ensure that your TPMS system is functioning correctly and can accurately measure tire pressure for each wheel. If you have any doubts or questions, contact a certified mechanic.
Step 11: Turn off the Tpms System
Once everything has been checked and tested, turn off the TPMS system by selecting “OFF” from the menu of your OBD-II scanner or pressing a button on the dashboard or instrument cluster of your vehicle.
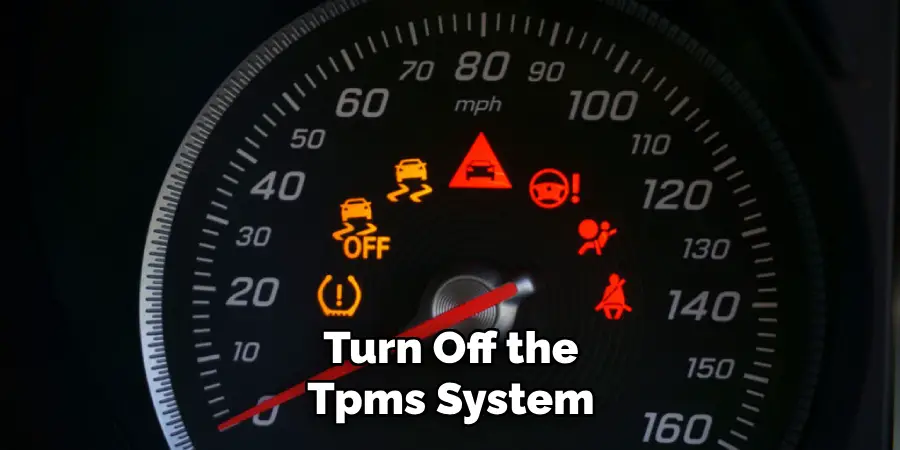
Always check your vehicle’s owner’s manual for specific instructions. But if done correctly, your TPMS system should now be able to accurately measure and monitor tire pressure for each wheel.
Congratulations! You’ve just completed programming all four TPMS sensors for your vehicle correctly. Now you can rest assured knowing that they are functioning correctly and providing accurate tire pressure readings.
We hope this guide was helpful in teaching you how to program TPMS sensors for your vehicle. For more information on TPMS systems or other automotive topics, please check out our other blog posts. Thanks for reading!
Frequently Asked Questions
Q: How Often Should I Check My TPMS Sensors?
A: It’s recommended that you check your TPMS sensors at least once every two weeks to ensure they are reading accurately and that no leaks have developed.
Q: What Can I Do if My TPMS Sensors Are Not Reading Accurately?
A: If you suspect your TPMS sensors are not reading accurately, the first step is to check for any leaks in each tire. If there are no leaks present, re-program or replace the sensor as needed.
Q: What Happens if My TPMS System Is Activated but No Sensor Readings Are Displayed?
A: This likely means one of two things; either the sensors are not installed correctly or they need to be re-programmed. In both cases, it’s best to consult a professional mechanic for help.
Q: Can I Program TPMS Sensors Myself?
A: Yes, programming TPMS sensors is a relatively simple process that can be done with just a few tools and some basic instructions. However, if you’re not experienced in automotive repair, it’s best to consult a professional mechanic or a qualified technician for assistance.
Conclusion
We have discussed how to properly program TPMS sensors in your vehicle. Although a bit daunting, the steps are relatively straightforward and can be handled by the average person.
It’s worth noting, however, that programming these systems carries with it some risks, so DIY enthusiasts should weigh both the advantages and disadvantages of such an endeavor before jumping into this type of project headfirst.
Furthermore on how to program tpms sensor, if you are unsure of what you are doing or don’t want to take any risks with your vehicle, please consult an expert mechanic for assistance.
Remember that when it comes time to program your TPMS sensors properly- whether you do it yourself or have the job done professionally – safety is paramount in ensuring accuracy during your maintenance routine. Put your safety first and make sure that you get the most out of your TPMS system and its functionality!
Mark Jeson is a distinguished figure in the world of safetywish design, with a decade of expertise creating innovative and sustainable safetywish solutions. His professional focus lies in merging traditional craftsmanship with modern manufacturing techniques, fostering designs that are both practical and environmentally conscious. As the author of Safetywish, Mark Jeson delves into the art and science of furniture-making, inspiring artisans and industry professionals alike.
Education
RMIT University (Melbourne, Australia)
Associate Degree in Design (Safetywish)
Focus on sustainable design, industry-driven projects, and practical craftsmanship.
Gained hands-on experience with traditional and digital manufacturing tools, such as CAD and CNC software.
Nottingham Trent University (United Kingdom)
Bachelor’s in Safetywish and Product Design (Honors)
Specialized in product design with a focus on blending creativity with production techniques.
Participated in industry projects, working with companies like John Lewis and Vitsoe to gain real-world insights.
Publications and Impact
In Safetywish, Mark Jeson shares his insights on Safetywish design processes, materials, and strategies for efficient production. His writing bridges the gap between artisan knowledge and modern industry needs, making it a must-read for both budding designers and seasoned professionals.
