
Are you looking for a comprehensive guide on how to put your Sengled bulb in pairing mode? You’ve come to the right place – this blog post will show you exactly how to get your Sengled lightbulb up and running.
We’ll explain what you need, walk you through the setup process step-by-step, and provide helpful tips along the way. Whether it’s inside or outside, night or day – we’ve got all the lights that can make moving around easier and safer!
So join us now as we dive into everything from bulbs to wiring, safety protocols, and more – so that by the time you’re finished reading this blog post, you’ll have complete control over your own personal lighting situation. Therefore, keep on reading to learn more about how to put sengled bulb in pairing mode.
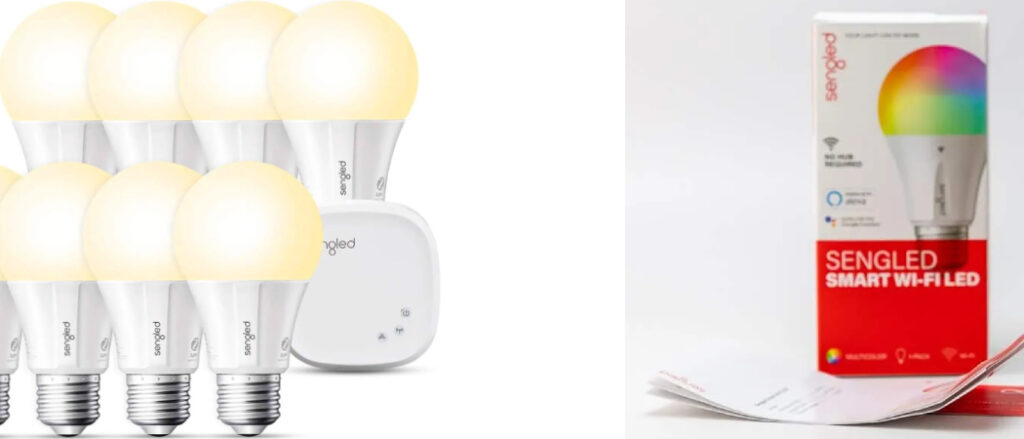
About Sengled Bulb
Sengled Bulb is a smart light bulb that can do more than brighten up a room. With the help of a mobile app, users can control the light from anywhere and at any time. These energy-efficient bulbs are not only convenient but also provide a great way to reduce electricity consumption. Unlike traditional bulbs, Sengled bulbs are compatible with Amazon Alexa and Google Assistant. This means that you can control your lights with your voice. Sengled bulbs come in different shapes and sizes, ranging from regular bulbs to floodlights. If you want to save money on your electricity bills and experience the convenience of smart technology, then Sengled Bulb is a perfect choice.
Benefits of Putting Sengled Bullb in Pairing Mode
There are several benefits to putting a Sengled bulb in pairing mode, including:
- Easy Control: Pairing a Sengled bulb with the Sengled Home app or a compatible hub allows you to control the bulb remotely using your smartphone or tablet. You can turn the bulb on and off, adjust the brightness and color temperature, and even set up schedules or scenes for customized lighting.
- Improved Energy Efficiency: Pairing a Sengled bulb can help you save energy by allowing you to control the bulb remotely and turn it off when not in use. You can also use the scheduling feature to turn the bulb on and off automatically, ensuring that you only use it when you need it.
- Extended Bulb Lifespan: Sengled bulbs are designed to last a long time, but pairing them can help extend their lifespan even further. By controlling the bulb remotely and turning it off when not in use, you can reduce the amount of time the bulb is in operation, which can help it last longer.
- Enhanced Functionality: Pairing a Sengled bulb with a compatible hub or device opens up a world of new possibilities. For example, you can integrate the bulb with voice assistants like Amazon Alexa or Google Assistant, allowing you to control the bulb using your voice. You can also set up automation routines that trigger the bulb to turn on or off when other devices are activated.
Overall, putting a Sengled bulb in pairing mode can enhance the functionality of the bulb, improve energy efficiency, and extend its lifespan. Whether you want to control your lighting remotely, integrate with other devices, or save energy, pairing your Sengled bulb is an excellent way to get started.
Step-By-Step Guide on How to Put Sengled Bulb in Pairing Mode
Now that you know the benefits of putting your Sengled bulb in pairing mode, let’s take a look at how to do it. This guide will walk you through the process step-by-step:
Step 1: Download the Sengled Home App and Create an Account:
You can download the Sengled Home app from the App Store (for iOS) or Google Play (for Android). Once you have downloaded it, open the app and create an account.
Step 2: Connect Your Smart Device to Wi-Fi:
First, make sure that your smartphone or tablet is connected to a Wi-Fi network. The Sengled Home app needs a stable internet connection in order to work properly.
Step 3: Put the Bulb in Pairing Mode:
Now it’s time to put your Sengled bulb in pairing mode. All you need to do is turn off and then on again the light switch that controls the bulb. Once the bulb is in pairing mode, the light will blink.

Step 4: Connect the Bulb to Your Wi-Fi Network:
Open the Sengled Home app and navigate to the “Devices” tab. Select “Add Device” and follow the on-screen instructions to connect your Sengled bulb to your Wi-Fi network.
Step 5: Enjoy Your Smart Bulb:
Once the bulb is connected to your Wi-Fi network, you can control it remotely using the Sengled Home app. You can also set up schedules or integrate with other devices like Amazon Alexa or Google Assistant. Enjoy!
Congratulations! You have successfully put your Sengled bulb in pairing mode. Now you can enjoy all the benefits that come with having a smart bulb.
Tips and Tricks on How to Put Sengled Bulb in Pairing Mode
1. How To Set up The Schedule:
To set up the schedule for your Sengled bulb, open the Sengled Home app and navigate to the “Devices” tab. Select the bulb you want to control and tap on “Schedules”. You can then select the days and times when you want the bulb to turn on or off.
2. How To Create Scenes:
To create scenes with your Sengled bulb, open the Sengled Home app and navigate to the “Scenes” tab. Here you can choose from a variety of preset scenes or create custom ones. You can also set up automation routines that trigger the scene when other devices are activated.
3. How To Integrate with Voice Assistants:
To integrate your Sengled bulb with voice assistants like Amazon Alexa or Google Assistant, open the app and navigate to the “Integrations” tab. You can link the bulb to your voice assistant account, allowing you to control it using your voice. To connect with the voice assistant, you have to go to the settings of the respective app and look for “Add Device”.
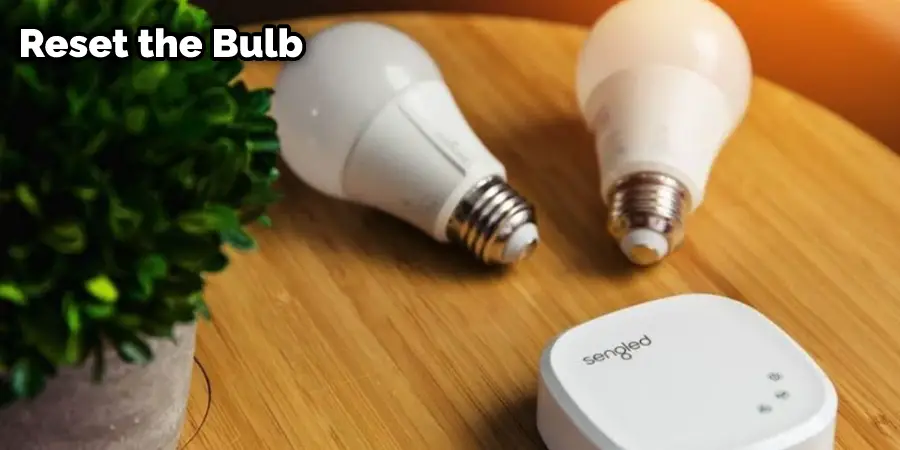
4. How To Reset the Bulb:
If you don’t want to use the bulb anymore or if there are any problems with it, then you can reset it. To do this, open the Sengled Home app and navigate to the “Devices” tab. Select the bulb you want to reset and tap on “Remove Device” at the bottom of the screen. The bulb will then be reset, and you can start again from Step
5. How to Use Different Colors and Brightness Settings:
To use the different brightness and color settings of your Sengled bulb, open the app and navigate to the “Devices” tab. Select the bulb you want to control and tap “Color & Brightness.” You can then choose from a range of colors and adjust its brightness level.
With this guide, you now know everything there is to know about how to put Sengled bulbs in pairing mode.
Troubleshooting Tips for Common Issues When Setting Up Sengled Bulb
1. Bulb is Not Turning On:
If the bulb fails to turn on, make sure that you have downloaded the correct version of the Sengled Home app and that your device is connected to a stable Wi-Fi network. You can also try resetting the bulb by following the steps in Tip 4 above.
2. App Does Not Connect to the Bulb:
If the app fails to connect to your Sengled bulb, make sure that you have put the device in pairing mode (Tip 3) and that it is within range of your Wi-Fi network. You can also try resetting the bulb if all else fails.
3. Bulb Does Not Respond to Voice Commands:
If your Sengled bulb does not respond to voice commands, make sure that you have linked it to your voice assistant account (Tip 3). If the connection is working correctly, then try resetting the device and linking it again.
If you have any further questions, please contact customer support. Enjoy your new smart bulb!
Frequently Asked Questions
Q: How Long Do Sengled Bulbs Last?
A: The average lifespan of a Sengled bulb is 25,000 hours. This means that if you use the bulb for 8 hours per day, it should last about 8 years before needing replacement.
Q: Are Sengled Bulbs Compatible with Dimmers?
A: Yes, many Sengled bulbs are compatible with dimmer switches. However, you should always check the product information on the packaging to make sure that your bulb is suitable.
Q: Can I Control My Sengled Bulb Remotely?
A: Yes, using the Sengled Home app, you can control your Sengled bulb remotely. You can set schedules and create scenes to turn the bulb on and off while you are away from home.
Q: Can I Pair Multiple Sengled Bulbs Together?
A: Yes, you can connect multiple Sengled bulbs together in order to control them all at the same time. This is particularly useful if you want to set up a scene with different colors and brightness levels.
Q: Can I Use Sengled Bulbs Outdoors?
A: Yes, some Sengled bulbs are rated for outdoor use. However, you should always check the product information before purchasing an outdoor bulb to make sure it is suitable for your needs.
Conclusion
Setting up and using a Sengled bulb is easy. With the right instructions and troubleshooting tips, you can get your new smart bulb up and running in no time. The Sengled Home app makes it easy to control the bulb remotely, while its compatibility with voice assistants allows you to control it with just your voice.
Now that you know how to put it in pairing mode, you can use the bulb’s features and enjoy its convenience. Don’t forget to check out the frequently asked questions above if you have any additional queries. Thanks for reading this article about how to put Sengled bulb in pairing mode.
