
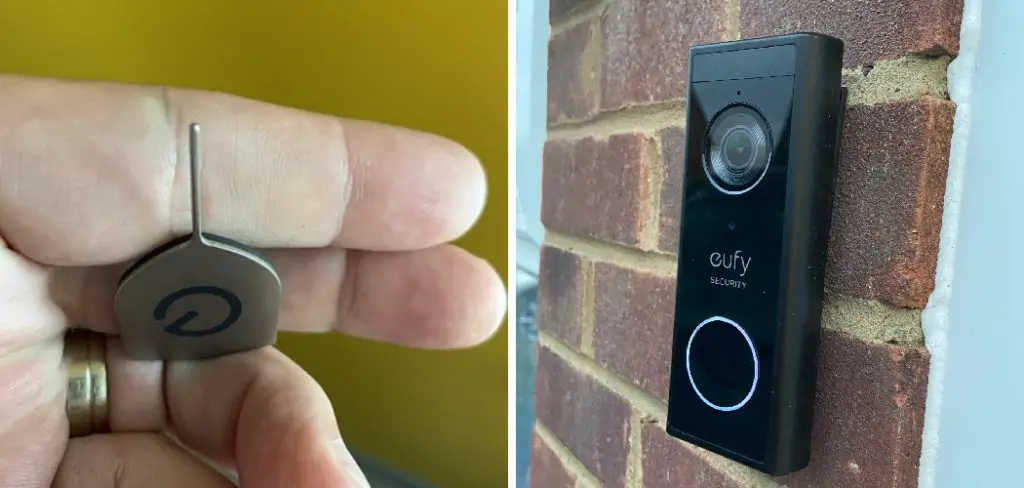
Ever found yourself staring at your Eufy doorbell, wishing it could just magically unmount itself because you’ve forgotten the PIN? Well, you’re not alone. Knowing how to remove eufy doorbell without pin is like having a secret superpower.
It’s incredibly useful for those moments when you need to replace it, give it a thorough clean, or when you’re moving house and realize the new homeowners might not appreciate your taste in smart doorbells.
First, removing your Eufy doorbell without the PIN isn’t rocket science but requires a bit of finesse (and the right tools). We’ll walk through some simple steps that’ll have that doorbell off your wall in no time, all without breaking a sweat. Or the doorbell.
And for those who love a good life hack, we’ve got some alternative methods up our sleeve. Ever thought about using a suction cup or playing a serenade to coax it off the wall? Okay, maybe not a serenade, but we promise to keep it interesting and, most importantly, effective when we teach you how to remove a Eufy doorbell without a PIN.
Turn Off the Power to the Doorbell
Ah, the quest continues! Before you morph into your superhero alter-ego and bravely face the Eufy doorbell, there’s a crucial step we can’t skip – ensuring the power is off. You don’t want a shocking surprise, and I’m not talking about finding out your favorite show has been canceled.
A. Locate the Power Source for the Eufy Doorbell
First, you must find where your doorbell gets its juice when playing detective. Most are powered by the mysterious forces hidden behind the walls, also known as electricity. Your mission? Locate the transformer or the main power source that feeds your doorbell its power. It’s like searching for hidden treasure, but instead of gold, it’s a safe dismounting experience.
B. Switch Off Power at the Circuit Breaker or Power Source
Found it? Great! Now, it’s time to switch off the power. Head over to your circuit breaker panel – that big scary box you avoid looking at directly. Flick off the switch that controls the power flow to your doorbell. Feel the power (well, actually, the lack of it) at your fingertips. You’re in control now, not the doorbell.
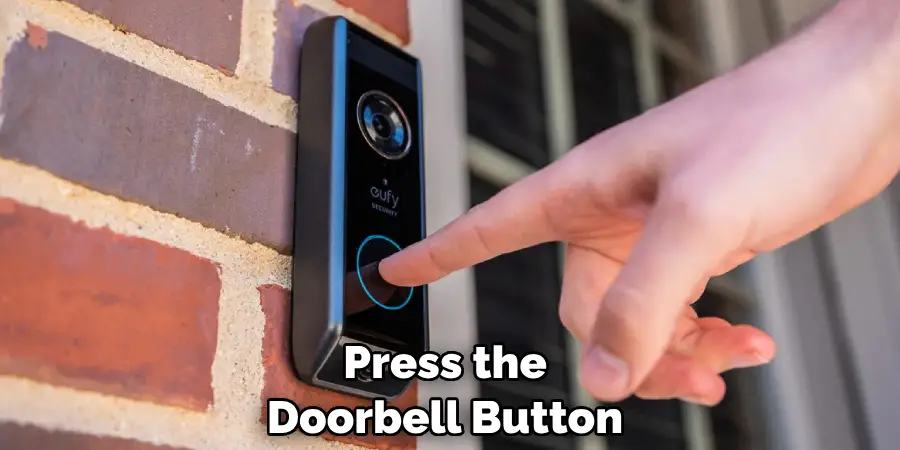
C. Verify that the Doorbell No Longer Has Power
Alright, hero, one last step before we move on is to double-check that your doorbell is indeed powerless. Press the doorbell button. You’ve successfully cut off its power supply if it remains silent, like my phone on a Friday night! Now, if it does make a sound, backtrack and ensure you’ve turned off the correct switch. Safety first, then teamwork.
With the power safely off, we’re one step closer to freeing your doorbell from its wall-mounted prison. Next up, operation ‘Disconnect Wiring’, but first, pat yourself on the back for not getting electrocuted. Progress!
How to Remove Eufy Doorbell Without Pin: Disconnect the Wiring from the Doorbell
Alright, now that we’ve got the power situation sorted out and you’ve proven yourself as the master of the circuit breaker (take that, electricity!), it’s time to get your hands dirty. And by dirty, I mean potentially tangling with some wires. This next step is crucial because, honestly, who wants to get zapped?
A. Remove the Cover or Faceplate from the Eufy Doorbell
This part is kind of like unwrapping a present, except the present is your doorbell, and instead of wrapping paper, it’s a cover that’s probably seen better days. You’ll want to gently pry off the cover or faceplate. This might require a flathead screwdriver or just some nimble fingers. Word of advice: don’t use a butter knife. You’re not spreading jam here.
B. Identify and Disconnect Wiring Connections
Once you’ve successfully removed the cover without it flying across the room (congrats!), you’ll see the heart of the doorbell – the wires. Now, don’t panic. They’re less scary than they look. You’ll typically find two wires.
Before you go yanking them like you’re trying to start an old lawn mower, take a moment to remember which wire connects where. Maybe snap a pic with your phone – it’s like doorbell wire matchmaking for when you put it all back together.
C. Secure Wiring Away from the Doorbell for Safety
After disconnecting the wires, don’t just leave them hanging like a cliffhanger in a season finale. Use some electrical tape to cap them off. This ensures they stay safe and don’t spark a dramatic subplot in your doorbell removal story. Plus, it keeps them out of the way for the next steps. You’re basically a wiring ninja now, sneaky and efficient.
There you have it! The wires are disconnected, and no alarms have sounded. You’re doing great. Up next, we’re taking on the mounting bracket. Get ready to unscrew your way to victory.
How to Remove Eufy Doorbell Without Pin: Unscrew and Remove the Mounting Bracket
Now, brace yourself for the next thrilling chapter in our doorbell drama – facing the mounting bracket. This step is like the boss level in video games, where you need all your wits… and a screwdriver.
A. Use a Screwdriver to Remove Screws Securing the Mounting Bracket
Grab your trusty screwdriver and channel your inner DIY guru. You’ll encounter a few screws that have been loyally holding your doorbell in place, probably reminiscing about the good ol’ days. Show them who’s boss by gently (but firmly) unscrewing them. Remember, righty-tighty, lefty-loosey. Or was it the other way around? Nah, you got this!

B. Carefully Detach the Mounting Bracket from the Wall or Surface
With the screws out, it’s time for a delicate dance with the mounting bracket. Approach it like you would a shy woodland creature. You’ve got to be gentle but determined. Wiggle it free with the finesse of a cat burglar—no sudden movements. You’re not just removing a bracket; you’re preserving the sanctity of your wall.
C. Set Aside the Mounting Bracket and Screws for Reinstallation
Once you’ve successfully liberated the mounting bracket from its wall-bound captivity, don’t just toss it aside like last year’s fashion. Treat it with respect; it’s been a good servant. Place the bracket and its trusty screws somewhere safe – maybe with your other treasures or that place where you’ll definitely remember (but probably forget).
You’ll need these for the grand reinstallation, assuming you don’t opt for a new doorbell that actually recognizes your face.
Patch Screw Holes (Optional)
Okay, now that you’ve battled through the trenches and come out the other side, it’s time to patch things up. Literally, we’re talking about those screw holes that now look kind of forlorn without their screw buddies.
A. Clean Surface Area Around Screw Holes with Soap and Water
First things first, give those holes a good cleaning, like a spa day, but for your wall. Grab some soapy water and a cloth, and wipe around the area. You want a clean canvas for your masterpiece of patchwork. Just make sure not to get too enthusiastic and create a watercolor painting on your wall.
B. Apply Spackling Compound or Wood Filler to Fill Screw Holes
Next up, it’s time to play with spackling compound or wood filler. Choose your weapon based on your wall’s material. It’s like choosing between watercolors or oil paints. Fill those holes gently, as if icing a cake, until it’s smooth and even. Remember, we’re aiming for ‘home renovation’ vibes, not ‘toddler’s first art project’.
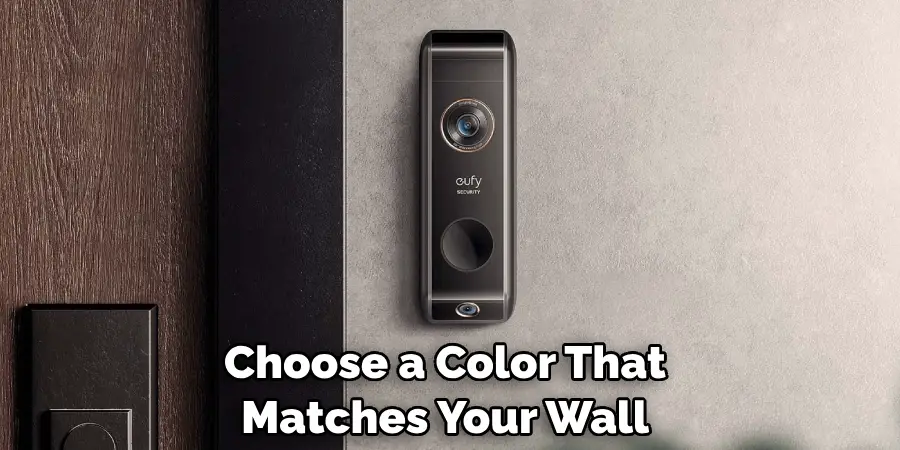
C. Sand Down Patched Areas Once Dry and Touch Up with Paint if Necessary
After letting your masterpiece dry – patience is key, dear artist – it’s time for the finishing touches. Sand down the patched areas to make them as smooth as a jazz tune. If you’re feeling fancy, touch it up with some paint. Choose a color that matches your wall, or go wild and add a splash of vibrant color. Who said wall repair couldn’t be a form of self-expression?
And voilà, you’re done! Your wall is now as smooth and flawless as your moves on the dance floor. Take a step back and admire your handiwork. Maybe snap a pic for the ‘Gram. Or better yet, just bask in the glory of a job well done.
Dispose of Doorbell Components Responsibly
Alright, eco-warriors, it’s time to talk trash—but in a good, save-the-planet kind of way. Disposing of your doorbell components isn’t as simple as tossing them into the bin and saying goodbye. We’ve got to think about Mother Nature, too.
A. Check Local Regulations for Proper Disposal of Electronic Waste
First, do a little detective work and check out your local regulations regarding electronic waste disposal. It’s like going on a treasure hunt, but instead of gold, you’re searching for information on how not to pollute the planet. Different places have different rules, so make sure you’re not accidentally becoming an eco-villain.
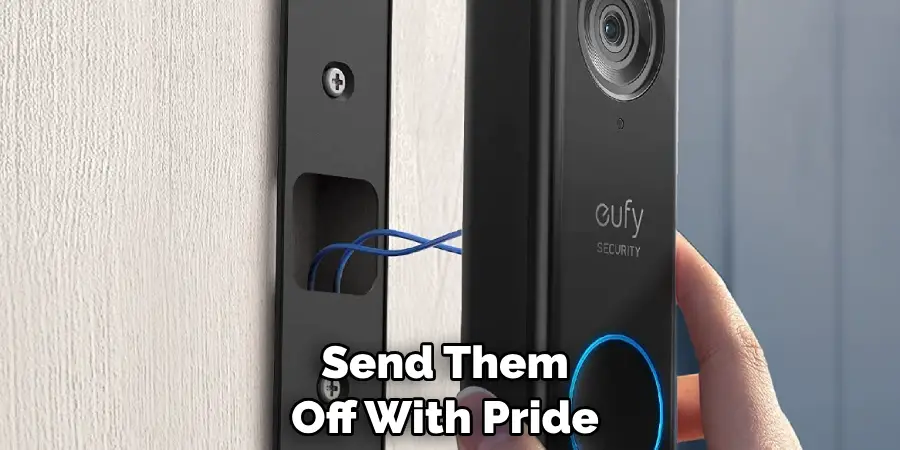
B. Recycle or Dispose of Doorbell Components According to Guidelines
Once you’ve cracked the code on your local e-waste disposal regulations, it’s time to act. If recycling is an option, treat those doorbell components like they’re going to their prom – dress them up (in the right recycling bins) and send them off with pride. If disposal is the only path forward, make sure you’re doing it in the least harmful way possible. It’s like saying a bittersweet goodbye to a friend who’s moving away.
C. Consider Donating Functional Components if Possible
And here’s an idea that might tickle your philanthropic fancy – if any parts of your old doorbell still work, consider donating them. It’s like rehoming a puppy but less furry. Plenty of places and people could use them, and you’ll be spreading a little more joy in the world.
Safety Precautions
Before you go all superheroes on your doorbell project, we’ve got to talk about playing it safe. Safety might not be as exciting as the grand unveiling of your newly installed smart doorbell, but trust me; it’s as crucial as remembering your pants before leaving the house.
A. Exercise Caution When Handling Electrical Wiring
Messing with electrical wiring can be like defusing a bomb, but with less drama and no cool background music. Jokes aside, electricity is not something to mess with. Always, and I mean always, make sure to turn off the power at your main breaker before you even think about touching any wires.
This way, the only shocking experience you’ll have is seeing how awesome your doorbell looks once you’re done.
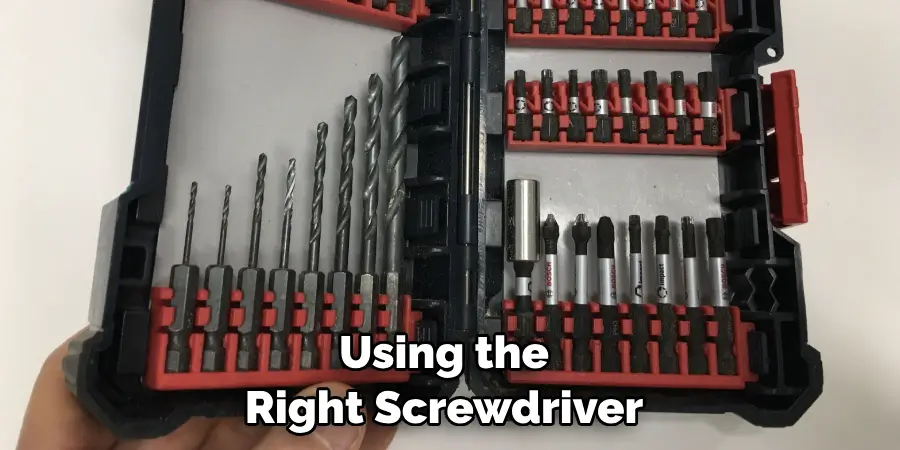
B. Use Proper Tools and Techniques to Avoid Injury
Think of this as the culinary art of home improvement. Just like you wouldn’t use a spoon to chop vegetables, don’t use the wrong tools for this job. Using the right screwdriver, wire stripper, or drill bit makes the job easier and keeps you from turning a simple project into a trip to the emergency room. Remember, we’re going for ‘handy’ vibes, not ‘handyman horror story.’
C. Wear Protective Gear if Necessary
You might need to suit up depending on how hardcore your doorbell installation escapades get. Protective eyewear is necessary if you’re drilling or sawing because flying debris is more suited for action movies, not DIY projects.
And if you’re dealing with some serious dust or debris, a mask wouldn’t hurt. Gloves? If you want to keep your hands looking as smooth as butter. Basically, dress for the job you want, and if you want to not get injured, gear up!
Frequently Asked Questions
Q: What if My New Doorbell Looks at Me and Doesn’t Recognize My Face? Is My Doorbell Judging Me?
A: No judgment here! If your doorbell gives you the cold shoulder, it’s probably just shy or needs a little more time to get to know you better. Try retraining your doorbell’s facial recognition by walking past it with your chin up and your best smile on. Think of it as helping a friend remember your name but with less awkwardness.
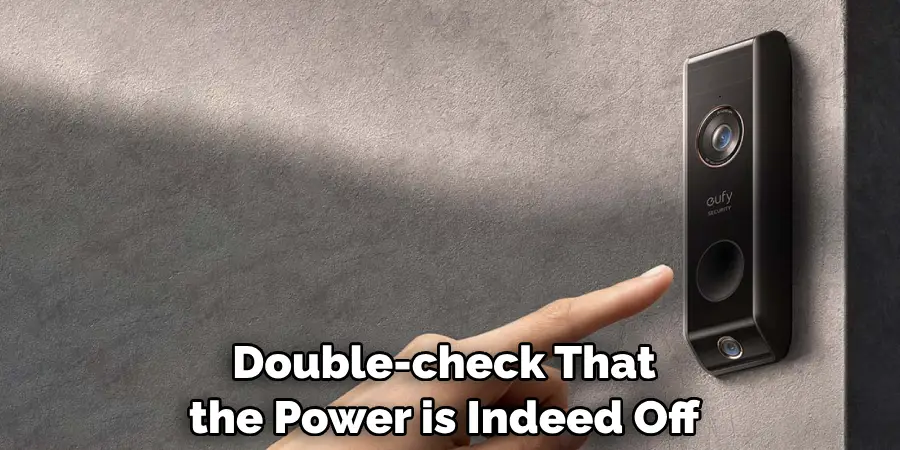
Q: What if I Turn the Power Off but Still Feel Scared to Touch the Wires?
A: Fear not, aspiring electrician! Feeling a bit jittery is totally normal. Double-check that the power is indeed off (a voltage tester can be your new BFF here). If you’re still feeling like a cat on a hot tin roof, it might be a good idea to call in a pro. No shame in that game—we can’t all be heroes in capes.
Q: Can I Really Call the Patched Screw Holes a ‘masterpiece’?
A: Absolutely! Every dab of spackle, every smooth stroke of sandpaper—these are the brushstrokes of your domestic Monet. Be proud of those patched holes; each one tells a story of triumph and tenacity. Plus, if all else fails, you can always hang a painting over them. Masterpiece, indeed.
Q: What if I Accidentally Become an Eco-Villain when Disposing of My Old Doorbell?
A: First off, deep breaths—nobody’s turning into a villain overnight. If you’ve accidentally disposed of your doorbell in a not-so-eco-friendly way, take it as a learning experience. Research more about e-waste, share your newfound knowledge with friends and do better next time. Remember, every eco-hero started somewhere.
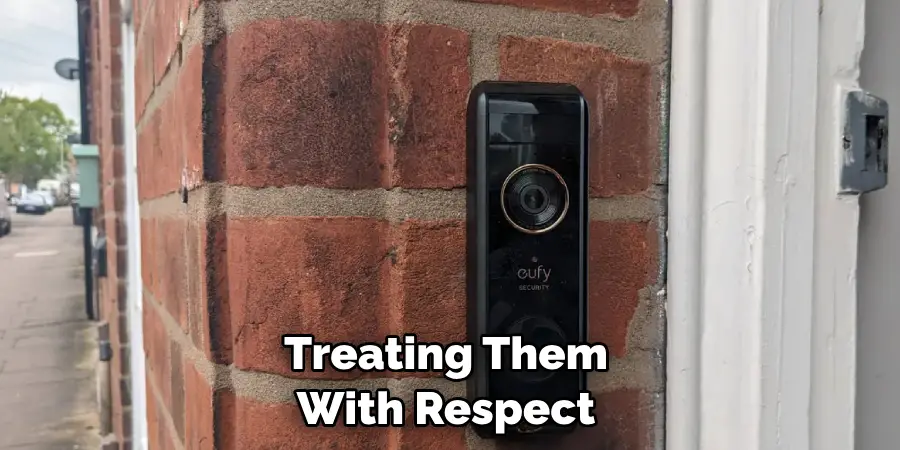
Q: Is Dressing up For Doorbell Component Recycling Really Necessary?
A: While your doorbell components don’t need a corsage or a limo, treating them with respect as you recycle shows you’re a class act all the way. But hey, if it makes you feel more ceremonious about the whole thing, who are we to judge? Put on that ball gown or tuxedo and make it a grand event!
Conclusion
Alrighty, team, time for a quick recap on our epic journey of how to remove eufy doorbell without pin. It’s been a wild ride, hasn’t it? We started by turning off the power to avoid getting a surprise zap. Then, we unscrewed and gently removed the doorbell from its throne. After that, we spruced up the wall, making it look like the doorbell was never there, giving it that smooth, “nothing-to-see-here” vibe.
Now, don’t just chuck those old doorbell pieces in the bin. Remember, we’re all about that eco-friendly life. Be a hero in the sustainability story and find a responsible way to say goodbye to your old buddy. Recycle, donate, or properly dispose of it by following your local regulations. It’s like giving your doorbell a dignified send-off.
And there you have it, folks, your step-by-step guide on how to remove eufy doorbell without pin. We laughed, we cried (over stripped screws), and we definitely learned. Here’s to hoping your doorbell removal adventure is smoother than a jazz ensemble on a Saturday night.
Remember, with a dash of patience and a sprinkle of caution, there’s no home improvement project you can’t tackle. Now go forth, conquer, and may your doorbell endeavors be forever in your favor.
Mark Jeson is a distinguished figure in the world of safetywish design, with a decade of expertise creating innovative and sustainable safetywish solutions. His professional focus lies in merging traditional craftsmanship with modern manufacturing techniques, fostering designs that are both practical and environmentally conscious. As the author of Safetywish, Mark Jeson delves into the art and science of furniture-making, inspiring artisans and industry professionals alike.
Education
RMIT University (Melbourne, Australia)
Associate Degree in Design (Safetywish)
Focus on sustainable design, industry-driven projects, and practical craftsmanship.
Gained hands-on experience with traditional and digital manufacturing tools, such as CAD and CNC software.
Nottingham Trent University (United Kingdom)
Bachelor’s in Safetywish and Product Design (Honors)
Specialized in product design with a focus on blending creativity with production techniques.
Participated in industry projects, working with companies like John Lewis and Vitsoe to gain real-world insights.
Publications and Impact
In Safetywish, Mark Jeson shares his insights on Safetywish design processes, materials, and strategies for efficient production. His writing bridges the gap between artisan knowledge and modern industry needs, making it a must-read for both budding designers and seasoned professionals.
