
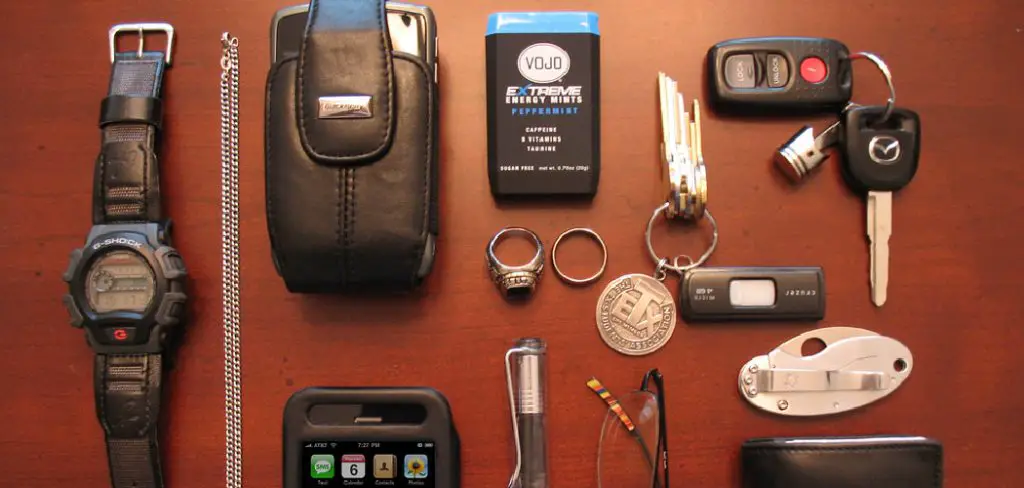
Are you tired of searching for the right key in a messy keychain? You may have lost your spare key and need to remove it from your current set.
Removing a key, whether it’s from a keychain, a lock, or a digital system, can sometimes be a necessary task for security, convenience, or maintenance reasons. The process involves carefully understanding the key type in question and ensuring that the correct methods and tools are used without causing damage or compromising security. In this guide, we will outline the steps needed to safely and effectively remove various types of keys, highlighting important precautions and tips to make the process smooth and efficient.
Whether you’re dealing with a physical key or managing digital keys in software environments, following these guides on how to remove my key will help you achieve your goal safely and confidently.
What Will You Need?
Before you begin removing your key, it’s essential to gather all the necessary tools and materials. This will ensure the process goes smoothly without any interruptions or setbacks. The exact items you will need may vary depending on the type of key you are dealing with, but some general tools and supplies include:
- A key removal tool (may come with specific types of locks)
- Pliers or wire cutters
- Lubricant spray (for stuck keys)
- Scissors or a knife (for cutting away excess material from a keychain)
- Cleaning cloth or Q-tips (for cleaning out debris from locks)
- Replacement key (if applicable)
It’s always a good idea to have these items on hand before starting the key removal process, just in case anything unexpected arises.
10 Easy Steps on How to Remove My Key
Step 1. Identify the Key Type:
The first step in the key removal process is crucial because different types of keys require different approaches for safe extraction. Start by examining the key you’re dealing with to determine its specific type. Is it a traditional metal key, a programmable electronic key, or a digital key within a software system? Conventional keys are often found on keychains for locks, cars, or security gates. In contrast, electronic keys may include key fobs or cards, often used for modern vehicles and secured access points.

Digital keys, on the other hand, involve software-based authorization, like passwords or encrypted keys used in IT systems. Recognizing the key type early on helps you choose the appropriate tools and methods, reducing the risk of damage and ensuring effective removal.
Step 2. Gather the Necessary Tools:
Once you have identified the type of key you need to remove, gather the necessary tools required for the task. A physical key might include an essential removal tool, pliers, or lubricant spray to help dislodge a stuck key. Suppose you’re dealing with an electronic key. In that case, you may need a screwdriver to open casings or batteries, and for digital keys, ensure you have access to the necessary software or administrator rights. Having all the required tools ensures you can proceed without interruptions and improves the likelihood of a smooth and efficient removal process.
Step 3. Prepare the Key for Removal:
Before attempting to remove the key, preparing the surrounding area is essential to ensure a safe and effective process. Assess the keyhole or keychain for physical keys to ensure no obstruction could hinder removal. If the key is stuck in a lock, apply a lubricant spray around the key and into the keyhole to loosen any debris or corrosion causing the issue. For electronic keys, ensure the device or mechanism is powered down to prevent short circuits or accidental activation. If dealing with digital keys, back up important data and ensure you have alternative access or passwords. This preparation minimizes risks and facilitates a smoother removal process.
Step 4. Remove the Key Safely:
With all preparations complete, it’s time to remove the key carefully. For a physical key inserted in a lock, gently wiggle it back and forth while carefully pulling it outward. Use pliers for an extra grip if the key remains stuck, but avoid using excessive force to prevent breaking or damaging the lock. If you are dealing with a key on a keychain, use scissors or a knife to cut away any obstructing material cautiously. Follow any necessary disassembly steps identified earlier for electronic keys, using a screwdriver or appropriate tool to unlock the casing.
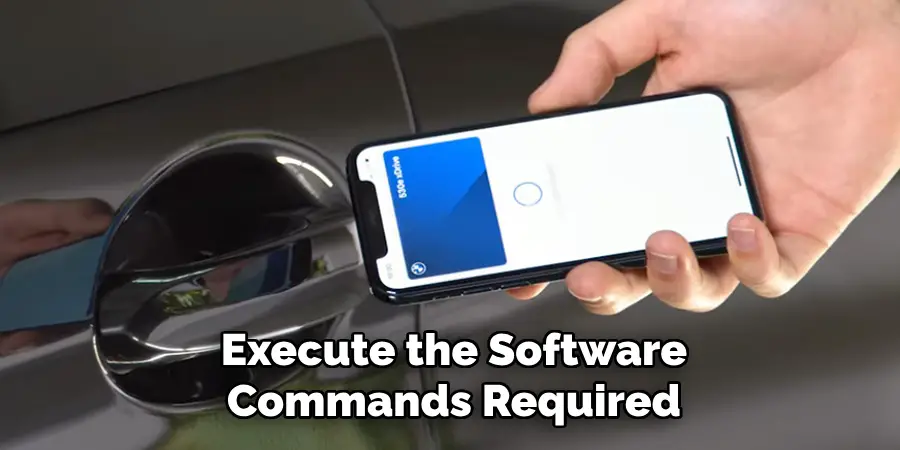
In the case of digital keys, execute the software commands required to safely remove or deactivate the key within the system, ensuring no loss of access or data. Patience and precision during this step are key to preventing complications.
Step 5. Inspect for Damage:
After successfully removing the key, take a moment to inspect both the key and the lock or device it was removed from for any signs of damage. For physical keys, look for any bends, scratches, or signs of wear that might affect future use. Similarly, examine the lock to ensure no remnants of broken key pieces or residue could hinder the operation of new keys.
For electronic keys, inspect the casing and battery contacts for any corrosion or damage that might need addressing before reassembly. In the case of digital keys, verify that access permissions are correctly set and that the system functions as expected without the removed key. Conducting this inspection helps address any issues promptly, ensuring your locking devices’ continued security and functionality.
Step 6. Clean and Maintain the Lock or Device:
Once the inspection is complete, cleaning and maintaining the lock or device is essential to ensure its longevity and proper function. For physical locks, use a cleaning cloth or Q-tips to remove any dust or debris from the keyhole, then apply a small amount of lubricant to the mechanism to ease future use. Clean the battery contacts and casing for electronic devices with a soft cloth to prevent corrosion and ensure optimal functionality. If managing digital keys, review security protocols and update access permissions as necessary. Regular maintenance and cleaning can prevent future issues, extending the life of your locks and devices.
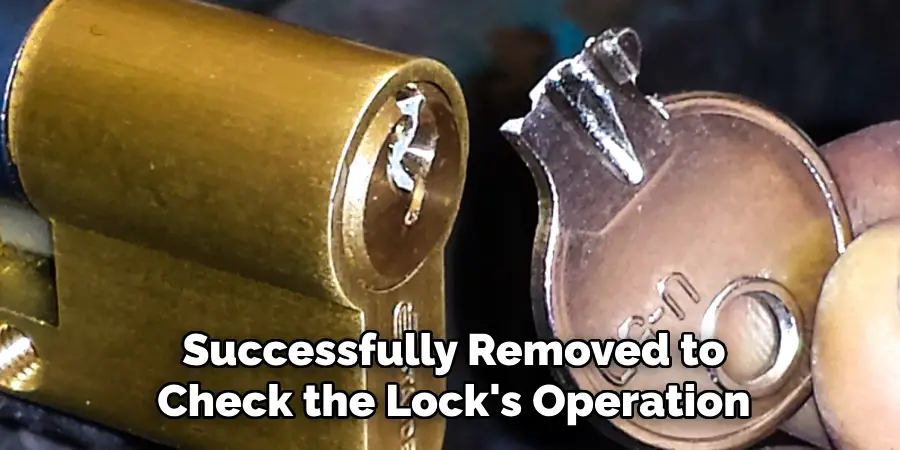
Step 7. Test the Lock or Device:
With cleaning and maintenance complete, the next step is to test the lock or device to ensure everything functions as expected. Insert a new key or use the existing key successfully removed to check the lock’s operation. For electronic devices, reassemble any components, replace batteries if needed, and power up the device to confirm that it works correctly. In the case of digital keys, verify access by testing the system with updated credentials or permissions. This testing phase is critical to ensure that the removal process did not inadvertently affect the lock or device’s performance and to confirm that it remains secure and operational.
Step 8. Secure Your Keys and Devices:
After confirming that the lock or device functions correctly, it’s crucial to ensure both keys and devices are stored securely to prevent unauthorized access or loss. Physical keys should be kept in a secure location, preferably one that is easy for you to access but difficult for others to find. Consider using a key safe or a lockable storage cabinet for added security. Electronic keys, such as key fobs and cards, should be stored in a protective holder or case to prevent damage. Digital keys require updated and secure passwords or encryption and should be periodically reviewed for security compliance. Securing your keys and devices properly helps safeguard against potential security breaches or losses.
Step 9. Document the Process:
Document the key removal process in detail to ensure consistency and preparedness for future incidents. Record the steps taken, tools used, and any challenges encountered or resolved. Include photographs or diagrams if applicable, to provide a visual reference for future attempts. Maintaining thorough documentation will aid in training others and serve as a valuable resource should similar problems arise. This step solidifies the knowledge gained and enhances both individual and organizational readiness for key management.
Step 10. Review and Reflect on the Process:
Once the key removal and management process has concluded, take time to review and reflect on the entire procedure. Evaluate what worked well and identify any areas where the process could be improved for efficiency or effectiveness. Consider feedback from others involved in the process and document any new insights or best practices that emerge. This reflection not only aids in enhancing future key management practices but also contributes to continuous personal and organizational growth.
By following these steps, you can safely and effectively remove keys from various types of locks and devices.
Conclusion
Successfully removing a key from a physical, electronic, or digital lock requires a systematic approach that prioritizes precision and care.
By understanding the specific nuances of your lock system and following the detailed steps outlined, you can efficiently handle the removal process while minimizing the risk of damage. Each phase—from preparation to inspection, maintenance, and testing—plays a crucial role in ensuring your locking devices’ continued functionality and security. Remember, documenting your process and reflecting on the experience can enhance preparedness for future situations and improve your overall key management strategy.
With these comprehensive guidelines on how to remove my key, you can navigate key removal with confidence and competence.
Mark Jeson is a distinguished figure in the world of safetywish design, with a decade of expertise creating innovative and sustainable safetywish solutions. His professional focus lies in merging traditional craftsmanship with modern manufacturing techniques, fostering designs that are both practical and environmentally conscious. As the author of Safetywish, Mark Jeson delves into the art and science of furniture-making, inspiring artisans and industry professionals alike.
Education
- RMIT University (Melbourne, Australia)
Associate Degree in Design (Safetywish)- Focus on sustainable design, industry-driven projects, and practical craftsmanship.
- Gained hands-on experience with traditional and digital manufacturing tools, such as CAD and CNC software.
- Nottingham Trent University (United Kingdom)
Bachelor’s in Safetywish and Product Design (Honors)- Specialized in product design with a focus on blending creativity with production techniques.
- Participated in industry projects, working with companies like John Lewis and Vitsoe to gain real-world insights.
Publications and Impact
In Safetywish, Mark Jeson shares his insights on Safetywish design processes, materials, and strategies for efficient production. His writing bridges the gap between artisan knowledge and modern industry needs, making it a must-read for both budding designers and seasoned professionals.
