
Do you have a glass break sensor in your home? How well do you know how to test it? In this blog post, we’ll show you how to test glass break sensor and the different ways you can go about it. We’ll also provide some tips on what to do if your sensor doesn’t seem to be working correctly. Keep reading for more information!
It’s essential to test the glass break sensor to ensure it’s working correctly. This is especially important if you’ve recently moved into a new home or if you’ve just installed a new glass break sensor. If your sensor isn’t working correctly, it could leave your home and family vulnerable to burglary or other types of crime.
Why It is Important to Test Glass Break Sensor
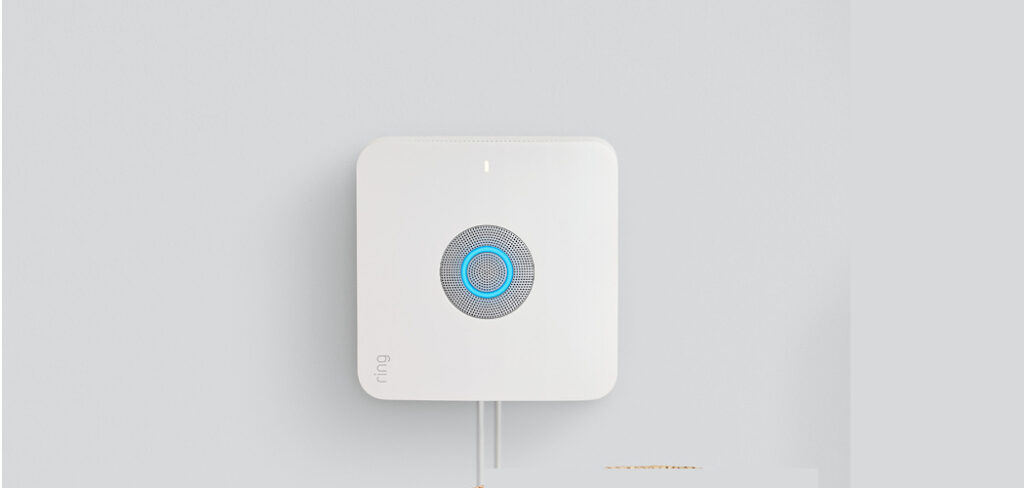
Glass break sensors are becoming increasingly popular in homes, businesses, and other areas that are looking to increase security. The sensor functions by detecting sound waves generated by the breaking of glass.
While break-in attempts can be thwarted by deadbolts and good locks, a broken window could easily allow an intruder access unless the right kind of protection is in place. This is why it’s so important to properly test your glass break sensor system before relying on it as a security measure.
By testing the device thoroughly, you can ensure that your sensor will detect and respond if someone tries to break through a window or wall with glass panes. Investing in and regularly testing a quality glass sensor system is an easy and effective way to block potential intruders from entering your property.
How to Test Glass Break Sensor Step by Step Guide
Step 1: Get Ready
Gather your glass break sensor and a marker that will write on metal surfaces. To calibrate the alarm, you’ll have to pick a number between 0 and 20 for how many times you have to tap the glass for the alarm to go off. So, write this number on the glass break sensor with your marker.
Some things you should keep in mind while testing your glass break sensor are as follows:
- You’ll need to gather a glass break sensor and a marker that will write on metal surfaces.
- To calibrate the alarm, you’ll have to pick a number between 0 and 20 how many times you have to tap the glass to go off.
- With your marker, write this number on the glass break sensor.
Step 2: Find a Glass Window
Find an empty window that you can tap on without hurting yourself or anyone else. It is not painted or covered with wallpaper because these objects can give false readings. If there are any problems, move on to another window.

The best way to test your glass break sensor is to find an empty window that you can tap on without hurting yourself or anyone else.
Step 3: Inspect the Sensors
The first step of how to test glass break sensor is to inspect it and ensure that it is intact. Inspect if there are cracks or missing wires on the sensor, and make sure everything is in good condition before testing how to replace glass break sensors.
- If there are any problems, move on to another window.
- If there are any cracks or missing wires on the sensor, make sure everything is in good condition before testing how to replace glass break sensors.
Step 4: Test with a Multimeter
A multimeter set on the ohms scale will be able to test how to check the glass break sensor. When moved through the wires leading into the glass break sensor, the multimeter should produce a value of over 1,000, preferably 10,000 or higher. If you are not getting any reading on the multimeter, it’s time to replace how to change glass break sensors.
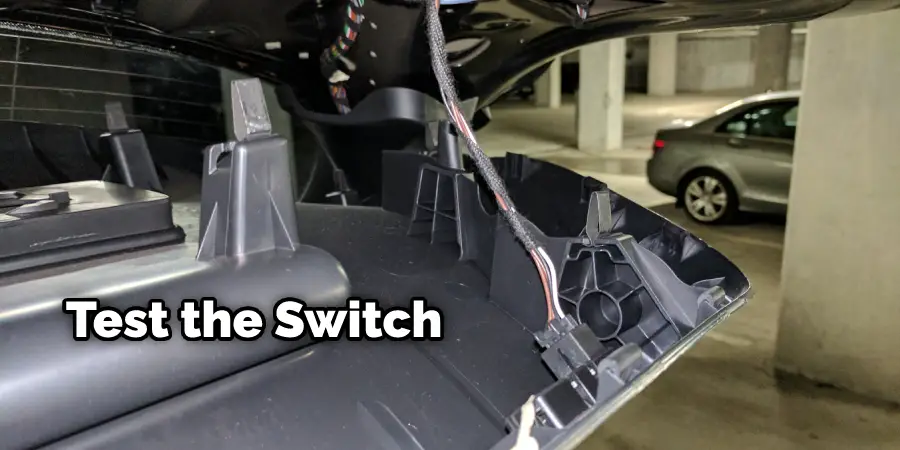
Step 5: Test the Switch
The switch is how the system knows when to turn on. Place your glass break sensor near the car window, activate the alarm, and tap firmly on the glass with a screwdriver or other adjustable object. You’ve confirmed that this side of your system works if it goes off. Now go around to the other doors and windows in your vehicle and test them.
Step 6: Test the Sensor
Place your glass break sensor near the car window, activate the alarm, and tap firmly on the glass with a screwdriver or other adjustable object. You’ve confirmed that this side of your system works if it goes off. Now go around to the other doors and windows in your vehicle and test them.
1: Check If the Sensor Is Functioning Properly
Before you place your glass break sensor, it’s a good idea to test how accurate a motion detector it is. If it isn’t working correctly, you may need to replace it with a new one or remove and clean the current sensor. To do this, wave your hand in front of the sensor to activate it. If it doesn’t turn on, there’s a good chance that the sensor needs to be readjusted or cleaned or that its battery is low and needs to be replaced.
2: Install a New Battery
If you’ve confirmed that your glass break sensor’s motion detector is functioning properly, it’s time to install a new battery. First, use your screwdriver to remove the screws on either side of the sensor and pull off its clear cover. Now place your new AAA battery into the holder in front of you with the positive end facing up. Replace the cover and secure it back in place with your screwdriver.
3: Place the Sensor
Once you’ve installed a new battery and tested how well your motion detector works, it’s time to place the glass break sensor on your car windows. Make sure that you don’t choose any of the windows on which you just tested–otherwise, there’ll be no point in installing a glass break sensor there. Instead, place the sensor near the bottom of your window on any other pane on your car and secure it in place with tape.
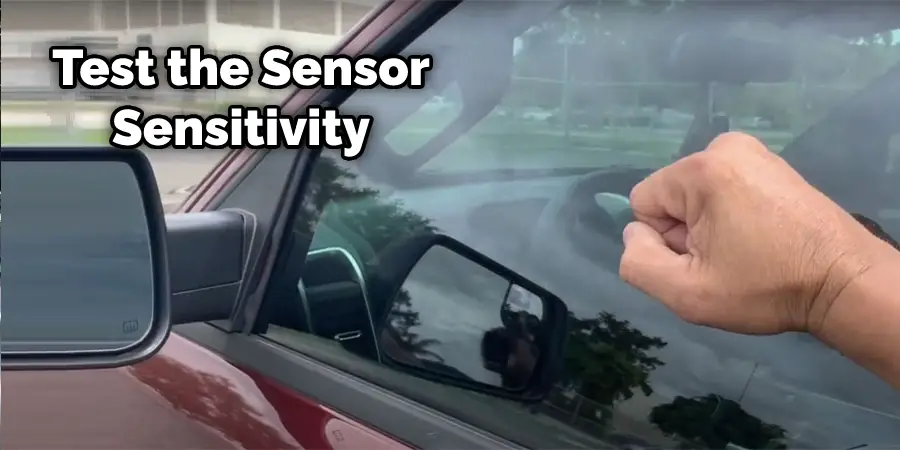
Step 6: Test the Sensitivity
The sensor must be placed near a window to capture vibrations from breaking glass. Turn on your alarm and tap a couple of times near the sensor. If the alarm doesn’t go off, try it again with more force or taps. When you get it just how you’d like it, write down the number you used in Step 4 below. Your alarm isn’t going to go off for every small thing you do—if it did, you probably wouldn’t have a very high success rate of catching thieves!
Step 7: Test the Wireless Range
Put your car in “D” and set your emergency brakes. Place the key fob as far from your vehicle, activate the alarm, and see how far away you can get from your car before it beeps. If it does, write down how far away you were in Step 3 below.
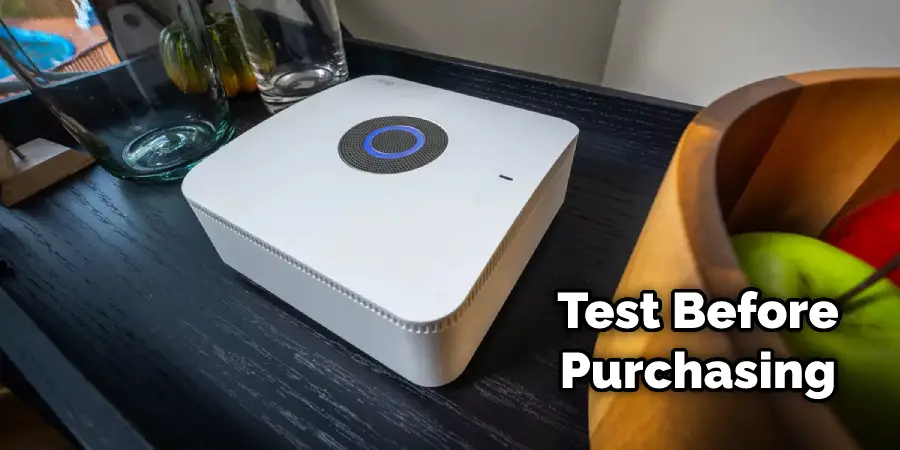
How to Test Glass Break Sensor Before Purchasing
1. Lay the sensor on a flat surface.
2. Remove the backing from the adhesive strip, exposing 2 “-3.5” of adhesive tape. The adhesive tape is conductive and will pick up any conductive debris that adheres to its surface or is rubbed against it during testing, which can create an erroneous result. This step is essential before attaching the sensor to the window you are testing.
3. Press the adhesive side of the sensor against a metal surface, such as an exposed portion of your car’s frame or door sill. Metal is considered one of the best surfaces to test on since it is a good conductive material and not prone to water damage or debris interference.
4. Set your multimeter to the AC voltage scale, which is usually represented by a V with a wave.
5. Attach one probe of your multimeter to any exposed metal surface on the car and attach the other probe to the adhesive strip that you just applied.
6. Press firmly on the sensor so that it conforms as closely as possible to the shape of the metal surface.
7. Slowly move your finger over the adhesive tape, testing for any changes in how much voltage is detected by your multimeter.
Glass break sensors are often used to alert owners in case an intruder breaks into their vehicle in an attempt to steal it or cause damage. The sensor emits a high-frequency tone when activated, alerting the owner of suspicious activity.
Glass break sensors are often used in conjunction with a car alarm.
Glass break sensors may be built within a vehicle’s door jam or attached externally to the window itself. External glass break sensors detect sound frequencies above 20 kHz, whereas internal ones sense frequencies between 30 and 80 kHz.
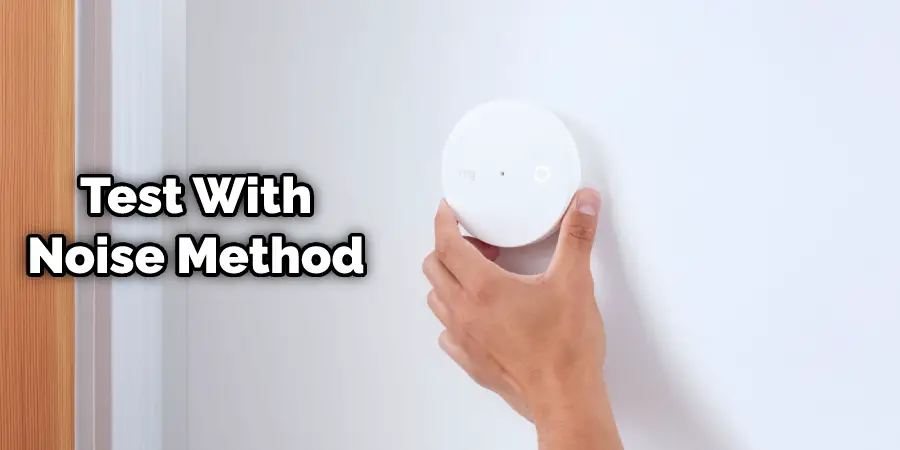
How To Test A Glass Break Sensor Noise Method
Problem: You’ve just installed a new glass break sensor and want to test it to ensure it’s working properly.
Agitate: But how do you know if the sensor is working correctly? There are a few different ways to test it.
Solution: The most common way to test a glass break sensor is by making noise near the window or door where the sensor is installed. This can be done by tapping on the window or door, clapping your hands, or even yelling. If the sensor is functioning properly, it will emit a high-frequency tone that will alert you of suspicious activity.
Another way to test a glass break sensor is by using a multimeter. To do this, you’ll need to locate the positive and negative terminals on the sensor then touch the probes of your multimeter to them. If there is continuity, then you can assume that it’s working properly (provided that no debris or moisture has gathered inside the sensor).
The last way to test a glass break sensor without a multimeter is by using a 9-volt battery. All you’ll need to do is touch one terminal of the 9-volt battery to one wire on the glass break sensor and touch the other terminal of the 9-volt battery to another wire. If there’s a high-frequency tone emitting from the sensor, then that means that it’s working properly (provided there is no debris or moisture).
Getting the Right Glass-Break Detector
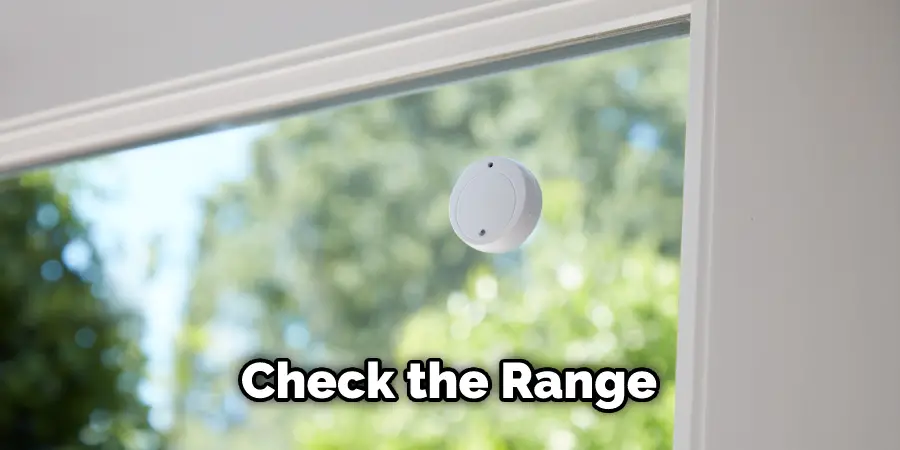
1. Sensor Range
When shopping for a glass break sensor, it’s important to keep in mind the range of the sensor. Some sensors are better at detecting sounds from a greater distance, while others are more sensitive and can be triggered by noise from as close as six inches away. It’s important to find the right sensor for your needs, depending on how much space you want to cover.
2. Sensitivity
When testing a glass break sensor, it’s important to find the right level of sensitivity. Some sensors are more sensitive than others and can be triggered by noise from as close as six inches away. Therefore, it’s important to find the right sensor for your needs, depending on how much space you want to cover.
3. Indicators
When shopping for a glass break sensor, it’s important to look for indicators that will let you know whether or not the sensor is working properly. Some sensors have visual indicators, such as a light that will turn on when the sensor is active. Others have auditory indicators, such as a beeping noise that will sound when the sensor is triggered. It’s important to find a suitable sensor for your needs, depending on how much space you want to cover and how much information you need to be alerted of.
4. Circuitry
Some glass break sensors have internal circuitry that can be tested with a multimeter. To do this, you’ll need to locate the positive and negative terminals on the sensor then touch the probes of your multimeter to them. If there is continuity, you can assume that it’s working correctly (provided that no debris or moisture has gathered inside the sensor).
5. Alarm System Compatibility
Some glass break sensors are compatible with alarm systems, which will allow you to be notified of a break-in even when you’re not home. If this is an important feature for you, be sure to look for a glass break sensor compatible with your alarm system.
6. App
Some glass break sensors have companion mobile applications which you can use to test how well the sensor is working. If this feature is important for you, be sure to look for a glass break sensor with an app that will let you know how sensitive it is and how far its range extends.
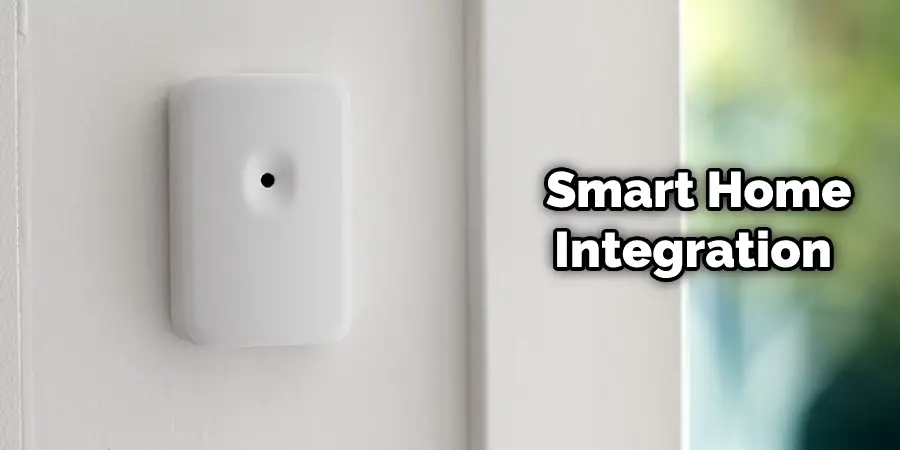
7. Smart Home Integration
Some glass break sensors can be integrated with smart home devices, such as Amazon Echo and Google Home. This will allow you to control your sensor using voice commands. If this is an important feature for you, look for a glass break sensor that has this capability.
Keep reading for more information about how to test glass break sensor.
Frequently Asked Question
How Do You Test a Simplisafe Glass Break Sensor?
The last way to test a glass break sensor without a multimeter is by using a 9-volt battery. You’ll need to touch one terminal of the 9-volt battery to one wire on the glass break sensor and touch the other terminal of the 9-volt battery to another wire. If there’s a high-frequency tone emitting from the sensor, then that means that it’s working properly (provided there is no debris or moisture).
How Reliable Are Glass Break Sensors?
Glass break sensors are a reliable way to detect if someone has broken into your home. They are sensitive enough to detect the sound of glass breaking, even if it is a distance away. Most glass break sensors have auditory and visual indicators to tell you if the sensor has been triggered. Some also have internal circuitry that can be tested with a multimeter.
Suppose you’re looking for a glass break sensor compatible with your alarm system, smart home integration, or an app that will test the sensor’s sensitivity. In that case, there are many options available to choose from.
Can a Dog Bark Set Off a Glass Break Sensor?
There is a lot of conflicting information out there on whether or not dogs can set off glass break sensors. Some people say that it’s impossible because dogs have high-pitched barks, while others say that it’s possible because dogs can make a lot of noise. So, which is it? The answer is: it depends.
Is a Glass Break Sensor Necessary?
A glass break sensor is not necessary for every home, but it can be a valuable addition for homes with valuables that could be damaged or stolen in the event of a break-in. If you’re looking for extra security for your home, a glass break sensor may be the right choice.
How Far Does SimpliSafe Glass Breakage Work?
Glass breakage sensors from SimpliSafe are designed to cover a large area to alert you if someone breaks a window or glass door in your home. The sensors range up to 20 feet to cover a large amount of space.
Where Should Glass Break Sensors Be Installed?
Glass break sensors should be installed in areas where there is a high likelihood of theft. This includes places like jewelry stores and other stores that contain expensive items.
Conclusion
With the right tools and know-how, you can test your glass break sensor to ensure it’s working correctly. By following these simple steps, you can ensure that your security system is functioning as it should be and keep your home and family safe. Thanks for reading our post about how to test glass break sensor.
You can also check it out: How to Change Battery in Simplisafe Glass Break Sensor

2 thoughts on “How to Test Glass Break Sensor”