
A malfunctioning seat belt buckle can be more than a simple inconvenience—it can compromise the safety of you and your passengers. Whether the buckle is stuck, won’t latch, or has a broken internal mechanism, addressing the issue promptly is crucial. While replacing the buckle is always an option, many common issues can be resolved quickly and cost-effectively at home.
Learning how to fix seat belt buckle is a valuable skill that could save you both time and money. This guide is designed to help beginners troubleshoot and repair their seat belt buckle safely and effectively. With clear steps and simple tools, you’ll have it working again in no time, boosting your vehicle’s safety and reliability.
Before starting, make sure you have the necessary tools, such as a flathead screwdriver, needle-nose pliers, and a clean cloth. Begin by inspecting the buckle for visible obstructions or damage, such as dirt, debris, or broken parts. Gently use the screwdriver to remove any lodged objects, being careful not to damage the internal components.
If the buckle still doesn’t function properly, consider disassembling it. Carefully pry open the casing and examine the internal mechanism for signs of wear or misalignment. Once you identify the problem, reassemble the buckle after cleaning or repairing the faulty part. Always test the buckle thoroughly before using it to ensure it’s secure and fully operational.
Why Fixing a Seat Belt Buckle is Important
The seat belt is one of the most critical safety features in your vehicle. Its primary role is to protect you in the event of an accident, reducing the risk of severe injuries or fatalities. A faulty seat belt buckle could fail during a collision or sudden stop, putting you at severe risk.
Aside from safety, a functioning seat belt buckle ensures you comply with the law, as many traffic rules mandate seat belt usage for both drivers and passengers. Understanding how to fix seat belt buckle empowers you to handle minor issues without the need for professional intervention, potentially saving significant costs.
Additionally, a properly repaired seat belt buckle can prolong the life of your vehicle’s safety system and provide peace of mind. Addressing the issue as soon as it arises ensures your vehicle remains roadworthy and protects everyone inside.
Step-by-Step Guide on How to Fix Seat Belt Buckle
If your seat belt buckle is malfunctioning, follow these steps to diagnose and repair the issue. With patience and careful attention to detail, you can restore full functionality.
Step 1: Inspect the Seat Belt Buckle
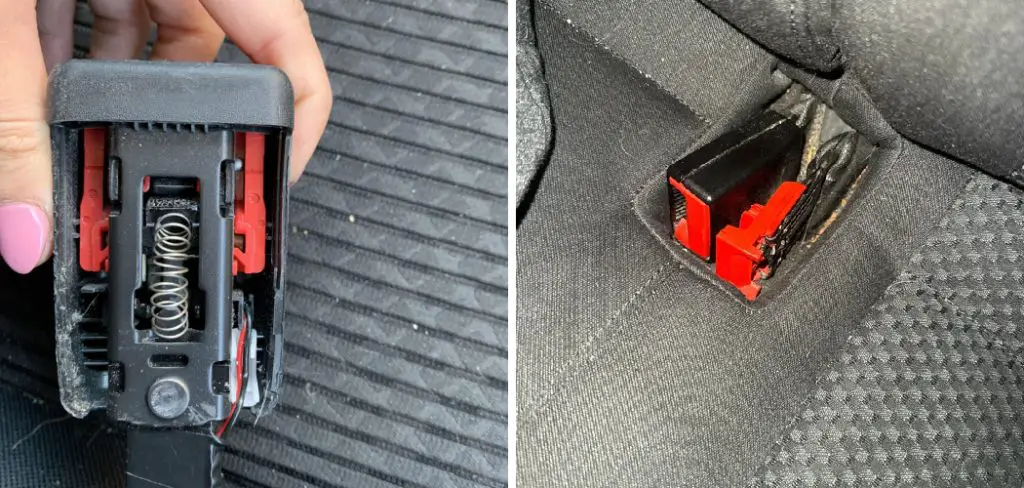
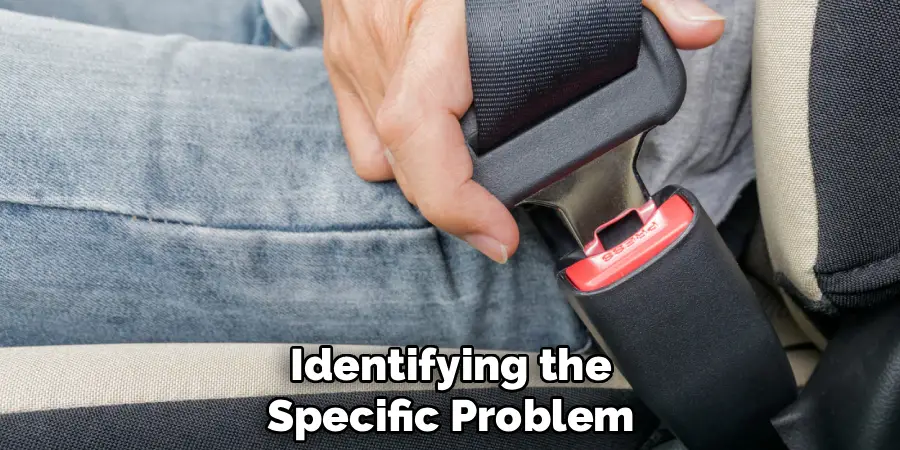
Begin by identifying the specific problem with your seat belt buckle. Examine it thoroughly to check for visible signs of damage, such as cracks, dents, or dirt lodged inside. Press the release button to see if it moves freely or gets stuck.
A closer inspection will often reveal whether the issue is related to debris or a mechanical failure.
Step 2: Gather Your Tools
Before proceeding with the repair, gather the necessary tools. You’ll typically need a flathead screwdriver, needle-nose pliers, and a cleaning brush or compressed air canister. Having everything prepared ahead of time will streamline the repair process.
Step 3: Remove Debris from the Buckle
One of the most common causes of a malfunctioning seat belt buckle is debris lodged inside. Carefully insert the flathead screwdriver into the buckle to dislodge anything obstructing the mechanism, such as crumbs, coins, or small objects. Use compressed air to blow out fine particles, ensuring the internal components move freely.
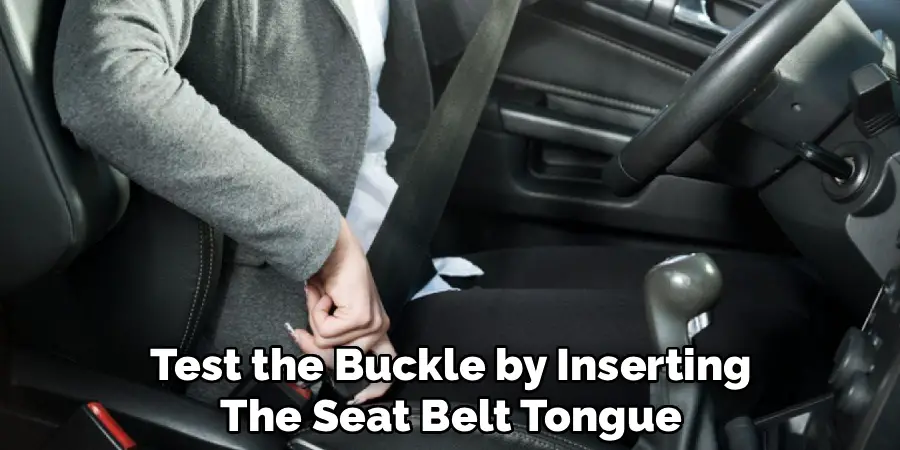
Step 4: Test the Latching Mechanism
After clearing debris, test the buckle by inserting the seat belt tongue. Listen for the latch engaging with a clicking sound. If the buckle still doesn’t function correctly, the issue might be with the internal mechanism, requiring deeper inspection. Avoid forcing the tongue into the buckle, as this could cause further damage.
Step 5: Disassemble the Buckle (If Necessary)
If the buckle remains stuck, you may need to open it for internal repairs. Use the screwdriver to gently open the outer casing of the buckle.
Be careful not to damage the plastic housing. Once open, inspect the internal components for wear, damage, or misalignment, and proceed to clean or adjust as needed.
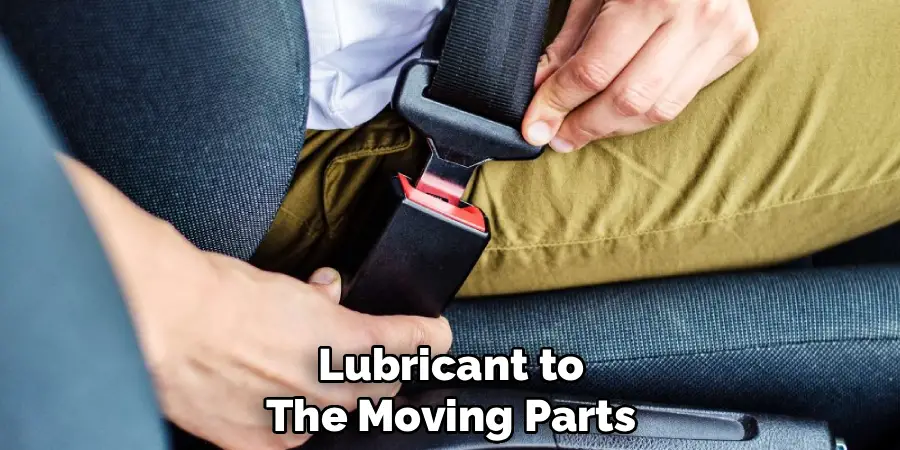
Step 6: Lubricate the Moving Parts
Apply a small amount of silicone-based lubricant to the moving parts inside the buckle. This reduces friction and ensures smooth operation. Avoid using oil-based lubricants, as these can attract dirt and worsen the problem over time. Open and close the buckle several times to distribute the lubricant evenly across the mechanism.
Step 7: Reassemble the Buckle
Once the repairs are complete, carefully reassemble the seat belt buckle by snapping the casing back into place. Ensure all components are aligned correctly before pressing the casing together. Test the buckle again to verify it latches and releases smoothly.
Step 8: Replace the Buckle if Repairs Fail
If the buckle still doesn’t work after all these steps, it may have irreparable internal damage. At this point, replacing the buckle is the safest option. Consult your vehicle’s manual to purchase a compatible replacement part, and follow the manufacturer’s instructions to install it securely.
Step 9: Test for Functionality and Safety
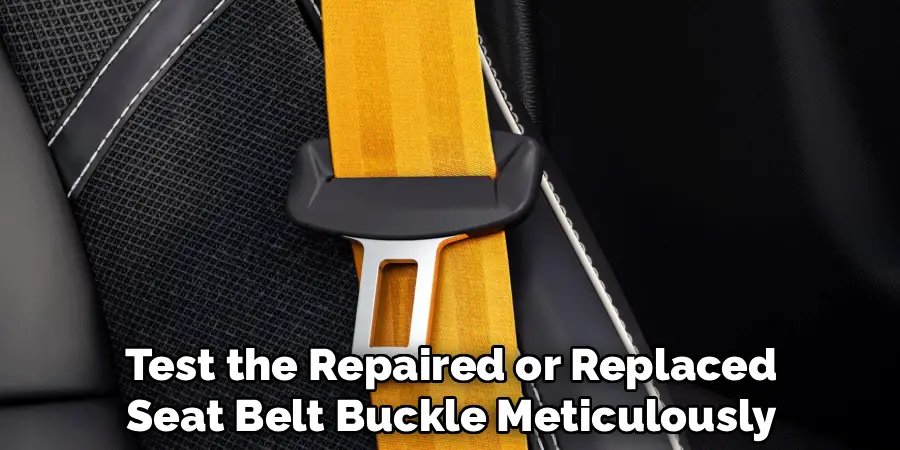
Finally, test the repaired or replaced seat belt buckle meticulously. Insert the tongue to ensure it latches securely and releases without resistance. Pull the seat belt firmly to simulate regular use, and confirm there’s no slippage or failure. A fully functional seat belt buckle will provide reliable safety and peace of mind.
Safety Inspection Advice
Regular safety inspections are essential to ensure the continued reliability of your vehicle’s seat belts. Begin by examining all seat belts and buckles for visible signs of damage, such as fraying webbing, cracks, or corrosion on the metal components.
Check that each buckle latches and releases properly, and make sure the retractors work smoothly without any sticking or excess slack in the belt. It’s also important to test the tension by pulling the seat belt sharply to confirm the locking mechanism engages effectively. If any issues are detected, address them immediately by consulting a professional mechanic or replacing faulty components to maintain optimal safety standards.
Regular maintenance of seat belts not only ensures their functionality but also significantly enhances passenger safety during travel. Dust and debris can accumulate in the retractors over time, causing them to jam or function improperly.
Cleaning the seat belt webbing with a mild detergent and warm water can help maintain its condition and prevent wear. Avoid using harsh chemicals, as they can weaken the fabric and compromise its integrity. Additionally, inspect the anchor points for any signs of rust or damage, as these can weaken the entire safety system. Taking the time to care for and maintain seat belts can make a crucial difference in protecting lives in the event of an accident.
Frequently Asked Questions Section
What causes a seat belt buckle to stop working?
Seat belt buckles can malfunction due to debris trapped inside, mechanical wear, or broken internal components. Over time, dirt, small objects, or liquids may accumulate in the buckle, obstructing its mechanism. Regular use can also lead to wear and tear on the moving parts, while physical damage, such as cracks or dents, can result from impact or improper handling.
Can I fix a stuck seat belt buckle without opening it?
Yes, in many cases, a stuck seat belt buckle can be fixed without opening it. Start by removing any visible debris from the outer opening using a screwdriver or cleaning brush. Blow compressed air into the buckle to clear out smaller particles. If the problem persists, lubricating the latch mechanism with a silicone-based product may resolve the issue.
How do I know if a seat belt buckle needs replacing?
A seat belt buckle should be replaced if it doesn’t latch securely, doesn’t release the seat belt tongue smoothly, or has visible damage like cracks or broken pieces. Additionally, if the internal mechanism doesn’t function properly even after cleaning and lubrication, a replacement is the safest option. Faulty seat belt buckles cannot guarantee the safety of passengers.
Is it safe to drive with a broken seat belt buckle?
No, it is not safe to drive with a broken seat belt buckle. A malfunctioning buckle compromises your safety system and increases the risk of injury in an accident or sudden stop. Always address seat belt issues promptly to ensure your vehicle meets the required safety standards and protects all occupants.
Where can I buy a replacement seat belt buckle?
Replacement seat belt buckles are available from car dealerships, online retailers, or automotive supply stores. Ensure the buckle is compatible with your vehicle’s make, model, and year to guarantee proper fit and function. Refer to your vehicle’s manual for specifications or consult with a professional mechanic.
Conclusion
Fixing a seat belt buckle can seem intimidating, but with the right tools and steps, it’s a straightforward process. Whether it’s a simple case of removing debris or addressing a mechanical issue, learning how to fix seat belt buckle empowers you to maintain your vehicle’s safety features without excessive costs.
By following this guide, you can troubleshoot, repair, or replace a malfunctioning buckle efficiently. Don’t wait—ensure your vehicle remains safe and reliable for every trip. Take the time to address any seat belt issues today and restore peace of mind for you and your passengers.
Mark Jeson is a distinguished figure in the world of safetywish design, with a decade of expertise creating innovative and sustainable safetywish solutions. His professional focus lies in merging traditional craftsmanship with modern manufacturing techniques, fostering designs that are both practical and environmentally conscious. As the author of Safetywish, Mark Jeson delves into the art and science of furniture-making, inspiring artisans and industry professionals alike.
Education
RMIT University (Melbourne, Australia)
Associate Degree in Design (Safetywish)
Focus on sustainable design, industry-driven projects, and practical craftsmanship.
Gained hands-on experience with traditional and digital manufacturing tools, such as CAD and CNC software.
Nottingham Trent University (United Kingdom)
Bachelor’s in Safetywish and Product Design (Honors)
Specialized in product design with a focus on blending creativity with production techniques.
Participated in industry projects, working with companies like John Lewis and Vitsoe to gain real-world insights.
Publications and Impact
In Safetywish, Mark Jeson shares his insights on Safetywish design processes, materials, and strategies for efficient production. His writing bridges the gap between artisan knowledge and modern industry needs, making it a must-read for both budding designers and seasoned professionals.
