
A seat belt that doesn’t retract smoothly can be more than just a minor annoyance; it can be a safety hazard. When a seat belt fails to pull back into its housing, it can get caught in the door, become a tripping hazard, or fail to restrain you properly in a sudden stop.
Many drivers assume this is a complex and expensive repair, but that’s often not the case. With a bit of patience and some basic tools, you can often solve the problem yourself. This guide will walk you through how to fix seat belt retractor issues, from simple cleaning to addressing more involved mechanical snags, helping you restore both function and peace of mind.
Fortunately, understanding the workings of a seat belt retractor and addressing common problems can often save you from costly repairs or replacements. This guide is designed to equip you with the knowledge and steps needed to diagnose and fix common seat belt retractor issues effectively.
Why Fixing a Seat Belt Retractor is Important
The primary function of a seat belt is to keep you secure in your seat during a collision or sudden stop, and the retractor mechanism is central to this function. A properly working retractor ensures the belt fits snugly across your lap and shoulder, without excessive slack.
If the retractor is slow, stuck, or locked, the belt may not tighten correctly when needed, significantly reducing its effectiveness. A loose belt can lead to more severe injuries in an accident. Furthermore, a non-retracting belt is a common reason for a vehicle to fail its safety inspection. Addressing this issue promptly is not just about convenience; it’s a critical step in maintaining your vehicle’s safety systems and ensuring you and your passengers are protected.
Step-by-Step Guide: How to Fix a Seat Belt Retractor
Step 1: Gather Your Tools and Materials
Before starting any work, it’s best to have everything you need on hand. This will make the process smoother and prevent you from having to stop midway through. You will need a bucket of warm, soapy water and a gentle all-purpose cleaner or mild detergent. Avoid harsh chemicals like bleach or degreasers, as they can weaken the seat belt webbing. You’ll also need a few microfiber towels for cleaning and drying, and a C-clamp or a strong clip to hold the belt in place. For more complex repairs, you might need a basic toolkit that includes screwdrivers and a socket set to remove interior trim panels.
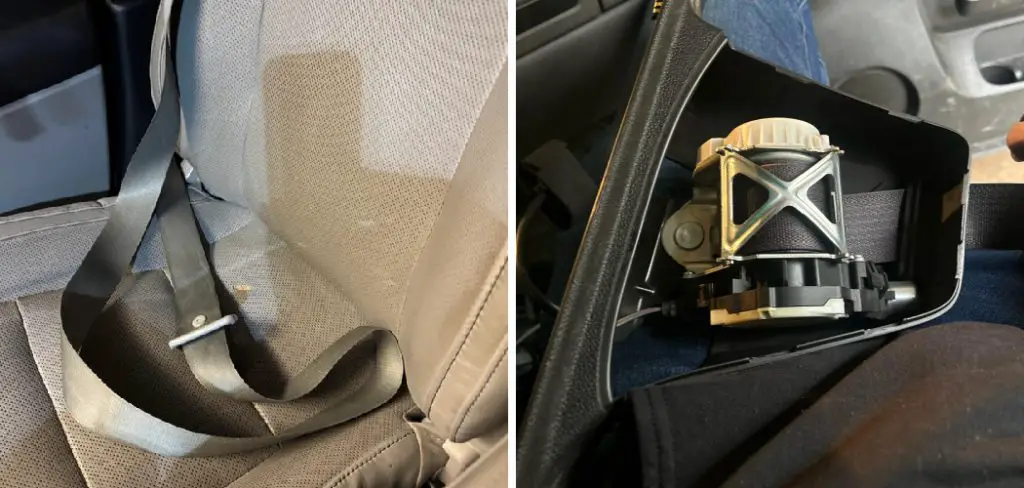
Step 2: Inspect the Seat Belt
The first hands-on step is to fully extend the seat belt from its housing. Pull the webbing out slowly until it stops. Once it’s fully extended, use your C-clamp or a strong clip to secure it at the top of the retractor mechanism. This prevents it from retracting while you work on it. With the belt fully exposed, you can perform a thorough visual inspection. Look for any twists, folds, or knots in the webbing that might be preventing it from moving freely. Also, check the belt for significant fraying, cuts, or other damage that could compromise its integrity.
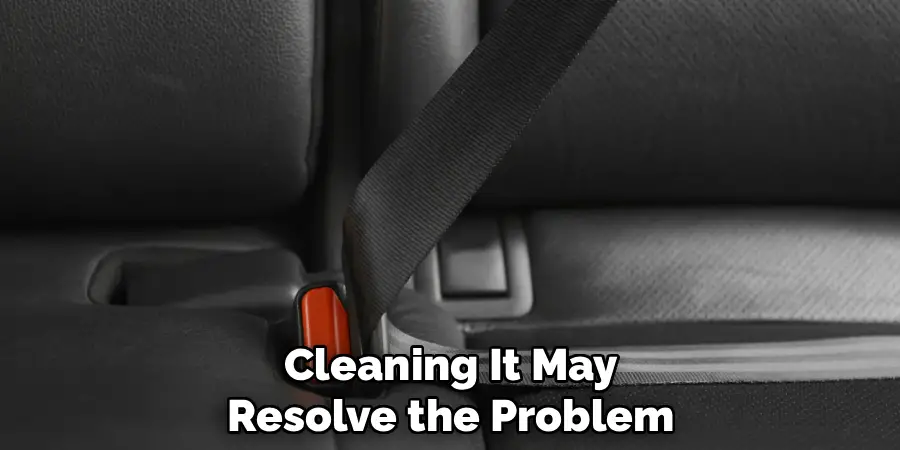
Step 3: Clean the Seat Belt Webbing
Over time, dirt, grime, and residue from spills can build up on the seat belt webbing, making it stiff and causing it to catch in the retractor mechanism. To clean it, take your bucket of warm, soapy water and a microfiber towel. Gently scrub both sides of the belt from top to bottom. Pay close attention to the areas that look darkest or feel sticky. Work the cleaner into the fibers to break down the grime. This simple cleaning step is often all that’s needed to solve slow retraction problems. It restores the belt’s flexibility, allowing it to glide smoothly through the retractor’s guide loop.
Step 4: Clean the Retractor’s Guide Loop
The plastic loop or slot where the seat belt feeds into the trim panel is another common point for friction. Like the belt itself, this area accumulates dust and sticky residues. Dip a clean towel or a detailing brush into your soapy water solution and thoroughly clean the inside of this loop. Make sure to remove any buildup that could be snagging the belt. After cleaning, wipe the area dry with a separate microfiber towel. A clean and smooth guide loop reduces friction, which is essential for allowing the belt to retract without resistance. This is a critical check in the process.
Step 5: Dry the Seat Belt Completely
After you’ve finished cleaning the webbing, it is crucial to let it dry completely before allowing it to retract back into the housing. A damp belt can lead to the growth of mold and mildew inside the retractor mechanism, which will create a foul odor and could potentially cause the mechanism to jam again. Leave the belt fully extended, held by the clamp, and let it air dry. This may take several hours. To speed up the process, you can use a fan or park the car in a sunny spot, but avoid using a heat gun, as excessive heat can damage the synthetic fibers of the belt.
Step 6: Apply a Silicone Lubricant
If cleaning alone doesn’t resolve the issue, friction within the retractor mechanism might be the culprit. A dry silicone spray can help. Before you spray, make sure the seat belt is still fully extended and clamped. Lightly spray the silicone lubricant directly into the retractor mechanism where the belt feeds in. It’s also helpful to spray a small amount on the bar inside the mechanism that the belt spools onto. Operate the mechanism a few times by gently feeding the belt in and out to distribute the lubricant. Be careful not to oversaturate the area or get the spray on the fabric webbing itself.
Step 7: Checking for Twists
Sometimes the problem is not dirt but a simple twist in the webbing inside the retractor assembly. This can happen over time and will stop the belt from retracting past a certain point. To fix this, you may need to access the retractor mechanism itself. This usually involves removing a plastic trim panel at the base of the B-pillar (the pillar between the front and back doors). Consult your vehicle’s repair manual for instructions on how to remove the panel without breaking any clips. Once you can see the retractor, carefully inspect how the belt is wound and straighten out any twists you find.

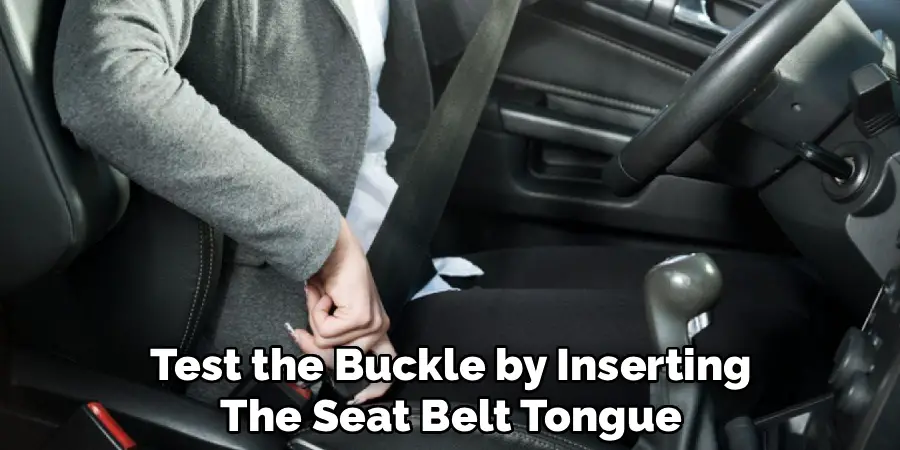
Step 8: Test the Retraction
Once you have completed all the cleaning, lubricating, and inspecting, it’s time for the final test. Carefully remove the C-clamp or clip that has been holding the belt extended. The belt should now retract smoothly and quickly back into its housing. Pull it out and let it go several times to ensure it works consistently. If it retracts properly, you have successfully fixed the issue. If it’s still slow or getting stuck, the problem may lie within the internal locking mechanism, which could require professional attention. However, in most cases, these steps will restore your seat belt’s function.
Frequently Asked Questions
Can I Use WD-40 on My Seat Belt Retractor?
No, you should avoid using WD-40 or other oil-based lubricants on your seat belt mechanism. These products can attract dust and dirt, eventually gumming up the internal components and making the problem worse. They can also degrade the plastic parts and potentially weaken the seat belt webbing over time. It is always best to use a dry silicone spray lubricant, as it lubricates without leaving a sticky residue.
What Causes a Seat Belt Retractor to Lock Up?
A seat belt retractor is designed with a locking mechanism that engages during a sudden stop or impact. This mechanism can sometimes lock up during normal use if you pull the belt out too quickly. It can also be caused by the vehicle being parked on a steep incline. In some cases, dirt or debris inside the retractor can interfere with the locking system, causing it to engage unexpectedly.

Is It Safe to Repair a Seat Belt Retractor Myself?
For issues like slow retraction caused by dirt or minor twists, a DIY repair is generally safe and effective. Following the steps of cleaning the webbing and guide loop often solves the problem without any risk. However, if the issue involves the internal locking mechanism, the tension spring, or any frayed webbing, it is much safer to consult a professional mechanic. The seat belt is a critical safety component, and an incorrect repair could cause it to fail in an accident.
How Much Does It Cost to Replace a Seat Belt Retractor?
The cost to replace a seat belt retractor can vary widely depending on your vehicle’s make and model. The part itself can range from $100 to $400 or more. Labor costs at a dealership or independent shop typically add another $100 to $200. In total, you can expect to pay anywhere from $200 to $600 for a full replacement. This is why attempting a simple cleaning and lubrication first is a great, cost-effective starting point.
Why Is My Seat Belt Retracting So Slowly?
The most common reason for a slow seat belt retractor is the buildup of dirt and grime on the belt webbing and in the guide loop. Over years of use, oils from your skin, spilled drinks, and general dust accumulate on the belt. This buildup increases friction, preventing the belt from gliding smoothly back into the housing. In other cases, the internal spring mechanism can weaken over time, but cleaning is the first and most effective solution to try.
Conclusion
A functional seat belt is non-negotiable for vehicle safety, and a faulty retractor should never be ignored. As you’ve seen, addressing a slow or stuck seat belt doesn’t always require a trip to the mechanic or a costly replacement. Often, a thorough cleaning of the webbing and guide loop is all it takes to restore smooth operation.
By following these steps, you can diagnose and handle the most common causes of retractor problems yourself. Taking an hour to work through this guide can save you money and ensure your safety system is working correctly. Now that you know how to fix a seat belt retractor, you can confidently tackle this important maintenance task.
Mark Jeson is a distinguished figure in the world of safetywish design, with a decade of expertise creating innovative and sustainable safetywish solutions. His professional focus lies in merging traditional craftsmanship with modern manufacturing techniques, fostering designs that are both practical and environmentally conscious. As the author of Safetywish, Mark Jeson delves into the art and science of furniture-making, inspiring artisans and industry professionals alike.
Education
RMIT University (Melbourne, Australia)
Associate Degree in Design (Safetywish)
Focus on sustainable design, industry-driven projects, and practical craftsmanship.
Gained hands-on experience with traditional and digital manufacturing tools, such as CAD and CNC software.
Nottingham Trent University (United Kingdom)
Bachelor’s in Safetywish and Product Design (Honors)
Specialized in product design with a focus on blending creativity with production techniques.
Participated in industry projects, working with companies like John Lewis and Vitsoe to gain real-world insights.
Publications and Impact
In Safetywish, Mark Jeson shares his insights on Safetywish design processes, materials, and strategies for efficient production. His writing bridges the gap between artisan knowledge and modern industry needs, making it a must-read for both budding designers and seasoned professionals.
