
Gas leaks are a serious safety concern in any home. Whether it’s natural gas for your stove or propane for your grill, an undetected leak can pose significant risks. Fortunately, a gas leak detector is a simple yet powerful tool that can help you quickly identify potential hazards and ensure your home remains safe. This guide will walk you through the essential steps, providing you with the confidence to handle this important task. We will cover everything you need to know about how to use gas leak detector, from initial preparation to confirming the presence of a leak, making the process straightforward even for complete beginners.
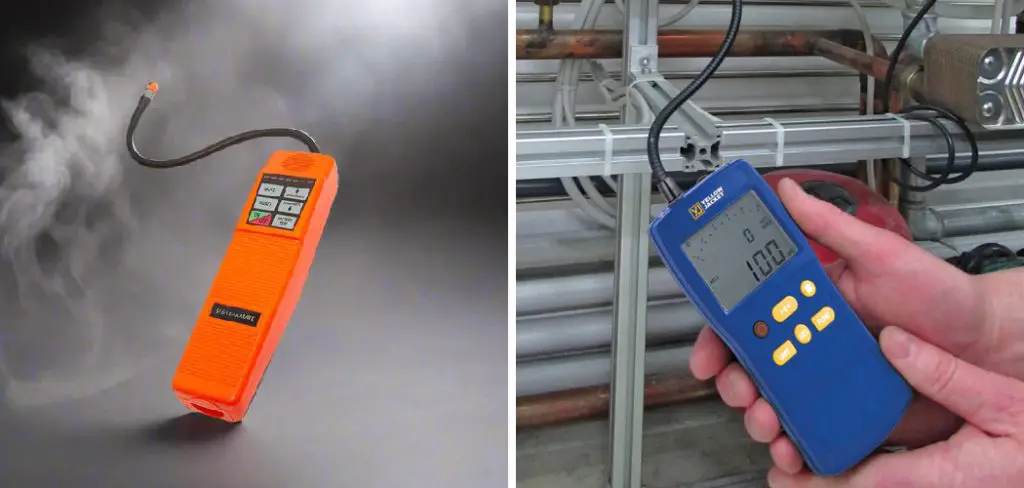
A gas leak is a serious matter that requires immediate attention to ensure the safety of your household. Natural gas is colorless and often odorless, making it difficult to detect without proper tools. Left unchecked, gas leaks can lead to health risks, fire hazards, or even explosions. Being prepared and understanding how to effectively use a gas leak detector is crucial for maintaining a secure environment. By familiarizing yourself with the steps involved, you can approach this task with ease and confidence, helping to protect your home and loved ones.
Detecting Gas Leaks
Understanding the importance of gas leak detection is the first step toward creating a safer living environment. Natural gas and propane are highly flammable, and even a small leak can lead to a buildup of combustible fumes. A simple spark from a light switch, an appliance, or static electricity could trigger an explosion or fire.
Beyond the fire risk, inhaling gas fumes can lead to health problems like dizziness, headaches, nausea, and in severe cases, carbon monoxide poisoning if the gas combustion is incomplete. Regularly checking your gas lines and appliances is not just a routine task; it’s a critical safety measure that protects your property, your health, and the well-being of your family.

How to Use a Gas Leak Detector: A Step-by-Step Guide
Using a gas leak detector is a straightforward process that empowers you to take control of your home’s safety. This guide will walk you through each step to ensure you can confidently and accurately identify potential gas leaks.
Step 1: Read the Manufacturer’s Instructions
Before you begin, take a few minutes to thoroughly read the user manual that came with your specific gas leak detector. Different models may have unique features, sensitivities, or calibration procedures. The instructions will provide crucial information on battery installation, warm-up times, and the meaning of various alerts, such as beeping sounds or flashing lights. Understanding your device’s specific functions is the foundation for accurate detection. This initial step ensures you are fully prepared and can interpret the detector’s signals correctly, preventing false alarms or missed leaks.
Step 2: Prepare the Area for Testing
Safety is paramount when checking for a gas leak. Start by eliminating any potential ignition sources in the area you plan to test. Turn off all open flames, such as pilot lights, candles, or stovetop burners. Avoid using light switches, unplugging appliances, or using your phone, as these actions can create a small spark. If possible, increase ventilation by opening doors and windows to help disperse any accumulated gas. This preparation minimizes immediate risks and creates a safer environment for you to conduct your inspection with the gas leak detector.
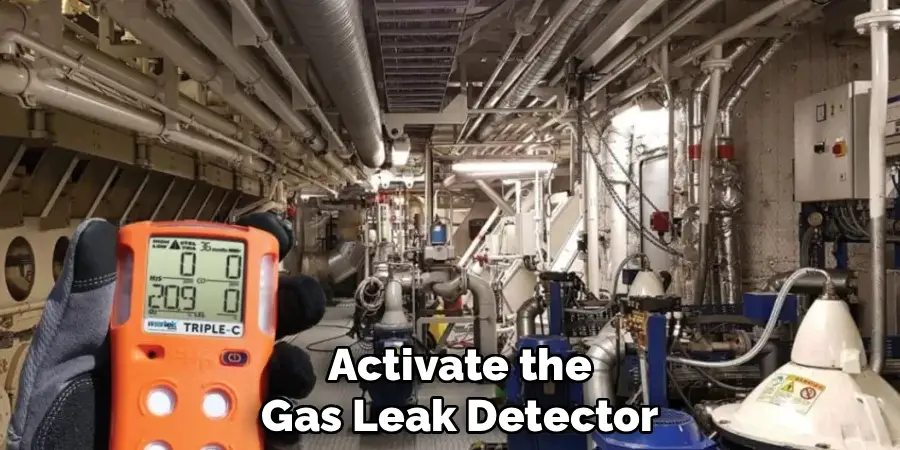
Step 3: Turn On and Calibrate the Detector
Once the area is prepared, it’s time to power on your device. Most electronic gas leak detectors require a brief warm-up or calibration period to ensure they are functioning at peak sensitivity. This process typically takes between 10 seconds and a minute. During this time, the device adjusts its sensors to the ambient air, establishing a baseline for clean air. Always perform this calibration in an area you know is free from gas fumes, like outdoors or in a well-ventilated room away from the suspected leak. This step is critical for obtaining accurate readings.
Step 4: Begin Scanning the Suspected Area
With your calibrated detector in hand, you can begin the inspection. Start at the source of the gas supply, such as the meter or propane tank, and slowly work your way along the pipes, hoses, and fittings. Move the tip of the detector’s sensor probe slowly, keeping it within an inch of the surface you are testing. Gas is often lighter than air and will rise, so pay close attention to the upper sides of pipes and connections. A systematic and patient approach is key to ensuring you don’t miss a small or slow leak.
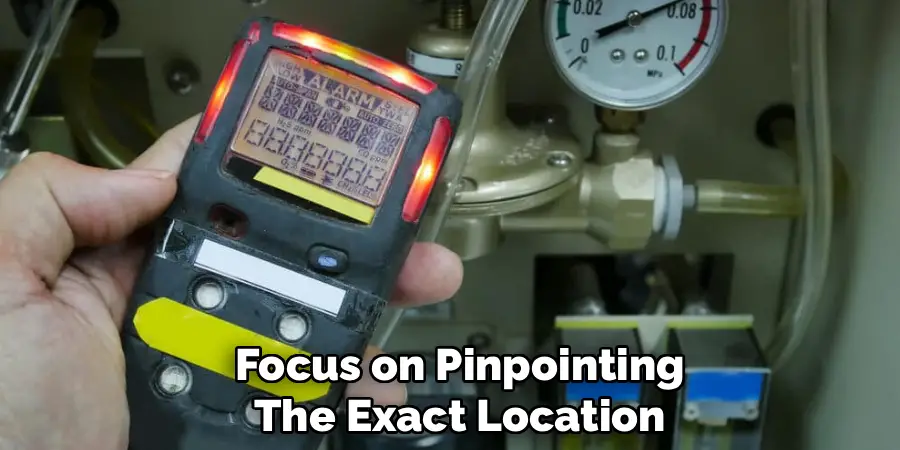
Step 5: Pinpoint the Source of the Leak
As you move the detector along the gas lines, listen for the audible alarm and watch for visual alerts. Most detectors will emit a slow, ticking sound that increases in frequency and volume as it gets closer to a gas source. When the alarm becomes rapid or continuous, you have likely found the leak. Move the sensor tip back and forth around that specific spot to pinpoint the exact location. Pay extra attention to joints, valves, and connection points, as these are the most common areas for leaks to develop. This is a crucial part of learning how to use gas leak detector effectively.
Step 6: Confirm the Leak with a Soap Solution
After identifying a potential leak with your detector, it’s wise to confirm it visually. Create a simple solution by mixing a few drops of dish soap with water in a spray bottle or a small cup. Apply the soapy water directly onto the area where the detector indicated a leak. If a leak is present, the escaping gas will create bubbles, ranging from small, slow-forming foam to large, rapidly growing bubbles. This visual confirmation provides undeniable proof of the leak and its exact location, which is valuable information to have when calling for professional repairs.
Step 7: Take Immediate Action
Once a gas leak is confirmed, you must act quickly. Do not attempt to fix the leak yourself unless you are a qualified professional. If the leak is significant or you smell a strong gas odor, evacuate everyone from the building immediately. From a safe distance, shut off the main gas supply valve if you know how and it is safe to do so. Contact your gas utility company or a certified plumber from a safe location, away from the potential leak. Do not re-enter the building or turn the gas back on until a professional has declared the area safe.
Frequently Asked Questions
What Should I Do If My Gas Leak Detector Goes Off?
If your detector sounds an alarm, do not panic. First, avoid creating any sparks—do not turn lights on or off, use your phone, or unplug appliances. If the smell of gas is strong, evacuate the area immediately. Open doors and windows to ventilate the space if it is safe to do so. From a safe location, call your gas utility’s emergency number or a qualified professional for assistance. Do not attempt to locate or fix the leak yourself.
How Often Should I Test for Gas Leaks?
Regular testing is a key part of home maintenance. It is a good practice to check your gas appliances and lines at least twice a year. You should also perform a check:
- After any new gas appliance installation.
- If you move into a new home.
- Whenever you smell the characteristic “rotten egg” odor associated with natural gas.
- After an earthquake or other event that could have shifted gas lines.
Can a Gas Leak Detector Detect Carbon Monoxide?
Most standard gas leak detectors are designed to sense combustible gases like natural gas (methane) and propane. They will not detect carbon monoxide (CO), which is a byproduct of incomplete combustion. For complete safety, you should have separate carbon monoxide alarms installed in your home, typically near sleeping areas and on each level. Some multi-gas detectors are available, but always check the product specifications to be sure.
What Is the Difference Between Natural Gas and Propane Detectors?
The primary difference lies in the sensor placement. Natural gas is lighter than air, so it rises. For this reason, a natural gas detector should be placed high on a wall, about a foot from the ceiling. Propane is heavier than air and will sink, so a propane detector should be placed low to the ground. Portable, handheld detectors can detect both, but you need to know which gas you are testing for to scan the correct areas (high for natural gas, low for propane).
Are There Non-Electronic Ways to Detect a Gas Leak?
Yes, there are a few telltale signs. The most obvious is the distinct “rotten egg” or sulfur-like smell that utility companies add to natural gas for safety. Other signs include a hissing sound near a gas line, dead or dying vegetation near a buried gas line, or bubbles appearing in standing water over a gas line. The soap and water test is another effective non-electronic method to visually confirm a suspected leak.
Conclusion
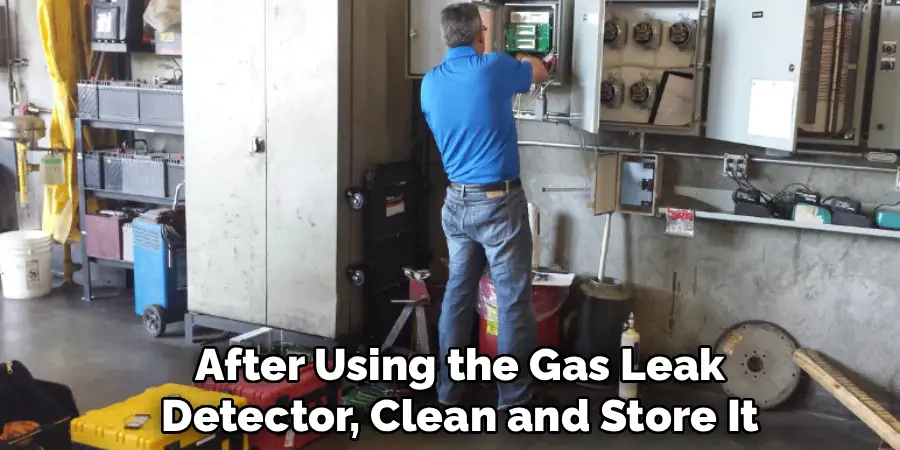
Mastering the use of a gas leak detector is an empowering skill for any homeowner. By following these steps, you can confidently check your gas lines and appliances, ensuring the safety of your home and loved ones. From preparing the area and calibrating your device to pinpointing and confirming a leak, the process is simple and highly effective. Remember to act swiftly if a leak is detected and always rely on professionals for repairs. Investing a small amount of time to learn how to use gas leak detector provides invaluable peace of mind and reinforces a culture of safety in your household.
Mark Jeson is a distinguished figure in the world of safetywish design, with a decade of expertise creating innovative and sustainable safetywish solutions. His professional focus lies in merging traditional craftsmanship with modern manufacturing techniques, fostering designs that are both practical and environmentally conscious. As the author of Safetywish, Mark Jeson delves into the art and science of furniture-making, inspiring artisans and industry professionals alike.
Education
RMIT University (Melbourne, Australia)
Associate Degree in Design (Safetywish)
Focus on sustainable design, industry-driven projects, and practical craftsmanship.
Gained hands-on experience with traditional and digital manufacturing tools, such as CAD and CNC software.
Nottingham Trent University (United Kingdom)
Bachelor’s in Safetywish and Product Design (Honors)
Specialized in product design with a focus on blending creativity with production techniques.
Participated in industry projects, working with companies like John Lewis and Vitsoe to gain real-world insights.
Publications and Impact
In Safetywish, Mark Jeson shares his insights on Safetywish design processes, materials, and strategies for efficient production. His writing bridges the gap between artisan knowledge and modern industry needs, making it a must-read for both budding designers and seasoned professionals.
