
A clicking seat belt is a sound we all know, signaling safety and security before we even start the engine. But what happens when that click disappears, or the buckle refuses to release? A malfunctioning seat belt buckle can be a major source of frustration and, more importantly, a serious safety risk. Many people assume this is a complex problem requiring an expensive trip to the mechanic.
However, with a little patience and the right guidance, you can often resolve the issue yourself. This guide will provide a clear, step-by-step walkthrough on how to fix seat belt buckle problems, empowering you to tackle this common car maintenance task with confidence. We’ll cover everything from simple cleaning to addressing minor mechanical faults, helping you get your safety system back in perfect working order.
Why Fixing a Seat Belt Buckle is Important
The primary function of a seat belt is to save lives. It is the single most effective safety device in your vehicle. A seat belt that doesn’t latch properly, or one that gets stuck, completely compromises its ability to protect you and your passengers during a sudden stop or a collision.
Ignoring a faulty buckle isn’t just an inconvenience; it’s a gamble with your well-being. Furthermore, in many jurisdictions, driving with a non-functional seat belt is illegal and can result in fines. A working seat belt is also often a requirement for passing vehicle safety inspections. Addressing the problem promptly ensures you remain compliant with the law, avoid unnecessary penalties, and, most critically, maintain the essential safety features that your car was designed to provide.
Step-by-Step Guide: How to Fix Seat Belt Buckle
Step 1: Gather Your Tools and Materials
Before you begin, gathering the necessary tools will make the process much smoother. You won’t need anything too specialized. Start with a can of compressed air, which is excellent for dislodging loose debris. You will also need some cotton swabs, a small flathead screwdriver or a similar prying tool, and a can of silicone-based lubricant spray. It is crucial to use a silicone-based spray, as other lubricants like WD-40 can attract more dust and dirt over time, potentially worsening the problem. Finally, have a clean cloth or paper towel handy for wiping away any excess lubricant or grime that you clean out of the mechanism.
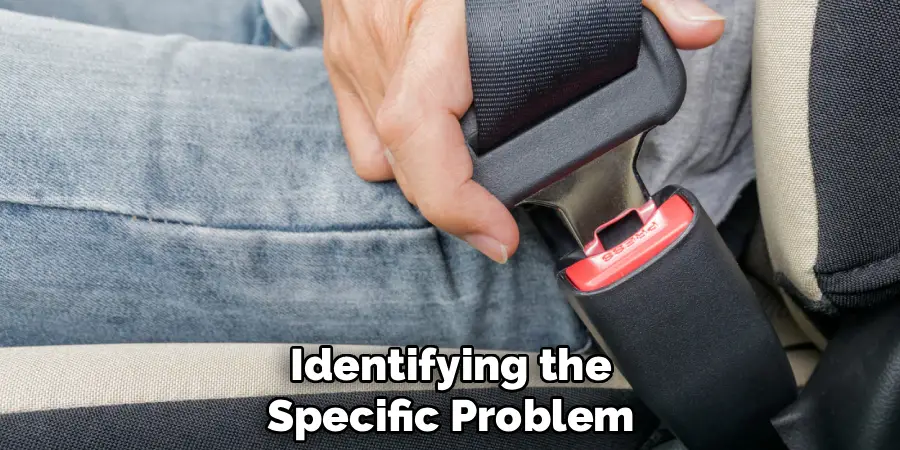
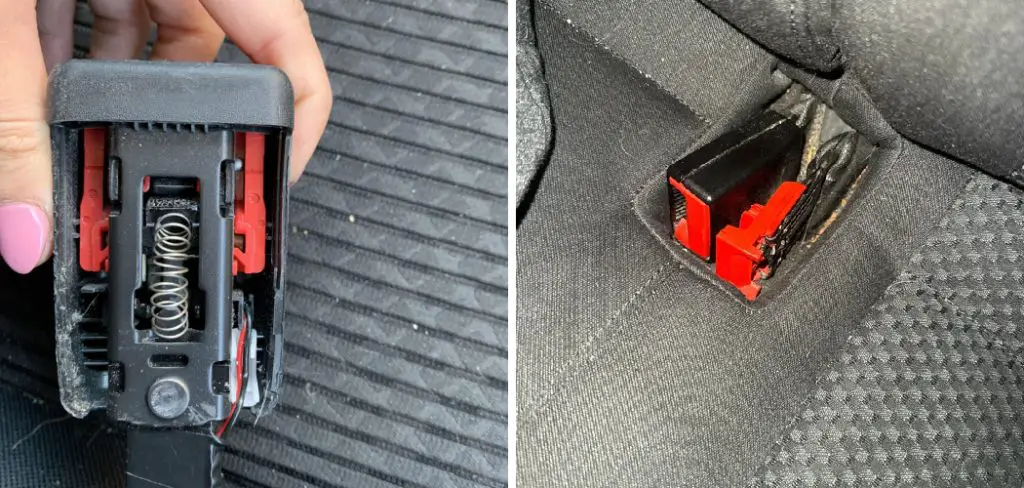
Step 2: Perform a Thorough Visual Inspection
Carefully examine the seat belt buckle for any obvious signs of damage or obstruction. Look for foreign objects that may have fallen inside, such as coins, food crumbs, or small pieces of plastic. Check the red release button itself. Does it seem sticky, or is it not depressing fully? Inspect the metal tongue on the seat belt webbing as well. Look for any bends, warping, or significant grime buildup that might prevent it from inserting smoothly into the buckle housing. This initial inspection can often reveal the root cause of the problem without needing to disassemble anything, saving you time and effort.
Step 3: Clean Out Debris with Compressed Air
One of the most common causes of a malfunctioning buckle is debris lodged inside the internal mechanism. Your can of compressed air is the perfect tool for this job. Hold the can upright and aim the nozzle directly into the opening of the buckle where the metal tongue is inserted. Use short, powerful bursts of air to dislodge any dust, dirt, or larger particles. Pay special attention to the area around the release button as well. Depress the button and spray air into the gaps around it. You might be surprised at what comes flying out of the buckle assembly.
Step 4: Use a Screwdriver
If compressed air alone doesn’t solve the issue, it’s time for a more targeted approach. Use a small, flathead screwdriver to gently scrape away any hardened grime or sticky residue from the inside walls of the buckle. Be careful not to apply too much force, as you don’t want to damage any of the internal components. Follow up with cotton swabs to clean out the dislodged gunk. You can slightly dampen the swabs with a bit of isopropyl alcohol for more effective cleaning of sugary spills or other sticky substances. This detailed cleaning is a key part of learning how to fix seat belt buckle issues caused by buildup.
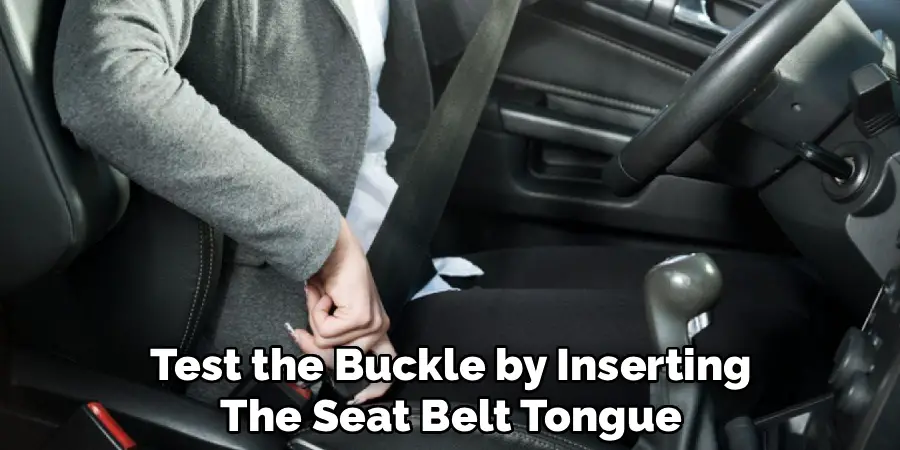
Step 5: Test the Latching Mechanism
After thoroughly cleaning the buckle, it’s time to test its function. Take the metal tongue of the seat belt and insert it into the buckle. Listen for a solid, audible “click.” If it latches securely, the next step is to test the release. Press the red release button. The tongue should eject smoothly and without hesitation. Repeat this process several times to ensure the mechanism is working consistently. If the buckle latches and releases correctly every time, you may have already solved the problem. If it still feels stiff, sticky, or fails to latch, proceed to the next step.
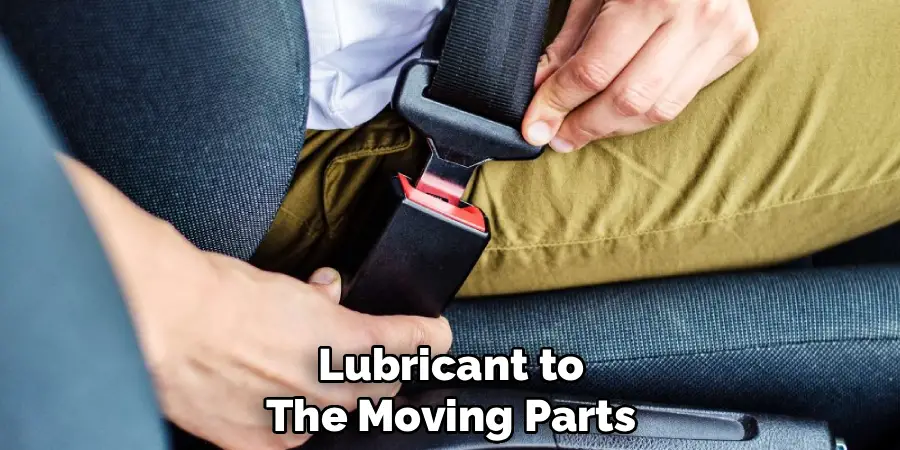
Step 6: Apply Silicone-Based Lubricant
If the buckle is clean but still not operating smoothly, the internal mechanism may need lubrication. Grab your silicone-based lubricant spray. Apply a very small amount directly into the buckle’s slot. It’s better to use too little than too much, as excess lubricant can attract dirt. After spraying, insert and release the metal tongue several times to help distribute the lubricant throughout the internal moving parts. This action will work the silicone into the springs and levers, restoring smooth operation. Wipe away any excess lubricant from the exterior of the buckle with your clean cloth.
Step 7: Final Testing and Reassessment
With the buckle cleaned and lubricated, perform a final, comprehensive test. Fasten and unfasten the seat belt at least 10 times to confirm that the fix is reliable. The latch should engage with a crisp click, and the release button should operate without any stickiness or excessive force. Pull firmly on the seat belt after it’s latched to ensure it holds securely and won’t disengage under pressure. If the buckle now functions perfectly, congratulations! This method is often all that is needed. If you still face issues, there may be an internal mechanical failure requiring professional attention.
Frequently Asked Questions
Can I Use WD-40 to Fix My Seat Belt Buckle?
It is strongly advised not to use WD-40 or similar oil-based lubricants on your seat belt buckle. While it might provide a temporary fix, these types of lubricants are known to attract dust, dirt, and debris over time. This buildup can eventually lead to a stickier, more severe problem than you initially had. Always opt for a silicone-based lubricant, as it lubricates the moving parts without creating a sticky residue.
What if an Object is Visibly Stuck Deep Inside the Buckle?
If you can see an object like a coin or a small toy lodged deep inside the buckle, you can try to retrieve it with a pair of long, thin tweezers or needle-nose pliers. Be very gentle to avoid damaging the internal mechanism. If you cannot remove the object easily, do not try to force it. Forcing it could cause permanent damage. In this case, it is best to take your vehicle to a professional mechanic who can safely disassemble the buckle or replace it if necessary.
Is a Stuck Seat Belt Buckle Covered Under Warranty?
Seat belt components are a critical safety feature, and many vehicle manufacturers offer extended or even lifetime warranties on them. Before attempting a repair or paying for a replacement, check your vehicle’s warranty information or contact your local dealership. You may be eligible for a free repair or replacement. This can save you significant time and money, so it’s always worth checking first.
How Much Does It Cost to Replace a Seat Belt Buckle?
The cost to replace a seat belt buckle can vary widely depending on your vehicle’s make and model.
- Part Cost: The buckle itself can range from $50 to over $200.
- Labor Cost: Professional labor can add another $100 to $300 to the total bill, as the process may involve removing the seat and dealing with connected electronics.
Always get a quote before agreeing to any work.
When Should I See a Professional Instead of a DIY Fix?
You should see a professional if you have completed all the cleaning and lubrication steps and the buckle still fails to work correctly. Additionally, if the seat belt webbing is frayed or damaged, or if the buckle housing is cracked, it’s time for a professional replacement. Never compromise on safety. If you have any doubt about the integrity of the repair or the condition of the seat belt system, seeking expert help is the safest choice.
Conclusion
A functional seat belt buckle is non-negotiable for your safety on the road. While a stuck or unlatching buckle can seem like a daunting issue, it is often caused by simple dirt and debris buildup that you can resolve at home. By following the steps of inspecting, cleaning, and lubricating the mechanism, you can often restore your buckle to perfect working order without any special skills or expensive tools.
Remember to always use a silicone-based lubricant and to test the mechanism thoroughly after your repair. Taking the time to learn how to fix seat belt buckle problems not only saves you a trip to the mechanic but also empowers you with valuable car maintenance knowledge, ensuring you and your passengers are always protected.
Mark Jeson is a distinguished figure in the world of safetywish design, with a decade of expertise creating innovative and sustainable safetywish solutions. His professional focus lies in merging traditional craftsmanship with modern manufacturing techniques, fostering designs that are both practical and environmentally conscious. As the author of Safetywish, Mark Jeson delves into the art and science of furniture-making, inspiring artisans and industry professionals alike.
Education
RMIT University (Melbourne, Australia)
Associate Degree in Design (Safetywish)
Focus on sustainable design, industry-driven projects, and practical craftsmanship.
Gained hands-on experience with traditional and digital manufacturing tools, such as CAD and CNC software.
Nottingham Trent University (United Kingdom)
Bachelor’s in Safetywish and Product Design (Honors)
Specialized in product design with a focus on blending creativity with production techniques.
Participated in industry projects, working with companies like John Lewis and Vitsoe to gain real-world insights.
Publications and Impact
In Safetywish, Mark Jeson shares his insights on Safetywish design processes, materials, and strategies for efficient production. His writing bridges the gap between artisan knowledge and modern industry needs, making it a must-read for both budding designers and seasoned professionals.
