
AirTags are a game-changer when it comes to keeping track of personal belongings. From keys to bags, their compact design and precision tracking ability make them indispensable for many. However, many users find themselves puzzled when trying to open an AirTag keychain. Whether you’re changing the battery, troubleshooting an issue, or just curious about its internal structure, learning how to open AirTag keychain is essential.

Opening an AirTag keychain is a simple process that requires minimal tools and effort. Begin by holding the AirTag with the polished stainless steel side facing you. Using your fingers, press firmly on the metal surface while simultaneously rotating it counterclockwise until the cover loosens. Once loosened, carefully lift the metal cover to access the internal components, such as the battery. Be sure to handle all parts gently and keep them away from moisture or dust to maintain the functionality of your AirTag.
Thankfully, the process isn’t as complicated as it might seem. With a bit of guidance and the right technique, you’ll be able to handle your AirTag with confidence. This guide is designed to walk you through the steps, offering a clear, beginner-friendly explanation. Read on to uncover actionable advice that will help you open your AirTag keychain correctly and safely.
Why It’s Important to Know How to Open AirTag Keychain
AirTag keychains are not merely accessories; they play a vital role in protecting your AirTag device while attaching it to important belongings. Over time, you may need to open the keychain for routine maintenance, such as replacing the battery, cleaning, or ensuring it remains tightly secured. Without knowing the proper method, you risk damaging the keychain or even the AirTag itself.
Knowing how to open AirTag keychain provides two benefits. Firstly, you maintain the functionality of your AirTag, ensuring it works effectively as a tracking device. Secondly, it saves you from making common mistakes, such as using excessive force or tools that could harm the device. This knowledge proves especially useful for individuals who rely on their AirTag keychains for daily activities like commuting or running errands.
By better understanding the mechanics and handling of an AirTag keychain, you gain confidence in its longevity and usability. Plus, this skill ensures that you can keep your AirTag in top condition, extending its life and reliability as a trusted tracking tool.
Step-by-Step Guide on How to Open AirTag Keychain
Opening your AirTag keychain doesn’t require any specialized tools or expertise. With the following steps, you’ll learn how to handle and open it efficiently without damage.
Step 1: Inspect the Keychain Design
Begin by examining your AirTag keychain carefully. Notice the material and structure of the accessory. Keychains are often designed with protective housings that fit securely around the AirTag. Look for any clasps or seams that indicate how the keychain might open. Understanding the design beforehand will help you identify the right spots for removal.

Step 2: Identify the Release Mechanism
Most AirTag keychains feature a specific release mechanism, whether a small latch, a screw closure, or a snap-fit design. Check the edges and center area of the keychain for visible hinges or levers. Some models may require pressure, while others function with a simple twist or pull action to release. Avoid guessing—examine the keychain closely before proceeding.
Step 3: Prepare Your Workspace
Set up a clean, flat workspace with ample lighting to avoid misplacing any pieces during the process. If your keychain includes small screws, clasps, or clips, place a small container nearby to hold them. Ensuring an organized workspace minimizes the risk of losing essential components or causing damage.
Step 4: Disengage the Keychain
To open the keychain, locate the opening point. If your AirTag keychain uses a snap-fit housing, apply gentle pressure with your thumb and index finger to pry apart the halves. For designs with screws, use a compatible screwdriver to unscrew and separate the pieces. Work slowly to avoid applying excessive force, which could damage the structure.

Step 5: Remove the AirTag
Once the keychain opens, carefully remove the AirTag from its housing. Hold the AirTag by its edges to avoid smudging or scratching its surface. If the AirTag feels tightly fitted, shake it lightly or gently push from the back using your fingertip to release it. It’s essential to handle the AirTag delicately to prevent any accidental damage.
Step 6: Check for Wear and Tear
After removing the AirTag, inspect both the keychain and the AirTag. Look for signs of wear, dirt, or damage that might affect their performance. Pay close attention to the edges of the keychain and the surface of the AirTag. Cleaning is recommended before reassembly to maintain their appearance and functionality.
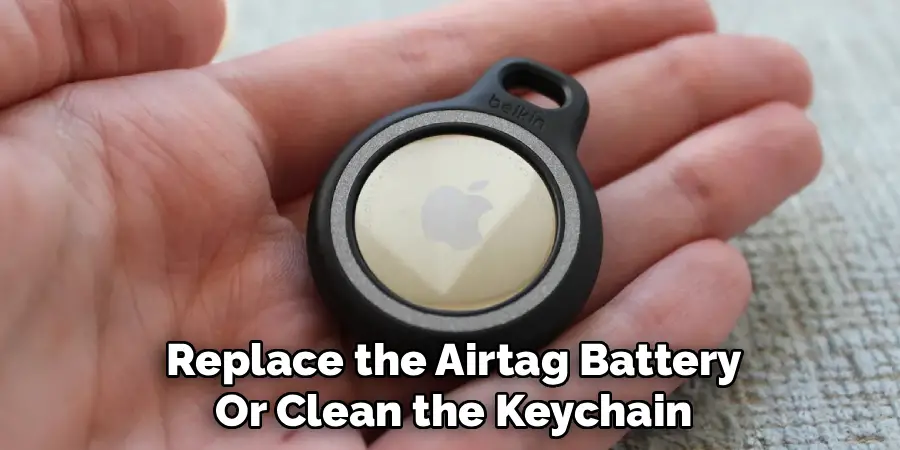
Step 7: Replace or Adjust Components
If your intention is to replace the AirTag battery or clean the keychain, now is the time to perform those tasks. Swap out the old battery for a new one by gently twisting and opening the AirTag’s back cover. Use a soft cloth or cleaning solution to wipe away dust or grime from the keychain and AirTag before putting them back together.
Step 8: Reinsert the AirTag
Position the AirTag back into its keychain housing. Ensure it fits snugly in place without wiggling. Align the keychain’s two halves or edges, depending on the design. Check that all clips, hinges, or screws are aligned properly before closing.
Step 9: Secure the Keychain
Carefully close the keychain by reversing the process you used to open it. For snap-fit housings, press the halves together until you hear a click or feel them lock. If your model uses screws, tighten them until secure but avoid overtightening, as this may crack the material. Confirm that the AirTag remains firmly in place before using the keychain again.
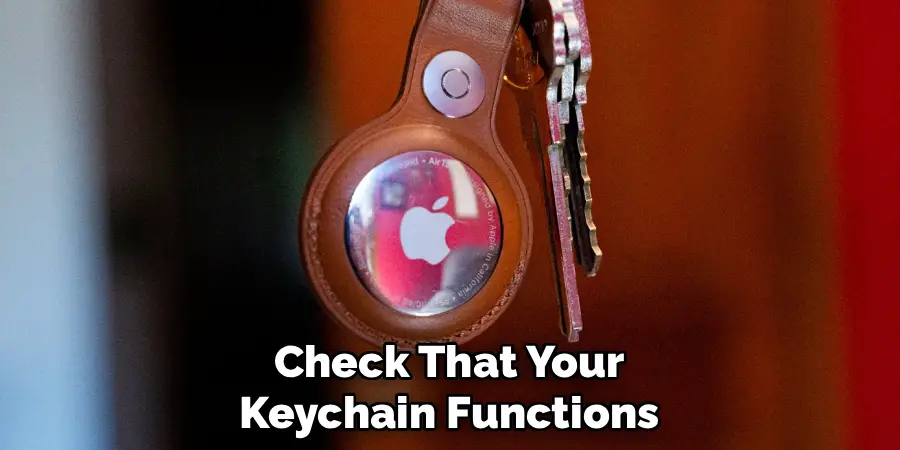
Step 10: Test the Functionality
Finally, check that your keychain functions as intended. Attach it to your belongings and ensure the AirTag is operational. Test the AirTag’s tracking capabilities to confirm it sends and receives signals accurately. If all appears well, your AirTag keychain is ready to accompany you on your daily adventures.
Common Mistakes
When assembling and using your AirTag keychain, there are a few common mistakes to avoid.
Overtightening the Screws:
While ensuring the AirTag is secure is important, overtightening the screws can damage the keychain or even crack the AirTag casing. Always tighten gently and stop when it’s firmly in place.
Neglecting to Test the AirTag:
Skipping the testing step before use can lead to issues later. Make sure to check the AirTag’s functionality immediately after assembly to ensure it’s working correctly.
Using the Wrong Tools:
Using improper tools for assembly might damage the screws or the material of the keychain. Always use the recommended tools to avoid unnecessary wear and tear.
Exposing to Harsh Conditions:
Prolonged exposure to water, extreme heat, or other harsh environmental conditions may degrade your keychain and affect the AirTag’s performance. Be mindful of where and how you use it.
By keeping these common mistakes in mind, you can ensure that your AirTag keychain remains functional and lasts for a long time.
FAQ Section
How do I know if my AirTag keychain needs to be opened?
You may need to open your AirTag keychain if you notice performance issues, such as poor tracking signals or difficulty connecting to your paired devices. Additionally, if you hear a low battery alert or see physical damage, opening the keychain to perform maintenance is essential.
Can I open my AirTag keychain without any tools?
Many AirTag keychains are designed for convenience and can be opened without tools, relying on snap-fit designs or simple clasps. However, some models may require screwdrivers or prying tools. Please check the specific instructions provided with your keychain for details.
Is it safe to open my AirTag keychain frequently?
It’s safe to open your AirTag keychain as needed, though frequent disassembly may cause wear over time. Be gentle during the process to preserve the keychain’s integrity. If you anticipate frequent maintenance, consider investing in a durable, easy-to-use design.
What should I do if my AirTag gets stuck in the keychain?
If your AirTag is stuck, avoid forcing it out, as this could damage both the AirTag and the keychain. Instead, examine the housing for any caught edges or tightly fitted components. Gently wiggle or pry the AirTag free using your fingers or a thin tool wrapped in a soft cloth to prevent scratches.
Where can I find replacement parts for my AirTag keychain?
Replacement parts, such as screws or clasps, are often available through the keychain manufacturer. Check their website for spare parts or warranty services. For generic keychains, online retailers and hardware stores may carry compatible components.
Conclusion
Opening an AirTag keychain might seem tricky at first, but with patience and the right technique, it’s straightforward and manageable. Knowing how to open AirTag keychain ensures you can access the device when needed, whether for maintenance, cleaning, or replacing components.
By following these steps and tips, you minimize the risk of damage and maximize the life of both your AirTag and keychain. Whether you’re a first-time user or a seasoned AirTag owner, mastering this skill empowers you to keep track of your belongings with ease and confidence. Take charge of your AirTag keychain today—you’ll be glad to have this knowledge when the time comes!
Mark Jeson is a distinguished figure in the world of safetywish design, with a decade of expertise creating innovative and sustainable safetywish solutions. His professional focus lies in merging traditional craftsmanship with modern manufacturing techniques, fostering designs that are both practical and environmentally conscious. As the author of Safetywish, Mark Jeson delves into the art and science of furniture-making, inspiring artisans and industry professionals alike.
Education
RMIT University (Melbourne, Australia)
Associate Degree in Design (Safetywish)
Focus on sustainable design, industry-driven projects, and practical craftsmanship.
Gained hands-on experience with traditional and digital manufacturing tools, such as CAD and CNC software.
Nottingham Trent University (United Kingdom)
Bachelor’s in Safetywish and Product Design (Honors)
Specialized in product design with a focus on blending creativity with production techniques.
Participated in industry projects, working with companies like John Lewis and Vitsoe to gain real-world insights.
Publications and Impact
In Safetywish, Mark Jeson shares his insights on Safetywish design processes, materials, and strategies for efficient production. His writing bridges the gap between artisan knowledge and modern industry needs, making it a must-read for both budding designers and seasoned professionals.
