
A gas fireplace key valve is the small, unassuming component that gives you manual control over your fireplace’s flame. When it works correctly, it’s a simple and reliable mechanism. However, when it becomes stiff, leaky, or broken, it can be both frustrating and a safety concern. While dealing with gas lines can seem intimidating, replacing the key valve is often a manageable task for a confident DIYer with the right tools and a focus on safety.
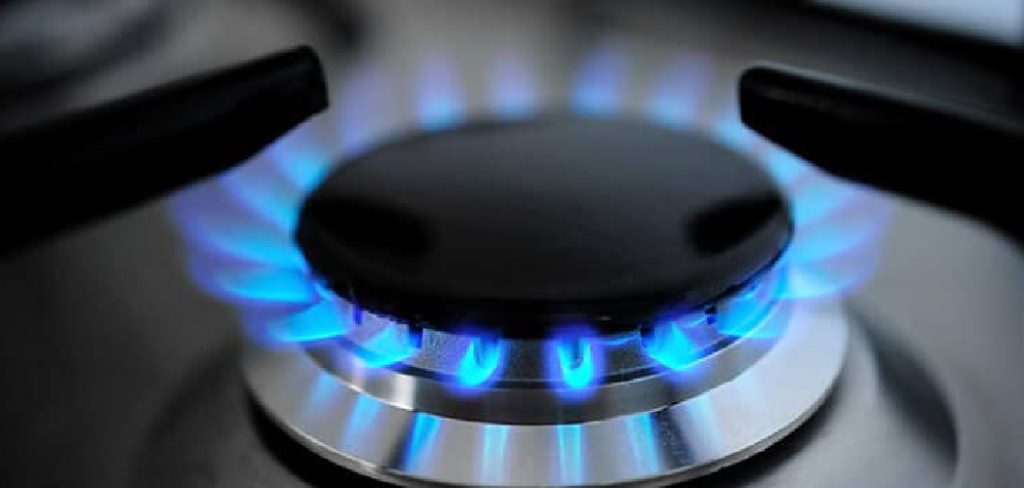
This guide is designed to give you a clear, step-by-step process. We will walk you through exactly how to replace gas fireplace key valve, covering the essential safety precautions and techniques needed to complete the job successfully and restore your fireplace to perfect working order.
Why Replace a Gas Fireplace Key Valve?
Replacing a worn-out gas fireplace key valve is a critical piece of fireplace maintenance for several important reasons, with safety being the foremost concern. A valve that is leaking, even a small amount, poses a serious risk of a gas buildup in your home. Likewise, a valve that is stuck in the open position creates a fire hazard, as you lose the ability to shut off the gas flow to the burner. A valve that is seized in the closed position is less dangerous but renders your fireplace useless.
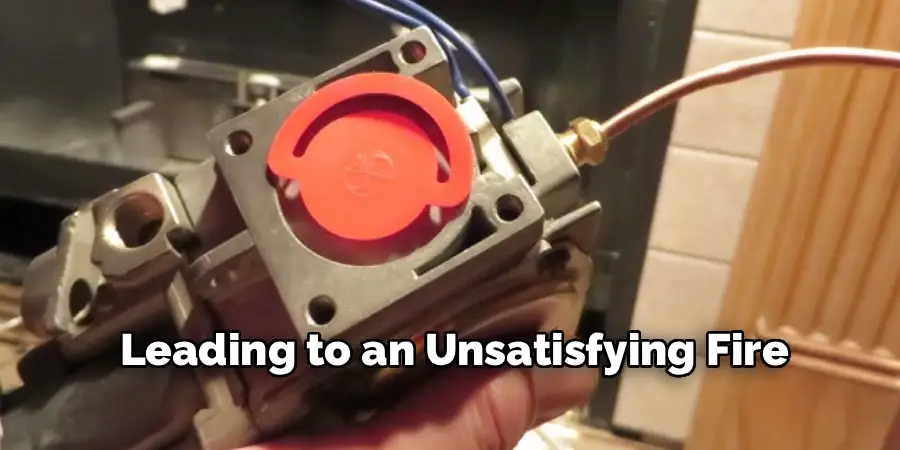
Beyond safety, a new valve ensures proper functionality and efficiency. A faulty valve can make it difficult to adjust the flame height, leading to an unsatisfying fire or wasted fuel. Replacing it restores precise control, allowing you to set the perfect ambiance and operate your fireplace as it was intended. It’s a relatively inexpensive home improvement project that provides significant peace of mind.
Step-by-Step Guide: How to Replace Gas Fireplace Key Valve
Step 1: Shut Off the Main Gas Supply
Before you begin any work, the most critical step is to completely shut off the gas supply to the fireplace. Do not just turn off the key valve itself. You must locate the main shut-off valve for the gas line that feeds your fireplace. This is often a lever-style valve located near the fireplace, in the basement below it, or on an outside wall. Turn the valve handle a quarter turn so that it is perpendicular to the gas pipe. This ensures no gas can flow to the work area, which is the most important of all safety precautions.
Step 2: Gather Your Tools and New Valve
With the gas safely off, gather all the necessary tools and your new replacement valve. You will need two pipe wrenches (or one pipe wrench and one adjustable wrench), pipe thread sealant (also known as pipe dope) or Teflon tape specifically rated for gas, a wire brush for cleaning threads, and your new gas key valve. Ensure the new valve is the correct size and type for your existing gas line, which is typically 1/2-inch. Having everything on hand before you start will make the gas valve replacement process smooth and efficient.
Step 3: Remove the Decorative Flange and Key
The key valve is typically hidden behind a decorative metal plate called a flange or escutcheon. This plate simply covers the hole in the wall or floor and is usually not screwed in. You should be able to gently pry it off or slide it away from the valve down the pipe. Once the flange is moved, remove the fireplace key from the valve stem if it isn’t already. This will give you clear access to the old valve body so you can get your wrenches in place for removal.
Step 4: Loosen and Remove the Old Valve
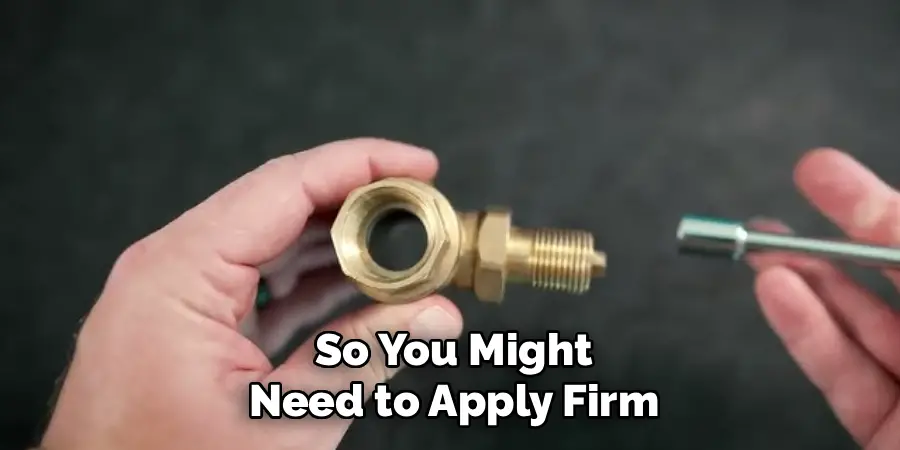
This step requires the use of two wrenches to prevent damage to the gas line within your wall or floor. Place one wrench on the stationary gas pipe leading to the valve to hold it steady. This is your “backup” wrench. Place the second wrench on the body of the old key valve itself. While firmly holding the backup wrench to prevent the pipe from turning, use the other wrench to turn the valve counter-clockwise to loosen it. It may be tight, so you might need to apply firm, steady pressure. Continue unscrewing until the old valve is completely removed.
Step 5: Clean the Gas Line Threads
Once the old valve is off, you will see the threaded end of the gas pipe. Over time, old pipe sealant and debris can build up on these threads. It’s essential to clean them thoroughly to ensure the new valve will seal properly. Use a wire brush to scrub the threads, removing all traces of the old pipe dope or tape. Wipe the threads with a clean, dry rag afterward. A clean surface is critical for creating a leak-proof seal with the new valve, a key detail in this home improvement task.
Step 6: Apply New Sealant and Install the New Valve
Now you are ready to install the new valve. Take your gas-rated pipe thread sealant and apply a moderate amount to the male threads of the gas pipe. If you are using Teflon tape, wrap it clockwise around the threads 3-4 times. Do not get any sealant or tape inside the pipe itself. Carefully thread the new valve onto the pipe by hand, turning it clockwise. This is the core part of how to replace gas fireplace key valve. Once it is hand-tight, you can proceed to the final tightening with your wrenches.
Step 7: Tighten the New Valve with Wrenches
Just as you did during removal, use two wrenches to tighten the new valve. Place your backup wrench on the gas pipe to hold it steady. Place the other wrench on the new valve body and turn it clockwise. Tighten the valve until it is snug and pointing in the correct direction (with the key stem facing out). A good rule of thumb is to tighten it about one to two full turns past hand-tight. Do not over-tighten, as this can crack the valve body or damage the threads, leading to a gas leak.
Step 8: Perform a Leak Test
With the new valve installed, it’s time to check for leaks. Turn the main gas supply back on. In a small bowl, mix a solution of dish soap and water. Use a small brush or your fingers to apply this soapy solution to all the threaded connections you just worked on. If you see any bubbles forming or growing, it indicates a gas leak. If a leak is present, immediately turn the gas supply off, remove the valve, clean the threads again, and reapply the sealant before reinstalling. Do not proceed until the connection is free of leaks.
Common Troubleshooting Issues
When working with gas connections, a few common issues may arise that require attention. One frequent problem is improperly sealed threads, which can lead to persistent gas leaks. This often occurs due to insufficient application of thread sealant or dirt and debris left on the threads. Always ensure the threads are clean and the sealant or tape is applied evenly and thoroughly before assembly.
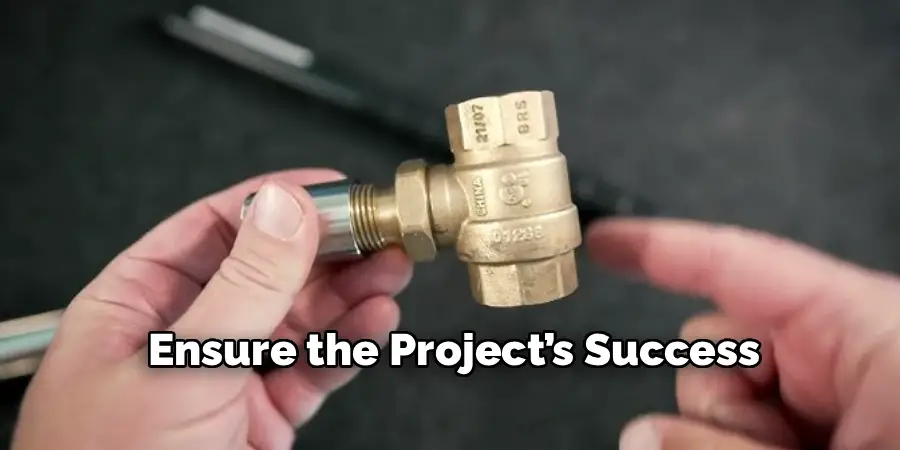
Another issue could be damaged or worn components, such as cracked valves or stripped threads, which may prevent a secure and airtight connection. Inspect all parts carefully for signs of wear and replace any damaged items before proceeding. Lastly, over-tightening can also result in problems, such as crushing the threads or damaging seals, so be cautious not to exceed recommended torque levels. Addressing these issues methodically can prevent hazards and ensure the project’s success.
Frequently Asked Questions
What Are the Signs of a Failing Gas Fireplace Key Valve?
Common signs that your key valve may need replacement include:
- Difficulty Turning: The key is very stiff or almost impossible to turn.
- Gas Smell: You smell gas near the fireplace, especially around the valve area (a serious safety issue).
- Visible Corrosion: The valve body shows signs of rust or corrosion.
- Inconsistent Flame Control: You can’t adjust the flame height smoothly, or the valve doesn’t fully shut off the gas.
Can I Use Any Type of Pipe Sealant for This Job?
No, you must use a pipe thread sealant or Teflon tape that is specifically rated for use with natural gas or propane lines. Standard plumber’s putty or water-pipe tape is not designed to withstand the chemicals in gas and will degrade, leading to a dangerous leak. Always check the product label to ensure it is approved for gas applications before you begin.
How Tight Should I Make the New Gas Valve?
The goal is to make the connection “gas-tight” without over-torquing it. A general rule is to tighten the valve 1-2 full turns past hand-tight. The valve should feel snug and secure, and it should be oriented correctly. Over-tightening can crack the valve housing or damage the threads, which is a common cause of leaks. It’s better to slightly under-tighten and then check for leaks than to over-tighten from the start.
Is It Safe to Replace a Gas Valve Myself?
If you are a confident DIYer with a good understanding of the safety precautions, replacing a simple key valve can be a safe project. However, working with gas lines carries inherent risks. If you are at all unsure or uncomfortable with any step of the process, or if you perform a leak test and cannot resolve a leak, you must call a licensed plumber or certified gas technician to complete the job safely.
My Fireplace Key Is Lost or Broken. Do I Need to Replace the Whole Valve?
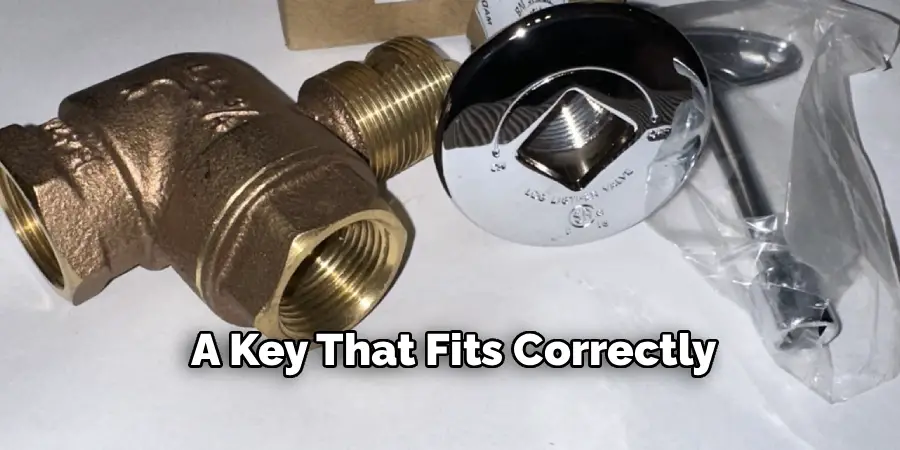
Not necessarily. The key is a separate component from the valve itself. If the valve turns smoothly and operates correctly, you can simply purchase a replacement key. Fireplace keys come in various lengths and finishes. Just make sure to measure the size of the valve stem (they are typically 1/4-inch or 5/16-inch square stems) to ensure you buy a key that fits correctly.
Conclusion
Replacing a gas fireplace key valve is a project that is well within reach for a careful homeowner. By prioritizing safety, gathering the right tools, and following a methodical process, you can successfully restore the function and safety of your fireplace. The most important steps are ensuring the gas is completely shut off before you start and performing a thorough leak test before you consider the job finished.
Now that you have a clear understanding of how to replace gas fireplace key valve, you can approach the task with confidence. Taking on this type of fireplace maintenance yourself not only saves money but also gives you a valuable skill for future home improvement projects.

Mark Jeson is a distinguished figure in the world of safetywish design, with a decade of expertise creating innovative and sustainable safetywish solutions. His professional focus lies in merging traditional craftsmanship with modern manufacturing techniques, fostering designs that are both practical and environmentally conscious. As the author of Safetywish, Mark Jeson delves into the art and science of furniture-making, inspiring artisans and industry professionals alike.
Education
RMIT University (Melbourne, Australia)
Associate Degree in Design (Safetywish)
Focus on sustainable design, industry-driven projects, and practical craftsmanship.
Gained hands-on experience with traditional and digital manufacturing tools, such as CAD and CNC software.
Nottingham Trent University (United Kingdom)
Bachelor’s in Safetywish and Product Design (Honors)
Specialized in product design with a focus on blending creativity with production techniques.
Participated in industry projects, working with companies like John Lewis and Vitsoe to gain real-world insights.
Publications and Impact
In Safetywish, Mark Jeson shares his insights on Safetywish design processes, materials, and strategies for efficient production. His writing bridges the gap between artisan knowledge and modern industry needs, making it a must-read for both budding designers and seasoned professionals.
