
An oil pressure sensor is a small but vital component of your vehicle’s engine system. It monitors the oil pressure and relays the information to your car’s dashboard, allowing you to track the health and performance of your engine in real time. If the oil pressure sensor malfunctions or fails, you might notice inaccurate gauge readings, flickering oil lights, or even false warnings. Ignoring these signs can lead to misunderstanding critical engine problems, potentially resulting in catastrophic damage.
That’s why knowing how to replace oil pressure sensor is essential for any responsible vehicle owner. With the right tools and know-how, this is a task you can confidently tackle at home, saving both time and money. In this article, we’ll walk you through the process step by step, from identifying when your oil pressure sensor needs replacement to installing a new sensor safely and properly.
Tools and Materials Required
Having the correct tools and materials on hand is the first step to ensuring a successful sensor replacement. This will make the job smoother and prevent delays or mistakes.
List of Tools
To replace your oil pressure sensor, you will need a few basic tools:
- Wrench set or socket set (often required to remove the sensor, and sizes may vary depending on vehicle make and model)
- Gloves to protect your hands from oil and sharp edges
- Clean rag or disposable towels for wiping up oil residue
- Optional: a flashlight to help you see tight spaces
Being prepared means you won’t have to stop mid-task to look for missing equipment.
Materials
Aside from the tools, collecting the right materials is equally important:
- A new oil pressure sensor compatible with your vehicle (refer to your car’s manual or parts supplier to ensure you get the right model)
- Thread sealant or Teflon tape (to provide a leak-tight seal when installing the new sensor)
- Small amount of engine oil (in case you need to top off after the replacement)
Double-check your vehicle’s specifications and consult a reputable parts dealer if you have any doubts about compatibility. A well-fitting sensor and quality materials help prevent future leaks or sensor malfunctions.
Locate the Oil Pressure Sensor
Finding the oil pressure sensor’s location is crucial, as its position varies depending on the vehicle.
First, consult your vehicle’s owner’s manual. Most manuals will list the engine layout and often indicate where the oil pressure sensor is situated. Typically, you’ll find the sensor mounted on the engine block, close to the oil filter, cylinder head, or near the oil pan.
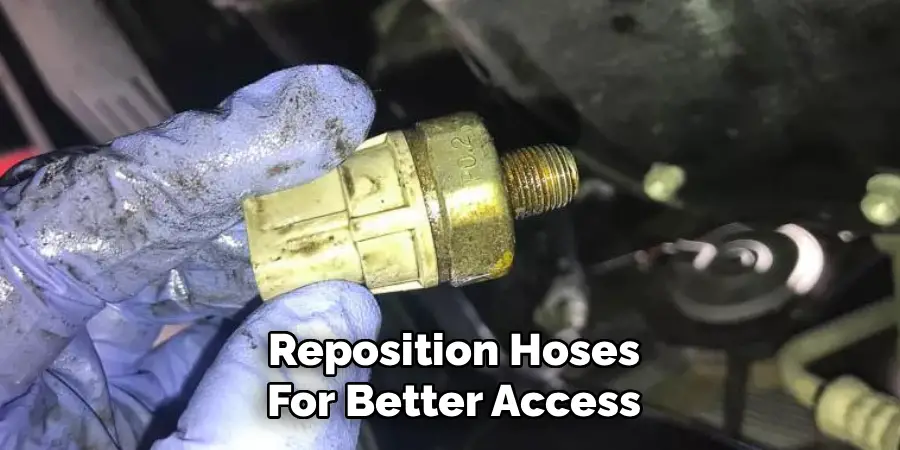
Once you’ve reviewed the manual, visually inspect your engine bay. Look for a small, cylindrical sensor screwed into the engine block, with one or two electrical wires running to a connector. Certain vehicles may require you to remove an engine cover or reposition hoses for better access.
If you’re struggling to find the sensor, online automotive forums or videos for your specific make and model can offer additional guidance. Locating the sensor before starting ensures you’re prepared to work without surprises, making the following steps more efficient.
Prepare Your Vehicle
Preparation is essential to ensure both your safety and the quality of your work.
Start by moving your vehicle to a flat, level surface to prevent rolling. Set the parking brake to keep the car stable while you work. Allow the engine to cool completely, as working with hot engine parts can lead to burns or accidental injuries.
Disconnect the Battery
Before touching any electrical connections, always disconnect the negative battery terminal using a wrench or socket. This step prevents accidental short circuits or electric shocks, ensuring your safety while you handle sensor wiring.
Wearing gloves will protect your hands from oil and sharp engine components. Position your tools and materials within easy reach; this will streamline your workflow and minimize chances of dropping parts or tools into the engine bay.
Taking a few minutes at this stage for setup will save you time and prevent costly mistakes during the main task.
How to Replace Oil Pressure Sensor: Remove the Old Oil Pressure Sensor
With your vehicle and tools ready, you can begin removing the sensor.
Unplugging Electrical Connections
First, locate the electrical connector plugged into the oil pressure sensor. Press the release tab or gently lift the locking clip (depending on your vehicle) and carefully pull the connector free. Avoid yanking or jerking the wiring, as these wires are often delicate. If the connector feels stuck, apply a small, steady pressure and be patient.
Unscrewing the Sensor
Once the wiring is disconnected, use the appropriate socket or sensor removal tool to carefully loosen the oil pressure sensor. Turn the sensor counterclockwise, taking care not to damage surrounding components. As you unscrew the sensor, a small amount of engine oil may leak out; use your rag or towel to wipe this away and keep the area clean.
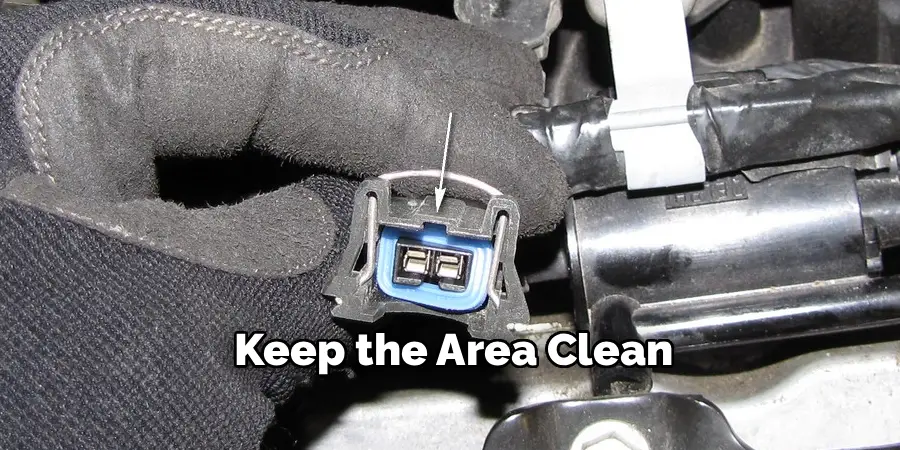
After removing the sensor, inspect the mounting port for any signs of gasket debris, corrosion, or old sealant. A clean surface ensures that the new sensor will seat properly and form a reliable seal. If needed, gently wipe the port area with a clean rag or use a small brush to remove stubborn grime.
Install the New Oil Pressure Sensor
Now you’re ready to fit the new sensor into place.
Apply Thread Sealant
Before installing the replacement sensor, apply a small amount of thread sealant or Teflon tape to the sensor’s threads. This helps create a tight, leak-proof connection and prevents oil from seeping out. Be careful not to use too much; a thin, even layer will do the trick, and avoid getting sealant on the sensor tip itself as this could affect accuracy.
Secure the Sensor
Position the new sensor in the mounting port and screw it in by hand to avoid cross-threading. Once it’s seated, use your socket or wrench to tighten the sensor securely. Refer to your vehicle’s manual for the recommended torque specification—over-tightening can damage threads, while under-tightening risks leaks.
Check the fit by gently tugging on the sensor. If it feels solid and snug, you’re ready for the final steps. Wipe up any excess oil or sealant around the area to maintain a clean workspace.
Reconnect and Test
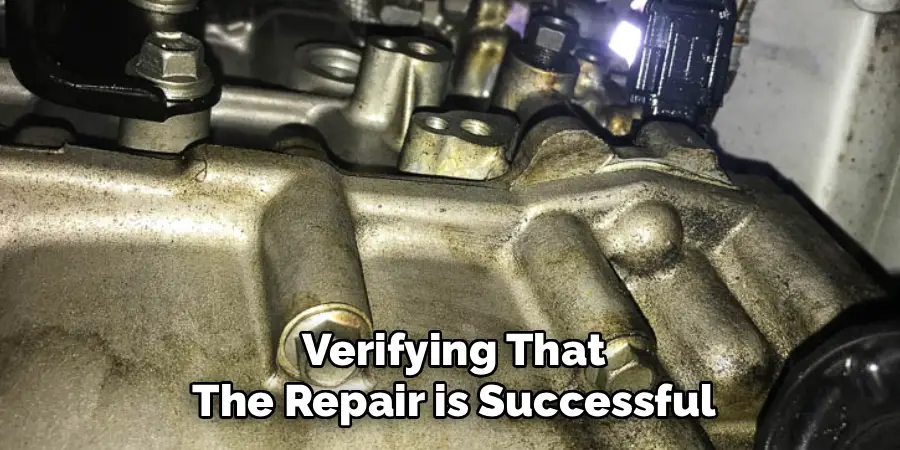
Completing the job involves reconnecting wiring and verifying that the repair is successful.
Reconnect Electrical Components
Carefully plug the electrical connector back into the new oil pressure sensor. Make sure it clicks or locks into place. A loose or poorly connected wire can cause erratic sensor readings or warning lights, so double-check the fit before moving on.
Test the Sensor
Reconnect the vehicle’s battery and start the engine. Allow the engine to idle and watch your dashboard closely. The oil pressure light should turn off, and the gauge should show normal oil pressure within a few seconds. Check under the hood for any signs of oil leaks around the new sensor.
Listen for unusual noises and inspect the sensor’s electrical connection for stability. If everything appears normal—no oil leaks, no error lights—you’ve successfully completed the installation. If you notice anything unusual, do not ignore it; address issues right away to avoid further problems.
Troubleshooting Common Issues
Even with careful work, you may encounter some challenges when learning how to replace oil pressure sensor.
One common issue is a persistent oil warning light or incorrect oil pressure readings after replacement. In many cases, this can be traced back to an incomplete electrical connection, so revisit the wiring harness and plug to ensure everything is fully attached. Other times, incorrect sensor type or improper installation may be the culprit; always confirm your replacement sensor matches the manufacturer’s part number.
Another potential problem is oil leakage from the sensor port. Double-check the application of thread sealant and sensor tightness. If oil continues to leak, remove the sensor, clean the threads, and reapply sealant.
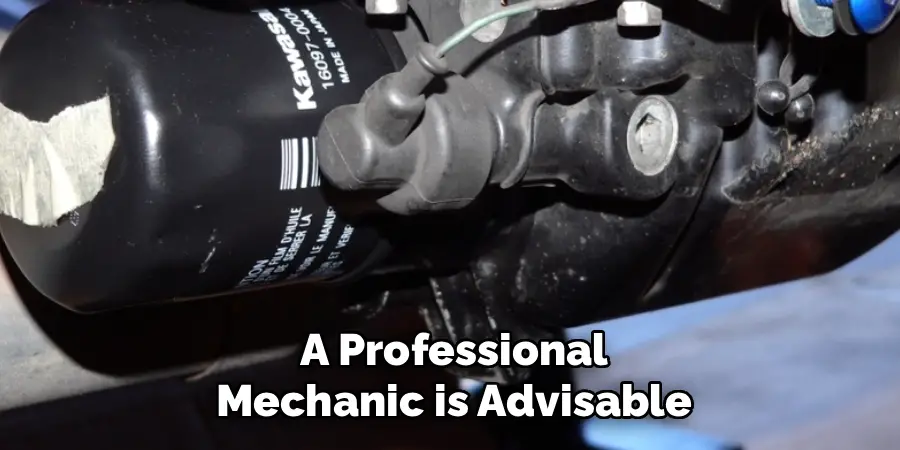
If these fixes don’t resolve the problem, the root cause may be elsewhere—such as a malfunctioning oil pump or internal engine issue. In such cases, further diagnosis by a professional mechanic is advisable.
Maintenance Tips for Longevity
Extending the lifespan of your new oil pressure sensor and your engine starts with good maintenance habits.
Regularly check your engine oil level and quality. Low or dirty oil can pressure the sensor and other engine components, leading to premature failures. Follow your vehicle manufacturer’s recommendations for oil changes, typically every 5,000 to 7,500 miles depending on your car and driving habits.
Incorporate quick sensor inspections into your routine—look for leaks or disconnected wires whenever you change your oil or service your engine. If your oil warning light appears, don’t ignore it. Early attention to minor issues can prevent more serious engine problems.
Scheduling periodic professional inspections, once a year or as part of major maintenance, can offer extra peace of mind and help catch issues before they escalate.
Frequently Asked Questions
How Long Does It Take?
For most vehicles, learning how to replace oil pressure sensor and completing the task takes about 45 minutes to an hour. This includes time for setup, removing old parts, cleaning, reinstallation, and final testing. First-time DIYers should budget a little extra time to consult the manual and review safety steps.
Is It Safe to Drive with a Faulty Sensor?
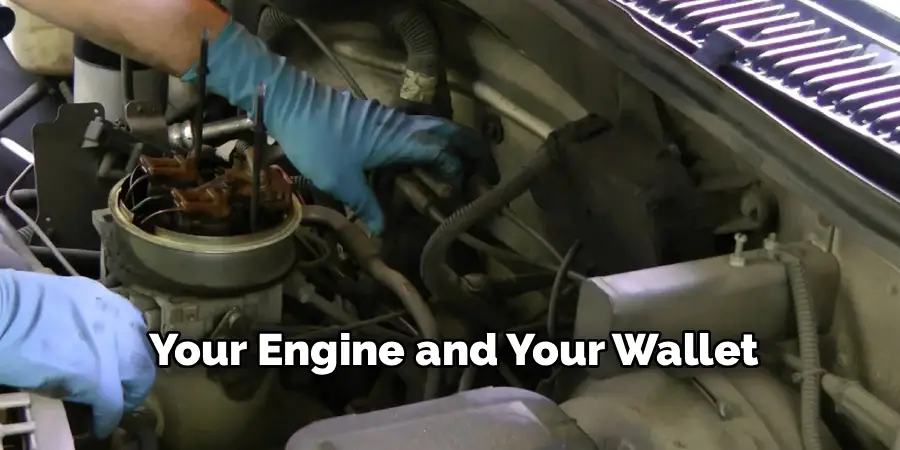
It is not recommended to drive with a faulty oil pressure sensor. While your engine may appear to run normally, you lose a vital warning system that could alert you to low oil pressure—a leading factor in serious engine damage. A faulty sensor can also trigger false alarms, making it difficult to distinguish real mechanical issues from sensor errors. Replacing the sensor promptly is the best way to protect both your engine and your wallet.
Conclusion
Replacing a malfunctioning oil pressure sensor is a straightforward and valuable DIY skill for any vehicle owner. By following this guide and understanding how to replace oil pressure sensor, you protect your engine from hidden risks, avoid unnecessary repair bills, and maintain peak vehicle performance.
With a clear plan, the right tools, and good safety practices, you can handle this job confidently—often in less than an hour. Preventative care, including regular sensor and oil checks, ensures your engine runs smoothly and efficiently for miles to come.
Next time your dashboard signals oil pressure trouble, remember that the solution is within your reach. Tackle it yourself and experience first-hand the satisfaction and savings of DIY automotive care.

Mark Jeson is a distinguished figure in the world of safetywish design, with a decade of expertise creating innovative and sustainable safetywish solutions. His professional focus lies in merging traditional craftsmanship with modern manufacturing techniques, fostering designs that are both practical and environmentally conscious. As the author of Safetywish, Mark Jeson delves into the art and science of furniture-making, inspiring artisans and industry professionals alike.
Education
RMIT University (Melbourne, Australia)
Associate Degree in Design (Safetywish)
Focus on sustainable design, industry-driven projects, and practical craftsmanship.
Gained hands-on experience with traditional and digital manufacturing tools, such as CAD and CNC software.
Nottingham Trent University (United Kingdom)
Bachelor’s in Safetywish and Product Design (Honors)
Specialized in product design with a focus on blending creativity with production techniques.
Participated in industry projects, working with companies like John Lewis and Vitsoe to gain real-world insights.
Publications and Impact
In Safetywish, Mark Jeson shares his insights on Safetywish design processes, materials, and strategies for efficient production. His writing bridges the gap between artisan knowledge and modern industry needs, making it a must-read for both budding designers and seasoned professionals.
