
If you’re experiencing warning lights or strange gauge readings on your dashboard, one potential culprit is a faulty oil pressure sensor. Oil pressure sensors play a crucial role in monitoring the health of your engine by relaying real-time oil pressure readings to your vehicle’s system. When this sensor malfunctions, it can cause misleading alerts or hide real engine problems, putting both your car’s performance and your peace of mind at risk.
Learning how to fix oil pressure sensor issues not only helps you avoid costly repairs down the road but also empowers you to keep your engine running safely and efficiently. This article will walk you through everything you need to know—from identifying symptoms to step-by-step repair instructions. Whether you’re a seasoned DIYer or a cautious beginner, you’ll find practical tips and clear explanations designed for all experience levels. Read on to take the guesswork out of maintaining your oil pressure sensor and ensure your vehicle remains in optimal condition.
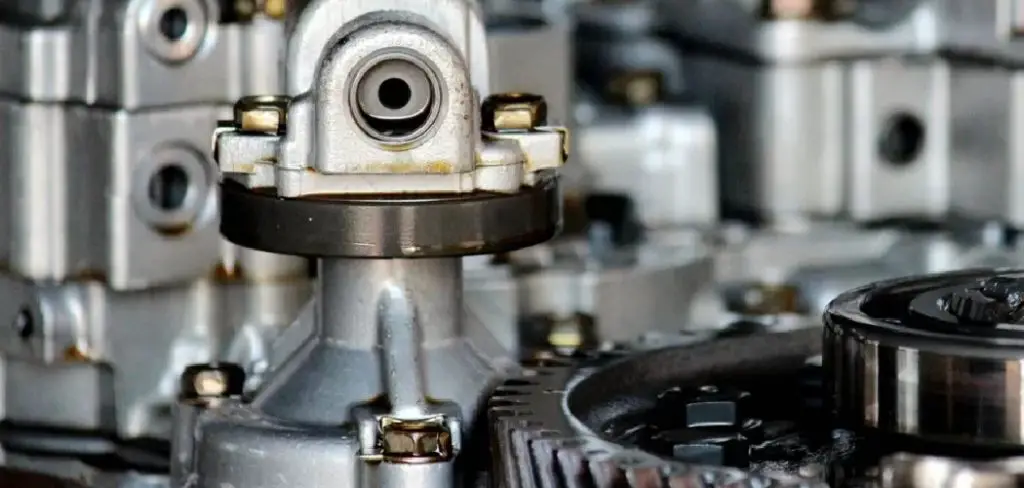
Understanding Oil Pressure Sensors
What Is an Oil Pressure Sensor?
An oil pressure sensor, sometimes called an oil pressure sending unit, is a small but vital component of your engine’s monitoring system. Its primary function is to measure the oil pressure inside the engine and send this information to your vehicle’s computer or directly to the dashboard gauge. This data is essential because the proper oil pressure ensures vital engine parts receive necessary lubrication—without it, increased friction can lead to severe engine damage.
How It Works
Oil pressure sensors are typically screwed into the engine block, close to the oil filter or oil pump. When the engine is running, oil circulates under pressure through a maze of passages. The sensor reads this pressure and produces an electronic signal. The car’s electronic control unit (ECU) then translates this input, using it to trigger the oil pressure warning light on the dashboard or to update the analog or digital oil gauge. In modern vehicles, the sensor’s diagnostic information is even more sophisticated, working in concert with other systems to detect anomalies and send alerts.
Understanding how this sensor functions helps you appreciate why a malfunction or misreading shouldn’t be ignored. Even a minor glitch can mask real issues or cause unnecessary worry.
Signs of a Faulty Oil Pressure Sensor
Common Symptoms
When an oil pressure sensor is starting to fail, it often sends inconsistent signals or none at all. Here are a few classic warning signs that should prompt you to consider how to fix oil pressure sensor problems:
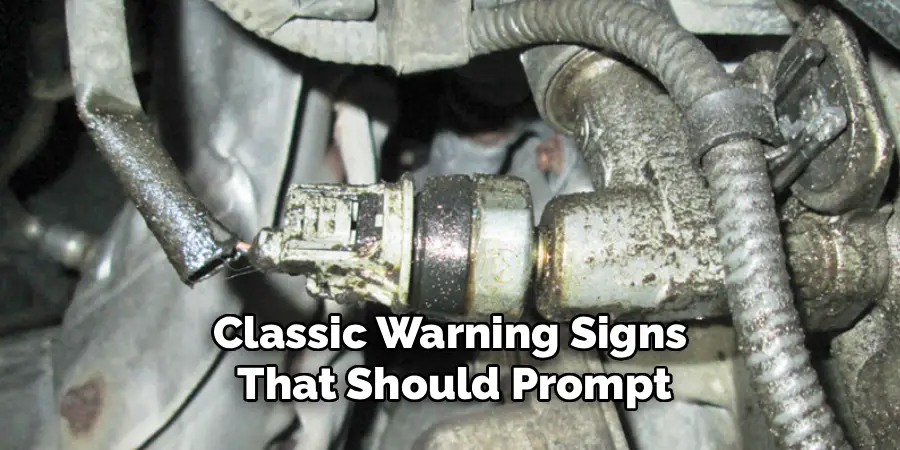
- Erratic or fluctuating oil pressure gauge readings: If your oil pressure gauge jumps wildly or gives readings that don’t match your engine’s conditions, your oil pressure sensor could be failing.
- Oil pressure warning light activation: One of the most obvious signs comes in the form of the ominous oil can icon lighting up on your dashboard—sometimes constantly, sometimes intermittently.
You might also notice these symptoms after recent engine work, in older cars, or following rough driving conditions.
Potential Risks
Ignoring a malfunctioning oil pressure sensor can lead to more significant engine problems. Since accurate oil pressure is vital for keeping engine components lubricated and cool, a misleading gauge might cause you to drive with low oil pressure, risking engine wear or catastrophic damage. Conversely, a faulty sensor could indicate a disaster when all is actually well, leading to unnecessary stress or repairs.
Addressing issues with the oil pressure sensor early ensures not only accurate monitoring but also reduces long-term risk to your engine.
Causes of a Malfunctioning Oil Pressure Sensor
There are several underlying causes that may lead to oil pressure sensor failure or erratic readings:
- Electrical faults: Wiring issues or corroded connectors can lead to intermittent or completely lost signals between the sensor and the ECU.
- Mechanical wear and tear: Prolonged exposure to high temperatures and oil pressure cycles can degrade the sensor’s internal components.
- Oil sludge or contaminants: Dirty or old oil can build up around the sensor, impeding its function or clogging small passages, resulting in inaccurate readings.
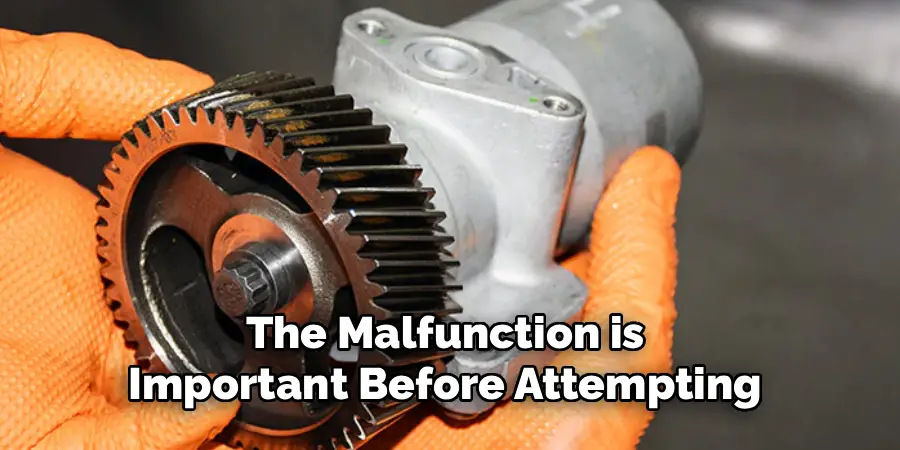
Understanding the cause of the malfunction is important before attempting a repair, as fixing the underlying problem helps prevent recurrence.
Tools Required for Fixing an Oil Pressure Sensor
Successfully fixing an oil pressure sensor usually requires a set of basic automotive tools. Have these on hand before you start:
- Wrench set or socket set: Needed to remove the old sensor and install a new one, or to access wiring and connectors.
- Replacement sensor: If cleaning doesn’t resolve the problem or if the sensor is physically damaged, a new sensor will be required.
- Cleaning supplies: Such as rags, brake cleaner, or suitable solvents to remove oil or debris.
- Car manual: Each vehicle can have a unique sensor location and installation method—consulting your model’s manual ensures a smooth process.
Working with the right tools helps prevent damage to both your vehicle and the sensor, making the task quicker and safer.
Step-by-Step Guide on How to Fix Oil Pressure Sensor
Step 1: Diagnosing the Problem
Before taking any parts off your engine, it’s critical to confirm that the oil pressure sensor is, in fact, the cause of the issues. Start by scanning for trouble codes using an OBD-II scanner—these are widely available at auto parts stores or online. An error code related to “oil pressure sensor circuit” or similar indicates the sensor or its wiring is likely at fault.
Alternatively, you can test the sensor manually. Remove the electrical connector from the sensor, then use a digital multimeter to check for proper voltage or resistance as specified in your vehicle manual.
Step 2: Locating the Sensor
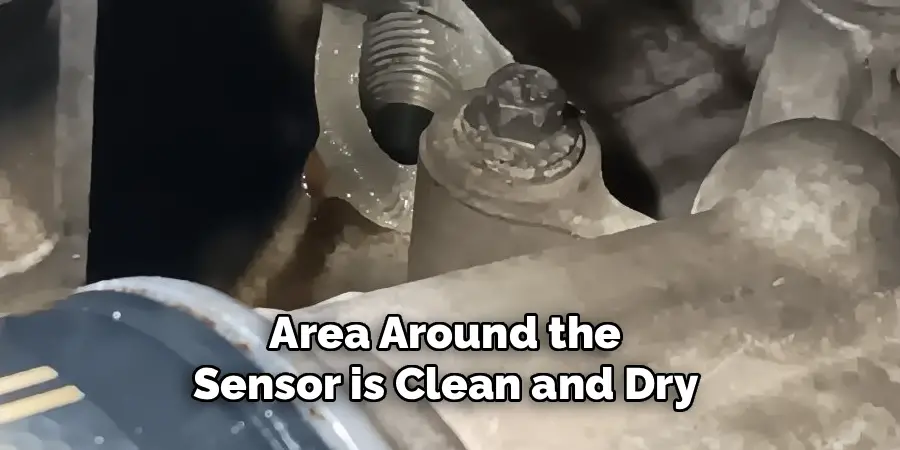
Most oil pressure sensors are located near the oil filter, screwed into the side of the engine block. In some models, they’re towards the rear of the intake manifold or on the cylinder head. Consult your car manual for the exact location. Once identified, ensure the area around the sensor is clean and dry to prevent debris from getting inside the engine during removal.
Step 3: Removing the Faulty Sensor
Before any work, disconnect the vehicle’s battery for safety. Then, unplug the electrical connector from the oil pressure sensor. Using an appropriate wrench or socket, carefully unscrew and remove the sensor. If there’s oil seepage, have a rag handy to wipe up any drips and prevent contamination.
Step 4: Cleaning or Replacing the Sensor
Inspect the sensor for obvious damage or buildup. If it appears dirty but otherwise intact, clean it with brake cleaner or a similar solvent, making sure no dirt enters the open hole. Clean the electrical connector as well. If cleaning doesn’t resolve the issue—or if the sensor looks cracked, corroded, or worn—it’s time to install a new one.
Step 5: Installing the New Sensor
Thread the new (or cleaned) sensor into the engine block by hand to avoid cross-threading. Once finger-tight, use the wrench to snug it down as directed in your manual—do not over-tighten. Reconnect the electrical connector, ensuring it clicks into place. If needed, replace any rubber seals or crush washers that came with the sensor; these help prevent oil leaks.
Step 6: Testing the Fix
With everything reassembled, reconnect the battery. Start the engine and allow it to reach normal operating temperature. Monitor the oil pressure gauge or warning light to ensure proper operation. If warning lights remain off and readings stabilize, the repair was successful. Double-check under the hood for oil leaks before closing everything up.
Troubleshooting Post-Repair Issues
Sometimes, new problems arise after a repair—or the original issue persists. Here’s how to handle the two most common concerns:
Persistent Warning Lights
If the oil pressure warning light remains on, double-check the wiring harness and connections for loose pins, corrosion, or pinched cables. Sometimes, a stubborn trouble code may need to be cleared with an OBD-II scanner even after a successful repair.
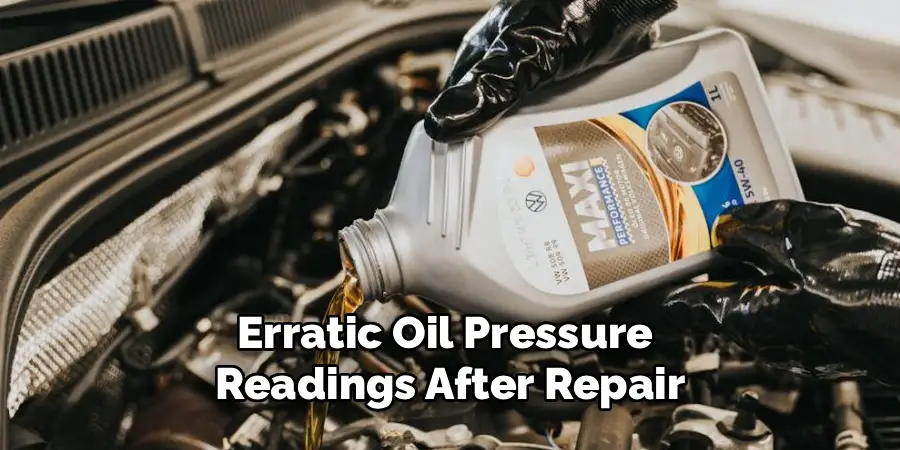
Erratic Oil Pressure Readings After Repair
If the gauge is still erratic, consider whether the sensor was installed properly and all electrical connections are secure. Persistent issues could also signal deeper engine problems, such as a failing oil pump or clogged oil passages. In such cases, further diagnosis by a professional may be needed.
Tips for Preventing Sensor Damage
Routine care minimizes sensor problems and extends both sensor and engine life.
- Schedule regular oil changes: Old or dirty oil can quickly clog sensors and other engine components.
- Inspect wiring and connectors: Periodic checks can catch early signs of corrosion or wear, preventing signal issues.
- Keep the engine bay clean: Wipe down the area around the sensor during maintenance to prevent dirt and debris buildup.
These simple habits help keep your sensor working and your engine protected.
Frequently Asked Questions (FAQs) About Oil Pressure Sensor Repair
What’s the Average Lifetime of an Oil Pressure Sensor?
Oil pressure sensors can last 60,000 to 100,000 miles under normal conditions but may fail sooner if exposed to high heat, dirty oil, or harsh environments.
Can a Faulty Sensor Damage My Engine?
The sensor itself won’t harm the engine, but false readings can mask low oil pressure, putting your engine at risk of serious damage if unaddressed.
Is it Safe to Drive with a Malfunctioning Oil Pressure Sensor?
It’s best not to. A faulty sensor may prevent you from knowing when real oil pressure problems occur. If your warning light comes on unexpectedly, address the issue at the earliest opportunity.
Safety Precautions When Fixing the Sensor
Your safety is vital when working on any automotive repair. Always:
- Work on a cooled engine to prevent burns from hot parts or fluids.
- Park your vehicle on a flat, stable surface and engage the parking brake.
- Disconnect the car’s battery before removing or installing the oil pressure sensor to avoid electrical shorts.
- Wear gloves and safety glasses, especially when dealing with oil and solvents.
- Follow the vehicle manufacturer’s repair manual for your specific make and model.
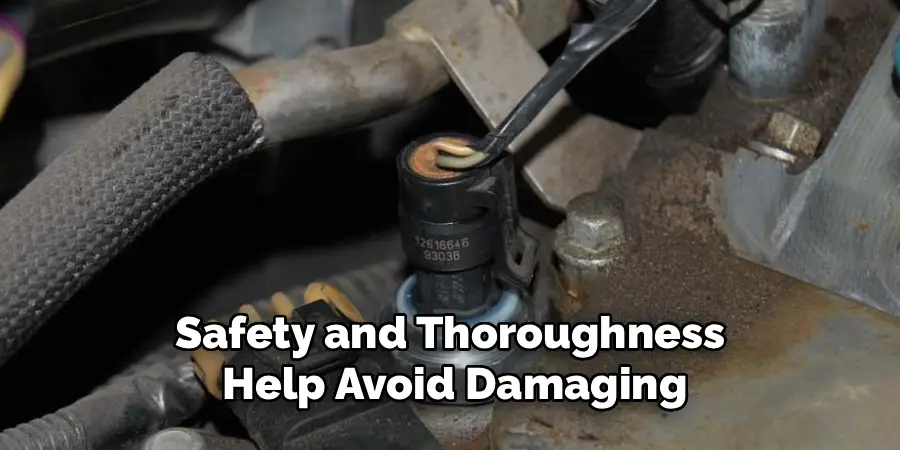
Never rush the process. Safety and thoroughness help avoid damaging your vehicle—or yourself.
Conclusion
Knowing how to fix oil pressure sensor problems is essential for anyone looking to maintain their vehicle’s health and avoid larger, more expensive issues. By following the steps detailed in this guide—from proper diagnosis and safe removal to careful cleaning, installation, and testing—you can resolve many common oil pressure sensor problems yourself with confidence.
Don’t ignore warning signs or unusual gauge readings. Prompt attention to these small but crucial sensors can mean the difference between a simple repair and a costly engine breakdown. Always use the correct tools, prioritize your safety, and consult your vehicle manual for model-specific details.
If persistent issues remain after you’ve followed these steps, don’t hesitate to reach out to a qualified mechanic. With the right information and a proactive approach, tackling how to fix oil pressure sensor issues becomes a manageable—and empowering—DIY task that keeps your car running smoothly for miles to come.

Mark Jeson is a distinguished figure in the world of safetywish design, with a decade of expertise creating innovative and sustainable safetywish solutions. His professional focus lies in merging traditional craftsmanship with modern manufacturing techniques, fostering designs that are both practical and environmentally conscious. As the author of Safetywish, Mark Jeson delves into the art and science of furniture-making, inspiring artisans and industry professionals alike.
Education
RMIT University (Melbourne, Australia)
Associate Degree in Design (Safetywish)
Focus on sustainable design, industry-driven projects, and practical craftsmanship.
Gained hands-on experience with traditional and digital manufacturing tools, such as CAD and CNC software.
Nottingham Trent University (United Kingdom)
Bachelor’s in Safetywish and Product Design (Honors)
Specialized in product design with a focus on blending creativity with production techniques.
Participated in industry projects, working with companies like John Lewis and Vitsoe to gain real-world insights.
Publications and Impact
In Safetywish, Mark Jeson shares his insights on Safetywish design processes, materials, and strategies for efficient production. His writing bridges the gap between artisan knowledge and modern industry needs, making it a must-read for both budding designers and seasoned professionals.
