
Lighting technology is evolving, with smart systems making homes and workplaces more efficient, convenient, and secure. Among the leading innovations are Lutron Motion Sensor Switches, which provide users with an easy way to automate lighting, enhance energy efficiency, and add a modern touch to any space. Whether you’re looking to reduce energy bills, improve accessibility, or simply update your home’s lighting controls, a motion sensor switch is a great solution.
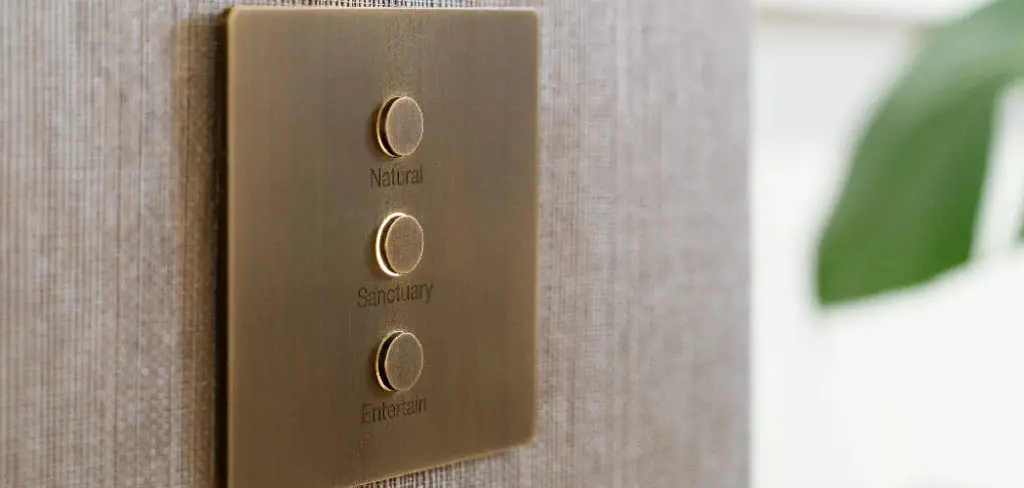
This guide will take you step-by-step through the process of how to install Lutron motion sensor switch, providing all the practical advice, safety considerations, and troubleshooting guidance you’ll need for a successful installation.
Understanding Lutron Motion Sensor Switches
What Is a Lutron Motion Sensor Switch?
A Lutron Motion Sensor Switch is a smart device designed to automatically control lights based on detected movement within a room or area. These switches use specialized sensors—most often infrared or ultrasonic—to identify when a space is occupied and trigger the light accordingly. When movement ceases, the sensor turns off the lights after a preset interval, helping conserve energy. Lutron’s designs are known for reliability, flexibility, and their ability to integrate with a variety of lighting fixtures and bulbs, making them suitable for nearly any setting.
Advantages of Installing a Motion Sensor Switch
There are numerous benefits to installing a Lutron motion sensor switch. The most obvious advantage is automatic lighting—no more fumbling for a switch in the dark or forgetting to turn lights off when you leave a room. This hands-free convenience is ideal for spaces like bathrooms, hallways, laundry rooms, garages, or any area where lights are frequently left on. Additionally, these switches can significantly reduce energy costs by ensuring lights aren’t left running unnecessarily.
Over time, this not only benefits your wallet but also helps the environment by reducing your household or business’s carbon footprint. Finally, Lutron’s range of models makes it easy to find a motion sensor switch that fits your specific needs, whether you need occupancy sensing (lights turn on automatically) or vacancy sensing (lights must be turned on manually but turn off automatically).
Tools and Preparations Required
Tools Checklist
Before you start installing your new switch, gather all the necessary tools and components. Most installations require a few basic items:
- Flathead and Phillips screwdrivers
- Wire stripper or cutter
- Voltage tester (essential for safety)
- Electrical tape
- The Lutron Motion Sensor Switch kit (typically includes the switch, wire nuts, and mounting hardware)
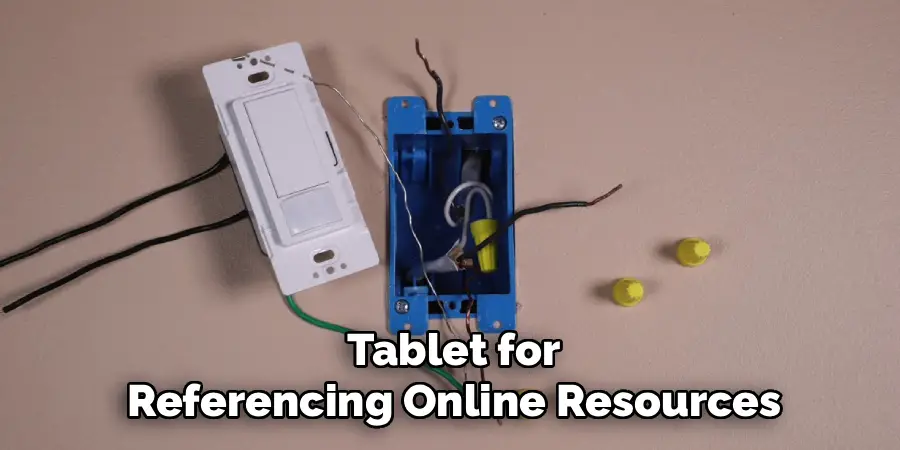
Some optional tools that may help include a flashlight for working in dim spaces, needle-nose pliers, and a smartphone or tablet for referencing online resources.
Preparing Your Workspace
Proper preparation of your workspace will make the installation smoother and safer. Begin by identifying the fixture and wall switch you intend to replace. Clear the surrounding area, making sure you have sufficient room to work and a clear path to your breakers, should you need to turn off power quickly. Most importantly, always turn off the circuit breaker that controls the switch you’ll be replacing—never rely on just turning “off” the wall switch itself. After shutting off the breaker, use your voltage tester to confirm that there is no power at the switch before proceeding. This step cannot be skipped, as working on a live circuit can result in serious injury.
Safety Guidelines
Safety should always be your top priority when working with electricity. Here are the most important guidelines to follow for a safe and secure installation of your Lutron motion sensor switch:
- Always turn off the circuit breaker to the switch you’re replacing, and verify the power is off using the voltage tester before touching any wires.
- Wear shoes or boots with rubber soles to reduce your risk of electric shock.
- Work in a dry area, and never attempt electrical work if the environment is wet.
- Follow all instructions provided in the Lutron installation guide.
- Make sure all wire connections are tight and insulated using wire nuts or electrical tape. Loose wires may lead to shorts or fire hazards.
- If at any point you’re unsure about wiring, local building codes, or the installation process, don’t hesitate to stop and consult a licensed electrician.
Local electrical regulations may vary, and not every installation is the same. Taking these precautions will ensure a safe setup for you and anyone using the space afterwards.
How to Install Lutron Motion Sensor Switch: Step-by-Step Installation Guide
The process of installing a Lutron motion sensor switch is straightforward if you follow each stage carefully. Here’s a detailed walkthrough for do-it-yourself enthusiasts, as well as those newer to electrical work.
Removing the Existing Switch
- Confirm that the power is off at the breaker box.
- Remove the switch wall plate by unscrewing it with a flathead screwdriver.
- Use your voltage tester to check the terminals of the existing switch for live current.
- Unscrew the old switch mounting screws and gently pull the switch out from the electrical box.
- Take note (or a photo) of how the wires are connected to the old switch—this will help during the wiring phase.
- Carefully disconnect the wires, making sure to keep wire ends separated.
Wiring the Lutron Motion Sensor Switch
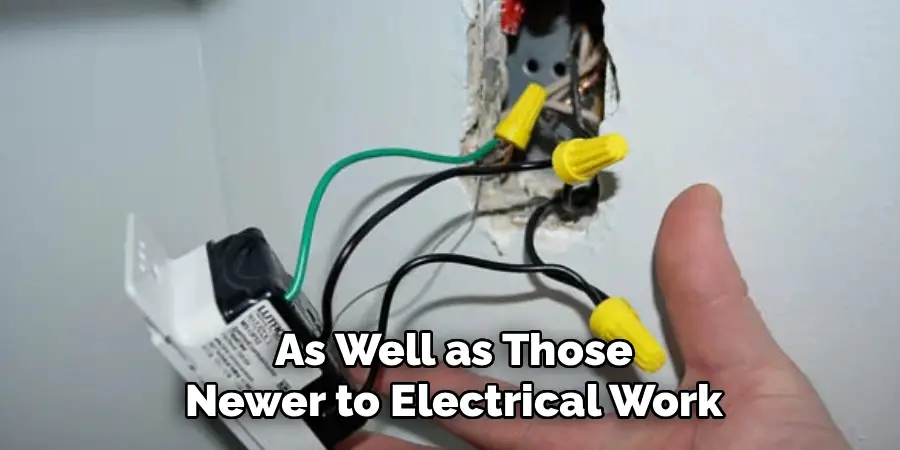
- Identify the wires in your wall box. Most common are Hot (black or red), Load (black), Neutral (white), and Ground (green or bare).
- If your home does not have a neutral wire, consult the Lutron switch manual or contact support—many models require a neutral connection.
- Following the instructions in your Lutron kit, connect the corresponding wires from the switch to those in the wall using wire nuts. Generally, you’ll match the colors (black to black, white to white, green/bare to green).
- Ensure all wire connections are secure and no copper is exposed outside the wire nuts.
- Gently push the wires back into the electrical box.

Securing the Switch and Reassembling
- Align the new Lutron motion sensor switch with the holes in your electrical box and secure it with the provided screws.
- Place the wall plate over the switch and secure it in place.
- Double-check that nothing is pinched or over-tightened, as this can damage the device or wiring.
- Restore power at the circuit breaker.
Once power is restored, the switch should power up, and you may see indicator lights to show it’s ready for configuration.
Configuring the Lutron Motion Sensor Switch
Adjusting Sensitivity and Timer Settings
Many Lutron models come with adjustable settings for sensitivity and timer duration. These options let you tailor the sensor’s response to your needs. Usually, you’ll find small dials, switches, or digital controls either on the front or side of the device:
- Adjust the sensor’s sensitivity so it properly detects movement in your space, avoiding false triggers or missed activation.
- Set the timer for how long the lights should stay on after the room becomes vacant—typical ranges are from 1 minute to 30 minutes, depending on the model and your preference.
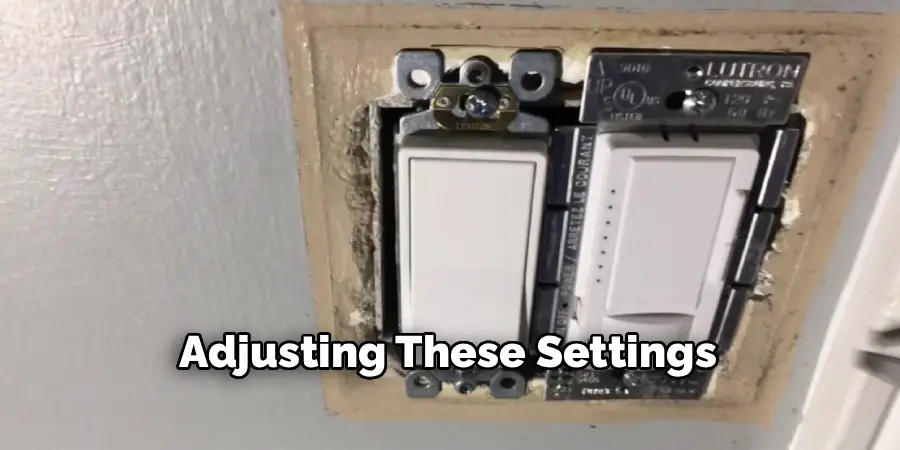
Consult the user manual for specific instructions on accessing and adjusting these settings.
Testing after Installation
After setting your preferences, thoroughly test the switch:
- Walk into the room to confirm the lights come on as expected.
- Remain still and verify the lights turn off after the set interval.
- Adjust sensitivity or timer again if activation is inconsistent.
Testing at different times of day or under differing lighting conditions can help you identify and correct any issues before you consider the job done.
Troubleshooting Common Installation Issues
Even with careful planning and proper tools, issues can arise. Here’s how to resolve some of the most common challenges:
Sensor Not Detecting Motion
- Ensure the sensor’s lens is clean and unobstructed.
- Double-check your sensitivity setting—if it’s too low, minor movement may not trigger the light.
- Make sure you installed the switch right-side up, as mounting orientation affects the sensor’s field of view.
Circuit Not Powering Up
- Confirm all wire connections are tight and matched to the correct terminals.
- Check the circuit breaker—sometimes re-installation trips it.
- If you continue to experience issues, turn off power fully and inspect wiring again. If you notice damaged wires or non-standard electrical configurations, it’s best to call a licensed electrician.
Any electrical concerns beyond these basics are best left to a professional.
Frequently Asked Questions About Installation
Can the Switch Be Installed in Multi-way Setups?
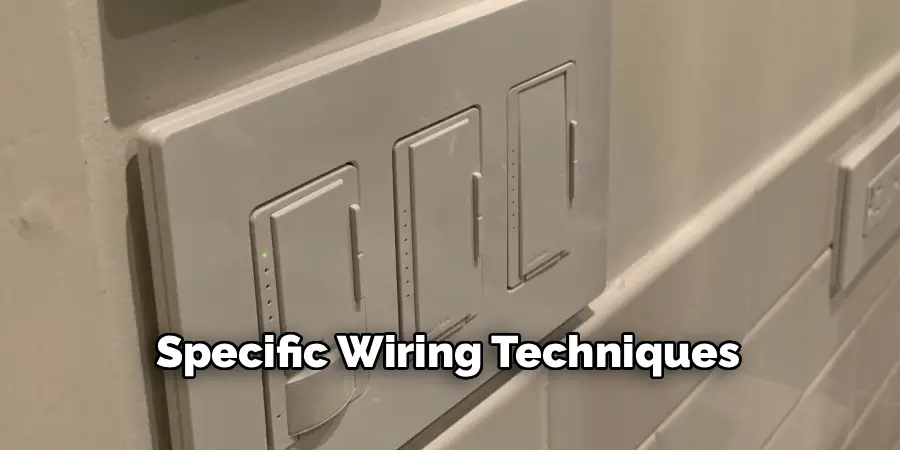
Yes, many Lutron motion sensor switches support multi-way installation, allowing you to control a light from more than one location. However, verify compatibility by checking your switch model’s instructions. Multi-way circuits sometimes require additional accessories or specific wiring techniques.
Is Professional Installation Required for Safety?
While the installation is manageable for most home DIYers with basic electrical skills, any uncertainty should prompt you to call a certified electrician. Electrical work carries inherent risks, and local regulations may demand professional installation.
How do I know if my current electrical system supports the Lutron Motion Sensor Switch?
Consult the compatibility chart in your switch’s user guide. Most standard residential electrical systems work fine, but specific models may require a neutral wire or have limits regarding the type or number of bulbs they support.
Additional Tips for a Seamless Installation
- If you’re upgrading one switch to a motion sensor, consider doing the same for adjacent switches. This creates a cohesive look and ensures consistent automation across your home or office.
- Many Lutron motion sensor switches integrate smoothly into smart home systems, like those managed via app or voice assistant. Synergy between devices increases your control and lets you set up routines for maximum comfort and energy savings.
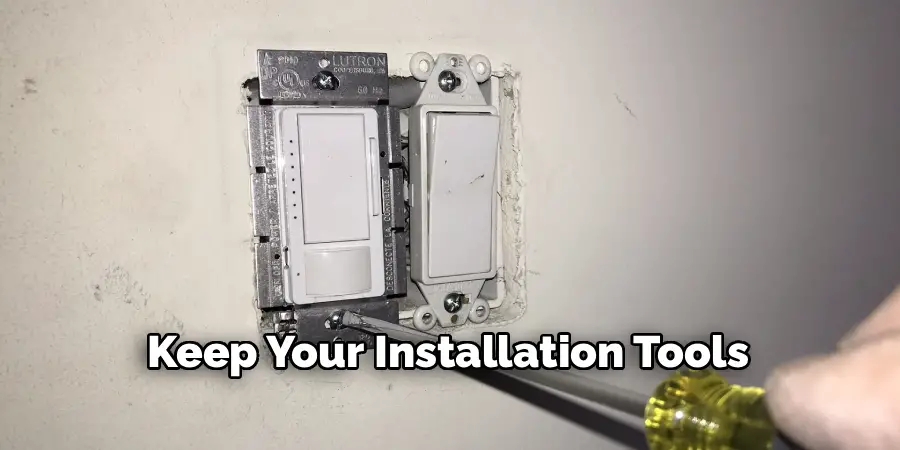
- Keep your installation tools and manual handy for future adjustments or firmware upgrades—some advanced models support new features through software updates.
Conclusion
Learning how to install Lutron motion sensor switch offers lasting benefits— from energy savings and modern convenience to greater safety in your living or working environment. The installation process is accessible for most DIYers, provided you prepare, follow safety steps, and use the right tools. By taking the time to set the sensor’s preferences and test its operation, you’ll ensure reliable performance tailored to your needs. If you ever feel uncertain during installation, a licensed electrician can help make the process smooth and worry-free. Begin your transformation today by upgrading your switches and experience the simplicity and intelligence of automated lighting firsthand.

Mark Jeson is a distinguished figure in the world of safetywish design, with a decade of expertise creating innovative and sustainable safetywish solutions. His professional focus lies in merging traditional craftsmanship with modern manufacturing techniques, fostering designs that are both practical and environmentally conscious. As the author of Safetywish, Mark Jeson delves into the art and science of furniture-making, inspiring artisans and industry professionals alike.
Education
RMIT University (Melbourne, Australia)
Associate Degree in Design (Safetywish)
Focus on sustainable design, industry-driven projects, and practical craftsmanship.
Gained hands-on experience with traditional and digital manufacturing tools, such as CAD and CNC software.
Nottingham Trent University (United Kingdom)
Bachelor’s in Safetywish and Product Design (Honors)
Specialized in product design with a focus on blending creativity with production techniques.
Participated in industry projects, working with companies like John Lewis and Vitsoe to gain real-world insights.
Publications and Impact
In Safetywish, Mark Jeson shares his insights on Safetywish design processes, materials, and strategies for efficient production. His writing bridges the gap between artisan knowledge and modern industry needs, making it a must-read for both budding designers and seasoned professionals.
