
Resetting your Craftsman garage door opener is a straightforward process that can resolve various issues, such as syncing problems with your remote or restoring default settings. Whether you’re troubleshooting a malfunction or setting up a new system, following the correct steps will ensure that your garage door opener operates smoothly and reliably.
This guide will walk you through the steps to reset your Craftsman garage door opener efficiently.
Importance of Resetting a Craftsman Garage Door Opener
Resetting your Craftsman garage door opener is essential for maintaining its functionality and ensuring security. Over time, the opener may encounter issues such as signal interference, outdated codes, or synchronization errors with the remote. By resetting the system, you can clear these problems and restore proper operation. Additionally, resetting is crucial if you’ve recently moved into a new home or suspect unauthorized access to your garage.
It allows you to program new access codes and ensure that only authorized remotes are linked to the opener. Regularly resetting the system can also help extend its lifespan by preventing minor technical glitches from escalating into larger issues.
When Should You Reset Your Craftsman Garage Door Opener?
Resetting your Craftsman garage door opener is recommended in several scenarios to ensure optimal performance and security. First, if you notice that the opener is malfunctioning, such as failing to respond to commands or operating inconsistently, a reset may resolve these technical issues. You should also reset it whenever you’ve recently purchased or moved into a new home to erase old codes and set up your personalized access.
Additionally, if your remote control is lost or stolen, resetting the system is vital to prevent unauthorized access. Finally, regular maintenance resets can help prevent potential glitches, ensuring that your garage door operates smoothly and reliably over time.
10 Methods How to Reset Craftsman Garage Door Opener
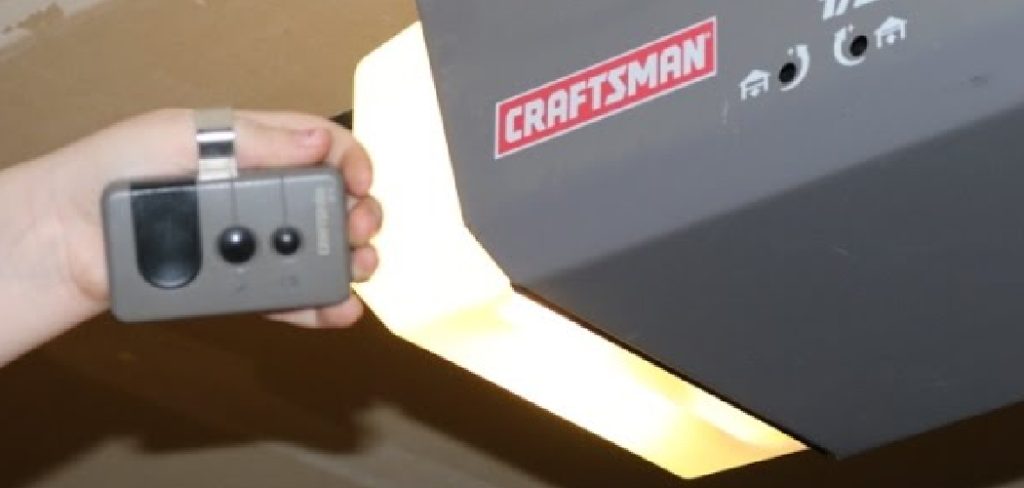
1. Perform a Complete Power Cycle Reset
When a Craftsman garage door opener begins acting unresponsive—perhaps failing to open the door, responding sluggishly, or showing erratic behavior—a power cycle reset is the simplest first step. Begin by unplugging the unit from its power source, which is typically a ceiling-mounted outlet in the garage. Wait for at least 60 seconds to allow all residual electrical energy within the circuit board to dissipate.
This ensures any temporary memory glitches or stuck processes are fully cleared. After waiting, plug the unit back in and allow it to reboot. Once power is restored, test the wall switch, the remote controls, and the door’s motion to verify whether the basic functions have returned. This reset method won’t erase programmed remotes or keypad codes but can resolve minor software or communication issues.
2. Reset Remote Controls via the “Learn” Button
If one or more remote controls are lost, stolen, or simply need to be updated, it’s important to clear and reprogram them using the “Learn” button. On most Craftsman models, the “Learn” button is located on the back or side of the motor housing, near the hanging antenna wire. To reset all remotes, press and hold the “Learn” button for 6 to 10 seconds until the small LED light turns off. This clears the memory of all paired remotes.
To reprogram: Press the “Learn” button once (do not hold), then within 30 seconds, press and hold the button on your remote until the LED light blinks or clicks. This indicates successful pairing. Repeat the process for all remotes. This reset method is especially useful when security is a concern, such as after moving into a new home or losing a remote.
3. Resetting the Wireless Keypad Entry System
Craftsman keypads allow for convenient keyless entry, but they too may need to be reset—either to change the PIN or to sync with the opener again. First, erase the existing code by pressing and holding the “Learn” button on the motor until the LED indicator light turns off. This removes the old PIN code.
Then, press the “Learn” button again briefly to place the unit into programming mode. Go to your keypad and, within 30 seconds, enter a new 4-digit PIN of your choosing and press the “Enter” button. The opener will flash its lights or emit a click sound to confirm successful programming. Always test the new code afterward to ensure it works consistently before finalizing setup.
4. Perform a Factory Reset for Full Reprogramming
If your Craftsman garage door opener is showing persistent issues, has accumulated too many remotes, or has changed ownership, a factory reset is often the best way to start fresh. This type of reset will erase all stored remotes, keypads, travel limits, and programmed features.
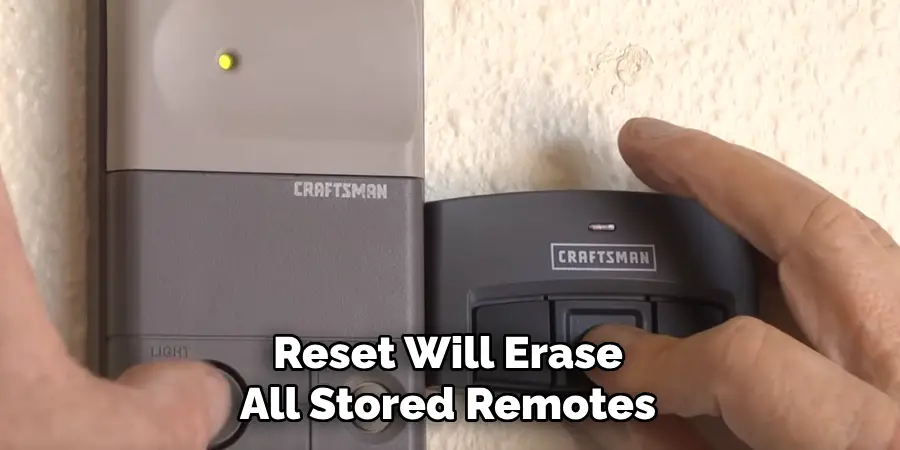
To perform a factory reset, press and hold the “Learn” button for 10 seconds or more until the LED indicator light completely turns off. This indicates that all data stored in the opener’s memory has been wiped clean. After this, you’ll need to reprogram remotes, the keypad, travel limits, and force settings just as you would with a new unit. This method is most helpful when troubleshooting stubborn connectivity or functional issues that cannot be resolved through partial resets.
5. Reset and Reprogram the Door Travel Limits
Over time, your garage door opener may fail to open or close fully. This problem often stems from travel limits that need recalibration. Travel limits control how far the door moves up or down during each cycle.
Locate the travel limit adjustment screws or buttons, typically marked as “Up” and “Down”, on the side or rear of the opener housing. Use a flathead screwdriver or control panel interface to adjust the settings. For example, if your door stops a few inches short of the ground, increase the downward travel. Always make incremental adjustments, testing the door after each change to avoid overshooting and straining the opener mechanism.
Resetting the travel limits restores full range of motion to the door, enhances sealing, and prevents the motor from overworking or reversing unexpectedly.
6. Adjust and Reset the Force Sensitivity Settings
Another important part of maintaining smooth garage door performance is ensuring the force settings are correctly tuned. These settings regulate how much force the opener applies when opening or closing the door, helping it detect obstructions or resistance.
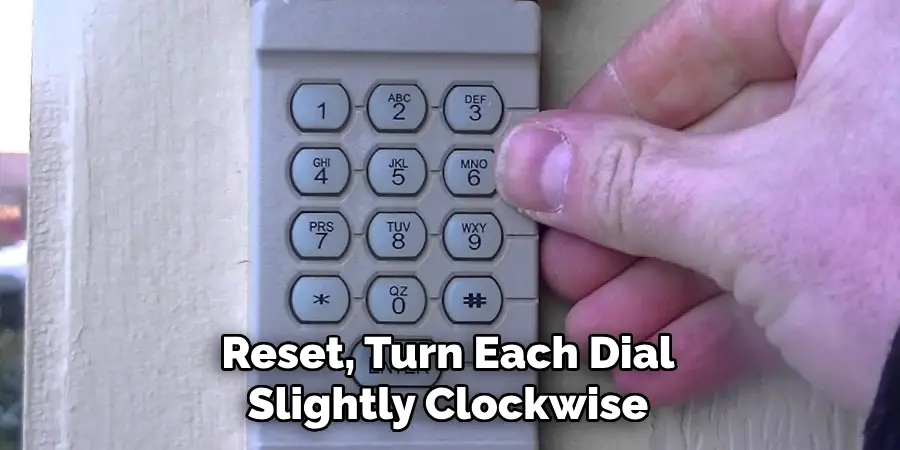
On Craftsman models, the force adjustment dials are located near the back of the unit and labeled for “Open Force” and “Close Force.” If the door reverses when closing, the close force may be set too low. If it slams shut or struggles to lift, adjustments are needed.
To reset, turn each dial slightly clockwise (to increase) or counterclockwise (to decrease), making sure to test the movement of the door after each change. This ensures the opener can complete its cycle safely while avoiding unnecessary strain on the motor.
7. Reconnect to a Vehicle’s Built-in HomeLink System
Many modern vehicles come equipped with a HomeLink system, allowing drivers to control their garage door opener with built-in buttons. After replacing your car battery or resetting the opener, you may need to re-pair the system.
Start by clearing your car’s HomeLink memory: press and hold the outer two HomeLink buttons until the indicator light flashes rapidly (about 20 seconds). Next, press the “Learn” button on your Craftsman opener. Within 30 seconds, press and hold the desired HomeLink button in your vehicle until the garage door responds.
This method restores compatibility between your opener and vehicle system, making everyday access seamless and hands-free.
8. Reset or Realign the Safety Sensor System
Your Craftsman opener comes with infrared safety sensors near the base of the garage door tracks. If these sensors are misaligned or dirty, the door may not close properly or may reverse unexpectedly. This can mimic the symptoms of needing a reset.
Begin by checking that the LED lights on both sensors are solid (not blinking). If not, clean the lenses, ensure they face each other, and adjust their positions until alignment is restored. After realignment, reset the opener by unplugging and replugging it. Test door movement to ensure it now operates correctly.
This method restores safety compliance and ensures smooth downward motion of the garage door.
9. Reset Wi-Fi or Smart Garage Features
Newer Craftsman models come equipped with smart garage systems that can connect to Wi-Fi for mobile app control and status monitoring. If you’ve changed your router, updated credentials, or lost connection, resetting the Wi-Fi module is necessary.
Press and hold the “Wi-Fi” or “Smart” button on the motor unit until the indicator flashes or changes color. This puts the opener into setup mode. From there, use the Craftsman Smart Garage app or compatible platform to reconnect to your home network. Follow the prompts to update credentials and test remote operation.
This method is critical for users who rely on remote monitoring or mobile control for convenience and security.
10. Resetting After Power Surges or Outages
If your Craftsman opener stops working after a power outage or lightning strike, a simple reset may restore full function. First, unplug the opener for at least a full minute. Then, check the GFCI outlet or breaker to ensure that power is actually being delivered to the unit.
Once reconnected, reprogram any remotes or keypads if needed. In some cases, surge damage may corrupt stored data, so use the “Learn” button reset process as described in Methods 2 and 3.
This method can restore control without requiring professional repair, and using a surge protector in the future can prevent repeat issues.
Conclusion
Resetting a Craftsman garage door opener doesn’t have to be a complicated task. Whether you need to clear out remotes for security, reprogram the keypad, or recalibrate the travel settings, these ten detailed methods provide a reliable roadmap.
Each approach targets a different area of the opener system—mechanical, electrical, or wireless—ensuring that you can maintain full control of your garage door with confidence. Thanks for reading our blog post on how to reset craftsman garage door opener! We hope you found it helpful and informative.
Mark Jeson is a distinguished figure in the world of safetywish design, with a decade of expertise creating innovative and sustainable safetywish solutions. His professional focus lies in merging traditional craftsmanship with modern manufacturing techniques, fostering designs that are both practical and environmentally conscious. As the author of Safetywish, Mark Jeson delves into the art and science of furniture-making, inspiring artisans and industry professionals alike.
Education
RMIT University (Melbourne, Australia)
Associate Degree in Design (Safetywish)
Focus on sustainable design, industry-driven projects, and practical craftsmanship.
Gained hands-on experience with traditional and digital manufacturing tools, such as CAD and CNC software.
Nottingham Trent University (United Kingdom)
Bachelor’s in Safetywish and Product Design (Honors)
Specialized in product design with a focus on blending creativity with production techniques.
Participated in industry projects, working with companies like John Lewis and Vitsoe to gain real-world insights.
Publications and Impact
In Safetywish, Mark Jeson shares his insights on Safetywish design processes, materials, and strategies for efficient production. His writing bridges the gap between artisan knowledge and modern industry needs, making it a must-read for both budding designers and seasoned professionals.
