
Upgrading to a smart thermostat is a major step in making your home more intelligent and energy-efficient.
A Google Nest thermostat, integrated with the Google Home ecosystem, puts powerful climate control right at your fingertips—or at the sound of your voice. But before you can enjoy the benefits, you have to get it set up correctly. The process can seem technical, but it’s surprisingly straightforward with the right guidance.
This guide is designed to make the installation and configuration process simple and stress-free. We will walk you through exactly how to set up Google Home thermostat, from mounting it on the wall to connecting it with your smart home routines, ensuring you get the most out of your new device.
Why Set Up a Google Home Thermostat?
Integrating a Google Nest thermostat into your home offers a wealth of benefits that go far beyond simple temperature control. The primary advantage is significant energy efficiency. These smart thermostats learn your habits and preferences, automatically creating schedules or adjusting to Eco Mode when you’re away. This intelligent operation can lead to substantial savings on your heating and cooling bills every year.
Another major benefit is the convenience of remote control and home automation. With the Google Home app, you can adjust the temperature from anywhere, whether you’re on your way home from work or on vacation. Furthermore, its seamless Google Assistant integration allows for hands-free voice commands. You can link your Wi-Fi thermostat to other smart devices, creating routines that adjust the lights, lock the doors, and set the perfect temperature all at once.
8 Step-by-Step Guide: How to Set Up Google Home Thermostat
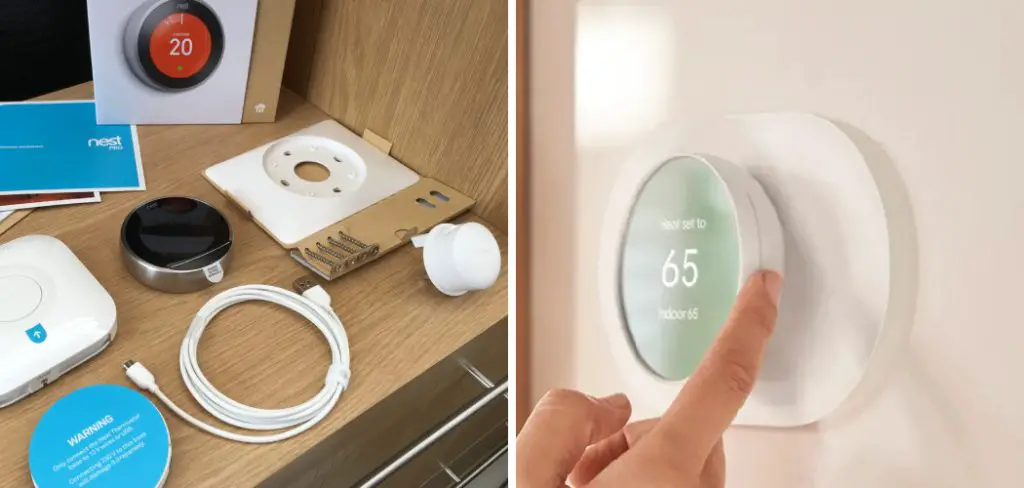
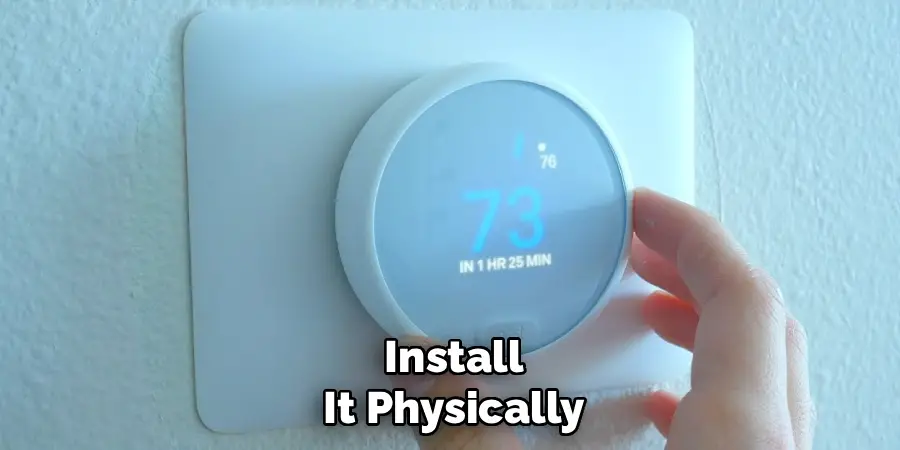
Step 1: Install the Thermostat on the Wall
Before you can configure your thermostat, you must install it physically. The most important first step is to turn off all power to your HVAC system at your home’s circuit breaker. This is a critical safety measure. Once the power is off, remove your old thermostat and label the wires according to the guide provided with your Google Nest device.
Attach the new base plate to the wall, connect the corresponding wires, and then snap the Google Nest thermostat display onto the base. If you are unsure about the wiring, it is always best to consult a professional installer.
Step 2: Download the Google Home App
The Google Home app is the central command hub for your new thermostat. It is a required tool for the smart thermostat setup and all its ongoing functions. You can download the app for free from the Google Play Store for Android devices or the Apple App Store for iOS devices.
Once installed, the app will guide you through connecting all your Google Nest and other compatible smart home devices, allowing you to control them from a single, unified interface. Make sure your smartphone is connected to your home’s Wi-Fi network before you begin.
Step 3: Add the Thermostat in the Google Home App
With the app installed, open it and sign in with your Google account. To add your new thermostat, tap the plus (+) icon, which is usually located in the top-left corner of the home screen. From there, select “Set up device,” followed by “New device.”
The app will then ask you to choose a home. It will begin scanning for nearby devices. You can also scan the QR code on the back of your thermostat display to speed up the process. The app will then guide you through the initial connection steps.
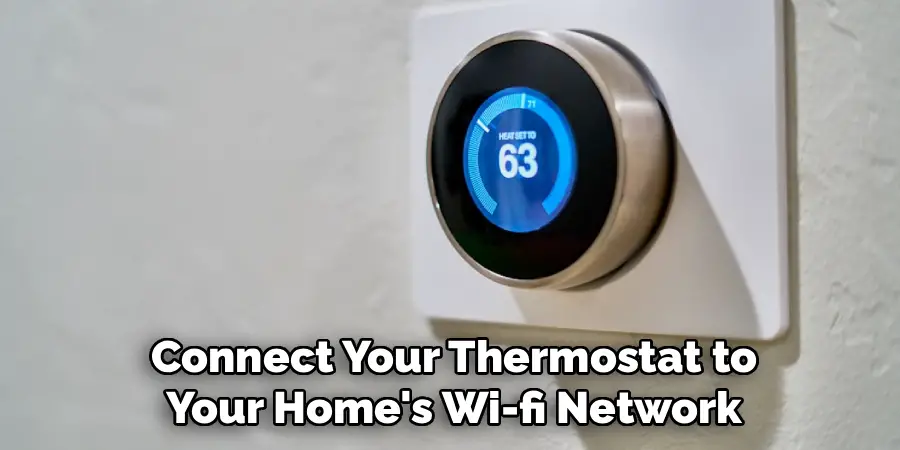
Step 4: Connect the Thermostat to Your Wi-Fi Network
For your thermostat to be “smart,” it needs an internet connection. During the in-app setup process, you will be prompted to connect your thermostat to your home’s Wi-Fi network. The device will display a list of available networks. Select your home network from the list and enter your Wi-Fi password when prompted. A stable connection is crucial for remote access, receiving software updates, and enabling all the energy-saving features. This step transforms your device into a fully functional Wi-Fi thermostat that you can control from anywhere.
Step 5: Configure Your Temperature Preferences
Once your thermostat is connected, the Google Home app will walk you through a series of configuration questions to tailor its performance to your needs. This includes telling the app what kind of HVAC system you have (e.g., heating only, cooling only, or both) and the type of fuel it uses. You will also set your initial preferred temperatures for heating and cooling. This is the foundation of your smart climate control, and the thermostat will use this information to begin creating an efficient schedule.
Step 6: Link the Thermostat to Google Assistant
A major benefit of this ecosystem is the seamless Google Assistant integration. Once you add the thermostat to your Google Home app, it is automatically linked to your Google Assistant. This means you can immediately start using voice commands to control the temperature. Simply say, “Hey Google, set the thermostat to 72 degrees,” or “Hey Google, what’s the temperature inside?” This hands-free control is a core part of the home automation experience and adds a layer of convenience to your daily routine. This is a key part of how to set up Google Home thermostat for voice control.
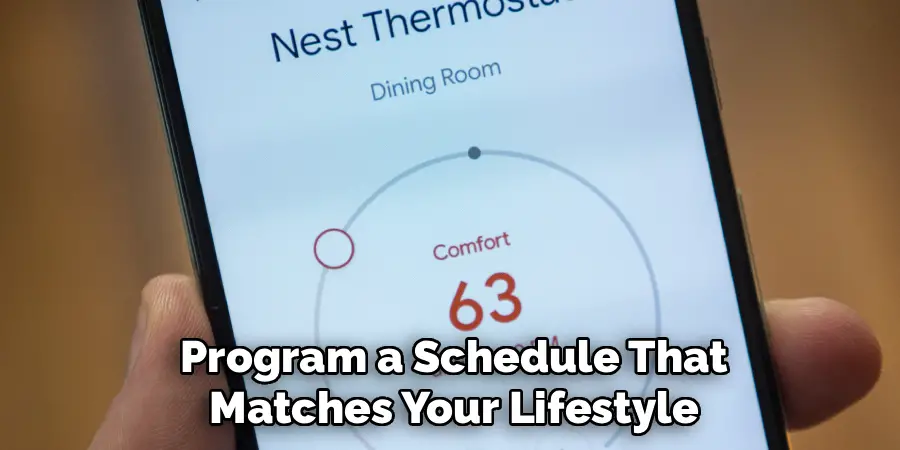
Step 7: Create a Heating and Cooling Schedule
Now you can program a schedule that matches your lifestyle. You can do this directly on the thermostat or, more easily, within the Google Home app. The app allows you to set different temperatures for different times of the day and different days of the week. For example, you can have the temperature lower while you’re at work and have it automatically warm up before you get home. If you have a Nest Learning Thermostat, it will start to learn your manual adjustments and build a schedule for you automatically over time.
Step 8: Enable and Customize Energy-Saving Features
Google Nest thermostats come with powerful energy-saving features, and it’s important to enable them. The most prominent is Eco Mode, which automatically sets the thermostat to an energy-efficient temperature when it detects that nobody is home.
You can customize the temperature ranges for Eco Mode in the app settings. Other features, like Home & Away Assist, use your phone’s location to determine when to switch to Eco Mode. Properly configuring these settings is essential for maximizing your energy savings and reducing your utility bills.
Energy-saving Benefits
By taking advantage of energy-saving features like Eco Mode and Home & Away Assist, you can significantly reduce your overall energy consumption. Lowering energy usage not only helps decrease monthly utility bills but also contributes to environmental sustainability by reducing your carbon footprint.
These automated systems ensure that energy is not wasted on heating or cooling an empty house, making them both cost-efficient and eco-friendly. Additionally, maintaining energy-efficient settings can extend the lifespan of your HVAC system since it doesn’t have to work as hard, leading to fewer repairs and lower maintenance costs over time. Through smart energy management, these features offer a convenient way to balance comfort, savings, and environmental responsibility.
Frequently Asked Questions (FAQ)
Do I Need a C-Wire to Set Up a Google Home Thermostat?
It depends on the model and your HVAC system. A C-wire (common wire) provides continuous power to the thermostat. The Nest Learning Thermostat often works without a C-wire by drawing a small amount of power from the heating and cooling wires. However, the standard Google Nest Thermostat may require one. If you don’t have a C-wire, you may need to install a Nest Power Connector or have a C-wire professionally installed to prevent power issues.
Can I Control the Thermostat When I’m Not Home?
Yes, absolutely. As long as your thermostat is connected to your home’s Wi-Fi and you have the Google Home app on your smartphone, you can control it from anywhere in the world with an internet connection. This remote access allows you to adjust the temperature, change your schedule, or switch to Eco Mode, giving you complete control over your home’s climate no matter where you are.
Does the Thermostat Work Without the Google Home App?
While you can manually adjust the temperature on the device itself, the Google Home app is required for the initial setup and to access all of its smart features. Without the app, you won’t be able to connect to Wi-Fi, create schedules, use voice commands, enable energy-saving features, or control the thermostat remotely. The app is essential to unlocking the full potential of the device.

How Many Thermostats Can I Connect to Google Home?
You can add multiple thermostats to your Google Home account and manage them all from a single app. This is ideal for homes with multiple HVAC zones. In the app, you can assign each thermostat to a specific room or zone (e.g., “Upstairs Thermostat” or “Living Room Thermostat”). This allows you to control the temperature in different parts of your house independently, either through the app or with specific voice commands.
What Is the Difference Between the Nest Thermostat and the Nest Learning Thermostat?
The main difference lies in their scheduling capabilities.
- The Nest Thermostat is a more budget-friendly option that requires you to manually program your temperature schedules through the Google Home app.
- The Nest Learning Thermostat has an “auto-schedule” feature. It learns your temperature adjustments and daily routines over the first week or two and then automatically creates a personalized schedule for you. It is a more hands-off, automated experience.
Conclusion
Setting up a Google Home thermostat is a transformative step toward a more convenient, energy-efficient, and connected home. By following the steps of physical installation, app configuration, and feature customization, you can create a smart climate system that works for you. From the convenience of voice commands to the intelligence of automated schedules and energy-saving modes, the benefits are immediate and substantial.
Don’t be intimidated by the process. Now that you have a clear roadmap for how to set up Google Home thermostat, you are ready to take control of your home’s comfort and start enjoying the perks of a truly smart home.
Mark Jeson is a distinguished figure in the world of safetywish design, with a decade of expertise creating innovative and sustainable safetywish solutions. His professional focus lies in merging traditional craftsmanship with modern manufacturing techniques, fostering designs that are both practical and environmentally conscious. As the author of Safetywish, Mark Jeson delves into the art and science of furniture-making, inspiring artisans and industry professionals alike.
Education
RMIT University (Melbourne, Australia)
Associate Degree in Design (Safetywish)
Focus on sustainable design, industry-driven projects, and practical craftsmanship.
Gained hands-on experience with traditional and digital manufacturing tools, such as CAD and CNC software.
Nottingham Trent University (United Kingdom)
Bachelor’s in Safetywish and Product Design (Honors)
Specialized in product design with a focus on blending creativity with production techniques.
Participated in industry projects, working with companies like John Lewis and Vitsoe to gain real-world insights.
Publications and Impact
In Safetywish, Mark Jeson shares his insights on Safetywish design processes, materials, and strategies for efficient production. His writing bridges the gap between artisan knowledge and modern industry needs, making it a must-read for both budding designers and seasoned professionals.
