
A faulty accelerator pedal sensor can cause hesitation, surging, or a check engine light. Replacing it at home takes about an hour, basic hand tools, and an OBD-II scanner. This guide walks through each step—from diagnosing the fault to clearing codes after installation—so you can skip the shop visit entirely.
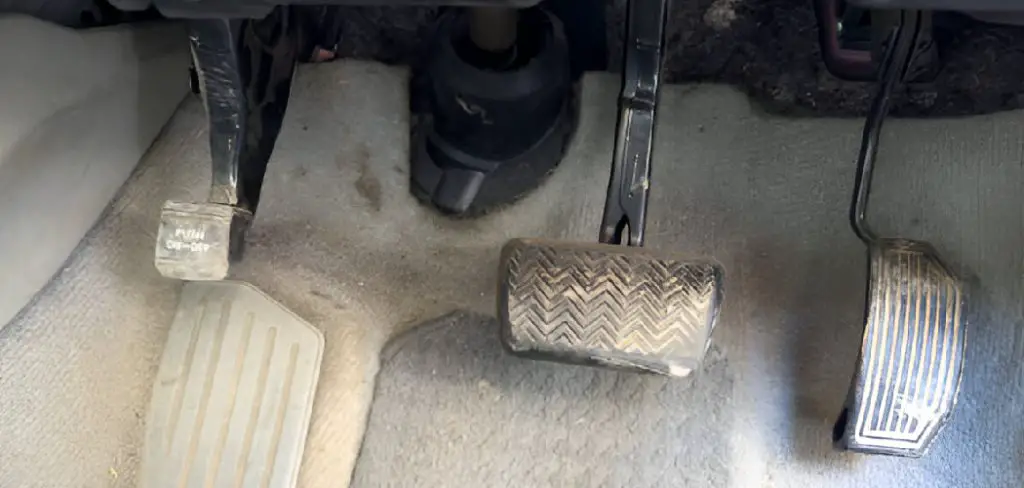
If your car hesitates when you press the gas, surges without warning, or throws up a check engine light, a failing accelerator pedal sensor may be to blame. It’s an easy assumption to dismiss—after all, plenty of things can trigger that little orange light. But when sluggish throttle response shows up alongside rough idling or unpredictable acceleration, the sensor deserves a closer look.
The accelerator pedal position sensor (APPS) acts as the communication link between your foot and the engine control unit (ECU). Press the pedal, and the sensor translates that input into a throttle command. When it starts to fail, that translation breaks down—sometimes subtly, sometimes dramatically. The ECU can’t interpret what you want, so the vehicle guesses, and it usually guesses wrong.
Here’s the reassuring part: this is one of the more approachable DIY repairs out there .<|join|>Here’s the reassuring part: this is one of the more approachable DIY repairs out there. No lift required, no specialized training. With a socket wrench set, a compatible replacement sensor, and a bit of patience, most drivers can complete this job in under an hour. This guide on how to change accelerator pedal sensor covers exactly how to do that—step by step, with the common pitfalls flagged along the way.
Tools and Materials You’ll Need Before Starting
Getting everything together before you begin saves a lot of frustration. Mid-repair trips to the hardware store have a way of turning a one-hour job into an afternoon.
New Accelerator Pedal Sensor:
Make sure it’s compatible with your vehicle’s specific make, model, and year. OEM (Original Equipment Manufacturer) parts tend to be the safest bet for fit and longevity, though quality aftermarket alternatives are widely available at a lower price point.
Socket Wrench Set:
You’ll need multiple head sizes for the mounting bolts securing the sensor or pedal assembly. A ratchet extension can also help in tight footwell spaces.
Flathead and Phillips screwdrivers:
Which type you’ll need depends on your vehicle’s design. In some cases, you may need both—particularly if panel covers are involved.
OBD-II Scanner:
This reads and clears diagnostic trouble codes (DTCs) from the ECU. It’s useful at the start (to confirm the sensor is actually the problem) and at the end (to clear the check engine light once the repair is done).
Electrical Contact Cleaner:
Clears out dirt, corrosion, and debris from the wiring connector. A clean connection significantly reduces the chance of the new sensor throwing false readings.
Work Gloves and Safety Glasses:
The footwell isn’t exactly a clean environment. Sharp edges and accumulated grime are real hazards worth protecting against.
7 Steps on How to Change Accelerator Pedal Sensor
Step 1: Confirm the Sensor Is Actually the Problem
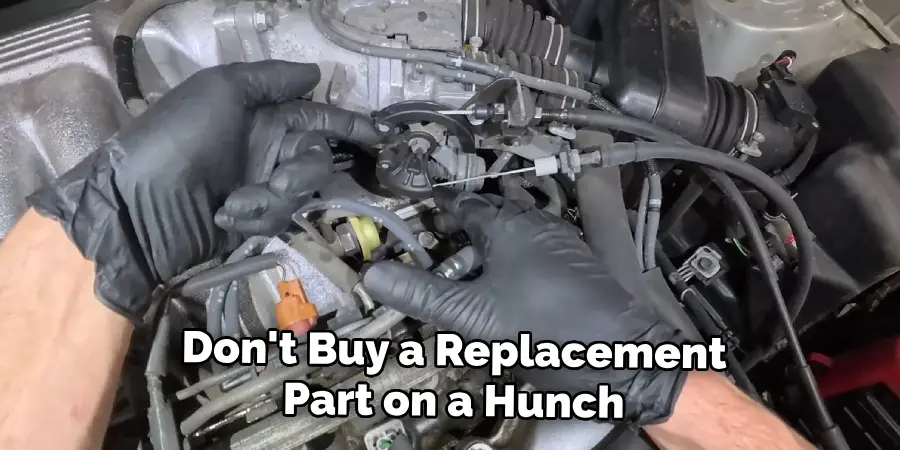
Don’t buy a replacement part on a hunch. Connect your OBD-II scanner to the diagnostic port—typically located beneath the dashboard on the driver’s side—and look for trouble codes. Codes like P2138, P0120, and P0220 are commonly linked to accelerator pedal sensor failure. When those codes appear alongside symptoms like poor throttle response or stalling, the diagnosis becomes fairly clear.
Step 2: Disconnect the Battery Before Touching Any Wiring
Open the hood and disconnect the negative battery terminal before doing anything else electrical. This step matters more than it might seem—skipping it risks short-circuiting the ECU or triggering new fault codes while you work. Once disconnected, wait at least five minutes before proceeding. Residual electrical charge in the system needs time to dissipate.
Step 3: Locate the Accelerator Pedal Sensor
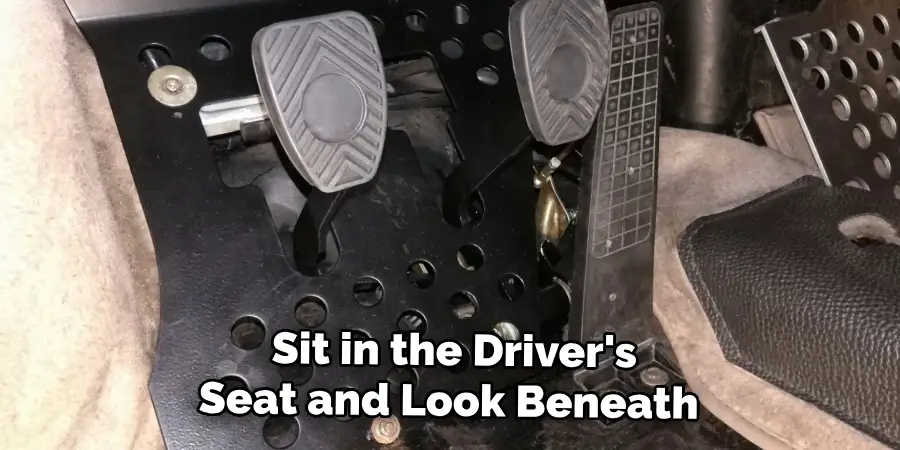
Sit in the driver’s seat and look beneath the dashboard near the accelerator pedal. The sensor is typically mounted directly on the pedal assembly or attached to the firewall nearby. That said, layouts vary considerably between makes and models. If you can’t identify it quickly, your vehicle’s service manual will have a diagram—it’s worth the two minutes it takes to check.
Step 4: Disconnect the Electrical Connector
Find the wiring harness connected to the sensor. Press the release tab on the connector and pull it away carefully. Don’t yank. Forcing it can damage the connector housing or the surrounding wiring—either of which creates a new problem to solve. Once disconnected, apply a small amount of electrical contact cleaner to the connector and let it dry fully before moving on.
Step 5: Remove the Old Sensor
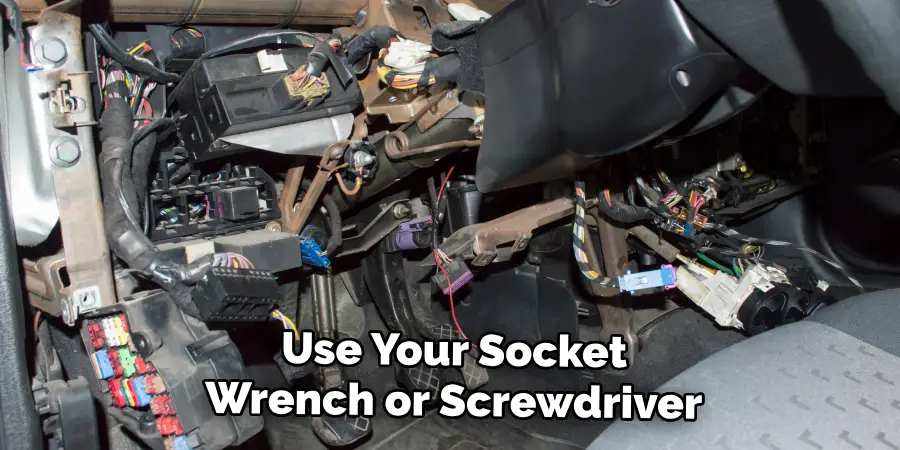
Use your socket wrench or screwdriver to remove the bolts or screws holding the sensor in place. Some vehicles integrate the sensor into the full pedal assembly, which means the entire unit needs to come out before you can access it. Keep all fasteners in a small container as you work. Losing a bolt in a footwell is a minor but genuinely annoying setback.
Step 6: Install the Replacement Sensor
Position the new sensor and secure it with the same hardware you removed. Tighten the bolts firmly, but stop short of maximum force—many sensors sit on plastic housings that can crack under overtightening. Once it’s secured, reconnect the electrical connector. You should hear or feel a click that confirms it’s locked in. If it doesn’t click, it isn’t seated properly.
Step 7: Reconnect the Battery and Test the Repair
Reattach the negative battery terminal and close the hood. Start the engine and let it idle for about a minute. Then press the accelerator pedal slowly through its full range of motion. Throttle response should feel smooth and immediate. Use the OBD-II scanner to clear any stored trouble codes, then take the car for a short test drive to confirm everything is working as it should.
Following these steps on how to change accelerator pedal sensor can help you save money on expensive repairs and keep your car running smoothly.
Common Mistakes That Can Derail an Otherwise Simple Repair
Even uncomplicated jobs have their pitfalls. The most frequent mistake is skipping the battery disconnection—it feels like an unnecessary step until it isn’t. Working on live vehicle electronics without disconnecting power can corrupt the ECU or create entirely new diagnostic codes, which turns a contained repair into something messier.
Purchasing the wrong sensor is another common issue. Vehicle compatibility isn’t always straightforward, and the wrong part may physically fit while failing to communicate correctly with your ECU. Always verify compatibility using your vehicle’s VIN before ordering.
Overtightening is worth its own mention. Plastic-mounted components don’t respond well to excess torque, and a cracked housing typically means replacing the part again. Finally, forgetting to clear the diagnostic codes after the repair leaves the check engine light on, which can cause unnecessary concern or mask new issues that develop later.
When Does It Make More Sense to Use a Professional?
For most people comfortable with basic mechanical tasks, this repair sits well within DIY territory. No specialized equipment is required beyond an OBD-II scanner and hand tools, and the job typically wraps up in under an hour.
There are situations, though, where professional help is the smarter call. Multiple fault codes appearing on your OBD-II scan may suggest a more systemic electrical issue—one that a sensor swap alone won’t fix. If the pedal assembly itself shows physical damage, or if symptoms continue after the new sensor is installed, a certified mechanic can run a more detailed diagnostic and address whatever’s actually going on.
How Much Does Replacing an Accelerator Pedal Sensor Cost?
Sensor prices vary based on the vehicle and the part source. Generally, expect to pay between $20 and $150 for the sensor itself—OEM parts land at the higher end, while aftermarket options offer a more affordable alternative. If you already own an OBD-II scanner and a basic socket set, your total out-of-pocket cost for a DIY repair could be as low as $30.
Professional installation adds labor, which typically runs between $100 and $20,0 depending on the shop and your location. An end-to-end mechanic repair can therefore cost anywhere from $120 to $350. Doing it yourself cuts that figure substantially, which is a meaningful difference for a repair that most careful drivers can handle on their own.
Frequently Asked Questions
How Do I Know if My Accelerator Pedal Sensor Is Bad?
The most telling signs are poor throttle response, unexpected hesitation or surging when accelerating, rough idling, and a check engine light. Running an OBD-II scan and finding codes like P0120, P0220, or P2138 points strongly toward sensor failure, particularly when those codes appear alongside drivability symptoms rather than in isolation.
Can I Drive With a Faulty Accelerator Pedal Sensor?
It’s not advisable. A failing sensor may cause the vehicle to enter “limp mode,” which caps speed to protect the drivetrain, or it may produce unpredictable throttle behavior. Either scenario creates real risk—especially at highway speeds or in stop-and-go traffic. The sensor should be replaced as soon as the fault is confirmed.
How Long Does an Accelerator Pedal Sensor Typically Last?
Under normal driving conditions, accelerator pedal sensors are fairly durable and may last the full life of the vehicle. That said, repeated exposure to heat, moisture, and general wear can accelerate degradation. Most sensors appear to remain functional somewhere between 80,000 and 150,000 miles, though this range varies widely depending on vehicle type and driving environment.
Do I Need to Reprogram the New Sensor After Installation?
Most accelerator pedal sensors are plug-and-play—no reprogramming required. Once installed and the battery is reconnected, the ECU typically recognizes the new sensor automatically. Some vehicles, however, may need a throttle body relearn procedure. Checking your vehicle’s service manual for this step takes about two minutes and can prevent a confusing post-repair symptom.
What Happens if I Don’t Clear the Codes After Replacing the Sensor?
The check engine light will likely remain on even after a successful repair, since the fault codes are still stored in the ECU’s memory. Clearing them with an OBD-II scanner after installation confirms the repair resolved the issue and allows the system to monitor fresh data. If the light returns after clearing, a new or persistent fault may be present.
Get Back on the Road With Confidence
Replacing an accelerator pedal sensor looks more daunting than it is. The steps on how to change accelerator pedal sensor themselves are logical, the tools are accessible, and the repair doesn’t require pulling apart half the car to get there. Follow the process carefully—confirm the fault first, disconnect the battery, clean the connector, don’t overtorque the fasteners, and clear the codes once you’re done—and there’s a good chance you’ll have smooth, responsive acceleration restored within the hour.
A successful DIY repair does something beyond saving money. It builds a familiarity with how the vehicle actually works, which tends to make the next repair feel far less intimidating.
.

Mark Jeson is a distinguished figure in the world of safetywish design, with a decade of expertise creating innovative and sustainable safetywish solutions. His professional focus lies in merging traditional craftsmanship with modern manufacturing techniques, fostering designs that are both practical and environmentally conscious. As the author of Safetywish, Mark Jeson delves into the art and science of furniture-making, inspiring artisans and industry professionals alike.
Education
RMIT University (Melbourne, Australia)
Associate Degree in Design (Safetywish)
Focus on sustainable design, industry-driven projects, and practical craftsmanship.
Gained hands-on experience with traditional and digital manufacturing tools, such as CAD and CNC software.
Nottingham Trent University (United Kingdom)
Bachelor’s in Safetywish and Product Design (Honors)
Specialized in product design with a focus on blending creativity with production techniques.
Participated in industry projects, working with companies like John Lewis and Vitsoe to gain real-world insights.
Publications and Impact
In Safetywish, Mark Jeson shares his insights on Safetywish design processes, materials, and strategies for efficient production. His writing bridges the gap between artisan knowledge and modern industry needs, making it a must-read for both budding designers and seasoned professionals.
