
Parking sensors do a quiet but important job. Every time you reverse into a tight spot or nudge toward a curb, they’re processing distance data faster than you can check your mirrors. The problem? They’re mounted low on the bumper—exactly where mud, road spray, and grime tend to collect. And when a layer of dirt builds up on the sensor face, performance can drop in ways that aren’t always obvious until something goes wrong.
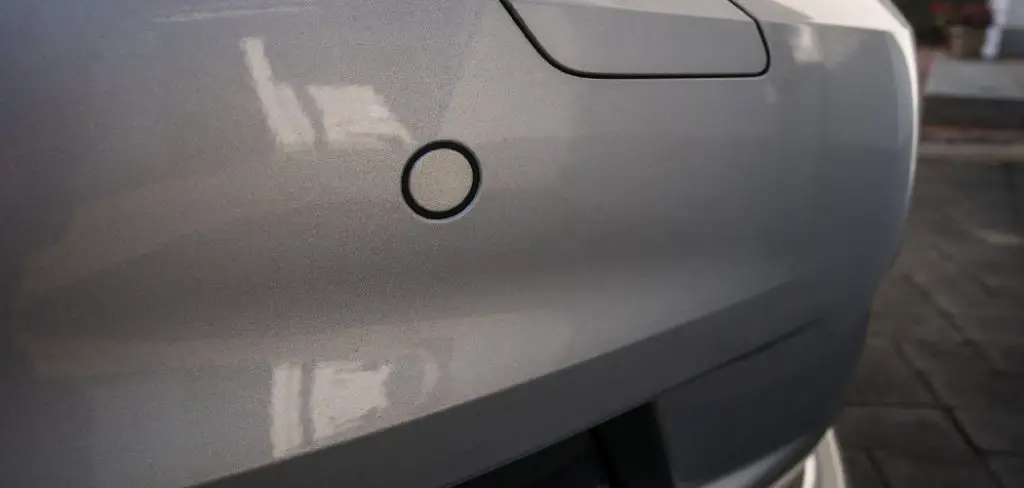
False alerts. Missed obstacles. That erratic, inconsistent beeping that starts without warning and stops just as randomly. These aren’t always signs of a fault. More often than not, they point to something far simpler: the sensors need a cleaning.
This guide on how to clean parking sensors covers the full process—how dirt actually interferes with sensor signals, what tools you’ll need, seven clear steps for cleaning safely, and the mistakes that turn a five-minute job into an expensive repair. If you’re troubleshooting an unreliable system or just want to stay ahead of maintenance, you’ll find what you need here.
Understanding How Parking Sensors Work
Most modern vehicles use one of two sensor types: ultrasonic or electromagnetic. Ultrasonic sensors—by far the more common of the two—emit sound waves and calculate distance by measuring how long those waves take to bounce back from a nearby object. Electromagnetic sensors work differently, generating a field around the bumper and triggering an alert when something disrupts that field.
Both systems rely on clean, unobstructed sensor faces. When mud or road residue coats the surface, signal transmission degrades. Even a thin, dried-on film may be enough to cause inaccurate readings or trigger warnings when nothing is there. It’s a fairly straightforward failure mode, which is why cleaning tends to resolve the issue in a majority of cases.
Signs Your Parking Sensors Need Cleaning
Some of these are obvious. Others are easy to dismiss as a system glitch when the actual cause is sitting right there on the bumper:
- Frequent false alarms with no obstacle nearby
- Sensors failing to detect objects clearly within range
- Inconsistent or erratic beeping while reversing
- Visible mud, grime, or residue on the sensor surface
- Dashboard warning lights related to the parking assist system
If you’re seeing two or more of these at once, cleaning should be your first step before assuming anything mechanical has failed.
Common Causes of Dirty Parking Sensors
Muddy roads are the most obvious culprit—sensors can get caked after a single off-road detour or a drive down an unpaved track. Splashing through puddles, heavy rain, and winter road salt all contribute in less dramatic but equally cumulative ways.
Even routine city driving gradually coats sensors in dust, exhaust residue, and general road film. It builds up slowly enough that you might not notice until performance has already suffered.
Tools and Materials Needed
Having everything ready before you start keeps the job clean and reduces the chance of improvising with something that could scratch or corrode the sensor surface.
Soft Microfiber Cloth
Microfiber is the right choice here. It lifts dirt without scratching, and it won’t leave fibres behind on the sensor face. Rough sponges or textured cloths are worth avoiding entirely.
Mild Soap or Car Wash Solution
A pH-neutral car wash soap works well. Anything harsher—solvent-based cleaners, bleach, or general household detergents—risks degrading the sensor casing or leaving residue that affects signal quality.
Warm Water
Warm water loosens caked-on grime considerably faster than cold water, which makes the process quicker and reduces the scrubbing force needed.
Soft-Bristled Toothbrush
Useful for getting into the edges and grooves around each sensor where a cloth can’t quite reach. The bristles are firm enough to dislodge dirt but gentle enough not to cause damage.
Compressed Air (Optional)
A can of compressed air can clear loose debris from around the sensor housing before you start wiping—particularly helpful in areas where the sensor sits recessed into the bumper.
Isopropyl Alcohol (Optional)
For stubborn residue that soap and water aren’t shifting, a small amount of isopropyl alcohol on a cloth may help. Use it sparingly, and keep it away from any rubber seals around the sensor.
Safety Precautions Before Cleaning
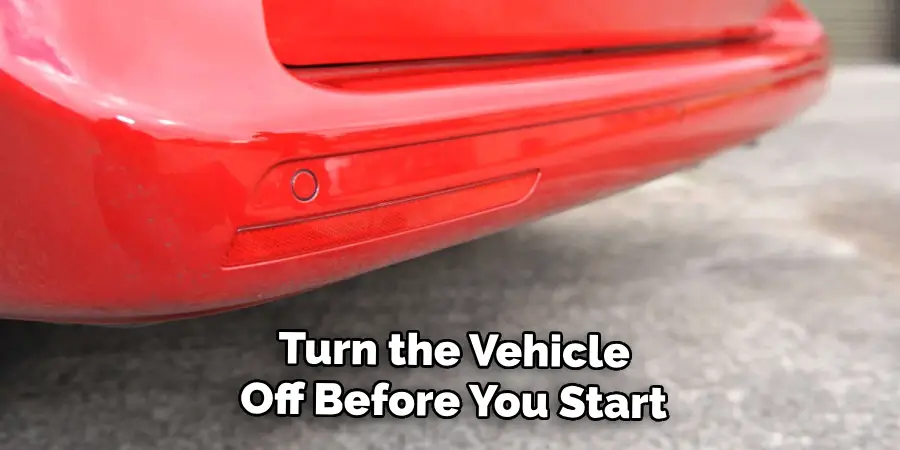
Turn the vehicle off before you start, and let it sit for a few minutes if it’s been running. Never clean sensors on a live system—some vehicles keep the parking assist active even in standby modes. Avoid directing a high-pressure water stream at the sensor face; the housing isn’t sealed against that kind of force, and water ingress can cause electrical damage that’s far costlier than dirty sensors. Use gentle, deliberate pressure throughout.
7 Simple Steps on How to Clean Parking Sensors
Step 1: Turn Off the Vehicle and Let It Cool
Switch off the engine and give the car a few minutes before you start. Beyond the obvious safety reasons, cleaning products tend to evaporate quickly on warm surfaces, which reduces their effectiveness and may leave residue behind.
Step 2: Inspect the Sensors Visually
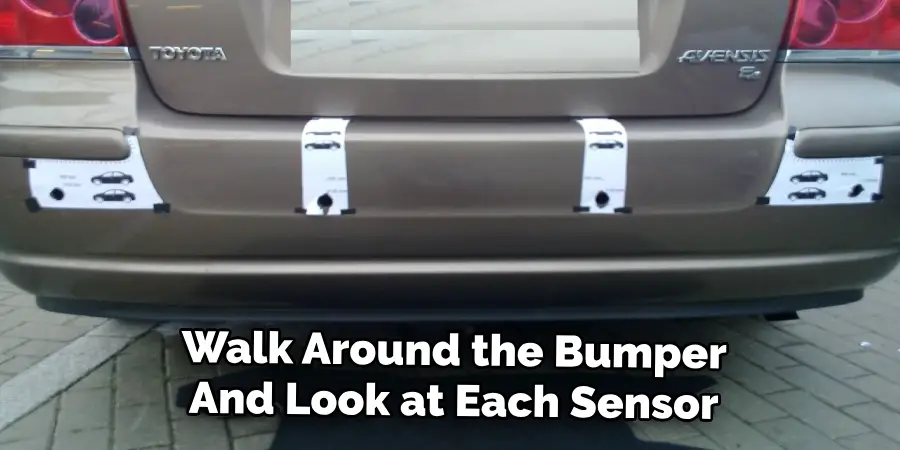
Walk around the bumper and look at each sensor individually. Note where the dirt is concentrated, and check for any visible cracks or impact damage. Cleaning won’t fix a physically damaged sensor—catching that early saves you the effort of the rest of the steps on a component that needs replacing anyway.
Step 3: Rinse the Sensor Area With Warm Water
Use a gentle stream of warm water—a regular garden hose or a poured bucket works better than a pressure washer here. The goal is to loosen surface-level dirt before you start scrubbing, not to force water into the housing. Keep the stream at a low angle and let it do the work gradually.
Step 4: Apply Mild Soap and Gently Scrub
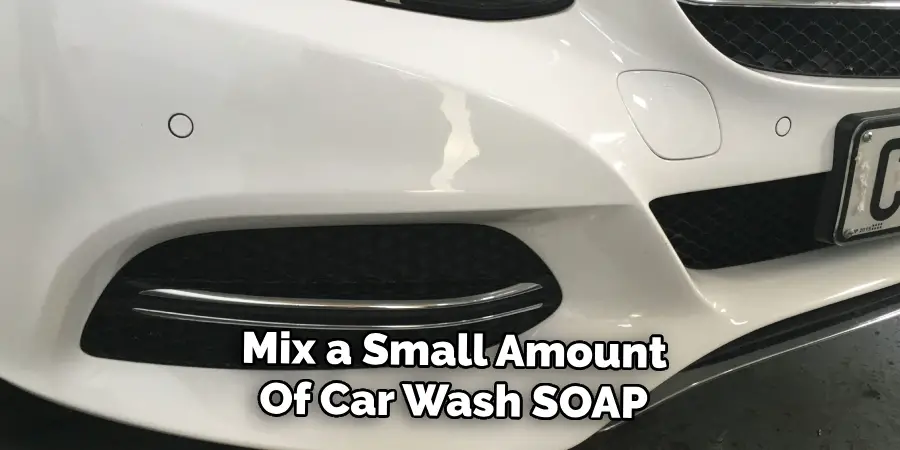
Mix a small amount of car wash soap into warm water. Dip your microfiber cloth into the solution and wipe each sensor with light circular motions. For dirt that’s settled into the edges or the gap between the sensor and bumper, work a soft-bristled toothbrush around the perimeter carefully. This is where most of the actual build-up tends to hide.
Step 5: Rinse Thoroughly
Once you’ve scrubbed, rinse every sensor with clean warm water. Leftover soap is a genuine problem here—residue can attract more dirt and, in some cases, leave a film that interferes with the ultrasonic signal. Take an extra pass to make sure the surface is completely clear.
Step 6: Dry With a Clean Microfiber Cloth
Pat each sensor dry rather than rubbing. A clean, dry microfiber cloth is all you need. If you have compressed air, use it on the recessed areas around the housing where moisture tends to sit longer.
Step 7: Test the Sensors
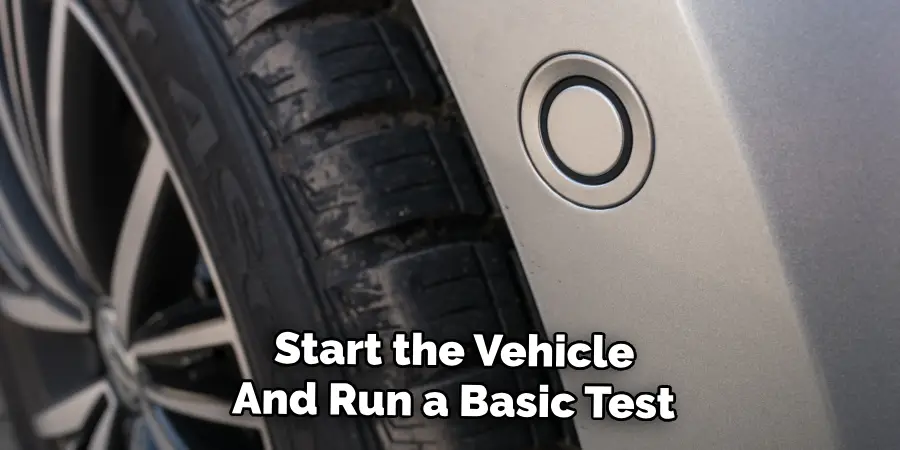
Start the vehicle and run a basic test. Reversing slowly toward a stationary object—a wall or a bin, something at a known distance—gives you a quick read on whether the sensors are responding correctly. Alerts should be consistent and proportional to the distance. If they’re still erratic after a clean, the issue likely sits somewhere beyond surface dirt.
Following these steps on how to clean parking sensors, your car’s parking sensors should be functioning properly.
Preventive Maintenance Tips
The sensors that cause the most trouble are usually the ones that get ignored between washes. Including the bumper area in your regular car wash routine takes almost no extra time, and it keeps build-up from reaching the point where it affects performance. After driving through mud or heavy rain, a quick wipe-down before the dirt dries hard is worth the two minutes it takes. A light coat of car wax applied around (not directly on) the sensor face can help repel future dirt and make cleaning easier next time.
Checking sensors visually every couple of weeks may sound like overkill, but it’s genuinely less than a minute per car and tends to catch problems early—before they escalate into false alarms on a busy street.
Common Mistakes to Avoid
The most frequent error is reaching for whatever cleaning product is closest. Harsh chemicals, abrasive pads, steel wool, and bleach-based cleaners can all damage the sensor surface or degrade the casing in ways that aren’t immediately visible. By the time the corrosion affects performance, the damage is already done.
Skipping the rinse step is another common trap. Soap left on the sensor face can interfere with signal transmission in much the same way dirt does—it’s a different substance causing the same fundamental problem.
High-pressure water directly on the sensor is perhaps the most consequential mistake on this list. The housings aren’t built to withstand that kind of force, and water ingress into the wiring or sensor body can cause failures that require professional repair or full replacement.
Parking Sensor Cleaning vs. Repair
Knowing which situation you’re dealing with saves time and money. Cleaning is the right call when sensors are producing false alerts after exposure to mud or rain, when performance has dropped noticeably after a dirty drive, or when there’s visible grime on the sensor surface. A thorough clean resolves the issue in most of these cases.
Repair is a different matter. Physical cracks, impact damage, or sensors that continue to malfunction after a proper cleaning all suggest that something mechanical or electrical has failed. Persistent dashboard warnings that don’t clear after cleaning are another sign that the system needs professional attention. Attempting DIY repairs on sensor wiring or housing without the right equipment tends to create additional problems rather than fix the original one—a qualified mechanic or auto electrician is the safer option at that point.
Frequently Asked Questions
How Often Should I Clean My Parking Sensors?
For most drivers, cleaning sensors every two to four weeks—roughly in line with a regular car wash—is enough to keep performance consistent. If you frequently drive on unpaved roads or in heavy rain or winter conditions, cleaning after those trips rather than waiting for your usual schedule may help prevent build-up from hardening on the sensor surface.
Can Dirty Parking Sensors Damage My Car?
Dirty sensors won’t cause direct mechanical damage, but they can compromise your ability to park safely—which raises the risk of low-speed collisions with objects the system should have detected. Consistently neglecting sensor maintenance may also lead to performance issues over time that require professional repair, so it’s worth treating them as part of your regular care routine.
What Should I Do if My Sensors Still Malfunction After Cleaning?
If the system is still behaving erratically after a thorough clean, the fault is likely electrical or mechanical rather than dirt-related. A qualified mechanic or dealership can inspect the sensors, check for wiring faults, and determine whether recalibration or replacement is needed. Attempting to diagnose or repair internal sensor faults without professional tools carries a real risk of making the problem worse.
Is It Safe to Use a Pressure Washer Near Parking Sensors?
Using a standard pressure washer directly on the sensors is not recommended. The housings are not sealed against high-pressure water, and forcing water into the sensor body or surrounding wiring can cause electrical damage. A garden hose or a poured bucket at a low angle is sufficient for rinsing and carries far less risk.
What Products Should I Avoid When Cleaning Parking Sensors?
Avoid solvent-based cleaners, bleach, abrasive pads, steel wool, and any general household detergent not formulated for automotive use. These products can scratch the sensor face, corrode the casing, or leave residue that interferes with signal quality. A pH-neutral car wash soap and clean water are the safest combination for routine cleaning.
Keep Your Sensors Clean, Keep Your Car Safe
Clean parking sensors are a minor maintenance task that tends to go unnoticed until something goes wrong. A few minutes of attention every couple of weeks—cleaning, drying, and a quick visual check—can keep the system reliable and extend the life of components that would otherwise degrade quietly over time.
Follow the seven steps in this guide on how to clean parking sensors, use the right tools, and stay consistent with preventive care. If cleaning doesn’t resolve the issue, that’s useful information too: it means the problem is mechanical, and professional diagnosis is the next step. Some faults go beyond what a cloth and soapy water can fix—and recognizing that early is part of good maintenance too.

Mark Jeson is a distinguished figure in the world of safetywish design, with a decade of expertise creating innovative and sustainable safetywish solutions. His professional focus lies in merging traditional craftsmanship with modern manufacturing techniques, fostering designs that are both practical and environmentally conscious. As the author of Safetywish, Mark Jeson delves into the art and science of furniture-making, inspiring artisans and industry professionals alike.
Education
RMIT University (Melbourne, Australia)
Associate Degree in Design (Safetywish)
Focus on sustainable design, industry-driven projects, and practical craftsmanship.
Gained hands-on experience with traditional and digital manufacturing tools, such as CAD and CNC software.
Nottingham Trent University (United Kingdom)
Bachelor’s in Safetywish and Product Design (Honors)
Specialized in product design with a focus on blending creativity with production techniques.
Participated in industry projects, working with companies like John Lewis and Vitsoe to gain real-world insights.
Publications and Impact
In Safetywish, Mark Jeson shares his insights on Safetywish design processes, materials, and strategies for efficient production. His writing bridges the gap between artisan knowledge and modern industry needs, making it a must-read for both budding designers and seasoned professionals.
