
A dirty throttle position sensor can quietly cause havoc on your vehicle’s performance—rough idling, sluggish acceleration, and unexpected stalling. The good news? Cleaning it yourself is straightforward, affordable, and can restore your engine’s responsiveness without a costly trip to the mechanic.
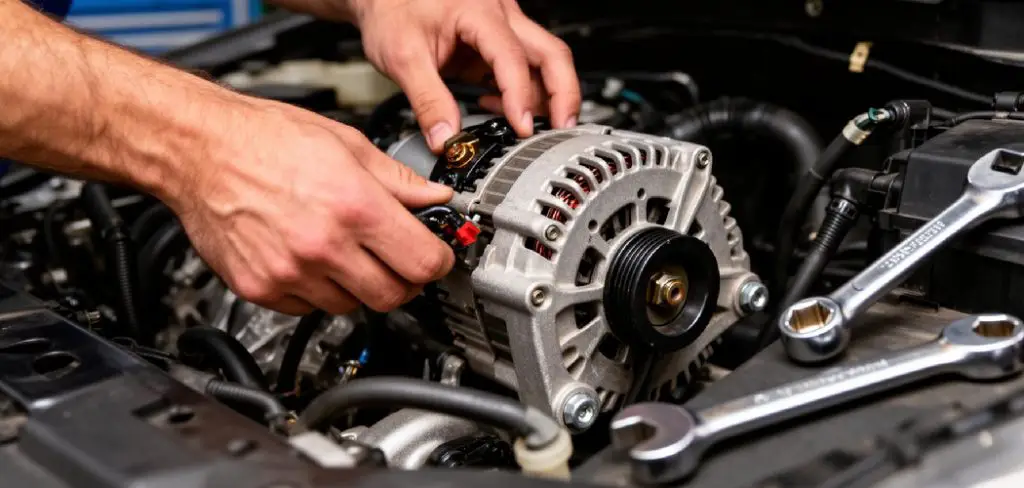
This guide on how to clean throttle position sensor walks you through everything you need to know: how the throttle position sensor works, the warning signs that it needs attention, a step-by-step cleaning process, and how to keep it in good condition long-term.
Understanding the Throttle Position Sensor
The throttle position sensor (TPS) is a small but critical component in your vehicle’s engine management system. Mounted on the throttle body, it monitors the position of the throttle valve and sends real-time data to the engine control unit (ECU). Based on this information, the ECU adjusts the air-fuel mixture for optimal combustion.
Over time, carbon deposits, grime, and oil residue can build up on the sensor and throttle body, interfering with accurate readings. When the TPS sends incorrect data to the ECU, your engine can’t perform efficiently—resulting in a noticeable drop in drivability. Regular cleaning prevents this buildup and keeps your engine running smoothly.
Signs Your Throttle Position Sensor May Need Attention
Before grabbing your toolkit, it helps to know what you’re dealing with. Here are the most common warning signs that your TPS needs cleaning or attention:
- Rough or erratic idling — Your engine fluctuates in RPM while sitting still
- Hesitation during acceleration — A noticeable lag or stumbling when you press the gas
- Unexpected stalling — The engine cuts out without warning, especially at low speeds
- Poor fuel economy — Your vehicle is burning more fuel than usual
- Check Engine Light — A TPS-related fault code (commonly P0120–P0124) triggers the warning
- Gear shifting problems — Automatic transmissions may shift erratically due to incorrect throttle data
If you’re experiencing two or more of these symptoms, cleaning your throttle position sensor is a smart first step.
7 Simple Steps on How to Clean Throttle Position Sensor
Step 1: Gather Your Tools and Materials
Before you start, make sure you have everything on hand. You’ll need:
- Throttle body cleaner or electrical contact cleaner
- Clean lint-free cloths or cotton swabs
- A screwdriver set (Phillips and flathead)
- Protective gloves and safety glasses
- A flashlight
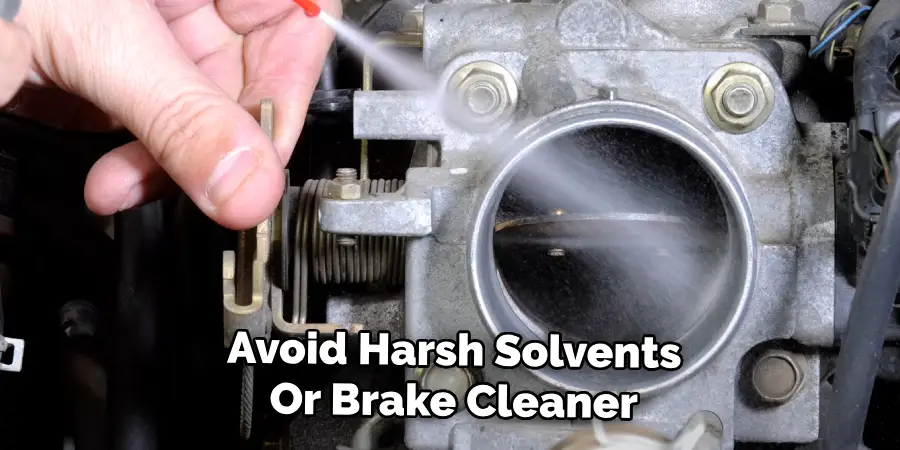
Using the right cleaner matters—and this point gets overlooked more than it should. Avoid harsh solvents or brake cleaner, as these can degrade the sensor’s plastic housing and damage internal contacts. Opt for an electrical contact cleaner specifically designed for sensors.
Step 2: Disconnect the Battery
Safety first. Disconnect the negative terminal of your vehicle’s battery before doing any work near electrical components. This prevents accidental shorts and protects both you and the sensor’s circuitry. Wait at least five minutes after disconnecting before proceeding—don’t skip this.
Step 3: Locate the Throttle Position Sensor
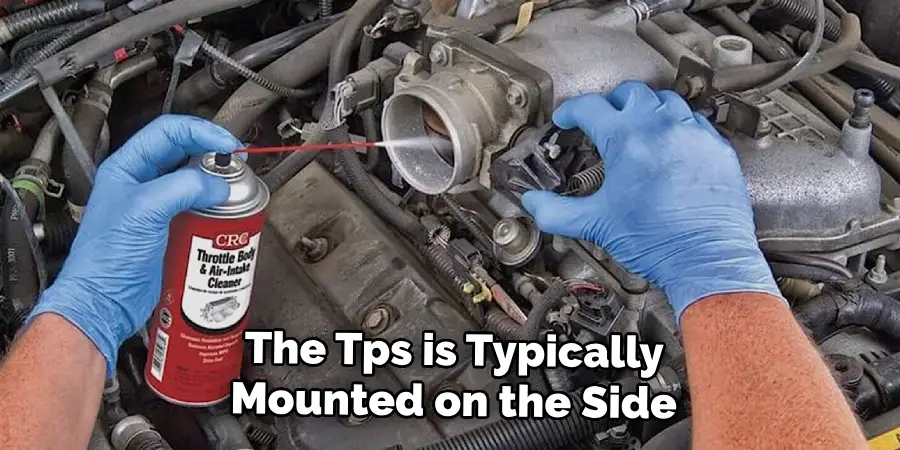
The TPS is typically mounted on the side of the throttle body, near the air intake. Refer to your vehicle’s owner manual or a model-specific repair guide if you’re unsure of the exact location. In most vehicles, the sensor is secured with two or three small screws and connected via a wiring harness. Compact engine bays can make this step feel a little fiddly, so take your time.
Step 4: Remove the Electrical Connector
Gently press the release tab on the wiring harness connector and pull it away from the TPS. Avoid yanking the wires—use steady, even pressure to disconnect them cleanly. One practical tip worth following: take a photo with your phone before disconnecting anything. It makes reassembly considerably easier, especially if you’re working on an unfamiliar vehicle.
Step 5: Clean the Throttle Position Sensor
Spray a small amount of electrical contact cleaner onto a lint-free cloth or cotton swab—never spray directly into the sensor itself. Gently wipe the sensor’s contact points and the surrounding area, removing any visible grime or carbon deposits. For stubborn buildup, use a fresh swab with a little more cleaner and work carefully. The internal components are fragile, so avoid applying excessive pressure.
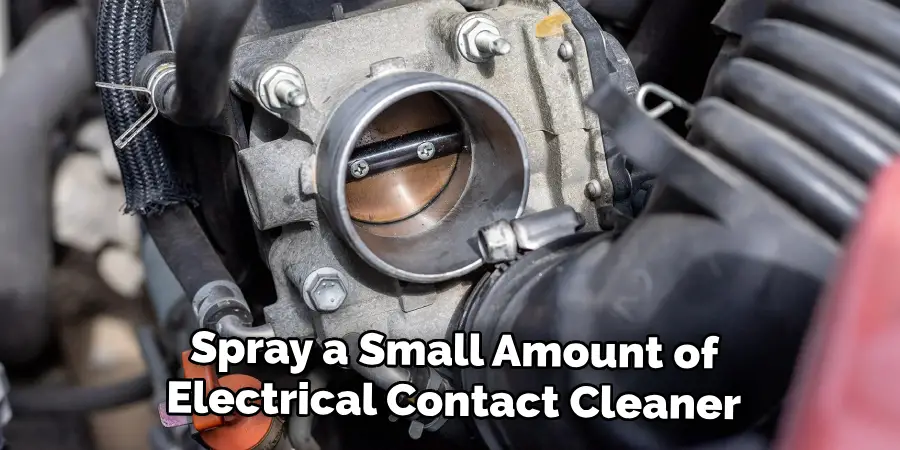
While you’re here, clean the throttle body too. Spray cleaner onto a cloth and wipe away carbon deposits from the throttle plate and bore. A clean throttle body helps the TPS do its job more accurately—the two go hand in hand.
Step 6: Allow Everything to Dry Completely
Let the sensor and throttle body air dry for at least 10–15 minutes before reassembling. Electrical contact cleaner evaporates quickly, but rushing this step risks trapping moisture near sensitive components. Use your flashlight to check that everything looks clean and completely dry before moving on.
Step 7: Reinstall and Test Your Vehicle
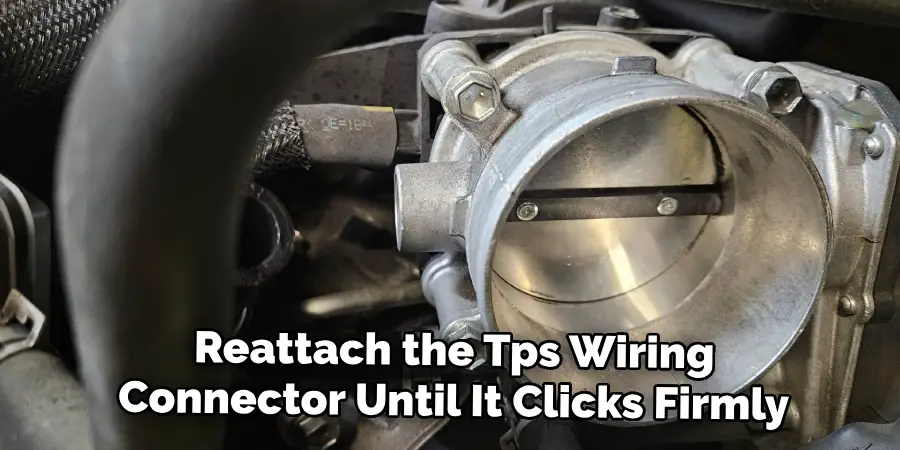
Reattach the TPS wiring connector until it clicks firmly into place. Reconnect the battery’s negative terminal, then start the engine and let it idle for a few minutes. Take the vehicle for a short test drive, paying attention to throttle response, idle stability, and acceleration. In many cases, you’ll notice an improvement almost immediately.
If your vehicle has a stored fault code, use an OBD-II scanner to clear it after cleaning. Some codes will clear on their own after a few drive cycles.
Following these steps on how to clean throttle position sensor can help improve your vehicle’s performance and prevent potential issues in the future.
Common Mistakes to Avoid
Cleaning a TPS may appear simple on the surface, but a few common errors can cause more harm than good. The most frequent mistake—by far—is using the wrong type of cleaner. Brake cleaner and carb cleaner can degrade the sensor’s housing and contacts, so this isn’t a place to improvise with whatever’s in your garage.
Skipping the battery disconnection step is another error that can damage the ECU. Spraying cleaner directly into the sensor, rather than onto a cloth, is also worth avoiding—excess liquid can seep into places it shouldn’t. Finally, overtightening the mounting screws during reinstallation can crack the housing. Tighten them snugly, not forcefully. There’s a meaningful difference.
When Cleaning Isn’t Enough?
Sometimes, cleaning alone won’t resolve the issue. If your symptoms persist after a thorough cleaning, the TPS itself may be faulty—worn internal resistors, a cracked housing, or a damaged wiring harness can all cause ongoing problems that no amount of cleaner will fix. In these cases, replacement appears to be the more practical solution.
TPS replacements are generally affordable, ranging from $20 to $100 depending on your vehicle’s make and model. The installation process is similar to the cleaning procedure above. If you’re unsure, have a trusted mechanic run a diagnostic scan to confirm whether the sensor needs replacing before spending the money.
Tips to Keep Your TPS in Good Condition
Preventive maintenance is always easier than repairs. Cleaning the throttle body every 30,000 miles—or as recommended by your manufacturer—helps prevent the kind of carbon buildup that affects TPS accuracy over time.
Using high-quality fuel and replacing your air filter on schedule also reduces the amount of debris that reaches the throttle body. And if your Check Engine Light comes on, address it promptly. Catching minor issues early may prevent them from escalating into more expensive repairs down the line.
Frequently Asked Questions
Q1: How Often Should I Clean My Throttle Position Sensor?
There’s no universal schedule, but cleaning the TPS every 30,000–50,000 miles is a reasonable rule of thumb. If you notice performance issues like rough idling or poor acceleration before that milestone, inspect and clean the sensor sooner. Vehicles driven in dusty or high-mileage conditions may require more frequent attention.
Q2: Can I Clean the Throttle Position Sensor Without Removing It?
Yes, in many cases. If access allows, you can disconnect the wiring harness and clean the sensor’s contact area without fully removing it from the throttle body. That said, removing the sensor gives you better visibility and allows for a more thorough clean. If you’re dealing with heavy buildup, full removal is the better option.
Q3: Will Cleaning the TPS Fix My Check Engine Light?
It depends on the root cause. If the Check Engine Light was triggered by a dirty or malfunctioning TPS, cleaning it and clearing the fault code with an OBD-II scanner should resolve the issue. However, if the sensor is electrically faulty or damaged, cleaning won’t address the underlying problem, and the light will return. A diagnostic scan will confirm which situation applies to your vehicle.
Q4: What Other Components Should I Check?
If the TPS is not the culprit, there are a few other components that could be causing your Check Engine Light to turn on. These include the oxygen sensor, mass air flow sensor, and catalytic converter. It’s also possible that there is an issue with the wiring or connections in the engine control system.
To properly diagnose and fix these issues, it’s best to take your vehicle to a trusted mechanic or dealership that has experience with your specific make and model. They will have the proper diagnostic tools and expertise to determine the root cause of the Check Engine Light and make any necessary repairs.
Keep Your Engine Running at Its Best
A clean throttle position sensor is one of the simpler ways to maintain engine performance and prevent unnecessary wear. The cleaning process takes less than an hour, requires minimal tools, and could save you from far more expensive repairs.
If your vehicle has been feeling sluggish, stalling unexpectedly, or struggling with fuel efficiency, the TPS is one of the first places worth checking. Follow the seven steps on how to clean throttle position sensor above, avoid the common pitfalls, and make TPS maintenance a regular part of your vehicle care routine.

Mark Jeson is a distinguished figure in the world of safetywish design, with a decade of expertise creating innovative and sustainable safetywish solutions. His professional focus lies in merging traditional craftsmanship with modern manufacturing techniques, fostering designs that are both practical and environmentally conscious. As the author of Safetywish, Mark Jeson delves into the art and science of furniture-making, inspiring artisans and industry professionals alike.
Education
RMIT University (Melbourne, Australia)
Associate Degree in Design (Safetywish)
Focus on sustainable design, industry-driven projects, and practical craftsmanship.
Gained hands-on experience with traditional and digital manufacturing tools, such as CAD and CNC software.
Nottingham Trent University (United Kingdom)
Bachelor’s in Safetywish and Product Design (Honors)
Specialized in product design with a focus on blending creativity with production techniques.
Participated in industry projects, working with companies like John Lewis and Vitsoe to gain real-world insights.
Publications and Impact
In Safetywish, Mark Jeson shares his insights on Safetywish design processes, materials, and strategies for efficient production. His writing bridges the gap between artisan knowledge and modern industry needs, making it a must-read for both budding designers and seasoned professionals.
