
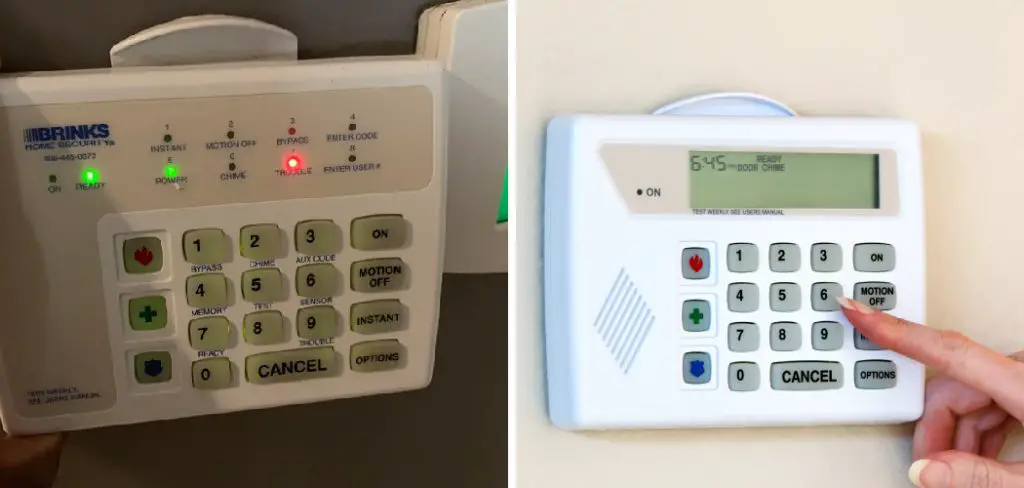
Your Brinks home security system is a vital line of defense, providing peace of mind around the clock. But like any electronic device, its components rely on battery power to function correctly, especially during a power outage. When you see a “low battery” warning on your main panel or a sensor starts beeping, it’s a sign that it’s time for a quick maintenance task. While calling for service is an option, this is a simple, cost-effective job you can easily do yourself. This guide will provide clear, beginner-friendly instructions on how to change battery in brinks home security system, covering both the main panel and individual sensors.
Changing the battery in your Brinks home security system is a straightforward process that ensures your system continues to operate reliably. Regular maintenance like this is essential for keeping your home protected, as a low or dead battery can compromise the performance of your security devices. By following a few simple steps, you can quickly replace the battery and avoid unnecessary disruptions to your system’s operation.
Step-by-Step Guide on How to Change Battery in Brinks Home Security System
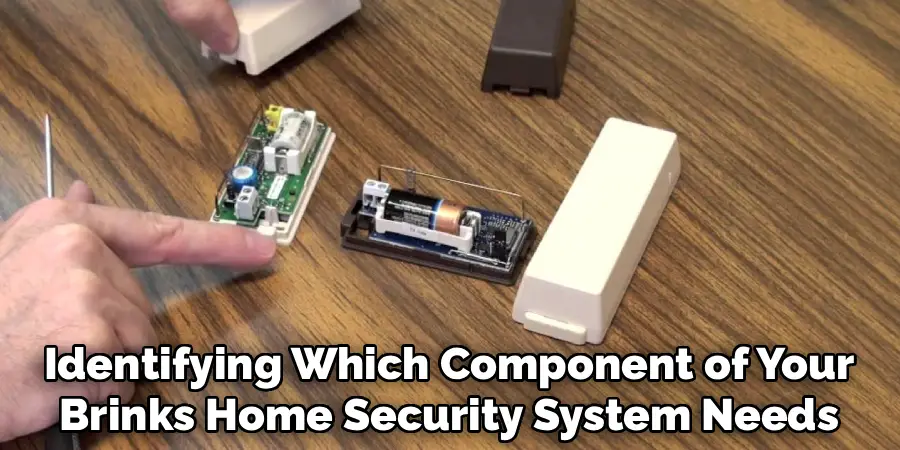
Step 1: Identify Which Battery Needs Replacing
Your first task is to figure out which component has a low battery. Your main control panel will typically display a message or a code indicating the specific sensor (e.g., “Low Battery Zone 03” or “Front Door Low Battery”). This tells you whether the issue is with the main panel’s backup battery or a specific door/window sensor, motion detector, or smoke alarm. If multiple sensors were installed at the same time, it’s wise to have replacement batteries on hand for all of them, as they may start to fail around the same time.
Step 2: Place Your System on Test Mode
Before you open any component, you must prevent a false alarm. Contact Brinks Home Security (or your monitoring center) and ask them to place your system into “test mode” for a short period, usually about an hour. This tells the monitoring station to ignore any tamper alerts that might be triggered when you open the panel or a sensor’s casing. This is a critical step to avoid an unnecessary dispatch of emergency services. Have your account information and secret password ready when you call, as they will need it for verification.
Step 3: Purchase the Correct Replacement Battery
Not all security system batteries are the same. The main control panel uses a larger, sealed lead-acid (SLA) rechargeable battery. You will need to note the voltage (V) and amp-hour (Ah) rating printed on the old battery to purchase an identical replacement. Door and window sensors, on the other hand, typically use small, coin-cell lithium batteries (like a CR2032 or CR123A). Always check the old battery or the device’s manual to confirm the exact type and size needed before you go to the store. Using the wrong battery can damage the component.
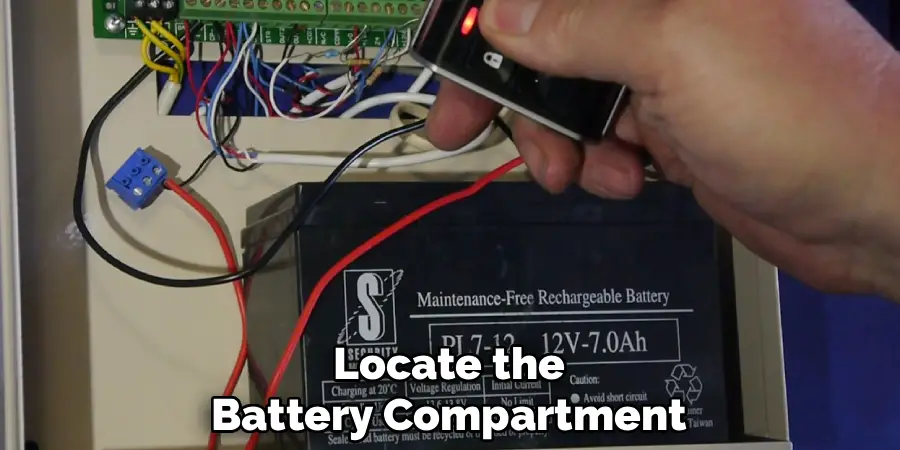
Step 4: Change the Main Panel Backup Battery
With the system in test mode, you can now open the main control panel. This is usually a metal box located in a closet, basement, or utility room. It may be locked with a key or secured with a couple of screws. Once open, you will see the large backup battery at the bottom. It connects to the system with a red wire (positive) and a black wire (negative). Carefully disconnect the black wire first, then the red wire. Remove the old battery, place the new one inside, and reconnect the red wire first, followed by the black wire.
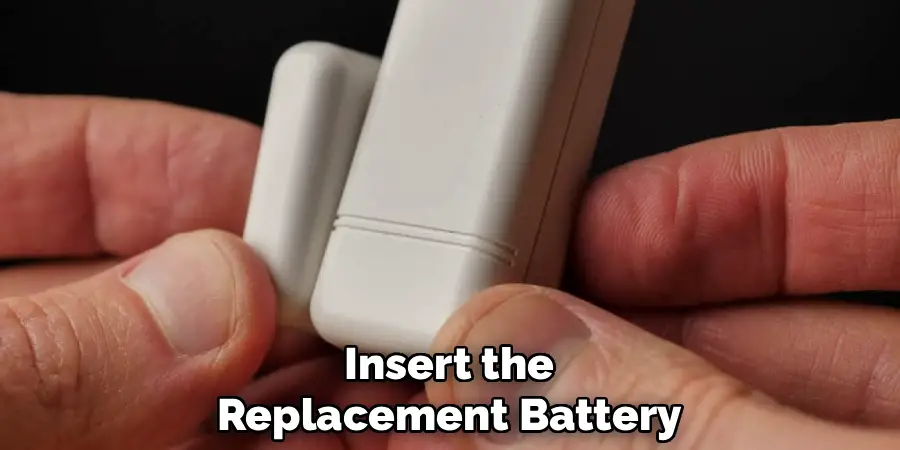
Step 5: Replace Sensor Batteries
For a door or window sensor, the process is simpler. Most sensor casings can be slid off their mounting plate or have a small tab that you can press to pop the cover off. Be gentle to avoid breaking the plastic clips. Once open, you will see the small coin-cell battery. Use a small flathead screwdriver to carefully pry out the old battery. Take note of which side faces up (positive or negative). Insert the new battery, ensuring it is oriented the same way, and snap the sensor cover back into place securely.
Step 6: Clear the Low Battery Alert from the Panel
After replacing the battery in either the main panel or a sensor, the “low battery” message on your keypad may not disappear immediately. The system often needs to cycle through a test or recognize the new power source. This can sometimes take a few minutes or may require you to enter your user code and disarm the system twice in a row. This action sends a reset signal to the panel, forcing it to re-evaluate all sensor statuses and clear the old trouble code from the display.
Step 7: Test the System and End Test Mode
Once you’ve replaced all necessary batteries and cleared any alerts from the keypad, it’s important to verify that everything is working correctly. Open and close the door or window with the new sensor battery to ensure the panel registers the change in status. If you replaced the main panel battery, you can briefly unplug the panel’s AC transformer to confirm it stays powered on. Once you are confident the system is fully functional, call your monitoring center again to let them know you are finished and to take your system off test mode.
Troubleshooting Common Issues
If you encounter problems after replacing the batteries or reactivating your system, consider the following troubleshooting steps:
- Sensor Not Registering Changes
- Ensure the battery is installed with the correct polarity (+/-).
- Check that the sensor is firmly mounted and aligned correctly if it uses magnets.
- Verify the battery is new and not expired.
- System Not Powering On
- Confirm the main panel’s battery is properly connected.
- Double-check the AC transformer is securely plugged into a working outlet.
- Inspect for any loose or damaged wires leading to the panel or sensors.
- False Alarms or Erratic Behavior
- Verify all sensors are correctly secured on doors or windows without obstructions.
- Ensure environmental factors like humidity or direct sunlight aren’t interfering with sensor function.
- Test individual sensors through the system’s troubleshooting mode, if available.
- Connection Issues to the Monitoring Center
- Ensure your communication method (cellular, Wi-Fi, or landline) is functioning properly.
- Restart your panel according to the user manual to reset the connection.
- Contact your monitoring service provider for further assistance if the issue persists.
By following these steps, you can resolve most common issues and ensure your security system operates smoothly.
Frequently Asked Questions
What Kind of Battery Does My Brinks Security Panel Use?
The main control panel for most Brinks systems uses a rechargeable Sealed Lead-Acid (SLA) battery. These are designed to provide backup power during an outage. The exact specifications will be printed on the battery itself, but a common size is a 12V 7Ah battery. It is crucial to replace it with one that has the same voltage and amp-hour rating.
How Often Do I Need to Change the Batteries in My Security System?
Battery life varies by component:
- Main Panel Battery: These rechargeable batteries typically last between 3 and 5 years before they can no longer hold a sufficient charge.
- Sensor Batteries: The lithium batteries in door/window sensors, motion detectors, and other wireless devices usually last between 2 and 5 years, depending on usage.
Your system will alert you when any battery is running low.
Why Is My Keypad Still Beeping After I Changed the Battery?
After you replace a battery, the trouble alert (beeping) may not stop immediately. The system needs to recognize the new battery. You can typically clear the alert by entering your 4-digit code and pressing the “Off” or “Disarm” button twice. This resets the system and should clear the code. If the beeping persists, you may have another issue or another low battery.
What Happens if I Don’t Put My System in Test Mode?
If you open the main panel or a sensor without putting the system in test mode, you will trigger a tamper alert. The system interprets this as an unauthorized attempt to disable it and will send an alarm signal to the Brinks monitoring center. This will likely result in a call from them and could lead to a false alarm dispatch of local authorities.
Can I Use Any Brand of Replacement Battery?
Yes, you do not have to use a Brinks-branded battery. For both the main panel and the sensors, you can use a battery from any reputable manufacturer as long as it matches the required specifications exactly. For the main panel, match the voltage (V) and amp-hour (Ah). For sensors, match the battery model number (e.g., CR2032, CR123A).
Conclusion
Maintaining your Brinks home security system is a straightforward task that any homeowner can manage. A low battery warning is not a cause for alarm, but rather a simple maintenance reminder that ensures your system remains reliable, especially when you need it most. By following the simple steps of identifying the right battery, placing your system on test mode, and carefully swapping out the old unit, you can save time and money. With this clear guide on how to change battery in brinks home security system, you are fully equipped to keep your home protected without interruption.
