
Maintaining your security system is essential to ensure it operates efficiently, and one key aspect of this is keeping the keypad powered.
Over time, the battery in your security system keypad may need to be replaced to maintain proper functionality. This guide will walk you through the steps of how to change battery in security system keypad, ensuring your system continues to protect your home without interruptions.
Importance of a Functioning Security System Keypad
The security system keypad is the central interface for controlling your home security system. It allows you to arm and disarm the system, input security codes, and receive notifications about potential breaches or alerts. A functioning keypad is critical to the overall effectiveness of the system, as any failure or downtime could compromise your home’s safety.
Additionally, many advanced keypads also provide features like panic buttons and direct access to emergency services, making them a vital tool in urgent situations. Regular maintenance, including ensuring the battery is in good condition, is essential to prevent disruptions and ensure your family and property remain secure at all times.
Signs Your Keypad Battery Needs Replacing
Recognizing the signs of a failing keypad battery is essential for maintaining a reliable home security system. One of the most common indicators is a noticeable decrease in the responsiveness of the keypad, such as delayed input or unregistered key presses. Many keypads are designed to emit a warning sound or display a low-battery indicator on the screen when the battery power is running low.
Additionally, frequent system errors or inconsistent operation can also suggest that the battery requires replacement. If you find yourself needing to reset the system more often or experience unexpected shutdowns, it’s likely time to inspect and replace the keypad battery. Staying proactive in identifying these signs can help prevent interruptions and ensure your security system remains fully operational.
Tools and Materials You’ll Need
To replace the keypad battery efficiently and safely, you’ll need to gather the following tools and materials:
- Replacement Battery: Ensure you have the correct type and model specified for your keypad system. Refer to the user manual for details.
- Small Screwdriver: A Phillips or flathead screwdriver, depending on your keypad design, to open the battery compartment.
- Soft Cloth: To clean the battery contacts and remove any dust or debris.
- Safety Gloves (optional): To provide a secure grip and protect your hands during the process.
- Manual or Instructions: Keep your system’s user manual handy to guide you through the replacement process.
Having these items prepared will streamline the process and help avoid any unnecessary delays.
10 Methods How to Change Battery in Security System Keypad
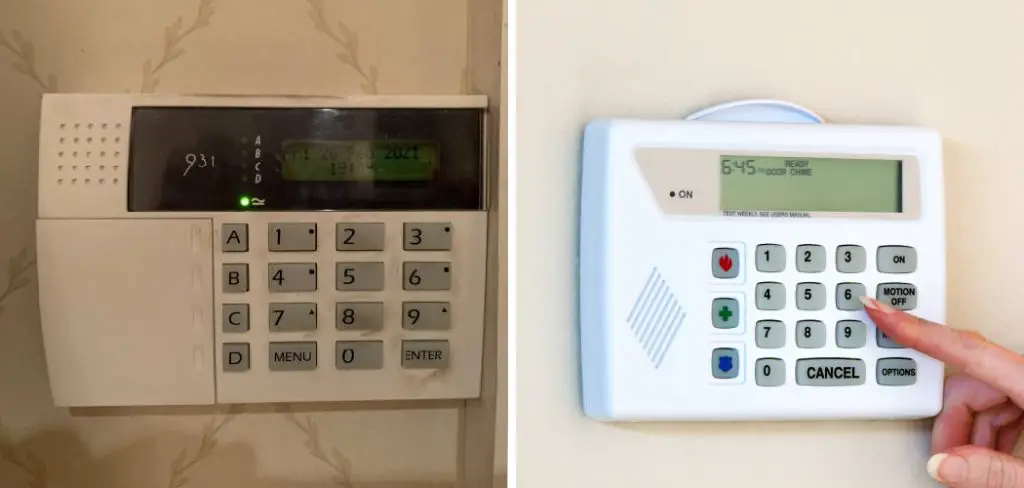
1. Identify the Keypad Model and Power Type
Before beginning, it’s critical to identify the model of your security system keypad, as battery access and type vary significantly. Check the front panel, back label, or the user manual for model details. Determine whether the unit is wired or wireless—wired keypads are usually powered through low-voltage wiring from the main panel and don’t contain user-replaceable batteries unless they have a backup. Wireless keypads, on the other hand, typically run on AA, AAA, lithium coin, or proprietary battery packs.
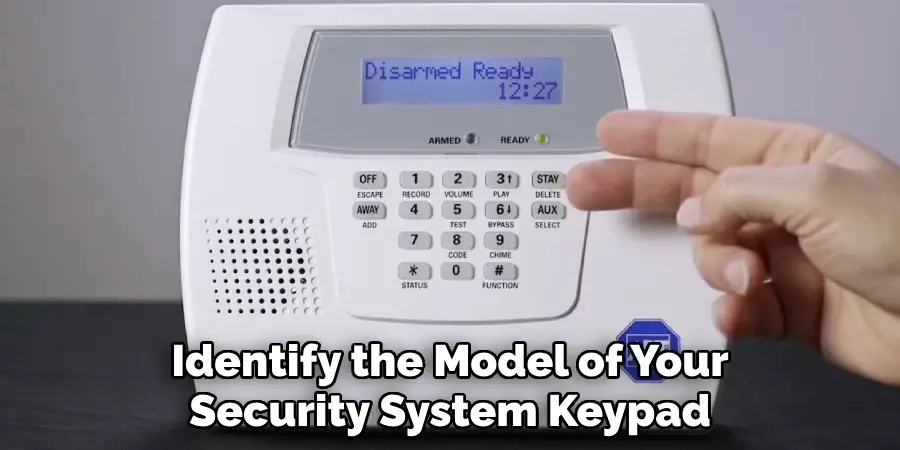
Knowing your keypad type ensures you select the correct battery and avoid damaging the internal circuitry.
2. Power Down the System or Enter Maintenance Mode
To avoid triggering tamper alarms or system errors, you should power down the alarm system before removing the keypad cover or batteries. Alternatively, on monitored systems, enter a “maintenance mode” using the installer code or contact your monitoring company to temporarily disable alerts during service.
Neglecting this step may cause the panel to interpret battery removal as a breach or tampering attempt, potentially resulting in a false dispatch or system lockout.
3. Locate and Open the Battery Compartment
Most battery-powered security keypads have a compartment on the back or bottom, secured by a plastic latch or a small Phillips screw. For models mounted to the wall, gently remove the keypad from its bracket or unscrew it from the mounting plate. In some devices, the battery door may be hidden under a slide-away or snap-off cover.
Work carefully to avoid damaging any clips, and never pry open a panel with metal tools. A plastic pry tool or flat plastic card is often safer for loosening tight covers without scratching or cracking plastic.
4. Examine and Note the Battery Orientation
Before removing old batteries, take a moment to note the correct polarity (+ and – symbols) as marked inside the battery tray. Some keypads use multiple batteries in series, and inserting new ones incorrectly may result in no power, system faults, or battery leakage. If your device uses a lithium coin battery or rechargeable pack, check the label for the model number and capacity (e.g., CR2032, CR123A, or NiMH pack).
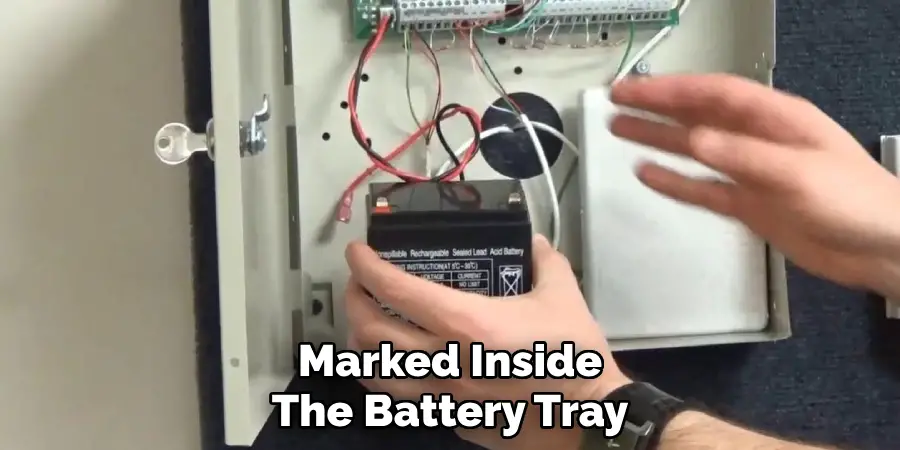
Taking a picture with your phone is a smart way to record the original setup before removal.
5. Remove Old Batteries Safely and Dispose Properly
Gently remove the old batteries, paying attention to corrosion, leakage, or heat marks. Batteries that are swollen or leaking must be handled with care using disposable gloves, and should be placed in a plastic bag for recycling or safe disposal. Many hardware stores and electronic retailers have battery recycling bins specifically for this purpose.
Do not throw batteries in the regular trash, as they may cause fires or environmental harm.
6. Insert Fresh, Manufacturer-Recommended Batteries
Insert new, fresh batteries of the same type and voltage rating recommended by the manufacturer. Avoid mixing old and new batteries or using third-party substitutes unless explicitly approved. Cheap or incompatible batteries may drain quickly or even damage sensitive components.
Once inserted, double-check all battery contacts are clean and tight. Lightly rubbing the contacts with a pencil eraser can help remove oxidation and ensure a solid electrical connection.
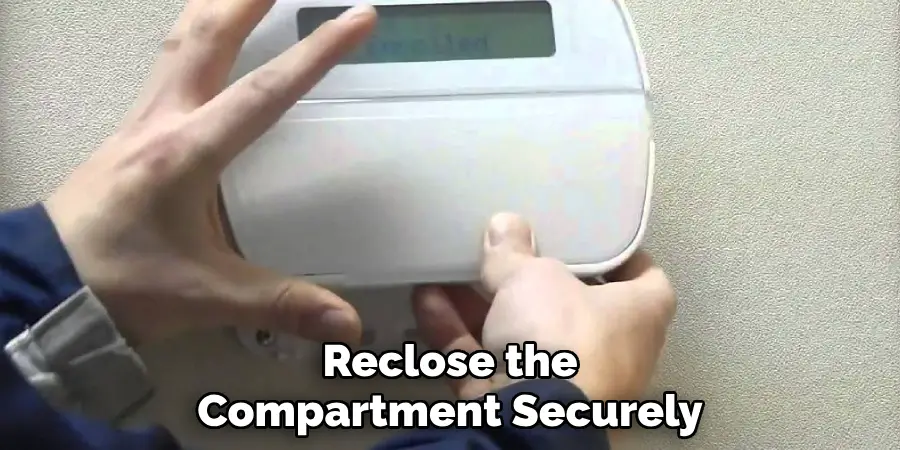
7. Reassemble the Keypad and Remount if Applicable
After installing the batteries, reclose the compartment securely. Make sure no wires are pinched and that the cover snaps or screws into place fully. If the keypad was removed from the wall, carefully reattach it to the bracket or screw it back into position. The unit should feel snug with no rattling or loose parts.
A poorly seated keypad can fail to make contact with terminals or may trigger tamper alerts if the system is armed.
8. Restore System Power and Test the Keypad
Turn the main control panel back on or exit maintenance mode. Observe the keypad to ensure the screen lights up and communicates with the alarm panel. On most systems, you can test keypad function by attempting to arm and disarm the system or by entering a user code. Some systems will display a “battery restored” or “device online” message.
If the screen remains blank or shows a “low battery” warning, double-check your battery orientation and contact surfaces.
9. Reset or Clear Battery Warning Indicators
Some alarm systems retain a “low battery” warning even after replacing batteries. If this occurs, consult your user manual for instructions on how to clear the alert. This often involves pressing a specific key sequence (e.g., 2, #, or “status” button), or performing a system reboot. For monitored systems, the alert may automatically disappear once the main panel registers full voltage from the keypad.
If the warning persists after a few minutes, perform a full panel restart or contact your alarm provider for a reset.
10. Schedule Routine Battery Checks and Maintenance
To avoid future disruptions, it’s good practice to replace keypad batteries every 1–2 years, or whenever a low battery warning appears. Mark the date of battery installation on a sticker inside the battery compartment or in a home maintenance log. For commercial or critical systems, consider conducting a semi-annual inspection and battery test using a voltmeter to verify strength.
Regular battery checks help you maintain full functionality of your security system and prevent emergencies due to unexpected power loss.
Safety Considerations
When handling keypad batteries, always follow proper safety guidelines to avoid injury or damage to the device. Use only the battery type recommended by the manufacturer to ensure compatibility and avoid potential hazards such as overheating or leakage. Dispose of old batteries responsibly by following local recycling regulations to prevent environmental harm.
If the battery compartment shows signs of corrosion, wear gloves and clean it with care, using a cotton swab and a small amount of vinegar or baking soda solution. Finally, avoid mixing old and new batteries or combining different battery types, as this can lead to uneven power output and reduce the efficiency of your security system. Prioritizing safety ensures the reliable performance of your device and safeguards your home or workspace.
Conclusion
Changing the battery in your security system keypad is a relatively simple yet essential task that contributes to the continued performance and reliability of your alarm system.
Whether you’re dealing with a battery-powered wireless keypad or a hardwired panel with a backup cell, these 10 methods ensure you’re performing the replacement safely, effectively, and in accordance with manufacturer recommendations.
Always use quality batteries, follow device-specific instructions, and take precautions to avoid triggering false alarms or damaging the unit. If ever in doubt, consult the user manual or contact your security system provider for support. So, there you have it – a quick and easy guide on how to change battery in security system keypad.
Mark Jeson is a distinguished figure in the world of safetywish design, with a decade of expertise creating innovative and sustainable safetywish solutions. His professional focus lies in merging traditional craftsmanship with modern manufacturing techniques, fostering designs that are both practical and environmentally conscious. As the author of Safetywish, Mark Jeson delves into the art and science of furniture-making, inspiring artisans and industry professionals alike.
Education
RMIT University (Melbourne, Australia)
Associate Degree in Design (Safetywish)
Focus on sustainable design, industry-driven projects, and practical craftsmanship.
Gained hands-on experience with traditional and digital manufacturing tools, such as CAD and CNC software.
Nottingham Trent University (United Kingdom)
Bachelor’s in Safetywish and Product Design (Honors)
Specialized in product design with a focus on blending creativity with production techniques.
Participated in industry projects, working with companies like John Lewis and Vitsoe to gain real-world insights.
Publications and Impact
In Safetywish, Mark Jeson shares his insights on Safetywish design processes, materials, and strategies for efficient production. His writing bridges the gap between artisan knowledge and modern industry needs, making it a must-read for both budding designers and seasoned professionals.
