
Your Liberty Safe is built to protect your most valuable possessions, but its high-tech electronic lock is only as reliable as its power source. The battery that powers the keypad is a small but essential component that requires periodic replacement to ensure you always have access to your safe. A dead battery can leave you locked out at the most inconvenient time. Fortunately, changing the battery is a simple maintenance task that anyone can perform in just a few minutes, with no special tools required. This guide will provide a clear, step-by-step walkthrough on how to change the battery on liberty safe, helping you keep your safe secure and fully functional.
To begin, ensure you have the correct replacement battery for your safe. Most Liberty Safe models use a 9-volt alkaline battery, so double-check your user manual or the markings on your safe for compatibility. Avoid using old or rechargeable batteries, as they may not provide the consistent power needed for reliable operation. Once you have the appropriate battery, locate the battery compartment on your safe’s keypad. This is typically found at the bottom or back of the keypad, depending on your model.
Why You Need to Change the Battery
Recognizing the signs of a failing battery is key to preventing a lockout. The most common indicator is a change in the keypad’s behavior. You might notice that the lock beeps multiple times when you enter your code, the keypad lights up dimly, or it becomes unresponsive, requiring several attempts to open. Some Liberty Safe models will specifically signal a low battery with a series of beeps after a successful opening. Ignoring these signs is risky. The primary risk is a complete battery failure, which will render the keypad inoperable. This means you will be locked out of your safe until you can replace the battery, which can be a significant inconvenience.
10 Methods for How to Change Battery on Liberty Safe
Method 1: Locate the Battery Compartment
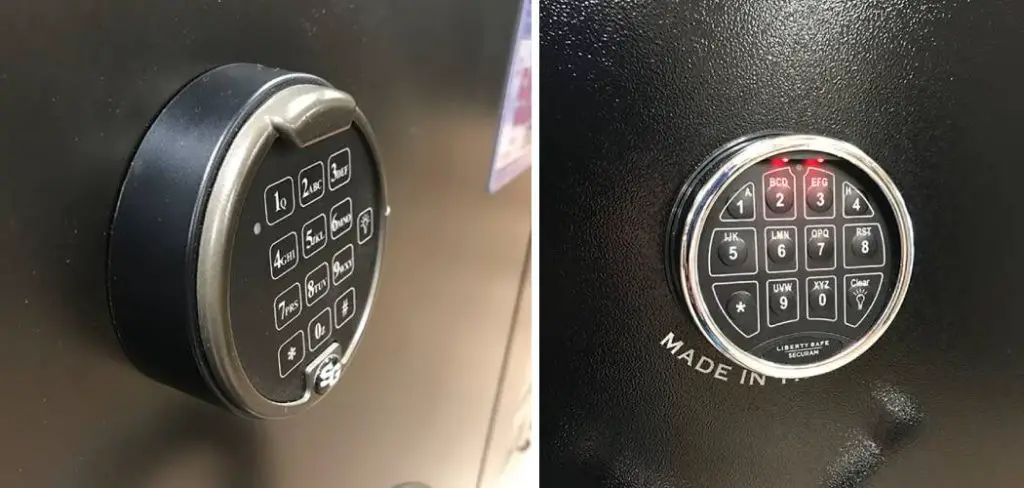
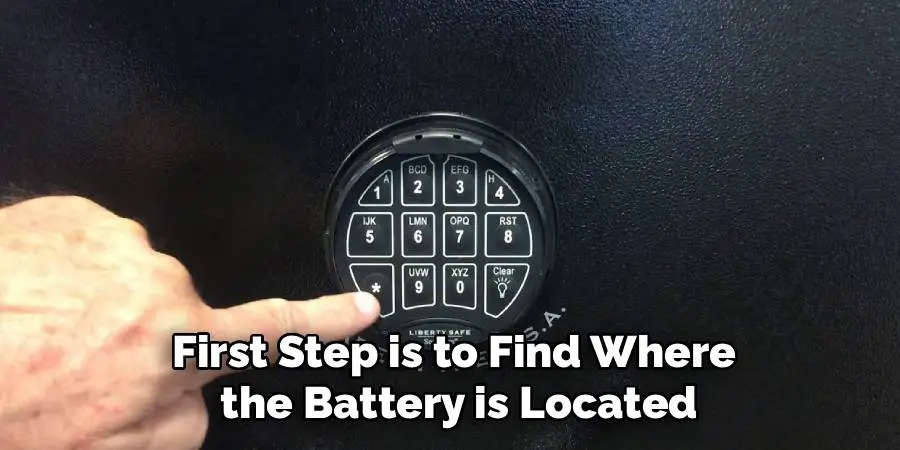
The first step is to find where the battery is located. On the vast majority of Liberty Safes with electronic locks, the battery compartment is integrated directly into the keypad on the exterior of the safe door. You will not need to open the safe to access it. The keypad is typically a round or square unit where you enter your combination. The battery is housed within this unit, making it easily accessible from the outside. This design is intentional, ensuring that you can always replace a dead battery even if the safe is locked.
Method 2:Remove the Keypad or Cover Plate
In some cases, the battery compartment may not be easily accessible from the outside. In this scenario, you will need to remove the keypad or cover plate to access the battery.
To do this, refer to your safe’s user manual for specific instructions on how to remove the keypad or cover plate. Generally, there will be screws that need to be loosened or removed in order to detach the keypad or cover plate from the safe door. Once removed, you should see the battery compartment and can proceed with replacing the batteries as needed. Be sure to securely reattach the keypad or cover plate once finished.
Method 3: Check the Battery Type
If you are unsure about the battery type your safe uses, there are a few ways to check. One option is to consult the user manual for your safe, as it will typically list the specific type of battery required. Another option is to check the current batteries in your safe and look for any labeling or markings that indicate the type. Lastly, you can contact the manufacturer or customer support for assistance in determining the correct battery type.
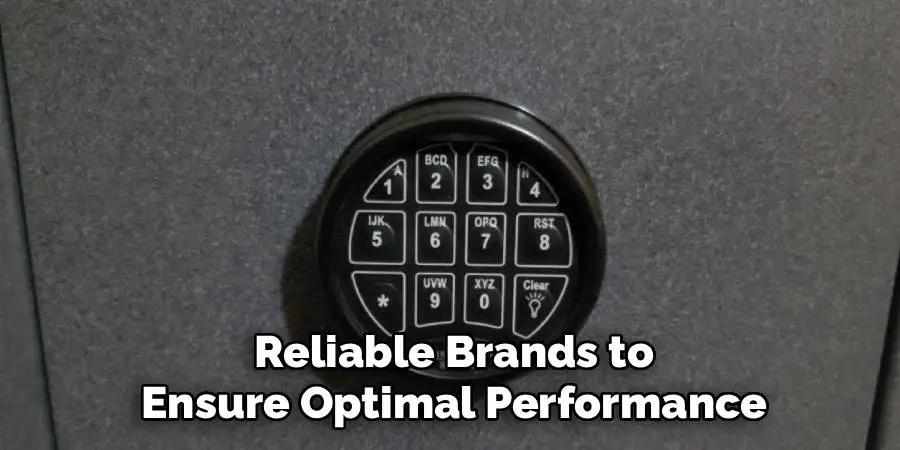
When replacing the batteries in your safe, it is important to use high-quality, reliable brands to ensure optimal performance. Low-quality or improperly rated batteries may not provide sufficient power or could drain more quickly, potentially compromising the functionality of your safe. Always follow the manufacturer’s recommendations for battery replacement to avoid any issues.
Method 4: Remove the Old Battery
Once you have exposed the battery, you need to disconnect it from the power terminals. The 9-volt battery is connected with a standard snap-on connector cap with two wires, one red and one black. Hold the keypad in one hand and use your other hand to firmly grasp the plastic connector cap. Gently but firmly pull the cap straight off the top of the battery. Avoid pulling on the wires themselves, as this could damage the connection. The old battery is now free and can be set aside for proper disposal.
Method 5: Install the New Battery
Now it’s time to install your new, high-quality 9-volt alkaline battery. Take note of the positive (+) and negative (-) terminals on top of the new battery and match them to the corresponding snaps on the connector cap. The connector is designed to only fit one way, with the smaller circular snap connecting to the larger terminal on the battery. Press the connector cap firmly onto the top of the new battery until you feel or hear it snap securely into place. A snug connection is crucial for reliable power delivery. This is a critical step in how to change battery on Liberty Safe.
Method 6: Test the Keypad or Biometric System
Once the new battery is installed, it’s important to test the keypad or biometric system to ensure that it is functioning properly. For keypads, enter your personal code and make sure that you are able to unlock and lock the safe. If you have a biometric system, use your fingerprint or programmed finger to test the system. If there are any issues with the keypad or biometric system, double check all connections and try again.
Method 7: Reassemble the Safe
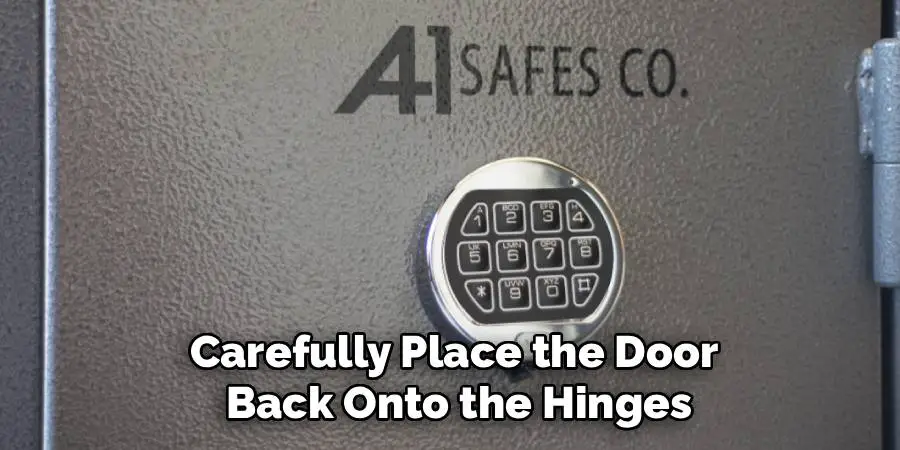
Once all necessary repairs and replacements have been made, it’s time to reassemble the safe. Carefully place the door back onto the hinges and make sure that it is aligned correctly. Use a screwdriver to tighten any screws or bolts that hold the door in place.
If your safe has a combination lock, make sure to reset it before locking the safe again. This adds an extra layer of security and prevents anyone from accessing the safe with the old combination.
For electronic safes, reattach any wires or cables that were disconnected during the repair process. Make sure they are securely connected and then test out the keypad or biometric system one final time.
Frequently Asked Questions
What Kind of Battery Does My Liberty Safe Use?
Nearly all Liberty Safe electronic locks use a standard 9-volt alkaline battery. It is crucial to use a high-quality, brand-name battery like Duracell or Energizer. Do not use rechargeable, lithium, or “heavy-duty” batteries. These types can have different voltage characteristics that may not be compatible with the lock’s electronics, leading to unreliable performance or damage.
Will I Lose My Combination if the Battery Dies?
No, you will not lose your programmed combination if the battery dies. Liberty Safe electronic locks use non-volatile memory, which means your code is stored permanently and does not require continuous power to be retained. Once you install a new battery, your old combination will work exactly as it did before.
How Often Should I Change the Battery in My Liberty Safe?
As a best practice for preventative maintenance, you should change the battery in your safe lock once every 12 to 18 months. This ensures you always have a fresh power source and dramatically reduces the risk of being locked out by a dead battery. It’s a good idea to set a calendar reminder for this simple task.
My Lock Is Beeping Multiple Times. What Does That Mean?
Multiple beeps (typically four or five in a row) after entering your code and opening the door is the lock’s low-battery warning. This is a signal that the battery’s voltage has dropped to a critical level and it should be replaced as soon as possible. While the lock may continue to function for a short time, failure is imminent.
What Should I Do If I Change the Battery and the Keypad Still Doesn’t Work?
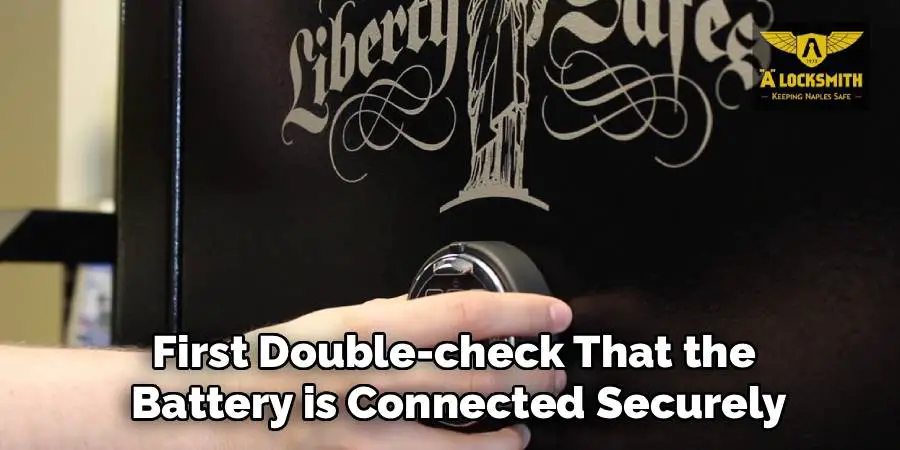
If you’ve installed a fresh, high-quality 9-volt battery and the keypad is still unresponsive, first double-check that the battery is connected securely. If the connection is good, the issue may lie with the keypad itself or the internal lock mechanism. At this point, it is best to contact Liberty Safe customer support or a certified safe technician for further assistance.
Conclusion
Maintaining the battery in your Liberty Safe’s electronic lock is a simple but vital task for ensuring reliable access and security. By recognizing the signs of a low battery and knowing the straightforward replacement process, you can prevent the inconvenience of a lockout. The key takeaways are to use a high-quality 9-volt alkaline battery, replace it proactively every 12-18 months, and test the lock’s function after every change. Taking just a few minutes for this easy maintenance step is a small price to pay for peace of mind. By knowing how to change battery on Liberty Safe, you are taking control of your security and ensuring your valuables are always within reach.
Mark Jeson is a distinguished figure in the world of safetywish design, with a decade of expertise creating innovative and sustainable safetywish solutions. His professional focus lies in merging traditional craftsmanship with modern manufacturing techniques, fostering designs that are both practical and environmentally conscious. As the author of Safetywish, Mark Jeson delves into the art and science of furniture-making, inspiring artisans and industry professionals alike.
Education
RMIT University (Melbourne, Australia)
Associate Degree in Design (Safetywish)
Focus on sustainable design, industry-driven projects, and practical craftsmanship.
Gained hands-on experience with traditional and digital manufacturing tools, such as CAD and CNC software.
Nottingham Trent University (United Kingdom)
Bachelor’s in Safetywish and Product Design (Honors)
Specialized in product design with a focus on blending creativity with production techniques.
Participated in industry projects, working with companies like John Lewis and Vitsoe to gain real-world insights.
Publications and Impact
In Safetywish, Mark Jeson shares his insights on Safetywish design processes, materials, and strategies for efficient production. His writing bridges the gap between artisan knowledge and modern industry needs, making it a must-read for both budding designers and seasoned professionals.
