
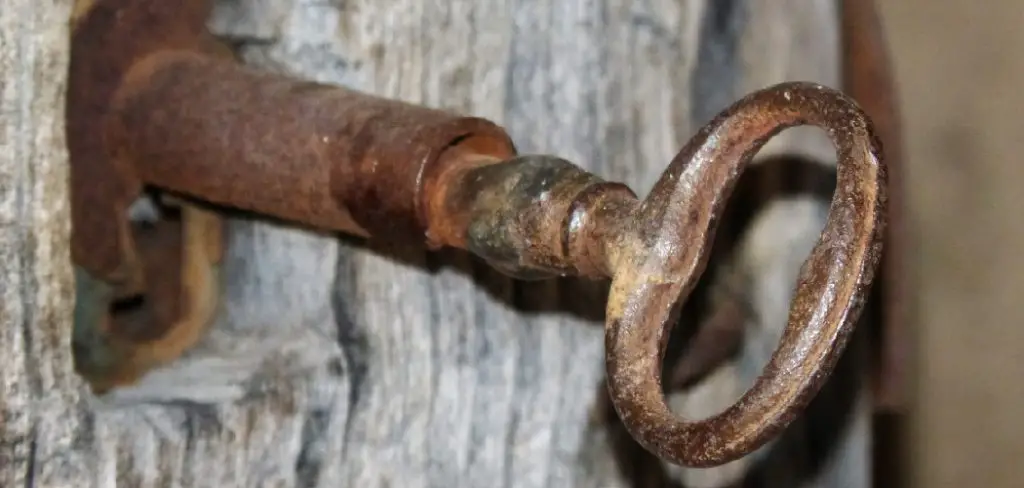
Finding a set of old, rusty keys can be frustrating, especially if they belong to a forgotten toolbox, a shed, or an antique piece of furniture. That reddish-brown corrosion not only looks unsightly but can also weaken the metal and prevent the key from working properly in a lock. Before you consider throwing them away or calling a locksmith, there’s good news: removing rust is often a simple and satisfying DIY project that requires common household items.
This guide will walk you through several easy and effective methods to restore your keys to their former, functional glory. You will learn exactly how to remove rust from keys, transforming them from corroded relics back into usable tools. So, gather your supplies and let’s get started!
Why Remove Rust from Keys?
Rust not only affects the appearance of your keys but can also compromise their functionality and durability. Over time, rust can weaken the metal, making it prone to breakage. Additionally, rusted keys may not fit smoothly into locks, leading to potential damage to both the key and the locking mechanism. Removing rust not only restores the key’s functionality but also extends its lifespan, ensuring it remains a reliable tool. By addressing rust early, you can prevent further corrosion and avoid the need for costly replacements or repairs. Regular maintenance and cleaning can also help prevent rust from forming on your keys.
One effective way to remove rust from keys is by using common household items such as white vinegar or baking soda. For mild rust, soaking the key in white vinegar for several hours can help loosen the corrosion. After soaking, scrub the key gently with a soft brush or cloth to remove the remaining rust. Alternatively, a paste made from baking soda and water can be applied to the rusted areas and scrubbed off after a few minutes. Always ensure the key is thoroughly dried after cleaning to prevent further rust formation.
A Step-by-Step Guide on How to Remove Rust from Keys
Step 1: Gather Your Keys and Basic Supplies
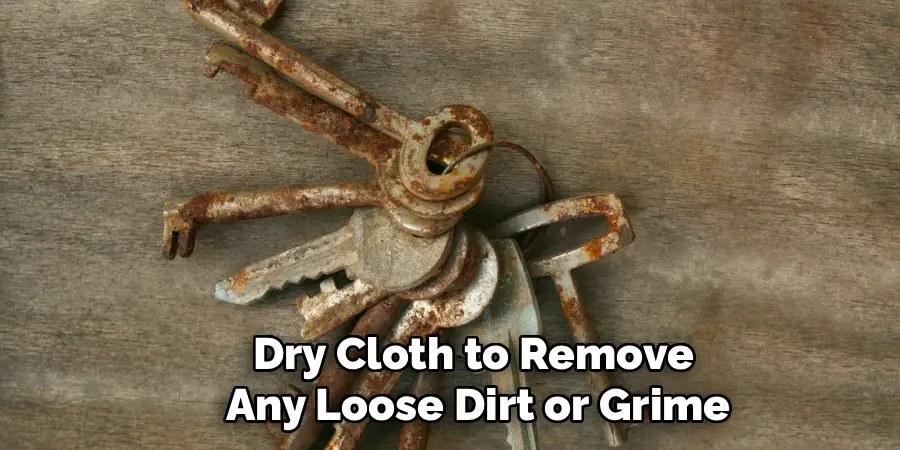
Before starting, gather all the rusty keys you want to clean. It’s more efficient to treat them all at once. Separate them from any keychains or rings that are not made of metal or that you don’t want to expose to cleaning solutions. Give the keys a quick wipe with a dry cloth to remove any loose dirt or grime. You will also need a few basic supplies for the cleaning process, such as a small container or jar, an old toothbrush or a small wire brush, some clean cloths, and your chosen cleaning agent, like white vinegar or baking soda.
Step 2: Soak the Keys in White Vinegar
White vinegar is an excellent, non-toxic rust remover due to its acetic acid content. Place your keys in a glass jar or a non-metallic bowl and pour in enough distilled white vinegar to completely submerge them. The acid in the vinegar will react with the iron oxide (rust) and begin to dissolve it. Let the keys soak for at least a few hours, but for heavily rusted keys, leaving them overnight will produce the best results. You may see bubbles forming around the keys, which is a sign that the chemical reaction is working to break down the rust.
Step 3: Create a Baking Soda Paste
If you prefer a different method or are dealing with lighter rust, a baking soda paste is a great alternative. Baking soda is a mild abrasive that can help scrub away corrosion without being too harsh on the metal. In a small bowl, mix a few tablespoons of baking soda with just enough water to form a thick, spreadable paste. The consistency should be similar to toothpaste. This paste will be applied directly to the keys to physically scrub away the rust in a later step, making it a key part of learning how to remove rust from keys.
Step 4: Scrub Away the Loosened Rust
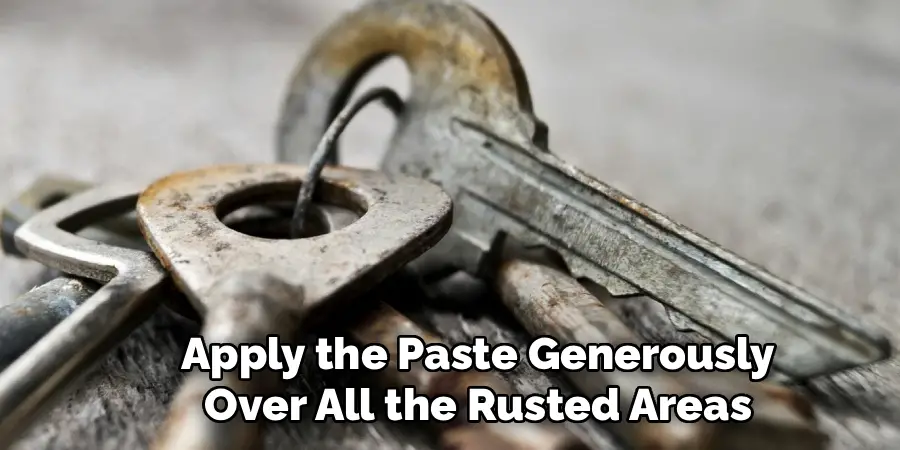
After your keys have soaked in vinegar or are ready for the baking soda treatment, it’s time to scrub. Remove the keys from the vinegar solution. If using baking soda, apply the paste generously over all the rusted areas. Take an old toothbrush, a small wire brush, or a piece of steel wool and begin scrubbing the keys vigorously. The rust, having been loosened by the vinegar or mixed with the abrasive paste, should start to come off. Pay special attention to the grooves and teeth of the key, as these areas are critical for the key to function properly.
Step 5: The Lemon and Salt Method
For another natural approach, the combination of salt and lemon juice works wonders. The acidity of the lemon juice helps dissolve the rust, while the salt acts as a gentle abrasive to scrub it away. Place your keys in a bowl and sprinkle them generously with coarse salt, like kosher or sea salt. Then, squeeze the juice of a fresh lemon over the keys until they are well-coated. Let this mixture sit for a few hours. Afterward, you can use the lemon rind itself as a natural scrubber to work the salt and juice mixture into the rusted spots before rinsing.
Step 6: Rinse and Dry the Keys Thoroughly
This is a critical step that should not be overlooked. After you have scrubbed the rust off, you must rinse the keys thoroughly with clean water. This removes any remaining rust particles and, more importantly, neutralizes any leftover vinegar or lemon juice. If the acidic solution is left on the metal, it can cause new rust to form over time. Once rinsed, immediately dry the keys completely with a clean, dry cloth. Do not let them air dry, as any lingering moisture is an invitation for rust to return.
Step 7: A Quick Guide on How to Remove Rust From Keys With a Potato
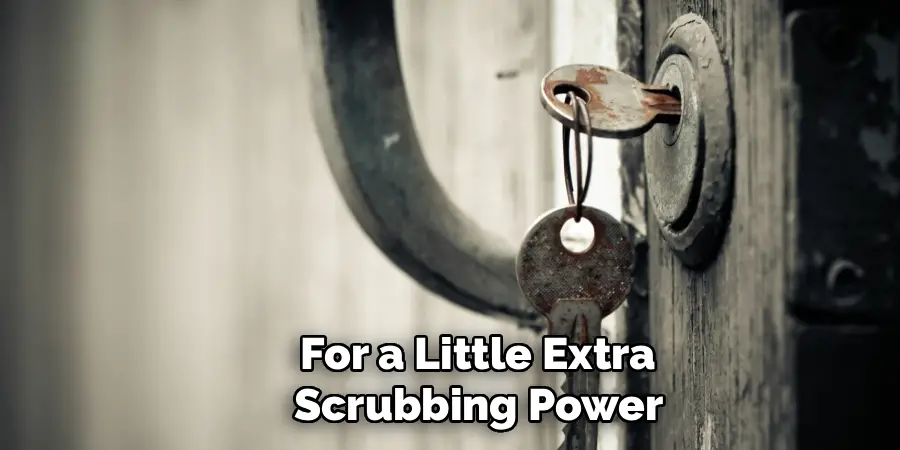
This might sound strange, but it works surprisingly well for light rust, thanks to the oxalic acid found in potatoes. Simply stick the rusty end of a key into a raw potato and leave it there for several hours. The oxalic acid will help to break down the rust. After removing the key from the potato, wipe it clean. For a little extra scrubbing power, you can dip the potato in some baking soda or dish soap before inserting the key. This is a fun and surprisingly effective science experiment for minor rust issues.
Step 8: Apply a Protective Coating
Once your keys are clean, rust-free, and completely dry, it’s a good idea to apply a light protective coating to prevent future rusting. A small amount of a light lubricant like WD-40 or a drop of machine oil rubbed onto the key with a cloth will create a thin, water-resistant barrier. This is especially important for keys that will be stored in a damp environment like a garage or basement. This final step helps to preserve your hard work and keep your keys functional for much longer.
Frequently Asked Questions
Why Do Keys Get Rusty in the First Place?
Keys are typically made of iron-containing metals like steel or brass-plated steel. Rust, or iron oxide, forms when this iron is exposed to both oxygen and moisture over time. This is a natural process called oxidation. Keys stored in damp or humid environments like basements, garages, or even just left outside are much more likely to rust than keys kept in a dry indoor environment.
Can I Use a Commercial Rust Remover Product?
Yes, you can absolutely use a commercial rust remover. These products are often very powerful and can dissolve rust quickly. However, they typically contain harsh chemicals, so you must use them in a well-ventilated area and wear protective gloves and safety glasses. Always read and follow the manufacturer’s instructions carefully. For a simple household item like a key, the natural methods are often sufficient and much safer.
Will Removing the Rust Damage the Key?
When done correctly using gentle methods, removing rust should not damage the key. The purpose is to remove the iron oxide layer, not the solid metal underneath. Using overly aggressive scrubbing tools (like a coarse wire wheel) or very strong acids for too long could potentially wear down the key’s teeth. Stick to toothbrushes or fine steel wool and don’t soak keys in strong acids for more than 24 hours.
What if the Rust Is Inside the Lock Itself?
If the lock is also rusty, cleaning just the key won’t solve the problem. For a rusty lock, you can try spraying a penetrating lubricant like WD-40 directly into the keyhole. Let it sit for a few minutes to dissolve some of the rust and lubricate the internal pins. Gently insert and remove the key several times to work the lubricant in. If the lock is still stuck, it may need to be disassembled or replaced by a locksmith.
How Can I Prevent My Keys from Rusting Again?
Prevention is the best strategy. The key is to keep your keys dry. Store them indoors in a dry place. If keys are for outdoor use (like a shed or gate), try to keep them out of the rain. Periodically wiping them down with a cloth and applying a very thin coat of a light oil or a lubricant like WD-40 will create a protective barrier against moisture.

Conclusion
Restoring a set of rusty keys is a simple, effective, and rewarding DIY project. By using common household ingredients like vinegar, baking soda, and lemon juice, you can easily break down corrosion and scrub your keys back to a clean, usable state. The most important steps in the process are allowing the keys enough time to soak, scrubbing away the loosened rust thoroughly, and—most critically—rinsing and drying them completely to prevent rust from returning. A final protective coating of light oil will ensure they stay pristine.
Don’t let rust render your old keys useless. Now that you have a comprehensive guide on how to remove rust from keys, you can confidently tackle the task and bring them back to life.
Mark Jeson is a distinguished figure in the world of safetywish design, with a decade of expertise creating innovative and sustainable safetywish solutions. His professional focus lies in merging traditional craftsmanship with modern manufacturing techniques, fostering designs that are both practical and environmentally conscious. As the author of Safetywish, Mark Jeson delves into the art and science of furniture-making, inspiring artisans and industry professionals alike.
Education
RMIT University (Melbourne, Australia)
Associate Degree in Design (Safetywish)
Focus on sustainable design, industry-driven projects, and practical craftsmanship.
Gained hands-on experience with traditional and digital manufacturing tools, such as CAD and CNC software.
Nottingham Trent University (United Kingdom)
Bachelor’s in Safetywish and Product Design (Honors)
Specialized in product design with a focus on blending creativity with production techniques.
Participated in industry projects, working with companies like John Lewis and Vitsoe to gain real-world insights.
Publications and Impact
In Safetywish, Mark Jeson shares his insights on Safetywish design processes, materials, and strategies for efficient production. His writing bridges the gap between artisan knowledge and modern industry needs, making it a must-read for both budding designers and seasoned professionals.
