
Are you looking for a quick and easy way to close your garage door manually? Don’t worry, we’ve got you covered!
Sometimes, automatic garage door openers can malfunction due to power outages, technical issues, or mechanical failures. When this occurs, knowing how to close your garage door manually is essential for securing your home and belongings. This process is straightforward and can be completed safely with the right steps and precautions.
Additionally, understanding how to manually close your garage door can also come in handy during emergency situations where your automatic opener is not functioning.
In this guide on how to close garage door manually, we’ll walk you through the necessary instructions to manually close your garage door in case of an emergency or equipment failure.
What Will You Need?
Before attempting to manually close your garage door, make sure you have the following items on hand:
- Emergency Release Key: This is a small key that comes with most automatic garage door openers and is used to disengage the opener from the track in case of power outages or malfunctions.
- Ladder: Depending on the height of your garage door, you may need a ladder to reach the emergency release mechanism.
- Gloves: It’s always a good idea to wear gloves when handling heavy objects, such as a garage door.
- Assistance: If possible, it’s best to have someone help you when manually closing your garage door. They can hold the door steady while you release the emergency lock and guide the door down.
10 Easy Steps on How to Close Garage Door Manually
Step 1: Ensure Safety First
Before attempting to manually close your garage door, take a moment to prioritize safety. Start by clearing the area around the garage door to ensure there are no obstacles or individuals in harm’s way. Inspect the door and its components for any visible damage or malfunctions that might impact the process.

Check that you have the necessary tools and protective gear, such as gloves, within reach. If possible, have a second person present to assist you, as this can greatly improve stability and control during the procedure. Lastly, disconnect any automated systems or power supplies connected to the door to prevent accidental activation while you’re working.
Step 2: Locate the Emergency Release Cord
The emergency release cord is typically a red handle or cord hanging from the center rail of the garage door’s mechanism. It is designed to disconnect the door from the automated opener, allowing you to operate it manually.
To locate it, look above the door track where the opener arm connects to the trolley. Ensure that the garage door is fully closed before pulling the cord to avoid any sudden movement. If the cord is not easily visible or accessible, refer to the door manufacturer’s manual for specific guidance.
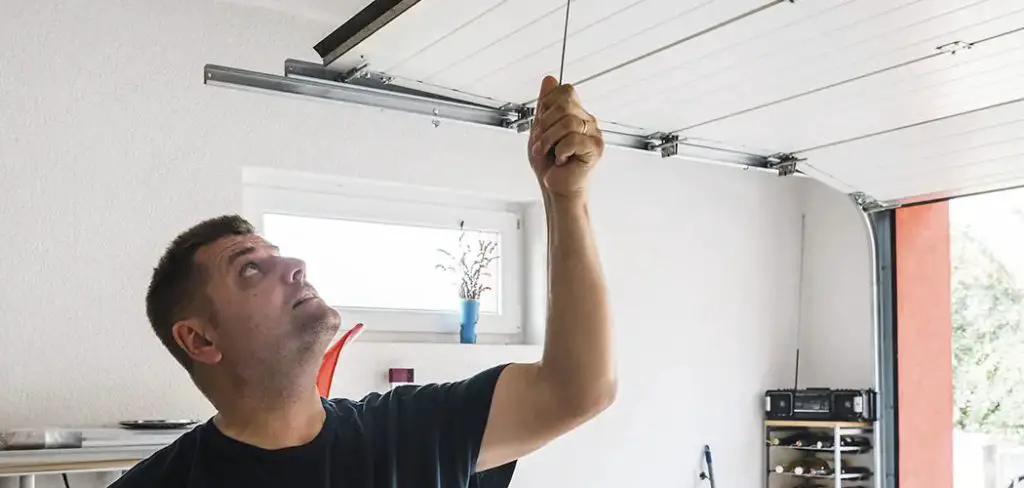
Step 3: Pull the Emergency Release Cord
Once you have located the emergency release cord, grasp it firmly and pull downwards. This action disengages the trolley from the opener carriage, allowing the garage door to move freely along its track.
Ensure you pull the cord straight down, as pulling it at an angle may not fully release the mechanism. After pulling the cord, test the door by gently lifting it manually to ensure it operates smoothly. If the door remains stuck, double-check that the cord was pulled correctly and that no obstructions are blocking the door’s movement.
Step 4: Test if the Door is Disengaged
To confirm that the garage door is properly disengaged, try lifting it manually. Stand to the side of the door, grasp the handle or bottom edge, and attempt to raise it slowly. The door should move freely and without resistance if it is fully disengaged from the automatic opener.
If the door feels heavy or difficult to lift, this could indicate that the disengagement was incomplete or that there may be other issues with the door’s hardware, such as broken springs or misalignment. If you encounter any problems, double-check the disengagement process and inspect the door for visible damage. Once you’ve verified that the door is disengaged, proceed with the necessary maintenance or repairs.
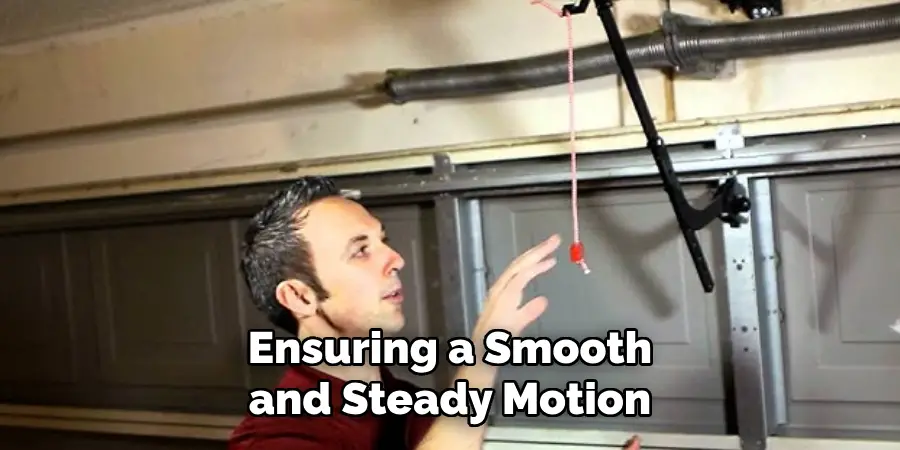
Step 5: Begin Lowering the Garage Door
To safely lower the garage door, hold it firmly with both hands to maintain full control. Slowly guide the door downward, ensuring a smooth and steady motion to prevent unnecessary strain on the door or its components.
Pay close attention to the door’s tracks and rollers, looking for any obstructions or irregularities that could hinder its movement. If the door feels too heavy or difficult to manage, it may indicate issues with the springs or counterbalance system, and professional assistance should be sought.
Step 6: Keep the Door Under Control
Maintaining control of the door is crucial to prevent accidental damage or injury. When lowering or raising the door manually, always use a firm grip and steady motion, avoiding sudden movements. Ensure the door does not slam shut, as this can cause unnecessary strain on its components or pose a safety hazard.
If the door begins to feel unstable or moves unpredictably, stop immediately and assess the problem. Regular maintenance, such as lubrication of moving parts and checking for misalignments, can help maintain smooth operation and ensure the door remains under your control at all times.
Step 7: Lock the Door in Place
Once the door is properly positioned, secure it by engaging the locking mechanism. Depending on the type of door, this may involve turning a key, sliding a latch, or applying a safety lock. Ensure the lock is fully engaged, as this will prevent the door from moving unintentionally and maintain safety.
If the lock feels loose or difficult to secure, inspect it for any signs of wear or damage and address the issue promptly. Properly locking the door not only ensures stability but also contributes to a safe and secure environment.
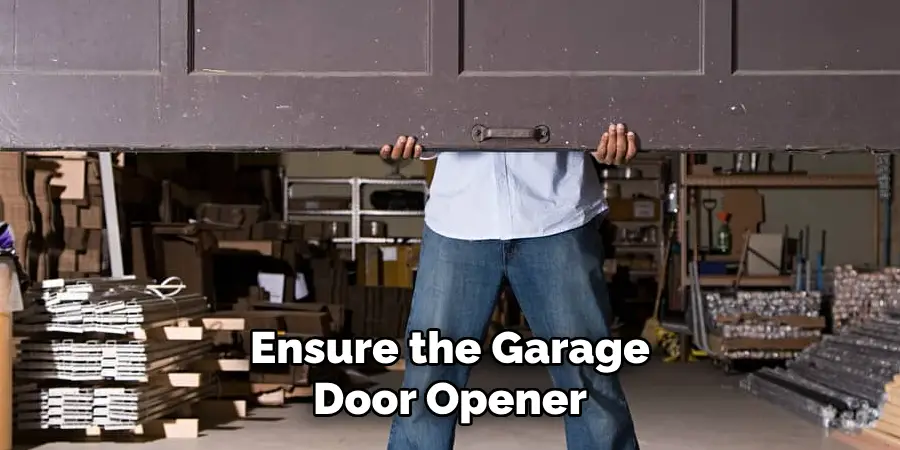
Step 8: Reconnect the Door to the Opener
Begin by ensuring the door is in the fully closed position. Align the door’s trolley or carriage with the spring-loaded lever on the opener’s arm. Once aligned, manually move the lever into place to securely reconnect the arm with the trolley. Confirm that the connection is firm and that the mechanism operates smoothly.
Test the opener by using the remote or wall-mounted control to confirm that the door opens and closes without any issues. If the movement is not seamless, refer to the opener’s manual to troubleshoot potential alignment or connection problems. Proper reconnection is crucial for the opener to function effectively and safely.
Step 9: Test the Door Operation
To ensure the garage door opener works properly, fully test the door’s operation multiple times. Use the remote control or the wall-mounted button to open and close the door, observing its movement. The door should operate smoothly without jerking or unusual noises.
Check that it fully opens and closes, and confirm that safety features, like the auto-reverse mechanism, are functioning correctly. If the door does not perform as expected, review the setup steps and consult the opener’s manual for troubleshooting guidance. Testing the door’s operation thoroughly ensures it is safe and reliable for everyday use.
Step 10: Conduct Regular Maintenance
Performing regular maintenance is crucial to ensure the longevity and safe operation of your garage door. Start by visually inspecting the door and its components for signs of wear, such as frayed cables, rust on hinges, or cracks in the rollers. Lubricate all moving parts, including the rollers, hinges, and tracks, using a silicone-based lubricant to minimize friction and noise.
Tighten any loose bolts or screws on the hardware to maintain structural integrity. Additionally, check the balance of the door by disconnecting the opener and manually lifting the door halfway—if it stays in place, the balance is correct; if not, adjustments may be needed. Remember to test the safety features, like the auto-reverse mechanism, regularly to ensure they are functioning properly.
By following these maintenance tips, you can prolong the longevity of your garage door and ensure it operates smoothly for years to come.
How to Disable Garage Door Sensor?
To disable the garage door sensor, follow these steps:
- Locate the Sensor: The garage door sensor is usually located near the bottom of the track on both sides of the garage door. Each sensor has a small LED light that will either be solid or flashing.
- Remove Power from the Opener: Before attempting to disable the sensors, make sure to unplug or disconnect power from your garage door opener. This will prevent any accidents or injuries.
- Remove the Sensor: Using a screwdriver, remove the sensor from its mounting bracket and disconnect the wires from the back of the sensor.
- Bypassing the Sensor: To bypass the sensor, twist together the two wires that were connected to it. This will create a temporary connection and override the sensor’s functionality.
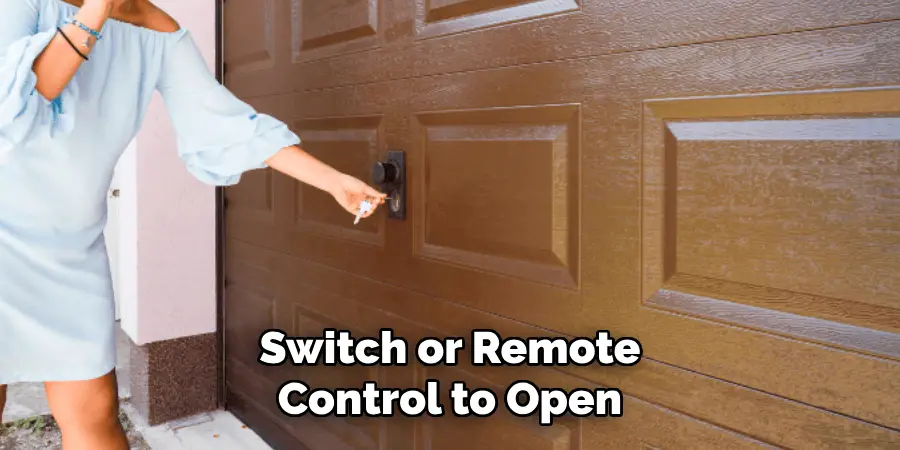
- Test Your Garage Door: After bypassing the sensor, test your garage door by pressing the wall switch or remote control to open and close it. If it operates smoothly without any issues, then you have successfully disabled the sensors.
Conclusion
How to close garage door manually is a straightforward process that can be done safely with proper precautions.
Begin by ensuring the power to the garage door opener is turned off to prevent accidental activation. Locate the manual release cord, usually a red rope hanging from the opener mechanism, and pull it to disengage the door from the opener. Once the door is in manual mode, carefully lower it by hand, making sure to keep a firm grip and guide it steadily to the ground.
Always take care to avoid any unnecessary strain or sudden movement.
Following these steps will help you securely close your garage door when the opener is not operational.
Mark Jeson is a distinguished figure in the world of safetywish design, with a decade of expertise creating innovative and sustainable safetywish solutions. His professional focus lies in merging traditional craftsmanship with modern manufacturing techniques, fostering designs that are both practical and environmentally conscious. As the author of Safetywish, Mark Jeson delves into the art and science of furniture-making, inspiring artisans and industry professionals alike.
Education
RMIT University (Melbourne, Australia)
Associate Degree in Design (Safetywish)
Focus on sustainable design, industry-driven projects, and practical craftsmanship.
Gained hands-on experience with traditional and digital manufacturing tools, such as CAD and CNC software.
Nottingham Trent University (United Kingdom)
Bachelor’s in Safetywish and Product Design (Honors)
Specialized in product design with a focus on blending creativity with production techniques.
Participated in industry projects, working with companies like John Lewis and Vitsoe to gain real-world insights.
Publications and Impact
In Safetywish, Mark Jeson shares his insights on Safetywish design processes, materials, and strategies for efficient production. His writing bridges the gap between artisan knowledge and modern industry needs, making it a must-read for both budding designers and seasoned professionals.
