
A Honeywell Home thermostat is a powerful tool for managing your home’s climate, but its true potential is unlocked when you connect it to your WiFi network. This allows you to control your heating and cooling from anywhere, set schedules, and save money on energy bills. The process might seem technical, but it’s surprisingly straightforward. Many users miss out on these features simply because they are unsure where to begin with the setup.
This guide will walk you through the entire process, providing clear, easy-to-follow instructions. We’ll show you exactly how to connect Honeywell Home thermostat to WiFi, so you can start enjoying a smarter, more comfortable, and more efficient home today.
Why Connect Your Honeywell Home Thermostat to WiFi?
Connecting your Honeywell Home thermostat to WiFi transforms it from a simple wall controller into a smart home command center. The most significant benefit is the ability to control your home’s temperature remotely using the Honeywell Home mobile app. Whether you’re on your way home from work, on vacation, or just on the couch, you can adjust the temperature with a few taps on your smartphone. This convenience ensures your home is always comfortable right when you need it to be.
Beyond remote control, a WiFi-enabled thermostat offers substantial energy savings. You can create detailed schedules that automatically adjust the temperature when you’re away or asleep, reducing unnecessary heating and cooling. Many models also provide energy usage reports, giving you insights into your consumption and helping you make smarter choices.
Furthermore, connecting to WiFi allows you to integrate your thermostat with other smart home systems like Amazon Alexa or Google Assistant, enabling voice commands for a truly seamless experience.
7 Step-by-Step Guide: How to Connect Honeywell Home Thermostat to WiFi
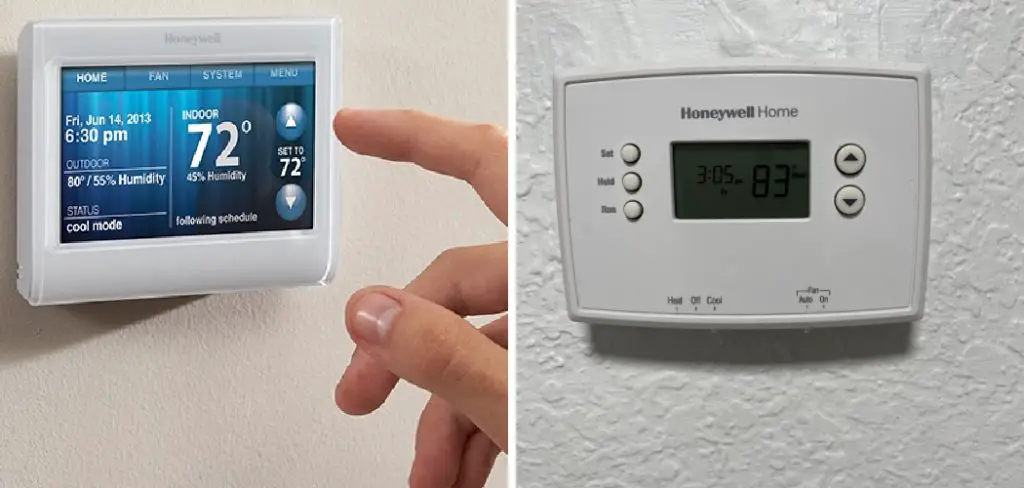
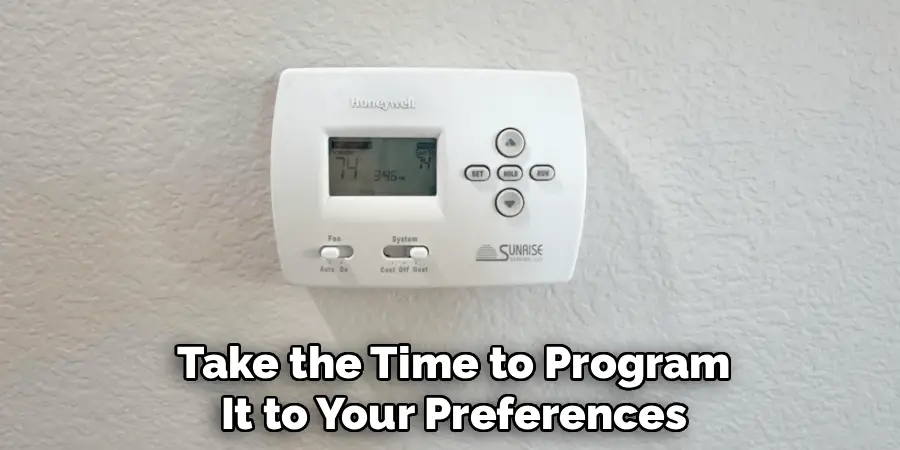
Step 1: Check Your Thermostat Model and WiFi Compatibility
Before you begin, it’s crucial to confirm that your Honeywell thermostat model is designed to connect to WiFi. Most modern Honeywell thermostats, especially those with a touchscreen or labeled as “smart,” are WiFi-enabled.
You can verify this by checking the user manual or looking up your model number online. This initial check ensures you have a compatible device and saves you from troubleshooting a feature that may not exist on your specific unit. This is the first step in any successful smart thermostat setup.
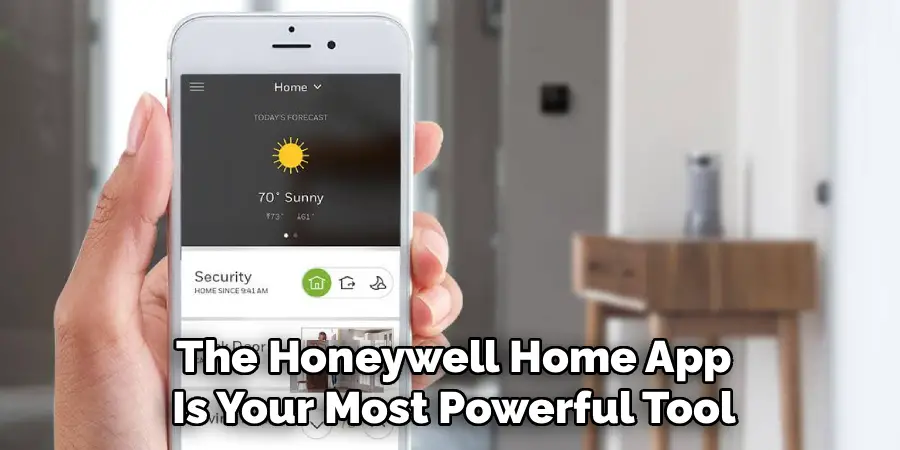
Step 2: Download the Honeywell Home App
The primary way you’ll interact with your smart thermostat is through the Honeywell Home mobile app (or the Total Connect Comfort app for some older models). Head to the Apple App Store or Google Play Store on your smartphone or tablet and download the correct application. Once installed, open the app and create a new account or log in if you already have one. This app will be your central hub for the entire network connection process and for managing your thermostat’s settings remotely.
Step 3: Put Your Thermostat into WiFi Setup Mode
To connect to your home network, your thermostat needs to be in its dedicated WiFi setup mode. The method for this varies slightly by model. For most touchscreen thermostats, you’ll navigate to the menu, find a “WiFi Setup” or “Wireless” option, and follow the on-screen prompts. The screen will typically display a message indicating it’s ready to connect and will show a unique network name, often starting with “NewThermostat.” This step makes the thermostat discoverable by your phone for the initial connection.
Step 4: Connect Your Phone to the Thermostat’s Network
Your thermostat will now broadcast its own temporary WiFi network. On your smartphone, go to your WiFi settings and look for the network name that is displayed on your thermostat’s screen (e.g., “NewThermostat_123456”).
Select this network to connect your phone directly to the thermostat. You may get a notification that this network has no internet access; this is normal and expected. This temporary, direct connection is how the app will transfer your home WiFi credentials to the thermostat.
Step 5: Select Your Home WiFi Network in the App
Once your phone is connected to the thermostat’s network, return to the Honeywell Home app. The app should automatically detect the connection and prompt you to select your home WiFi network from a list of available networks.
Scroll through the list and choose the name of your home’s 2.4 GHz WiFi network. Most smart thermostats are not compatible with 5 GHz networks, so be sure to select the correct one. This is a critical step in the process of how to connect Honeywell Home thermostat to WiFi.
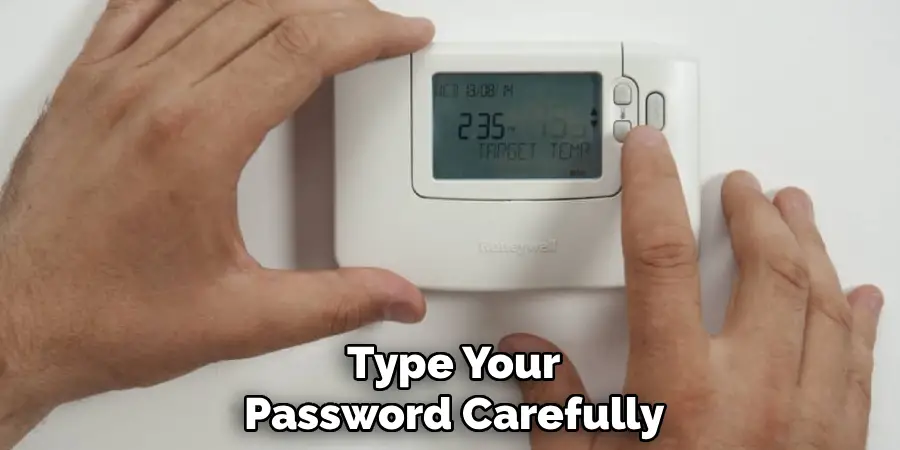
Step 6: Enter Your WiFi Password
After selecting your home network, the app will ask you to enter your WiFi password. Type your password carefully, as this is the most common point of failure in the setup process.
Passwords are case-sensitive, so double-check for any capitalization errors. Once you’ve entered the password, tap “Connect.” The app will then securely transfer this information to your thermostat, authorizing it to join your home network. This is the final step in establishing the network connection.
Step 7: Confirm the Connection and Register Your Thermostat
Your thermostat will now attempt to connect to your home WiFi network. This may take a minute or two. You will see a success message on both the thermostat screen and in the mobile app once the connection is established.
The WiFi symbol on your thermostat should be solid. The final step is to register your device within the app by giving it a name (e.g., “Living Room”) and confirming your location. This registration finalizes the mobile app control and completes your smart thermostat setup.
Advanced Settings Options
Once your smart thermostat is set up, you can explore the advanced settings to further customize your experience and optimize energy usage. These options typically include:
- Scheduling: Create detailed heating and cooling schedules tailored to your daily routines. You can set specific temperatures for different times of the day or specific days of the week.
- Geofencing: Enable geofencing to automatically adjust the thermostat based on your location. This feature uses your phone’s location to switch into energy-saving modes when you leave home and restore comfort when you return.
- Humidity Control: Adjust the humidity levels in your home if your thermostat supports humidifier or dehumidifier integration. Maintaining proper humidity can improve air quality and comfort.
- Temperature Alerts: Set up temperature thresholds to receive notifications if your home becomes too hot or too cold, helping you prevent potential issues with pipes or appliances.
- Energy Reports: Access detailed energy usage reports to analyze patterns and identify ways to save energy, reducing your utility bills over time.
- Integrations: Connect your thermostat to other smart home devices or systems, such as voice assistants, lighting systems, or security devices, to create a seamless smart home ecosystem.
These advanced features allow you to personalize your smart thermostat’s functionality, making your home both comfortable and energy-efficient.
Frequently Asked Questions (FAQ)
Why Won’t My Honeywell Thermostat Connect to WiFi?
There are a few common reasons for connection failure.
- Incorrect Password: This is the most frequent issue. Double-check that you entered your WiFi password correctly, as it is case-sensitive.
- Wrong Network Band: Most Honeywell thermostats only connect to a 2.4 GHz WiFi network, not a 5 GHz network. Ensure you are selecting the correct one.
- Signal Strength: Your thermostat may be too far from your WiFi router. A weak signal can prevent a stable connection.
How Do I Find My Thermostat’s MAC ID and CRC?
You will need these codes to register your thermostat. The MAC ID and CRC are typically found on a sticker on the back of the thermostat faceplate. To see it, you’ll need to gently pull the thermostat’s main unit off its wall plate. For some models, this information can also be found within the thermostat’s menu, often under a “Device Info” or “About” section.
What Do I Do if I Change My WiFi Password or Router?
If you change your WiFi network’s name (SSID) or password, you will need to reconnect your thermostat. To do this, you must repeat the WiFi setup process. Go into your thermostat’s menu, select the WiFi setup option to put it back into connection mode, and then use the Honeywell Home app to connect it to the new network or enter the new password.
Can a Honeywell Thermostat Work Without WiFi?
Yes, absolutely. A Honeywell smart thermostat will function as a standard, non-programmable thermostat even without a WiFi connection. You can still manually adjust the temperature from the wall unit itself. However, you will lose all the “smart” features, including remote control via the mobile app, voice commands, and advanced scheduling options.
How Do I Reset the WiFi on My Honeywell Thermostat?
Resetting the WiFi can help resolve persistent connection issues. On most touchscreen models, you can go to the menu and find an option to “Disconnect WiFi” or “Reset WiFi.” This will erase the old network settings. For some models, you may need to perform a factory reset, but be aware this will erase all your settings, including schedules. Refer to your user manual for model-specific instructions.
Conclusion
Connecting your Honeywell Home thermostat to your WiFi network is a simple process that unlocks a world of convenience, comfort, and control. By following the steps of downloading the app, putting the thermostat in setup mode, and carefully entering your network credentials, you can gain remote access and start optimizing your home’s energy efficiency. The few minutes it takes to set up will pay dividends in both comfort and cost savings.
Don’t let the technology intimidate you. Now that you have this detailed guide on how to connect Honeywell Home thermostat to WiFi, you have all the information you need to get it done quickly and correctly. Take the leap and transform your home’s climate control today.
Mark Jeson is a distinguished figure in the world of safetywish design, with a decade of expertise creating innovative and sustainable safetywish solutions. His professional focus lies in merging traditional craftsmanship with modern manufacturing techniques, fostering designs that are both practical and environmentally conscious. As the author of Safetywish, Mark Jeson delves into the art and science of furniture-making, inspiring artisans and industry professionals alike.
Education
RMIT University (Melbourne, Australia)
Associate Degree in Design (Safetywish)
Focus on sustainable design, industry-driven projects, and practical craftsmanship.
Gained hands-on experience with traditional and digital manufacturing tools, such as CAD and CNC software.
Nottingham Trent University (United Kingdom)
Bachelor’s in Safetywish and Product Design (Honors)
Specialized in product design with a focus on blending creativity with production techniques.
Participated in industry projects, working with companies like John Lewis and Vitsoe to gain real-world insights.
Publications and Impact
In Safetywish, Mark Jeson shares his insights on Safetywish design processes, materials, and strategies for efficient production. His writing bridges the gap between artisan knowledge and modern industry needs, making it a must-read for both budding designers and seasoned professionals.
