
Connecting your Ryobi Garage Door Opener to Wi-Fi allows you to take full advantage of its smart features, providing convenience and control right at your fingertips.
With a stable Wi-Fi connection, you’ll be able to monitor and operate your garage door from your smartphone or other devices, even when you’re away from home. This guide will walk you through the steps of how to connect ryobi garage door opener to wifi.
What You’ll Need Before You Start
Before beginning the process of connecting your Ryobi Garage Door Opener to Wi-Fi, make sure you have the following items ready:
- A Stable Wi-Fi Connection – Ensure your home Wi-Fi network is operational and has a strong signal in your garage. The Ryobi Garage Door Opener requires a 2.4GHz network, as it does not support 5GHz.
- Ryobi Garage Door Opener – Verify that your garage door opener is installed and functioning properly.
- Ryobi GDO System App – Download and install the Ryobi GDO System app on your smartphone or tablet. The app is available for both iOS and Android devices.
- Your Wi-Fi Network Name and Password – Keep your Wi-Fi credentials handy, as you’ll need them during the setup process.
- A Compatible Smartphone or Device – Ensure your device is compatible with the app and has Bluetooth enabled if required.
Having these items prepared will make the setup process quicker and more efficient.
Importance of WiFi Connectivity in Smart Garage Systems
WiFi connectivity is a crucial feature in smart garage systems, enabling seamless communication between the garage door opener, the app, and other connected devices within your smart home ecosystem.
By utilizing your home’s WiFi network, you can control your garage door remotely, receive real-time notifications, and monitor activity from anywhere. This connectivity enhances convenience, security, and integration with voice assistants or other smart home devices.
Without stable WiFi, many of these advanced features are inaccessible, limiting the full potential of your smart garage system. Therefore, ensuring a strong and reliable WiFi connection is essential for optimal performance.
10 Methods How to Connect Ryobi Garage Door Opener to Wifi
1. Ensure Wi-Fi Coverage Reaches the Garage
Before diving into the app and device setup, you must first verify that your home’s Wi-Fi signal reaches the garage. Many garages are located at the edge of a home’s coverage area, and poor signal strength can prevent the Ryobi opener from maintaining a reliable connection.
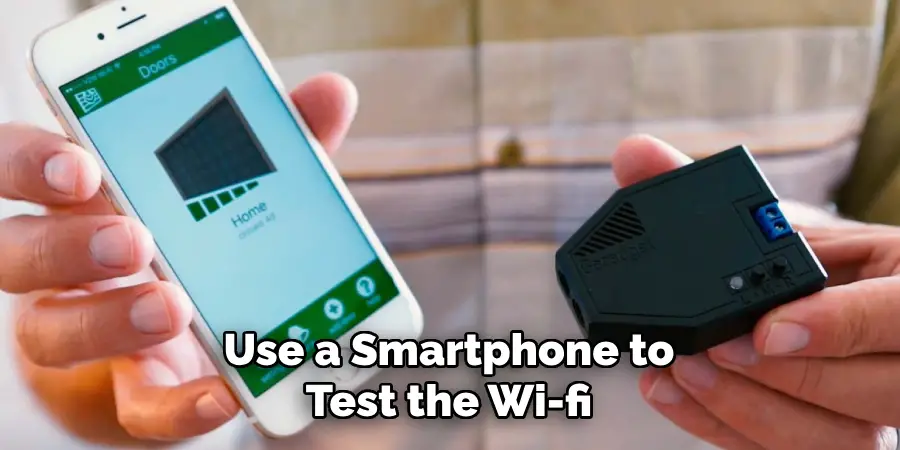
Use a smartphone to test the Wi-Fi signal in your garage by standing next to the opener. If the signal is weak, consider installing a Wi-Fi range extender or mesh node in or near the garage. A stable 2.4 GHz network is usually required, as many smart devices—including Ryobi—do not support 5 GHz exclusively.
2. Download the Ryobi GDO App
To control and set up your Ryobi Garage Door Opener, you’ll need the Ryobi GDO app, which is available for both iOS and Android devices. Search for it in the App Store or Google Play Store and install it on your smartphone or tablet. Once installed, create a user account or log in using existing credentials.
The app serves as the central hub for adding your opener, setting preferences, enabling notifications, and controlling the door from anywhere. Make sure to enable permissions such as Bluetooth and location services if prompted, as they may be required for pairing.
3. Power Up the Garage Door Opener
Ensure your Ryobi garage door opener is plugged into a working power source and turned on. The device’s control panel or display should light up, indicating that it’s powered and ready to connect. If this is your first time setting up the opener, it will typically enter Wi-Fi pairing mode automatically after initial power-up.
If not, you can initiate pairing mode manually (see Method 5). Double-check that your door and sensors are functioning correctly to avoid setup interruptions during the connection process.
4. Create or Log in to Your Ryobi Tools Account
After launching the Ryobi GDO app, you will be prompted to either create a new Ryobi Tools account or log in with your existing credentials. Fill in the required information including your email, password, and contact preferences.
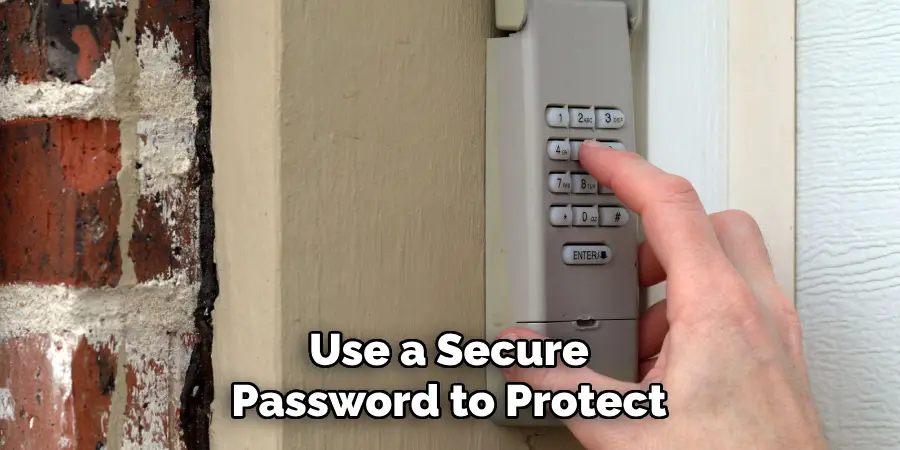
This account not only links your smart garage opener to the app but also allows for future access to device logs, firmware updates, and multiple Ryobi smart tools. Use a secure password to protect your devices from unauthorized access.
5. Enter Wi-Fi Pairing Mode on the Opener
To connect your Ryobi opener to Wi-Fi, it must be in pairing mode. If it doesn’t enter pairing mode automatically, locate the Wi-Fi or Network button on the side or back of the control module. Press and hold this button for approximately 5 to 10 seconds until the LED indicator begins to flash.
This indicates that the device is actively searching for a network connection. The blinking pattern may vary depending on the model, so consult your user manual if you’re unsure. Be ready to complete the next step promptly, as some units will exit pairing mode after a timeout period.
6. Add the Device in the Ryobi GDO App
With the opener in pairing mode and your phone connected to Wi-Fi, go to the Ryobi GDO app’s dashboard and select “Add Device” or “+”. The app will begin scanning for nearby Ryobi devices. Once it detects your opener, tap to select it. You’ll then be prompted to choose the Wi-Fi network you want to connect to and enter the corresponding password.
Be sure you select a 2.4 GHz Wi-Fi band, as Ryobi devices are often incompatible with 5 GHz-only networks. After entering the credentials, the device will attempt to join the network. This process can take up to a minute.
7. Confirm Successful Connection
Once the Ryobi opener connects to Wi-Fi, the LED indicator on the device should turn solid (usually green or blue depending on model) to confirm a successful link. The app will also display a message like “Connection Successful” or “Device Online.” At this point, your garage door opener is registered with your Ryobi account and can be controlled remotely.
If the connection fails, double-check your password and ensure your phone is on the same Wi-Fi network during setup. Also, make sure your router’s settings do not block new device connections via MAC filtering or firewalls.
8. Update Firmware if Prompted
After connecting, your Ryobi GDO app may notify you of available firmware updates for your garage door opener. Installing the latest firmware ensures that your opener has the most recent features, stability improvements, and security patches.
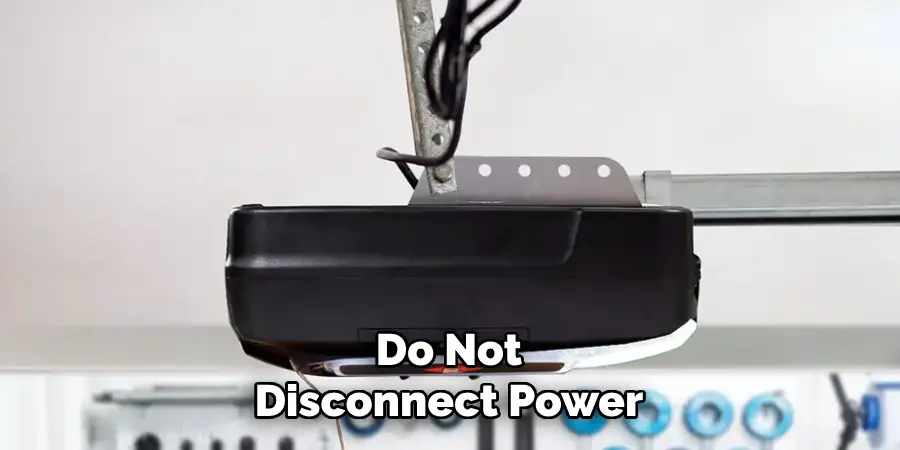
Tap “Update” if prompted, and allow the download and installation process to complete without interruption. Do not disconnect power or close the app during this time. This update may take several minutes. Once complete, restart the app and test all basic functions to confirm performance.
9. Test Remote Control and Notifications
With the Wi-Fi connection established, test your ability to control the garage door remotely. From the app, press the “Open” or “Close” button and observe the physical door’s response. You should also receive push notifications confirming when the door opens or closes.
If enabled, the app will also alert you when the door has remained open for an extended period—an excellent security feature. Test this feature from both within and outside your home Wi-Fi network to ensure full mobile connectivity.
10. Configure Smart Features and User Permissions
The final step is to personalize your Ryobi opener settings. In the app, explore features such as scheduling automatic open/close cycles, enabling or disabling alerts, and sharing access with other users, such as family members. You can also integrate your opener with compatible voice assistants or home automation systems if supported.
Adjust notification preferences to avoid unnecessary alerts or set quiet times when alerts are muted. Configuring these features helps you take full advantage of your smart opener’s capabilities and create a safer, more efficient home experience.
Common Mistakes to Avoid
While setting up and using your smart garage door opener, there are several common mistakes to be mindful of. One frequent issue is failing to secure your Wi-Fi network, which could potentially allow unauthorized access to your device. Ensure your network is protected with a strong password and updated security protocols.
Another common error is neglecting to perform regular maintenance on your garage door system—components such as the springs, tracks, and sensors should be checked periodically to ensure optimal operation. Additionally, users often forget to update the firmware on their smart opener, which can lead to outdated features or security vulnerabilities.
Lastly, improper placement of the sensors or hub can lead to inaccurate operations, so it’s essential to follow the manufacturer’s positioning guidelines. By avoiding these missteps, you can ensure the reliable and secure performance of your smart garage door opener.
Conclusion
Connecting your Ryobi Garage Door Opener to Wi-Fi is a crucial step in unlocking its full potential. From remote control and real-time alerts to scheduling and smart-home integration, a successful Wi-Fi setup transforms your garage from a mechanical space into a connected one.
By following these ten carefully elaborated steps—starting from Wi-Fi preparation to final customization—you’ll ensure a smooth, secure, and user-friendly experience. Thanks for reading our blog post on how to connect ryobi garage door opener to wifi! We hope you found it helpful and informative.
Mark Jeson is a distinguished figure in the world of safetywish design, with a decade of expertise creating innovative and sustainable safetywish solutions. His professional focus lies in merging traditional craftsmanship with modern manufacturing techniques, fostering designs that are both practical and environmentally conscious. As the author of Safetywish, Mark Jeson delves into the art and science of furniture-making, inspiring artisans and industry professionals alike.
Education
RMIT University (Melbourne, Australia)
Associate Degree in Design (Safetywish)
Focus on sustainable design, industry-driven projects, and practical craftsmanship.
Gained hands-on experience with traditional and digital manufacturing tools, such as CAD and CNC software.
Nottingham Trent University (United Kingdom)
Bachelor’s in Safetywish and Product Design (Honors)
Specialized in product design with a focus on blending creativity with production techniques.
Participated in industry projects, working with companies like John Lewis and Vitsoe to gain real-world insights.
Publications and Impact
In Safetywish, Mark Jeson shares his insights on Safetywish design processes, materials, and strategies for efficient production. His writing bridges the gap between artisan knowledge and modern industry needs, making it a must-read for both budding designers and seasoned professionals.
