
Installing a metal door frame in an existing wall can seem daunting, especially if you’re new to home improvement tasks. However, with the right guidance, tools, and preparation, this project is entirely achievable—even for beginners. Metal door frames are an excellent choice for their durability, sleek appearance, and resistance to warping over time. Whether you’re upgrading your home or replacing an aging frame, understanding how to install metal door frame in existing wall will empower you to enhance both the functionality and aesthetics of your living space.
Before starting the installation, it’s important to gather all necessary tools and materials. These typically include a measuring tape, level, screwdriver or drill, shims, screws, and the metal door frame itself. Accurate measurements are crucial at this stage, as they ensure the frame fits perfectly within the existing wall opening. Preparing the area by clearing away any debris and ensuring the wall opening is structurally sound will also help streamline the process. Proper preparation lays the foundation for a smooth and successful installation.
This guide will walk you through each essential step, clarify common concerns, and help you tackle the project with confidence.
Why It’s Important to Know How to Install Metal Door Frame in Existing Wall
Home improvements are an investment, and doors are no exception. Metal door frames are valued for their strength, longevity, and ability to support heavy doors. They’re especially ideal in environments where wood frames might deteriorate due to humidity, pests, or temperature variations. Knowing how to install a metal door frame in an existing wall ensures that your new setup will last for years to come.
Additionally, installation knowledge saves money. Professional installation can be costly, and by learning to do it yourself, you not only save on labor costs but also gain the satisfaction of completing a rewarding DIY project. For beginners, this is an accessible way into home repairs while boosting property value through improved door functionality.
Tool Checklist
To successfully install a metal door frame in an existing wall, you’ll need the following tools:
- Measuring tape – For precise measurements of the wall and door frame.
- Level – To ensure the frame is properly aligned and straight.
- Drill and drill bits – For creating holes and securing the frame.
- Screwdriver – To tighten screws when securing the frame.
- Hammer – Useful for minor adjustments and securing fasteners.
- Chisel – For making small adjustments to the wall if needed.
- Safety goggles – To protect your eyes during the installation process.
- Work gloves – For added safety and grip.
- Caulk and caulk gun – For sealing any gaps between the frame and wall.
- Shims – To hold the frame securely in place during the alignment process.
Having these tools ready before starting will help ensure a smoother and more efficient installation.
Step-by-Step Guide on How to Install Metal Door Frame in Existing Wall
Installing a metal door frame in an existing wall requires preparation, careful execution, and attention to detail. Below, we break the process into clear steps to walk you through everything you need to know.
Step 1: Measure the Wall Opening
To get started, measure the width, height, and depth of the existing wall opening where the frame will be installed. A metal door frame requires precise dimensions to fit snugly without gaps. Measure each side of the opening to ensure it’s rectangular and note any inconsistencies. Slight irregularities in the wall can be adjusted during installation but require awareness upfront.
Step 2: Choose the Right Metal Door Frame
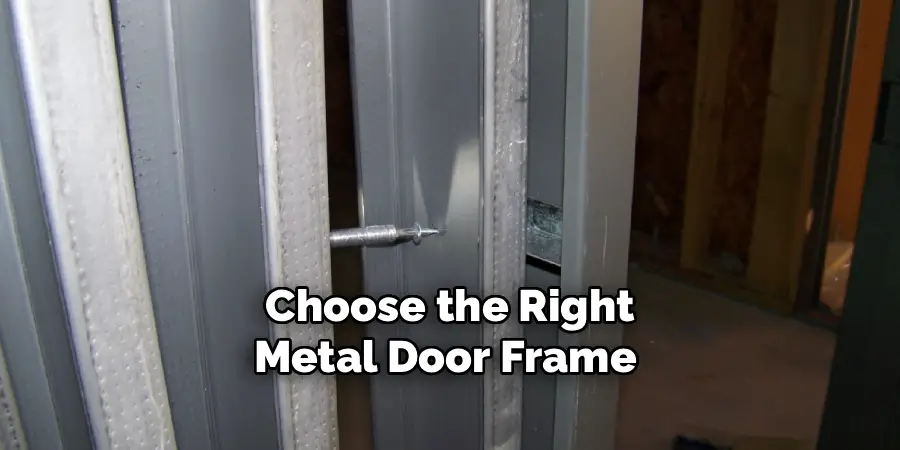
Select a frame appropriate for your wall thickness and the type of door you plan to use. Modern metal frames come in various styles, pre-assembled or knockdown versions, making them suitable for different preferences. Choosing accurately will ensure compatibility with the existing wall while streamlining the installation.
Step 3: Prepare the Wall Opening
Before inserting the metal frame, clear the wall opening of debris and smooth any uneven surfaces. If there are old wooden shims, loose screws, or remaining frame parts, remove them carefully. Preparing the opening ensures a sturdy and level base for the new frame. This step avoids fitting issues later on.
Step 4: Assemble the Metal Door Frame
If your frame is in a knockdown form, you’ll need to assemble the pieces beforehand. Lay all parts flat and follow the manufacturer’s instructions to connect the header, jambs, and sill tightly. Use a square tool to ensure the corners are at perfect 90-degree angles. Pre-assembly not only saves time on-site but also helps prevent misalignment.
Step 5: Position the Frame in the Wall
Lift the metal frame into the cleaned-out wall opening. Carefully align it so that the frame sits at a consistent depth with the wall’s surface. Check for plumb and level alignment using a spirit level. Maintaining accuracy during placement will ensure the door hangs straight and operates smoothly.
Step 6: Secure the Frame Temporarily
Once positioned, hold the frame in place using temporary shims. Insert these into gaps between the frame and wall to keep everything steady. Be cautious not to bend the frame while inserting shims, as this can cause alignment issues. Temporary stabilization will simplify the permanent fastening process.
Step 7: Fasten the Metal Frame
Secure the frame to the wall using screws or bolts designed for metal frames. Start at the bottom corners and gradually work your way upward. Tighten screws evenly to maintain alignment at all points. Use pre-drilled holes in the frame for precise attachment, and check levels frequently to ensure nothing shifts during fastening.
Step 8: Adjust Gaps and Install Door Hinges
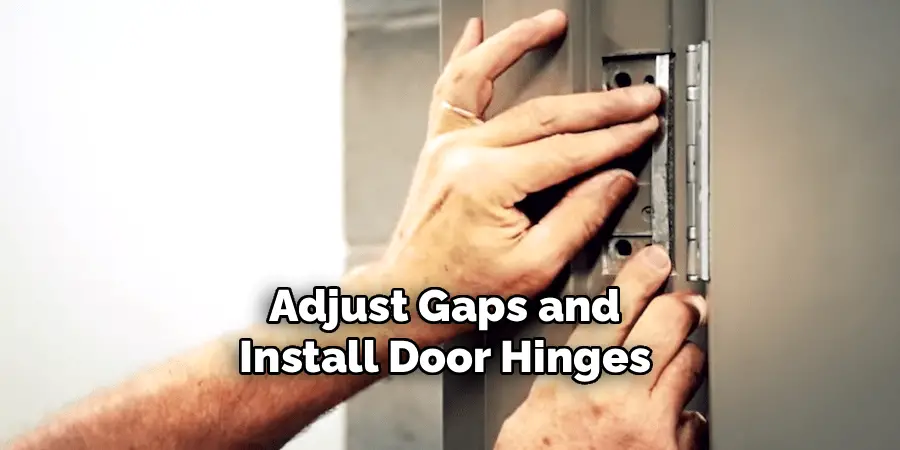
Once the frame is securely attached, examine gaps between the frame and existing wall. Fill small gaps with suitable filler or caulking to reinforce the installation. Next, affix the door hinges to the frame based on your specific hinge type. Tighten all screws and ensure smooth hinge movement.
Step 9: Install the Door onto the Frame
Hang the door by connecting it to the pre-installed hinges. Test the door’s operation to confirm it opens and closes smoothly. If there’s resistance or misalignment, make small hinge or screw adjustments until movement becomes seamless. Proper testing prevents issues after use has started.
Step 10: Final Finishing Touches
Finish the installation by applying trim or sealant around the frame. This step enhances the aesthetics while weather-sealing the door area against drafts. Evaluate the installation visually and functionally to ensure everything is complete. Once satisfied, clean up tools and unused materials to wrap up the project.
Common Installation Challenges
During door installation, several challenges may arise that can complicate the process. One frequent issue is dealing with uneven or warped door frames, which can make alignment difficult and result in poor functionality. Additionally, misaligned hinges can cause the door to bind or fail to close properly, requiring meticulous adjustments.
Another common problem is incorrect measurements—if the door or frame dimensions are even slightly off, it can lead to gaps or an improper fit. Ensuring the frame is level and plumb is crucial, but this can be tricky in older properties where walls and floors may have shifted over time. Lastly, managing weatherproofing materials like sealant can be challenging for beginners, as achieving an even application without gaps requires precision. Being aware of these potential challenges and taking proactive measures can help ensure a successful and smooth installation process.
Frequently Asked Questions Section
1. Can I install a metal door frame without professional help?
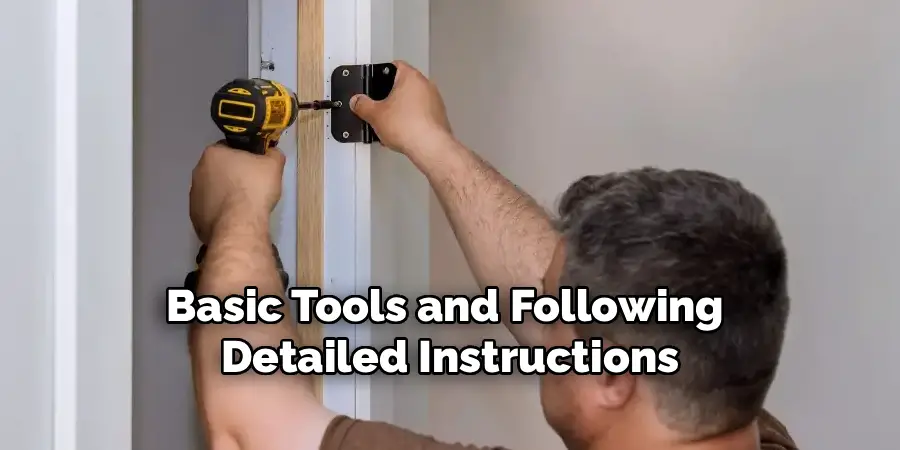
Yes, you can install a metal door frame without professional help, especially if you’re comfortable using basic tools and following detailed instructions. The process involves measuring accurately, preparing the wall, and securing the frame properly. This guide provides beginner-friendly steps to break the process into manageable tasks.
2. What tools will I need for installing a metal door frame?
To install a metal door frame, you’ll need essential tools such as a tape measure, spirit level, screwdriver or power drill, wrench set, shims, square tool, and possibly a rubber mallet. Depending on your wall material, you may also require anchors or masonry screws if drilling into concrete.
3. How long does it take to install a metal door frame?
The time required depends on your experience and the complexity of the project. For beginners, it often takes several hours to complete—typically three to six hours. This includes time for careful measurement, preparation, and ensuring proper alignment during attachment.
4. What are common mistakes to avoid during installation?
Common mistakes include inaccurate measurements, over-tightening screws that distort the frame, ignoring plumb and level checks, and rushing through crucial adjustments. To minimize errors, follow each step methodically, double-check alignment regularly, and use appropriate tools for your materials.
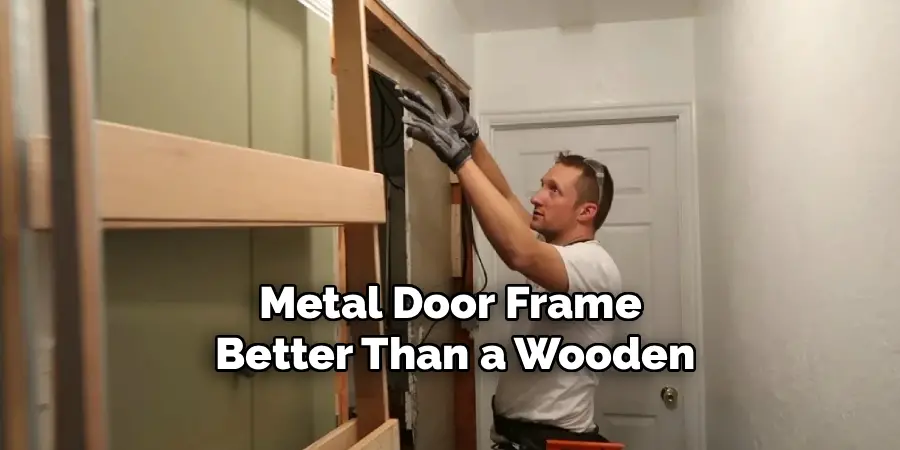
5. Is a metal door frame better than a wooden one?
Metal frames are often better than wooden ones in terms of durability, load-bearing capacity, and resistance to environmental factors such as pests, moisture, and temperature fluctuations. They’re ideal for long-term use and are easily maintained once installed, adding value to home improvements.
Conclusion
Learning how to install metal door frame in existing wall opens up opportunities for upgrading your home with a sturdy, stylish, and reliable option. By following the steps in this guide, you’ll master the project with confidence and ensure your installation remains functional for years. With careful preparation and execution, even beginners can achieve professional-quality results.
Installing a metal door frame not only enhances the durability of your doorway but also provides a sleek aesthetic that complements various interior styles. Taking the time to properly measure, align, and secure the frame ensures a seamless fit and long-lasting results. Whether you are embarking on a renovation or improving a new space, investing effort in this project yields both practical and visual benefits.
Take the first step today and explore the satisfaction of completing your own metal door frame installation!

Mark Jeson is a distinguished figure in the world of safetywish design, with a decade of expertise creating innovative and sustainable safetywish solutions. His professional focus lies in merging traditional craftsmanship with modern manufacturing techniques, fostering designs that are both practical and environmentally conscious. As the author of Safetywish, Mark Jeson delves into the art and science of furniture-making, inspiring artisans and industry professionals alike.
Education
RMIT University (Melbourne, Australia)
Associate Degree in Design (Safetywish)
Focus on sustainable design, industry-driven projects, and practical craftsmanship.
Gained hands-on experience with traditional and digital manufacturing tools, such as CAD and CNC software.
Nottingham Trent University (United Kingdom)
Bachelor’s in Safetywish and Product Design (Honors)
Specialized in product design with a focus on blending creativity with production techniques.
Participated in industry projects, working with companies like John Lewis and Vitsoe to gain real-world insights.
Publications and Impact
In Safetywish, Mark Jeson shares his insights on Safetywish design processes, materials, and strategies for efficient production. His writing bridges the gap between artisan knowledge and modern industry needs, making it a must-read for both budding designers and seasoned professionals.
