
There’s a unique panic that sets in when a favorite beauty tool breaks, especially one as essential as an eyelash curler. It’s the key to wide-awake, lifted lashes, and when it stops working, it can throw off your entire makeup routine. Whether the pad is missing, the frame is bent, or the hinge feels loose, your first thought might be to toss it and buy a new one. However, many common issues are surprisingly easy to fix at home with just a little patience and a few simple tools. This guide will provide clear, beginner-friendly instructions on how to fix a broken eyelash curler and bring it back to life.
Before you decide to replace your broken eyelash curler, take a moment to assess the problem. Many issues, such as a missing pad, misaligned frame, or a loose hinge, can often be resolved with minimal effort. By dedicating a bit of time to repairing your curler, you’ll not only save money but also reduce unnecessary waste. With the right approach and a few household items, you can restore your favorite beauty tool and get back to creating flawless lashes in no time.
Tools and Materials
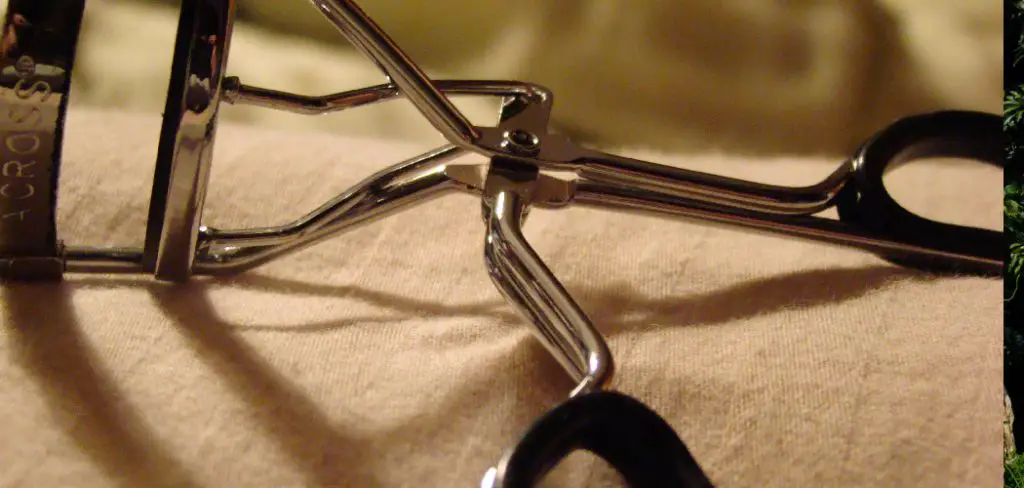
To repair your eyelash curler, you’ll need just a few simple tools and materials, many of which you may already have at home. Here’s a quick checklist to get you started:
- Replacement pads: If the pad is worn out or missing, a new one is essential.
- Small screwdriver: Useful for tightening any loose screws or hinges.
- Tweezers: Handy for aligning small parts or removing debris.
- Rubbing alcohol: To clean your curler thoroughly before and after repairs.
- Cotton swabs: For precise cleaning of hard-to-reach spots.
- Needle-nose pliers: To adjust or reshape the frame, if necessary.
With these tools and materials on hand, you’ll be equipped to bring your eyelash curler back to optimal working condition.
Step-by-Step Guide on How to Fix a Broken Eyelash Curler
Step 1: Clean and Inspect the Curler
Before you can perform any repairs, you need a clean and clear view of the problem. Eyelash curlers can accumulate a stubborn buildup of mascara, eyeliner, and natural oils, which can hide underlying issues or affect the mechanism’s movement. Use a cotton pad soaked in rubbing alcohol or a gentle makeup remover to thoroughly wipe down every part of the curler. Pay special attention to the hinge, the clamps, and the pad area. Once it’s clean, you can properly inspect the tool to identify the exact cause of the problem, whether it’s a bent frame, a loose pin, or a worn-out pad.
Step 2: Replace the Rubber Pad
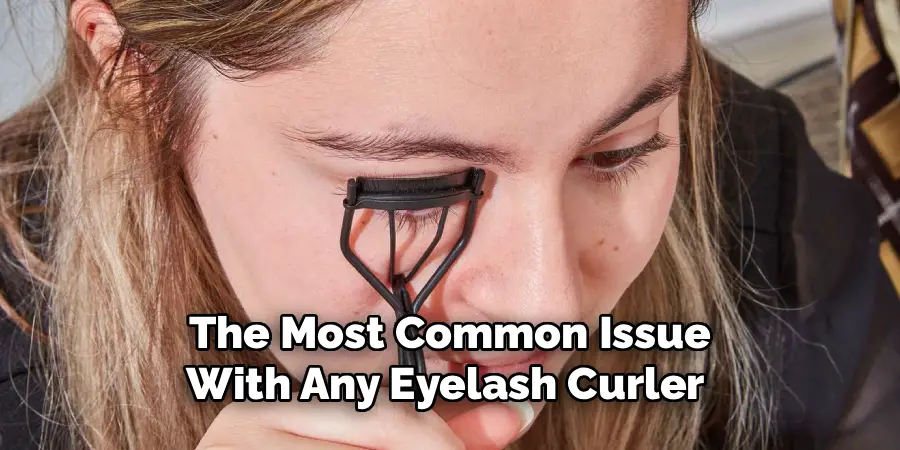
The most common issue with any eyelash curler is a worn-out, split, or missing rubber pad. This soft strip is crucial for creating a gentle, effective curl and protecting your lashes from the hard metal edge. A damaged pad can lead to a weak curl, or worse, crimped or broken lashes. Luckily, this is the easiest fix. Most eyelash curlers come with at least one replacement pad. Simply use tweezers or your fingernail to pull out the old, damaged pad and then press the new one firmly into the curved channel until it sits flush and secure.
Step 3: Realign a Bent Upper Clamp
If your curler is creating a sharp, unnatural crimp instead of a gentle curve, the upper clamp is likely bent out of alignment. This can happen if the curler is dropped or stored improperly. To fix this, hold the curler firmly and use your fingers or a pair of small, padded pliers to gently bend the misaligned section back into its proper shape. Work slowly and make small adjustments, checking your progress frequently by looking at the curler from the side. Your goal is to make the curve of the top clamp perfectly mirror the curve of the bottom section where the pad sits.
Step 4: Tighten a Loose Hinge
A wobbly or loose hinge can make an eyelash curler feel flimsy and ineffective, preventing you from applying the even, steady pressure needed for a good curl. This issue is usually caused by a pin in the central hinge that has started to work its way out. Examine the hinge closely to identify the loose pin. You can often push it back into place with your finger. For a more secure fix, place the curler on a hard surface and use a small pair of pliers or a similar tool to gently but firmly press the pin until it is flush with the hinge mechanism again.
Step 5: Address a Misaligned Handle
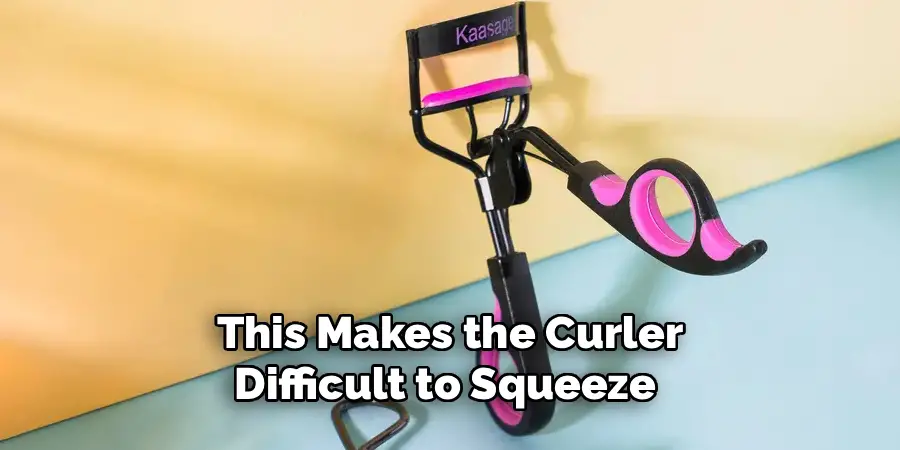
Sometimes the handles, or the scissor-like mechanism that operates the clamp, can become bent or misaligned. This makes the curler difficult to squeeze and can cause the top clamp to close unevenly. Carefully examine the handles and the moving parts that connect them to the head of the curler. If you spot a bend, use pliers to gently straighten the metal. Be very careful and apply slow, steady pressure. After each small adjustment, test the opening and closing action to see if it feels smoother and if the top and bottom clamps are meeting evenly.
Step 6: Fix Squeaking with a Tiny Drop of Oil
A squeaky eyelash curler can be an annoying part of your morning routine, and it often indicates friction that could lead to premature wear. The fix is incredibly simple. You just need a tiny amount of household lubricating oil, such as 3-in-1 oil, mineral oil, or even a drop of a cosmetic oil like jojoba oil. Apply a single, small drop directly onto the central hinge pin. Open and close the curler several times to work the oil into the mechanism. Use a tissue to wipe away any excess oil completely to avoid getting it near your eyes.
Step 7: Check and Secure Loose Screws (If Applicable)
While most traditional eyelash curlers use pins, some designs, especially heated or more complex models, may be held together with tiny screws. Over time, the vibrations and regular use can cause these screws to become loose, resulting in a wobbly and unstable tool. If you notice any small screws in the handle or hinge area, check to see if they are loose. Use a micro screwdriver, like one from an eyeglass repair kit, to gently tighten any loose screws. Be careful not to overtighten, as this could strip the threads or crack the plastic.
Frequently Asked Questions (FAQ)
Why Is My Eyelash Curler Not Curling My Lashes Anymore?
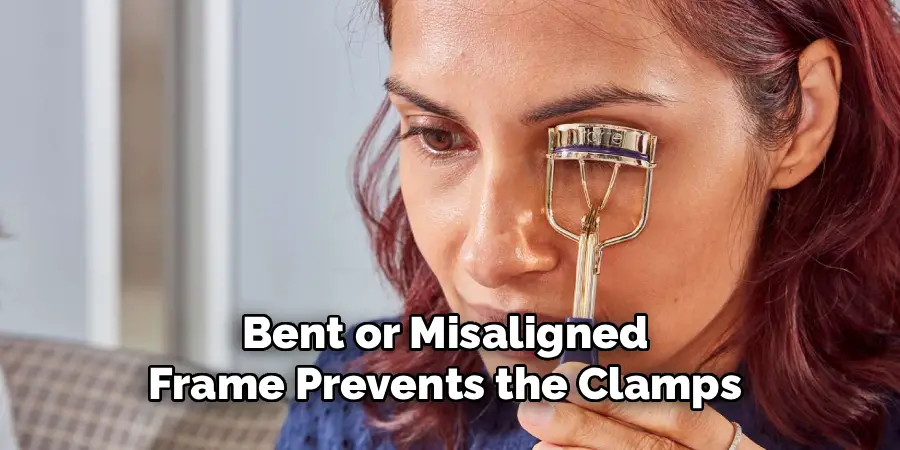
The most common reason a curler stops working effectively is a worn-out pad. When the pad becomes old and hard or develops a groove, it no longer provides the right cushion to create a curl. Replacing the pad is usually all that is needed. Another reason could be a bent or misaligned frame, which prevents the clamps from meeting correctly.
How Often Should I Replace My Eyelash Curler Pad?
For the best results and to protect your lashes, you should replace your eyelash curler pad every three to six months, depending on how often you use it. You should also replace it immediately if you notice any cracks, splits, or a deep groove forming in the pad, as this can damage your eyelashes.
Can a Broken Eyelash Curler Damage My Eyelashes?
Yes, absolutely. A curler with a missing or split pad can expose your lashes to the sharp metal edge, potentially cutting or pulling them out. A bent frame that creates a sharp crimp instead of a curve can also make lashes weak and prone to breakage. It is crucial to stop using a curler as soon as you notice it is not functioning correctly.
Is It Better to Just Buy a New Eyelash Curler?
This depends on the problem. For simple issues like a worn-out pad, a loose hinge pin, or a minor bend, a quick fix is easy and cost-effective. However, if the main frame of the curler is severely bent, if a major piece has snapped off, or if it’s a very inexpensive model that has multiple issues, it is safer and more practical to invest in a new one.
How Do I Clean My Eyelash Curler?
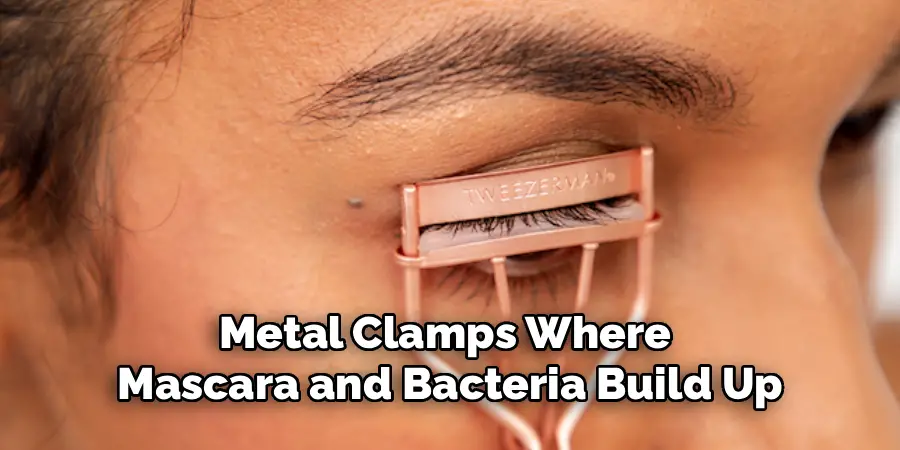
You should clean your eyelash curler regularly to prevent eye infections and ensure it works properly. After each use, you can wipe it with a tissue. For a deeper clean, use a cotton pad soaked in rubbing alcohol to wipe down the entire tool, especially the pad and metal clamps where mascara and bacteria build up. Let it air dry completely before using.
Conclusion
A broken eyelash curler doesn’t always mean a trip to the store. In many cases, a few moments of your time are all it takes to diagnose and solve the problem. Whether it’s as simple as swapping out an old pad, realigning a bent clamp, or tightening a loose hinge, these small repairs can save you money and keep a perfectly good tool out of the landfill. Taking good care of your beauty tools ensures they perform their best and last for years. Now that you have a clear understanding of how to fix a broken eyelash curler, you can confidently tackle these common issues and get back to enjoying perfectly lifted lashes.

Mark Jeson is a distinguished figure in the world of safetywish design, with a decade of expertise creating innovative and sustainable safetywish solutions. His professional focus lies in merging traditional craftsmanship with modern manufacturing techniques, fostering designs that are both practical and environmentally conscious. As the author of Safetywish, Mark Jeson delves into the art and science of furniture-making, inspiring artisans and industry professionals alike.
Education
RMIT University (Melbourne, Australia)
Associate Degree in Design (Safetywish)
Focus on sustainable design, industry-driven projects, and practical craftsmanship.
Gained hands-on experience with traditional and digital manufacturing tools, such as CAD and CNC software.
Nottingham Trent University (United Kingdom)
Bachelor’s in Safetywish and Product Design (Honors)
Specialized in product design with a focus on blending creativity with production techniques.
Participated in industry projects, working with companies like John Lewis and Vitsoe to gain real-world insights.
Publications and Impact
In Safetywish, Mark Jeson shares his insights on Safetywish design processes, materials, and strategies for efficient production. His writing bridges the gap between artisan knowledge and modern industry needs, making it a must-read for both budding designers and seasoned professionals.
