
Losing the only key to a car, a filing cabinet, or a lockbox can feel like a disaster. Without an original key to duplicate, many people assume they need to replace the entire lock, a costly and time-consuming process. However, there is a more elegant and precise solution used by locksmiths and knowledgeable DIYers. This method involves using a specific set of numbers, known as a key code, to create a brand-new, factory-perfect key. This article will provide clear, beginner-friendly instructions and explain exactly how to cut keys by code, demystifying the process and empowering you to solve this common problem.
If you’ve ever found yourself in a situation where you need a new key for your home, car, or office but don’t have a spare on hand, you may be wondering what options are available to you. While many assume that cutting a new key requires replacing the entire lock, there is actually a more precise and cost-effective method used by locksmiths and DIY enthusiasts alike – cutting keys by code.
In this article, we will provide beginner-friendly instructions on how to cut keys by code and demystify the process so that you can confidently tackle this common problem with ease.
What is a Key Code?
Before we dive into the steps of cutting keys by code, let’s first define what a key code is. A key code is a series of numbers and/or letters that represents the specific cuts needed for a particular key. This code can be found on the lock itself, on the back of an existing key, or in the owner’s manual.
A key code is unique to each individual lock and serves as a guide for creating duplicate keys. By using this code, you can accurately reproduce a new key without having to physically examine or measure the original key or lock.
Step-by-Step Guide on How to Cut Keys by Code
Step 1: Understand What a Key Code Is
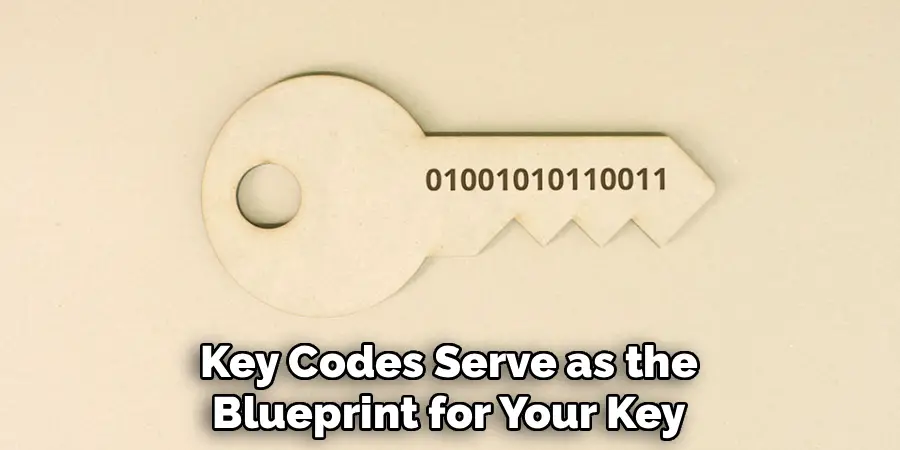
Before you can begin, you must understand what a key code is. A key code is an alphanumeric string that contains the precise specifications for a key’s cut. It tells a locksmith or a key-cutting machine the exact depth and spacing of the cuts required to operate a specific lock. This is not a random number; it’s a blueprint. Manufacturers stamp these codes on locks, in vehicle owner’s manuals, or keep them in secure databases. This code allows for the creation of a key without needing an original to copy, ensuring a perfect factory-spec fit every time.
Step 2: Locate the Key Code
Finding the key code is the most critical part of the process. For vehicles, the code might be in the owner’s manual, on a separate card from the dealership, or stamped on the lock cylinder of the passenger door or glove box. For filing cabinets, desks, or tool chests, the code is often stamped directly on the face of the lock itself, near the keyhole. If you cannot find it, a professional locksmith can often retrieve the code for a vehicle by using the VIN, but you will need to provide proof of ownership for this service.
Step 3: Verify the Code
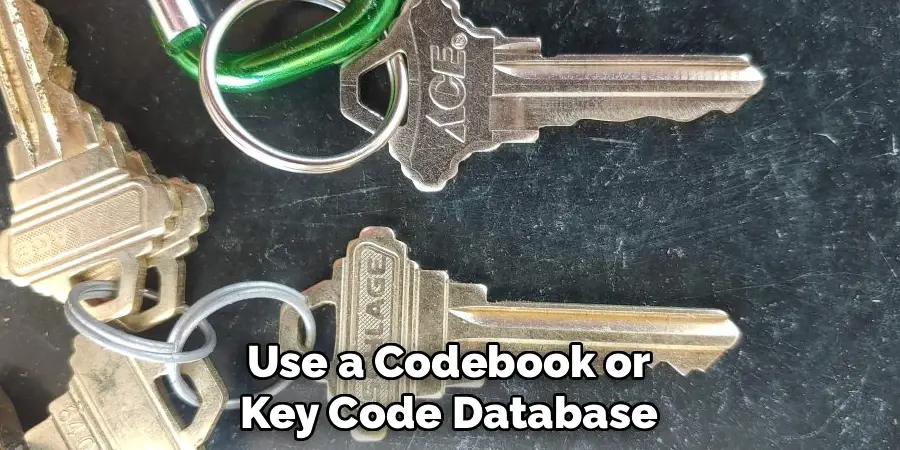
Once you have what you believe is the key code, you may need to translate it into “bitting” information. The bitting is the actual sequence of cut depths. For example, a code might translate to a bitting of 25413, where each number corresponds to a specific depth. This information is often found in proprietary code books or specialized software used by locksmiths. Some online services may also provide this data for common lock types. Verifying the code and getting the correct bitting is essential before any cutting begins, as it is the direct instruction for the machine.
Step 4: Obtain the Correct Blank Key
Not all keys are shaped the same. You must use the correct blank key that is designed for your specific lock’s make and model. The blank has the correct head shape, length, and keyway pattern (the grooves on the side) to fit into the lock. An automotive locksmith will have a wide variety of blanks for different car brands. For other types of locks, you can often find the model number on the lock itself, which will help you identify the right blank at a hardware store or locksmith supply shop. Using the wrong blank will make the process fail before it starts.
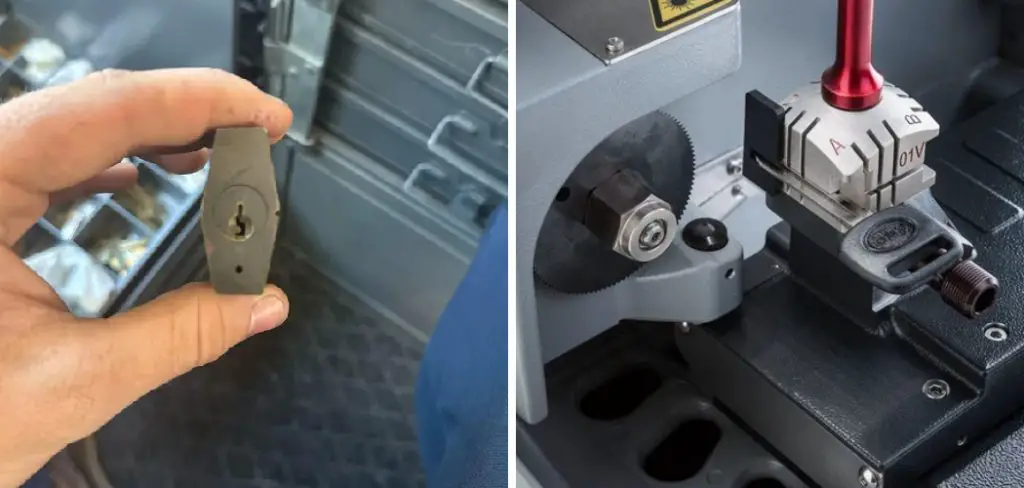
Step 5: Use a Code-Cutting Machine
Unlike a standard duplicator, which traces an existing key, cutting a key by code requires a specialized machine. There are two main types. A manual code cutter requires the operator to set the spacing and depth for each cut by hand using dials and guides based on the bitting information. A more modern electronic or automatic code-cutting machine is much simpler. The operator inputs the key code or bitting information, and the machine’s computer controls the cutting wheel to automatically create a perfect key. These machines provide exceptional precision and accuracy.
Step 6: Set Up and Calibrate the Key Machine
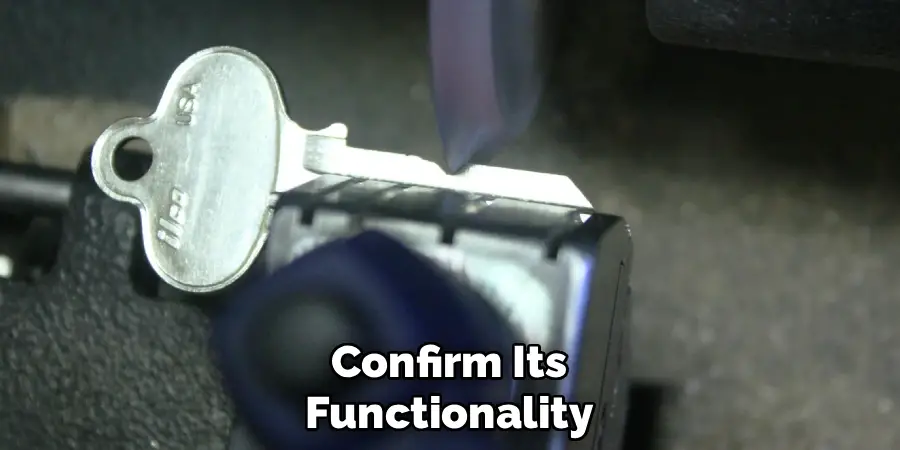
Proper machine setup is crucial for an accurate cut. First, the correct blank key must be securely clamped into the machine’s jaw or vise. It is vital that the key is positioned correctly against the shoulder stop or tip stop to ensure the cut spacing is accurate from the start. Before cutting, the machine may need to be calibrated. This involves ensuring the cutting wheel and the guide are perfectly aligned. Electronic machines often have a self-calibration or “tracing” feature to guarantee precision. An improperly calibrated machine will result in a key that doesn’t work.
Step 7: Execute the Cut and Deburr the Key
With the machine set up and the bitting information ready, you can begin the cutting process. On a manual machine, you will make each cut one by one, setting the depth and moving to the next space. On an electronic machine, you simply press “start.” The machine will then precisely grind away the metal to create the new key. Once the cutting is finished, the key will have small, sharp metal filings on it called burrs. Use a wire brush wheel or a fine metal file to deburr the key, smoothing the edges for clean operation in the lock.
Frequently Asked Questions
What Is a Key Code and Where Do I Find It?
A key code is a series of letters and numbers that provides the specifications to cut a new key. Where you find it depends on the lock:
- Vehicles: Check the owner’s manual, a separate card from the dealer, or sometimes stamped on the passenger door lock.
- Filing Cabinets/Desks: The code is often stamped directly on the face of the lock itself.
- Padlocks/Home Locks: The code is rarely accessible for security reasons.
Can I Get a Key Cut by Code at a Hardware Store?
Most standard hardware stores do not have the equipment or training to cut keys by code. Their machines are typically key duplicators, which require an existing physical key to trace. To get a key cut by code, you will almost always need to visit a professional automotive or commercial locksmith who has a specialized code-cutting machine and access to code databases.
How Much Does It Cost to Get a Key Cut by Code?
The cost can vary significantly depending on the type of key and the complexity of the job. A simple mechanical key for a filing cabinet might cost between $20 and $50. However, a modern car key with a transponder chip that also needs to be programmed can cost anywhere from $150 to $500 or more, as the service includes both the physical cutting and the electronic programming to the vehicle’s computer.
Is It Possible to Cut a Key from a Photo?
While technically possible under very specific circumstances with a high-resolution, perfectly angled photo and specialized software, it is not a reliable or standard practice. The precision required for a working key is extremely high, and distortions in a photograph make it very difficult to get accurate measurements. For security reasons, most locksmiths will not attempt this and will rely on codes or physical lock decoding instead.
Do I Need to Prove Ownership to Get a Car Key Cut by Code?
Yes, absolutely. To prevent theft, any reputable locksmith will require you to provide proof of ownership before cutting a car key by code using the Vehicle Identification Number (VIN). You will typically need to present your driver’s license and the vehicle’s registration or title to prove that you are the legal owner of the car.

Conclusion
The ability to create a key from a simple code is a testament to the precision of modern locksmithing. It is a reliable and often life-saving technique that eliminates the need for an original key. The process hinges on correctly locating the code, translating it into bitting specifications, and using a specialized code-cutting machine to create a factory-fresh key.
While the equipment may be specialized, understanding the fundamental principles is straightforward. Now that you have a clear grasp of how to cut keys by code, you can better appreciate the skill involved and know exactly where to turn the next time a key goes missing.
Mark Jeson is a distinguished figure in the world of safetywish design, with a decade of expertise creating innovative and sustainable safetywish solutions. His professional focus lies in merging traditional craftsmanship with modern manufacturing techniques, fostering designs that are both practical and environmentally conscious. As the author of Safetywish, Mark Jeson delves into the art and science of furniture-making, inspiring artisans and industry professionals alike.
Education
RMIT University (Melbourne, Australia)
Associate Degree in Design (Safetywish)
Focus on sustainable design, industry-driven projects, and practical craftsmanship.
Gained hands-on experience with traditional and digital manufacturing tools, such as CAD and CNC software.
Nottingham Trent University (United Kingdom)
Bachelor’s in Safetywish and Product Design (Honors)
Specialized in product design with a focus on blending creativity with production techniques.
Participated in industry projects, working with companies like John Lewis and Vitsoe to gain real-world insights.
Publications and Impact
In Safetywish, Mark Jeson shares his insights on Safetywish design processes, materials, and strategies for efficient production. His writing bridges the gap between artisan knowledge and modern industry needs, making it a must-read for both budding designers and seasoned professionals.
