
Installing a security light is an effective way to enhance the safety and visibility of your home or property. Whether you’re looking to deter potential intruders or simply illuminate dark areas, a well-placed security light can provide peace of mind and convenience. This guide will walk you through the steps of how to install security light, ensuring a secure and well-lit environment.
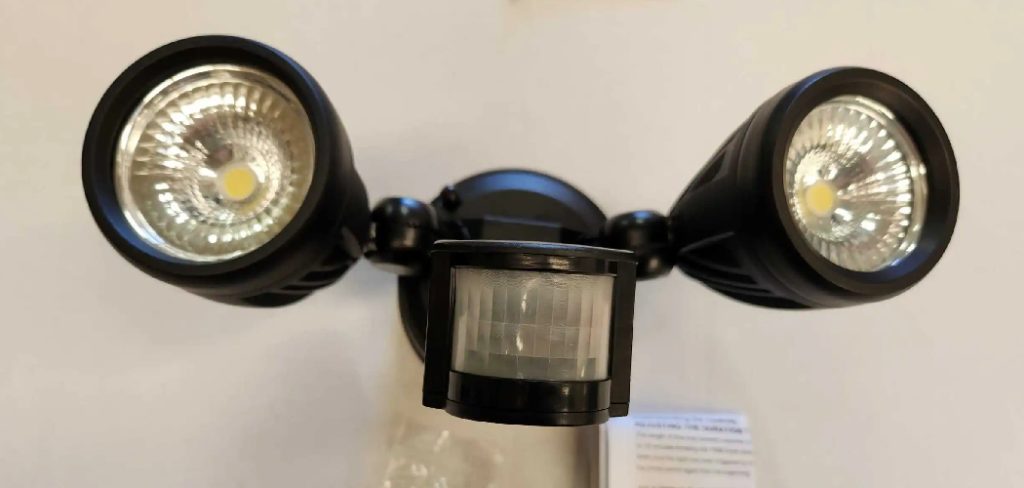
Importance of Installing a Security Light for Home Safety
Security lights play a crucial role in maintaining the safety and security of your home. They help deter intruders by eliminating dark, shadowy areas around your property, which are often favored by potential burglars. A well-lit exterior creates a sense of alertness and reduces the likelihood of criminal activity.
Additionally, security lights improve visibility during the night, making it safer for you and your family to move around outside. They also assist in identifying visitors or potential hazards in the dark. By installing a security light, you’re not only protecting your home but also increasing peace of mind for everyone in your household.
Types of Security Lights to Choose From
When it comes to choosing the right security lights for your property, there are several types available to suit different needs and preferences. Here are some common options:
- Motion-Activated Lights
These lights automatically turn on when movement is detected within their range, making them highly effective for deterring intruders and conserving energy.
- Floodlights
Floodlights provide broad and intense illumination, ideal for lighting up large areas such as driveways, backyards, or patios. They can also be paired with motion sensors for added functionality.
- Smart Security Lights
Equipped with advanced features such as Wi-Fi connectivity, smartphone control, and integration with home automation systems, smart security lights offer convenience and enhanced monitoring capabilities.
- Solar-Powered Lights
These eco-friendly options rely on solar energy to operate, reducing electricity costs and allowing for easy installation without the need for wiring.
- Timer-Controlled Lights
This type of light can be programmed to turn on and off at specific times, ensuring your property remains well-lit even when you’re away.
By selecting the right type of security light, you can enhance the safety and security of your home while meeting your specific requirements.
Tools and Materials You’ll Need
To install effective security lighting, you’ll need the following tools and materials:
- Ladder – To safely reach high places for installation.
- Drill and Drill Bits – For creating holes to mount fixtures securely.
- Screwdriver – To tighten screws on the light fixtures.
- Measuring Tape – To ensure accurate placement and spacing of the lights.
- Wire Strippers – If working with wired lights, for preparing the connections.
- Electrical Tape – To insulate electrical connections for safety.
- Mounting Hardware – Screws, brackets, or anchors as needed for the specific light fixture.
- Power Supply or Solar Panels – Depending on the type of light system you are installing.
- Protective Gloves – For safe handling of sharp components or wires.
Having these tools and supplies ready will ensure a smoother and safer installation process.
10 Methods How to Install Security Light
1. Determine the Optimal Placement for Your Security Light
Before you even purchase a security light, take time to survey your property for dark zones or vulnerable areas that need illumination. Focus on entry points such as front doors, garage doors, backyards, driveways, and alleyways. Also, identify areas where potential intruders might hide, such as behind shrubs, near sheds, or alongside fences.
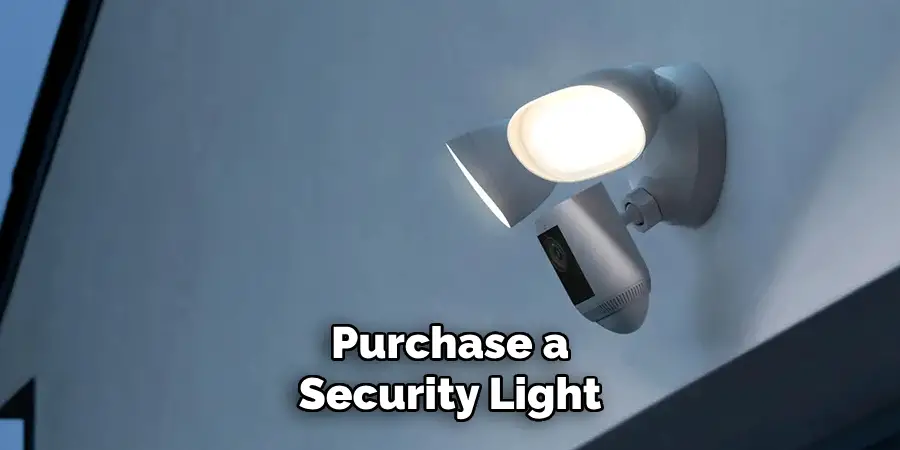
Mounting your light at a height of 6–10 feet provides optimal coverage while staying out of reach for tampering. Make sure it won’t cast unwanted glare into neighbor’s windows or violate local lighting ordinances.
2. Choose the Right Type of Security Light for Your Needs
There are many varieties of security lights, and choosing the right one depends on your location, power access, and preferences. Common types include:
- Motion-activated floodlights for instant brightness upon movement.
- Solar-powered lights that require no wiring but need direct sunlight.
- Dusk-to-dawn lights with photocells that automatically turn on in the dark.
- Smart lights compatible with Wi-Fi or home security systems.
Choose a light with appropriate lumens (brightness), color temperature, and weatherproofing (rated IP65 or higher for outdoor use). LED lights are typically preferred for longevity and energy efficiency.
3. Turn Off Power at the Circuit Breaker Before Installation
Safety must always come first when working with electricity. If you’re installing a hardwired light, locate the appropriate breaker in your home’s electrical panel and switch it off before beginning work. Confirm the power is off using a non-contact voltage tester on the existing fixture wires.
This step prevents electric shock and ensures a safe working environment. For added safety, post a sign at the panel indicating work is in progress.
4. Remove the Old Light Fixture (If Applicable)
If you’re replacing an old exterior light, remove it by unscrewing the fixture and disconnecting the wiring. Most fixtures will have a black (hot), white (neutral), and bare or green (ground) wire. Carefully untwist the wire connectors and set the old fixture aside.
Inspect the existing junction box for damage or corrosion. If it’s a metal box, make sure the ground wire was properly attached to the box or mounting bracket.
5. Mount the New Fixture Securely to the Wall or Soffit
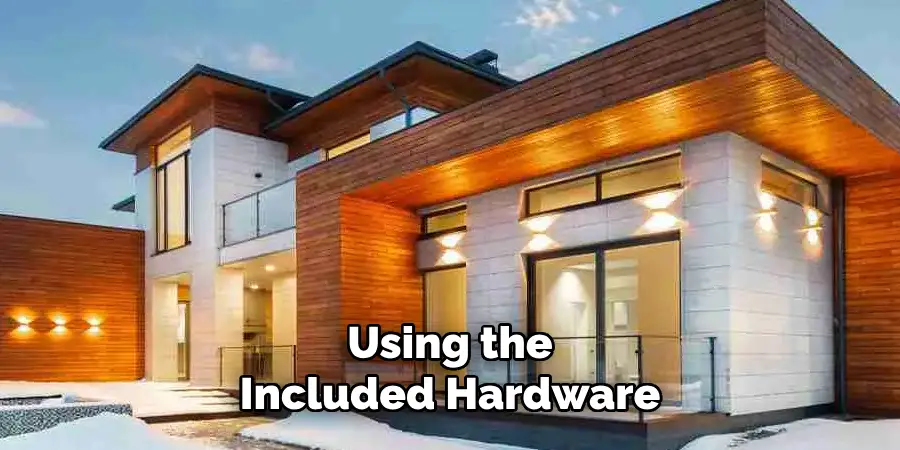
After preparing the junction box, you’re ready to install the mounting bracket that comes with your new light fixture. Align it with the screw holes and secure it tightly using the included hardware. Feed the fixture wires through the center of the bracket before attaching the light.
Make sure the light fixture is level, especially if it contains motion sensors that need to detect activity in a broad arc. A poorly angled light may cast shadows or reduce sensor accuracy.
6. Connect the Wires Using the Correct Configuration
Connect your light to the home’s wiring by matching the wire colors:
- Black to black (hot)
- White to white (neutral)
- Green or bare copper to ground
Twist each set of wires together using UL-listed wire nuts, and wrap them with electrical tape for extra security. Tuck the wires neatly into the junction box, making sure nothing is pinched or exposed.
In some smart light models, you may also find a red wire for an optional control signal or accessory switch. Refer to the manufacturer’s wiring diagram for special configurations.
7. Seal the Fixture with Silicone to Prevent Moisture Intrusion
Outdoor fixtures must be sealed to protect them from rain, snow, and humidity. Once your fixture is mounted and wired, apply a thin bead of exterior-grade silicone caulk around the perimeter where the light meets the wall or soffit.
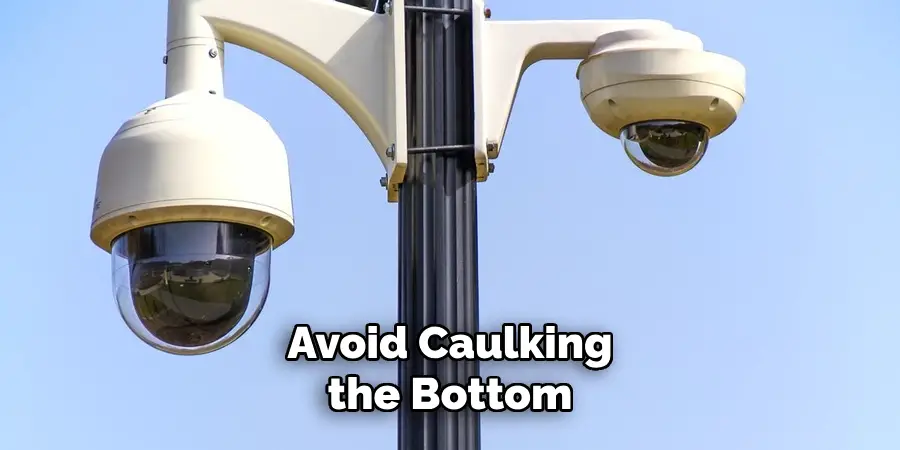
Pay special attention to the top and sides—moisture intrusion is a leading cause of early fixture failure and short circuits. Avoid caulking the bottom to allow for natural drainage and ventilation.
8. Adjust Motion Sensor Range and Lighting Angle
If your light includes a motion sensor, you can fine-tune its range, angle, sensitivity, and on-time duration. Most fixtures have small knobs or switches under the sensor hood. Typical settings include:
- Distance (10 to 70 feet)
- Angle of detection (up to 180 degrees)
- Light duration (from 30 seconds to 10 minutes)
Aim the sensor away from busy roads, trees, or high-traffic areas to avoid false triggers. Also, adjust the light heads to avoid shining into windows or neighboring properties.
9. Restore Power and Test the Security Light Function
Return to the circuit breaker and switch power back on. Walk in front of the motion sensor to ensure the light activates. Cover the sensor briefly to simulate nighttime conditions if needed. If the light doesn’t turn on, double-check your wiring and bulb installation.
If you installed a smart light, use the app or control panel to link the fixture, update firmware, and schedule on/off times. Refer to the manufacturer’s instructions for specific syncing steps.
10. Perform Regular Maintenance and Replace Bulbs or Batteries
After installation, security lights require periodic maintenance to stay effective. Clean the lens and sensor area every few months to remove dirt, cobwebs, or bird droppings. Replace any burned-out bulbs or rechargeable batteries (in solar models) to ensure proper function.
If your motion sensor becomes erratic or your light fails during storms, inspect the fixture for corrosion or loose connections. Most security lights last 5 to 10 years, but early attention to issues can extend their life.
Safety Considerations
When installing or maintaining security lights, always prioritize safety to prevent accidents or damage. Ensure the power is turned off at the breaker before handling any electrical components. Use a sturdy ladder when working at heights, and have someone nearby to assist if needed.
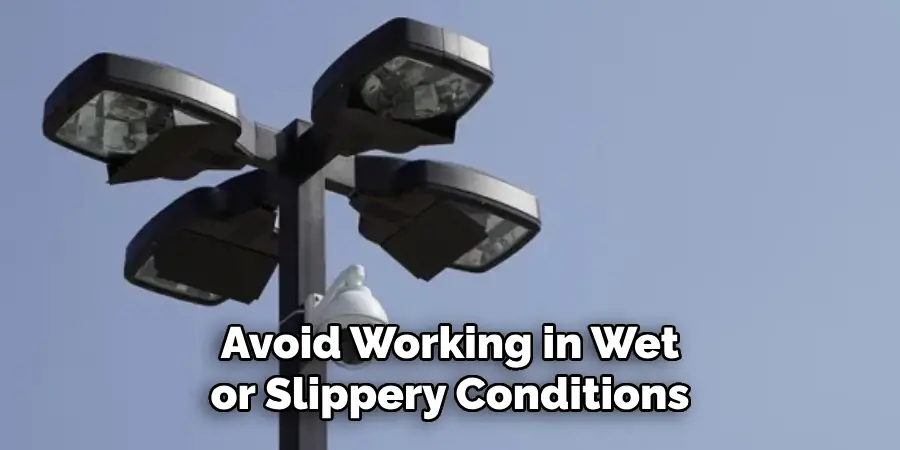
Avoid working in wet or slippery conditions to reduce the risk of falls or electrocution. For wired security lights, consult an electrician if you are unfamiliar with electrical systems to ensure proper installation. By following these precautions, you can maintain a safe environment while keeping your security lights functioning effectively.
Conclusion
Installing a security light is a proactive step toward protecting your property, loved ones, and valuables. With careful planning, safe wiring practices, and a quality fixture, you can achieve bright, reliable illumination around your home or business.
Whether you choose a basic motion-activated floodlight or an advanced Wi-Fi-connected spotlight, the key is thoughtful installation and long-term maintenance. So, there you have it – a quick and easy guide on how to install security light.

Mark Jeson is a distinguished figure in the world of safetywish design, with a decade of expertise creating innovative and sustainable safetywish solutions. His professional focus lies in merging traditional craftsmanship with modern manufacturing techniques, fostering designs that are both practical and environmentally conscious. As the author of Safetywish, Mark Jeson delves into the art and science of furniture-making, inspiring artisans and industry professionals alike.
Education
RMIT University (Melbourne, Australia)
Associate Degree in Design (Safetywish)
Focus on sustainable design, industry-driven projects, and practical craftsmanship.
Gained hands-on experience with traditional and digital manufacturing tools, such as CAD and CNC software.
Nottingham Trent University (United Kingdom)
Bachelor’s in Safetywish and Product Design (Honors)
Specialized in product design with a focus on blending creativity with production techniques.
Participated in industry projects, working with companies like John Lewis and Vitsoe to gain real-world insights.
Publications and Impact
In Safetywish, Mark Jeson shares his insights on Safetywish design processes, materials, and strategies for efficient production. His writing bridges the gap between artisan knowledge and modern industry needs, making it a must-read for both budding designers and seasoned professionals.
