
A home security system is a powerful tool for protecting your property, valuables, and, most importantly, your loved ones. The presence of cameras and sensors can deter potential intruders and provide invaluable peace of mind, whether you’re at home or away. While the idea of setting up a system might seem daunting, many modern solutions are designed for easy do-it-yourself installation. Knowing the proper steps on how to install a home security system ensures your system is effective from day one. This guide will provide a clear, comprehensive walkthrough of how to install home security system, empowering you to take control of your home’s safety.
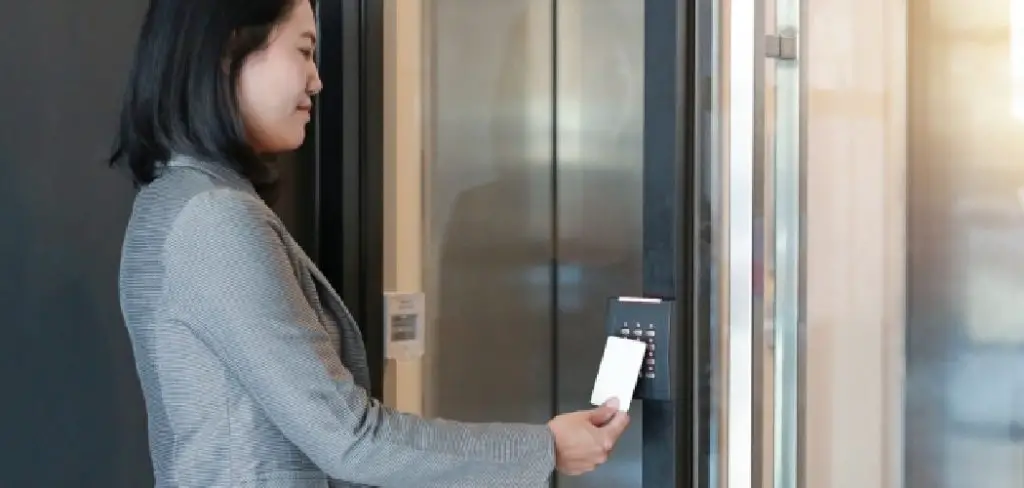
Before beginning the installation process, it’s important to gather all the necessary tools and equipment. Most home security systems come with a detailed list of components, including cameras, motion detectors, a control panel, and additional accessories like door and window sensors. Double-check the packaging to ensure nothing is missing. You’ll also need basic tools, such as a drill, screwdrivers, and adhesive strips, depending on the type of mounting required. Planning the placement of your components in advance can save time and help avoid common setup issues.
Choosing the Right Security System
Before you start drilling holes, it’s crucial to select a system that fits your home and lifestyle. The first major decision is choosing between a wired and a wireless system. Wired systems are generally more reliable as they don’t depend on Wi-Fi, but they are more complex to install. Wireless systems offer flexibility and are much easier for a DIYer to set up.
Next, consider the coverage you need. Walk through your property and identify all potential entry points, including doors, windows, and the garage. Your system should have enough sensors to cover these vulnerabilities. Think about smart features you might want, such as remote monitoring via a smartphone app, video doorbells, or integration with other smart home devices like lights and locks. Finally, your budget will play a significant role, as will the decision between a DIY installation and hiring a professional.
10 Methods for How to Install a Home Security System
Method 1: Plan the System Layout
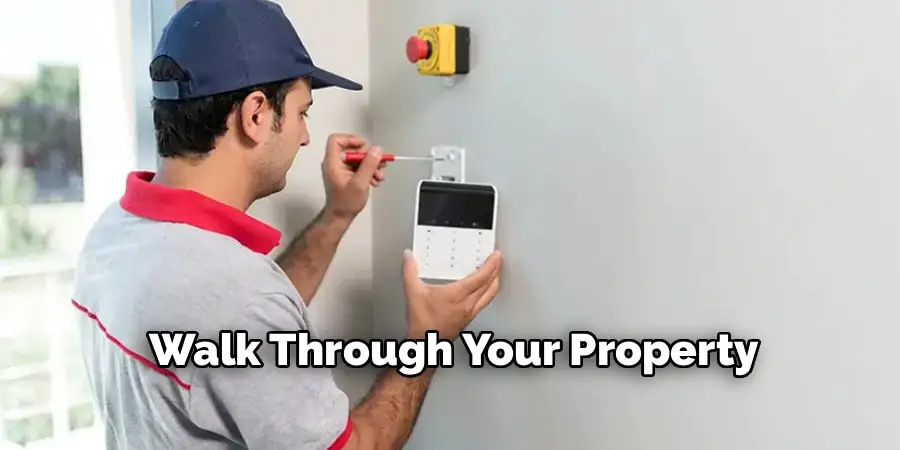
A successful installation starts with a good plan. Before you open any boxes, walk through your home and map out where each component will go. Identify the most vulnerable points of your home—typically the front and back doors, ground-floor windows, and patio doors. Decide on the optimal placement for door and window sensors. For motion detectors, choose high-traffic areas like hallways or living rooms. Plan camera locations to cover key entry points and blind spots around your property. Creating a simple sketch of your home’s layout with component locations marked will serve as a valuable blueprint during the installation process.
Method 2: Install the Main Control Panel
The control panel or hub is the brain of your security system. It communicates with all the sensors and cameras and sounds the alarm. Choose a central location for it, often near your main entryway, so you can easily arm and disarm the system as you come and go. It should be close to a power outlet and, for smart systems, within range of your Wi-Fi router. Follow the manufacturer’s instructions to mount the panel securely on the wall. For many modern wireless systems, the “panel” is a small hub that simply needs to be placed on a flat surface.
Method 3: Install Door and Window Sensors
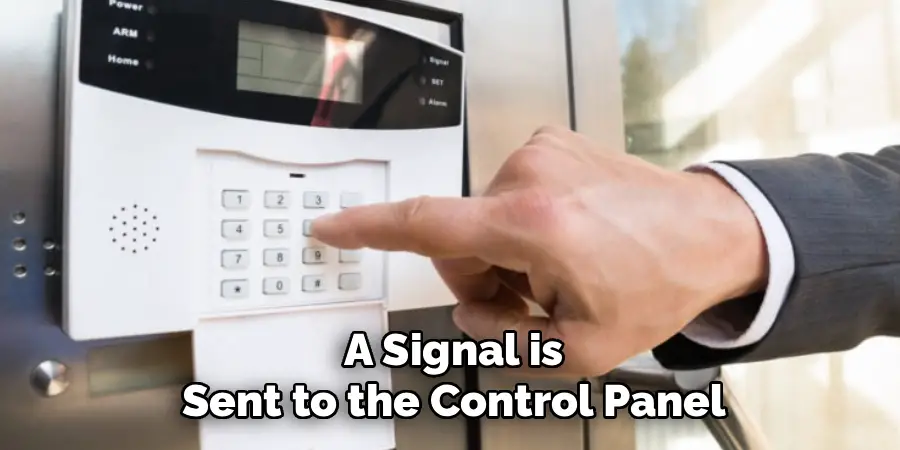
Door and window sensors are your first line of defense. These typically come in two pieces: a sensor and a smaller magnet. The sensor is attached to the stationary frame of the door or window, and the magnet is attached to the door or window itself. Most modern sensors use a strong adhesive backing, making installation quick and tool-free. When the door or window is closed, the two pieces should be close together (usually within half an inch). When it opens, the connection is broken, and a signal is sent to the control panel. This is a fundamental step in learning how to install home security system.
Method 4: Mount Surveillance Cameras
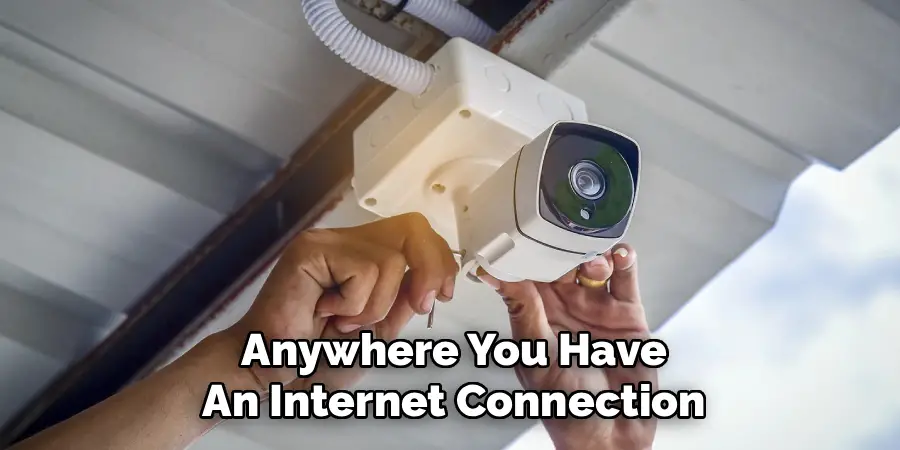
Cameras provide visual confirmation and are a powerful deterrent. Place your cameras at a height that gives them a wide, unobstructed view of the target area while also keeping them out of easy reach. Common locations include overlooking the front door, backyard, driveway, and main living areas. Use the provided mounting brackets and hardware to securely attach the cameras to a wall or eave. Angle each camera to cover the desired view. If you are installing wired cameras, you will need to run cables to a power source and the main recording unit. For wireless cameras, ensure they are within range of a strong Wi-o-Fi signal.
Method 5: Set Up Motion Detectors
Motion detectors are designed to cover large interior spaces. Install them in high-traffic areas that an intruder would likely pass through, such as a central hallway, staircase, or living room. The ideal placement is typically in a corner, about 7 to 8 feet off the ground, angled slightly downwards. This position gives the detector the best possible field of view. Be mindful to avoid placing them facing a window, heat source, or air vent, as this can cause false alarms. Most motion detectors are easily mounted with screws or adhesive tape.
Method 6: A Key Step in How to Install Home Security System: Connect to the Panel
Once your hardware is in place, you need to sync each device to the main control panel or hub. This process, often called “pairing,” allows the components to communicate with each other. Your system’s manual will provide specific instructions, but it usually involves putting the control panel into a “pairing” mode and then pressing a button on each sensor or camera. As you connect each device, the control panel should provide a confirmation, often through a beep or a message on its screen. It’s helpful to name each sensor in the system (e.g., “Front Door,” “Living Room Motion”) for easy identification.
Method 7: Set Up Wi-Fi and Smartphone Integration
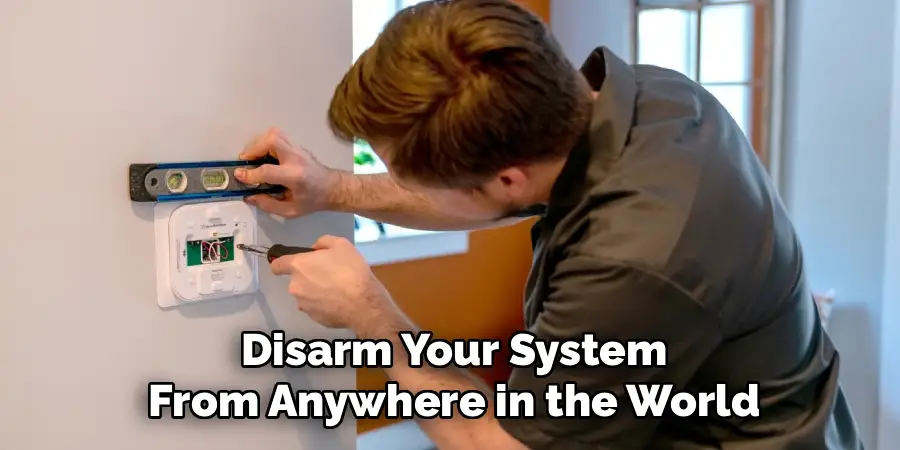
For any smart security system, connecting to your home Wi-Fi network is essential for remote access and professional monitoring. Follow the system’s instructions to connect the main hub to your network, which usually involves selecting your Wi-Fi network name and entering the password. Once connected, download the manufacturer’s companion app onto your smartphone or tablet. Create an account and follow the prompts to link the app to your security system. This will unlock the ability to monitor cameras, receive alerts, and arm or disarm your system from anywhere in the world.
Method 8: Test the Entire System Thoroughly
An untested security system is an unreliable one. Before you consider the installation complete, you must test every single component. Put the system into its “test” mode to avoid triggering a false alarm with your monitoring service. Go around your home and open each protected door and window, confirming that the control panel registers the event. Walk in front of each motion detector to ensure it picks up your movement. Check the live feed from all your cameras on your smartphone app to verify they are online and angled correctly.
Frequently Asked Questions
Do I Need Professional Help to Install a Home Security System?
While professional installers offer expertise, many modern wireless security systems are specifically designed for easy DIY installation. These systems often come with adhesive sensors, user-friendly apps, and step-by-step video tutorials. If you are comfortable with basic home tasks and using a smartphone, you can likely install a DIY system in just a few hours.
Can I Install a Home Security System in a Rented Apartment?
Yes, absolutely. Wireless security systems are perfect for renters because they typically do not require drilling or permanent modifications. The components often use adhesive backing that can be removed without damaging walls. This allows you to secure your apartment and then take the entire system with you when you move. Just be sure to check your lease agreement for any specific rules.
How Much Does It Cost to Install a Home Security System?
The cost varies widely. A basic DIY starter kit with a few sensors can cost as little as $150 to $300. More comprehensive systems with multiple cameras, a video doorbell, and smart features can range from $500 to $1,500 or more. Professional monitoring services typically add a monthly fee, usually between $20 and $60.
How Long Does It Take to Install a Home Security System?
The installation time depends on the size of your home and the complexity of the system. A simple, wireless DIY system for a small apartment can often be set up in one to two hours. A more extensive system with many sensors and cameras for a larger house might take an afternoon or a full day to install and test thoroughly.
Can I Monitor My Home Security System Remotely?
Yes, remote monitoring is a standard feature of almost all modern security systems. By connecting your system to your home Wi-Fi and using the companion smartphone app, you can view live and recorded video footage, receive instant alerts for any sensor activity, and arm or disarm your system from anywhere you have an internet connection.
Conclusion
Installing a home security system is one of the most effective steps you can take to safeguard your home and family. The process is more accessible today than ever before, with user-friendly DIY systems that put powerful security tools directly into your hands. By carefully planning your layout, properly placing each component, and thoroughly testing the entire setup, you can build a reliable shield around your property. Taking the time to understand how to install home security system correctly provides not only a deterrent against threats but also a lasting sense of security and peace of mind.

Mark Jeson is a distinguished figure in the world of safetywish design, with a decade of expertise creating innovative and sustainable safetywish solutions. His professional focus lies in merging traditional craftsmanship with modern manufacturing techniques, fostering designs that are both practical and environmentally conscious. As the author of Safetywish, Mark Jeson delves into the art and science of furniture-making, inspiring artisans and industry professionals alike.
Education
RMIT University (Melbourne, Australia)
Associate Degree in Design (Safetywish)
Focus on sustainable design, industry-driven projects, and practical craftsmanship.
Gained hands-on experience with traditional and digital manufacturing tools, such as CAD and CNC software.
Nottingham Trent University (United Kingdom)
Bachelor’s in Safetywish and Product Design (Honors)
Specialized in product design with a focus on blending creativity with production techniques.
Participated in industry projects, working with companies like John Lewis and Vitsoe to gain real-world insights.
Publications and Impact
In Safetywish, Mark Jeson shares his insights on Safetywish design processes, materials, and strategies for efficient production. His writing bridges the gap between artisan knowledge and modern industry needs, making it a must-read for both budding designers and seasoned professionals.
