
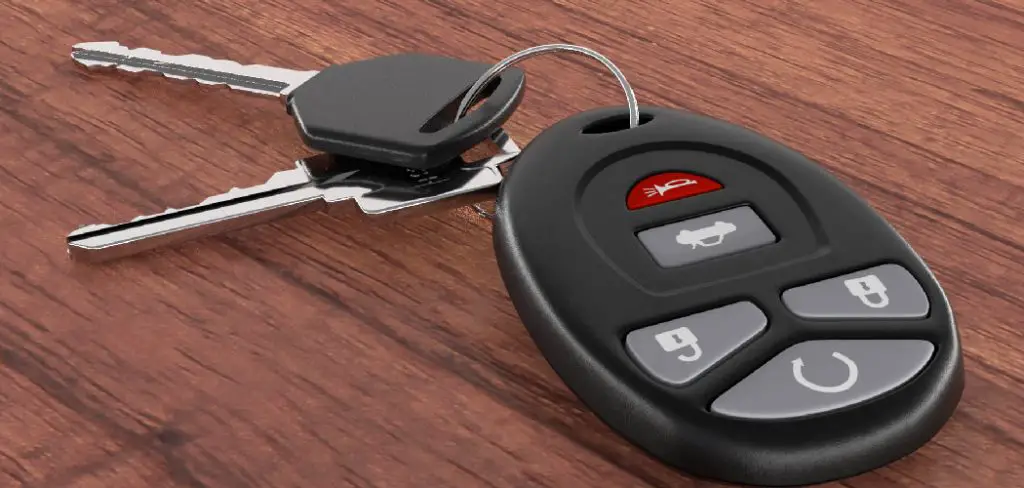
When the battery in your Honda key fob dies, your first thought might be a costly trip to the dealership. However, changing the battery yourself is a simple and rewarding DIY task that can save you both time and money. The only hurdle is figuring out how to get the key fob open without damaging it. While it may seem like a sealed unit, most Honda keys are designed to be opened for battery replacement. This guide is here to demystify the process and give you the confidence to do it yourself. You will learn exactly how to open a honda key fob safely and efficiently, getting your remote back in working order in just a few minutes.
To begin, gather the necessary tools. Typically, you will need a small flathead screwdriver or a similar tool with a thin edge. Having a microfiber cloth or a soft surface to work on is also recommended to prevent scratches or damage to the key fob casing. Once you have your tools ready, locate the notch or seam on the side of the key fob. This is usually where the two halves of the fob are joined together and is designed to allow easy access for battery replacement.
Step-by-Step Guide on How to Open a Honda Key
Step 1: Gather the Necessary Tools
Before you begin, gathering a few simple tools will make the process much smoother. You will need a small, flathead screwdriver or a spudger tool, which is a thin plastic prying tool often used for electronics. Using a plastic tool can help prevent scratching the key fob’s casing. You will also need a replacement battery. Most Honda key fobs use a CR2032 or a CR1620 coin battery, but you should check your specific model to be sure. Having everything ready beforehand means you can complete the battery change quickly without having to pause your work to find a tool.
Step 2: Locate the Release Mechanism
The first step in opening the fob is to remove the physical, metal key. On most modern Honda key fobs, there is a small release button or switch on the back or side of the casing. Press and hold this button, and the metal key should slide out or pop free from its slot. This physical key is not only for manually unlocking your car door but also often reveals the hidden seam or slot you’ll need to pry open the fob. Set the metal key aside in a safe place, as you will need it again to reassemble the fob later.
Step 3: Find the Seam or Pry Slot
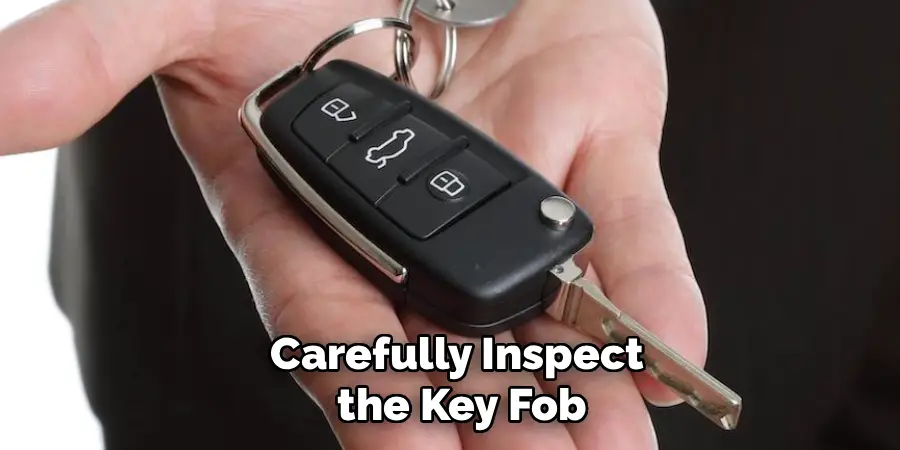
With the metal key removed, carefully inspect the key fob. You will notice a thin line or seam running along the outer edge where the two halves of the plastic casing meet. On some models, removing the physical key reveals a small, designated slot or indentation along this seam. This is the pry point specifically designed for opening the case. If there is no obvious slot, you will need to gently work your tool into the seam itself. Finding this weak point is the most crucial part of learning how to open a Honda key without causing damage.
Step 4: Gently Pry the Two Halves Apart
This step requires a gentle and patient approach. Insert the tip of your small flathead screwdriver or spudger tool into the designated pry slot or into the seam. Gently twist the tool to create a small gap between the two halves of the casing. Do not use excessive force, as this can crack the plastic. Once you have an initial opening, you can slide the tool along the seam, gently twisting as you go, to pop the internal clips holding the case together. You should hear a series of small clicking sounds as the clips disengage.
Step 5: Separate the Casing and Identify the Battery
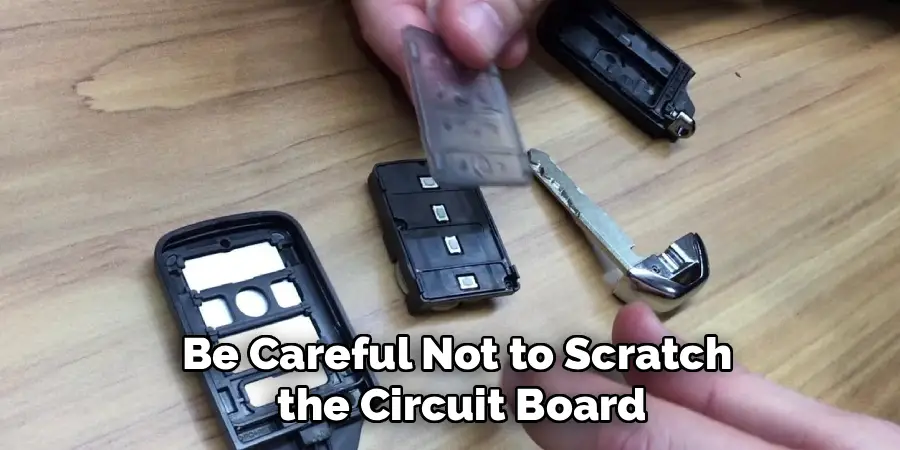
Once all the clips are released, the two halves of the key fob casing should separate easily. Be careful as you pull them apart, as the internal circuit board and rubber button pad may be loose inside. Place the two halves on your work surface with the internal components facing up. You will now see the small, circular coin battery nestled in a holder on the circuit board. This is the core task in the process of how to open a honda key, as it gives you access to the power source. Take note of which side of the battery is facing up (usually the positive “+” side).
Step 6: Remove the Old Battery
Removing the old battery is usually straightforward. You can often use your fingernail or the same small screwdriver to gently pry the battery out of its holder. Some battery holders have a small clip or tab on one side that you may need to press or lift to release the battery. Be careful not to scratch the circuit board or bend any of the metal contacts. Once the old battery is out, you can set it aside for proper disposal. Many electronics stores have recycling programs for coin batteries.
Step 7: Install the New Battery
Now it’s time to install the new battery. Make sure the new battery is the correct type for your key fob. Referring to the old battery or your owner’s manual will confirm the right model, like a CR2032. Place the new battery into the holder, ensuring it is oriented correctly. The positive “+” side should be facing up, just as the old battery was. Gently press the battery into place until it clicks or sits securely in the holder. A proper connection is vital for the key fob to function correctly.
Step 8: Reassemble the Key Fob
With the new battery installed, it’s time to put everything back together. Carefully align the two halves of the plastic casing. Ensure the internal circuit board and rubber button membrane are seated correctly and haven’t shifted. Once aligned, press the two halves together firmly. You should hear a series of clicks as the internal clips snap back into place. Work your way around the entire seam, pressing firmly to ensure the case is completely sealed with no gaps. Finally, slide the physical metal key back into its slot until it clicks securely into place.
Frequently Asked Questions
What Type of Battery Does My Honda Key Fob Use?
Most modern Honda key fobs use a CR2032 3-volt coin battery, which is a very common size. However, some smaller or older models might use a CR1620 or another similar size. The best way to be certain is to open the key fob and check the model number printed on the old battery. Alternatively, your car’s owner’s manual will specify the correct battery type for your key fob.

Will I Need to Reprogram My Key Fob After Changing the Battery?
In most cases, no. Honda key fobs are designed to retain their programming information even without a battery, so you should not need to reprogram the remote after a simple battery change. As long as you complete the replacement within a few minutes, the key’s memory will remain intact. Simply test the lock, unlock, and panic buttons after reassembly to ensure everything is working correctly.
What if My Key Fob Still Doesn’t Work After Replacing the Battery?
If the key fob is unresponsive after a battery change, there are a few things to check. First, double-check that you used the correct battery type and that it was installed with the positive “+” side facing the right direction. Ensure the battery is making good contact with the metal terminals inside. If everything looks correct, the issue might be with the key fob’s internal electronics or the vehicle’s receiver, which may require a trip to the dealership.
How Can I Open the Key Fob Without Damaging the Plastic?
The key to preventing damage is to use the right tool and a gentle touch. Using a plastic prying tool (spudger) instead of a metal screwdriver significantly reduces the risk of scratching or gouging the plastic. Always look for a designated pry slot first. If you must use the seam, apply slow, even pressure and twist gently rather than forcing it. Working your way around the seam gradually is much safer than trying to pop it open from one spot.
Can I Use a Different Battery Than the One Recommended?
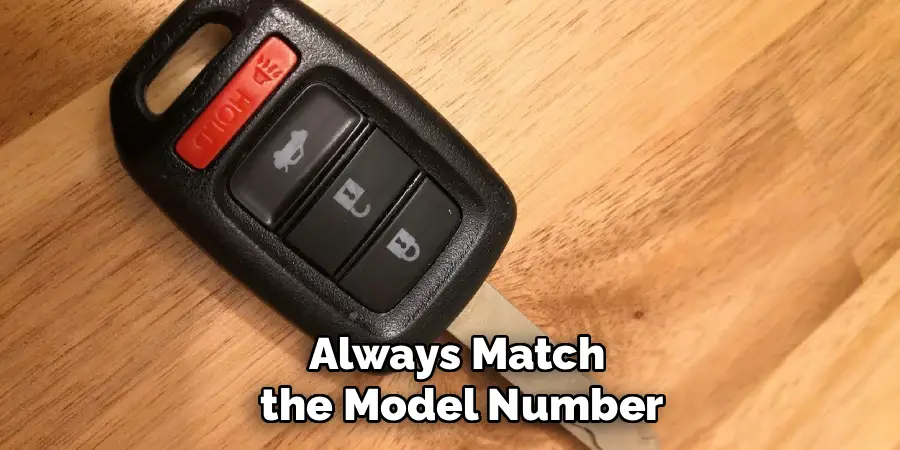
No, you should always use the exact battery type recommended for your key fob. While another coin battery might look similar in size, it could have a different voltage or thickness. Using the wrong battery can lead to poor performance, a short battery life, or could even damage the key fob’s delicate internal circuitry. Always match the model number (e.g., CR2032) on the old battery.
Conclusion
Changing the battery in your Honda key fob is a simple, five-minute task that can save you a significant amount of money and hassle. By following a few straightforward steps—gathering your tools, gently prying the case open, and swapping the battery—you can easily handle this common maintenance task on your own. The process is not about force, but about finding the right spot and using a gentle touch.
Now that you have a clear and confident understanding of how to open a honda key fob, you can skip the dealership and take pride in a DIY job well done.
Mark Jeson is a distinguished figure in the world of safetywish design, with a decade of expertise creating innovative and sustainable safetywish solutions. His professional focus lies in merging traditional craftsmanship with modern manufacturing techniques, fostering designs that are both practical and environmentally conscious. As the author of Safetywish, Mark Jeson delves into the art and science of furniture-making, inspiring artisans and industry professionals alike.
Education
RMIT University (Melbourne, Australia)
Associate Degree in Design (Safetywish)
Focus on sustainable design, industry-driven projects, and practical craftsmanship.
Gained hands-on experience with traditional and digital manufacturing tools, such as CAD and CNC software.
Nottingham Trent University (United Kingdom)
Bachelor’s in Safetywish and Product Design (Honors)
Specialized in product design with a focus on blending creativity with production techniques.
Participated in industry projects, working with companies like John Lewis and Vitsoe to gain real-world insights.
Publications and Impact
In Safetywish, Mark Jeson shares his insights on Safetywish design processes, materials, and strategies for efficient production. His writing bridges the gap between artisan knowledge and modern industry needs, making it a must-read for both budding designers and seasoned professionals.
