
Do you ever feel like your home lighting is a bit too dull? Or maybe you can never find the right setting to get just the right amount of light in each room. Well, with Sengled Smart light bulbs, you can create perfect lighting solutions for every area of your house – all from the comfort and convenience of your smartphone!
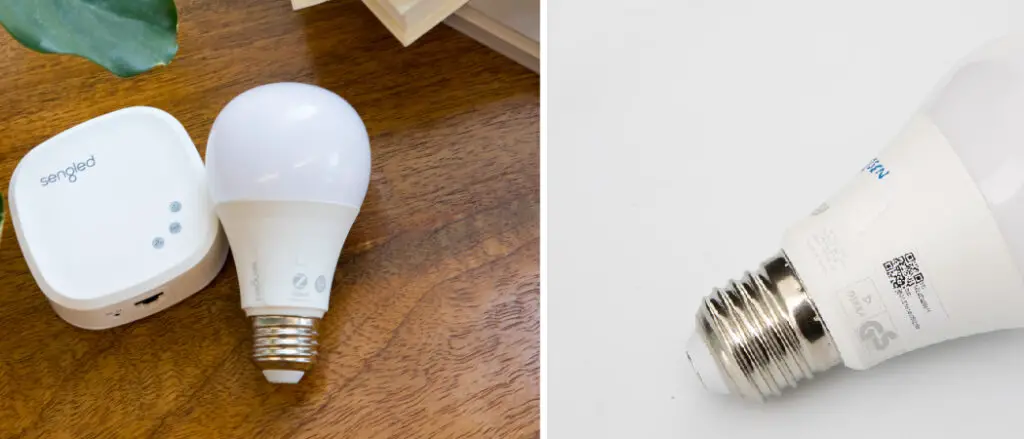
In this post, we’ll be exploring exactly how to put Sengled lights into pairing mode and transform your home lighting experience for good. We’ll discuss how to add multiple bulbs per room using a hub system, as well as address any potential challenges along the way. So, keep on reading this article about how to put Sengled light in pairing mode.
Reasons Why You Might Need to Put Sengled Light in Pairing Mode
Here are some reasons why you might need to put a Sengled light in pairing mode:
- Connecting the light to a new device: If you have a new device, such as a smartphone or a home automation system, that you want to use to control your Sengled light, you will need to put the light in pairing mode to connect it to the new device.
- Resetting the light: If you are experiencing problems with your Sengled light, such as it not responding to commands or disconnecting from your network, putting it in pairing mode can help reset the connection and fix the issue.
- Adding a new light to your network: If you have purchased a new Sengled light and want to add it to your existing network of Sengled lights, you will need to put it in pairing mode to connect it to the network.
- Updating the firmware: If there is a firmware update available for your Sengled light, you will need to put it in pairing mode to update the firmware.
- Changing the Wi-Fi network: If you have changed your Wi-Fi network or moved to a new location with a different Wi-Fi network, you will need to put your Sengled light in pairing mode to connect it to the new network.
Overall, putting a Sengled light in pairing mode is a necessary step to connect it to other devices, troubleshoot issues, add new lights to your network, update firmware, or change the Wi-Fi network.
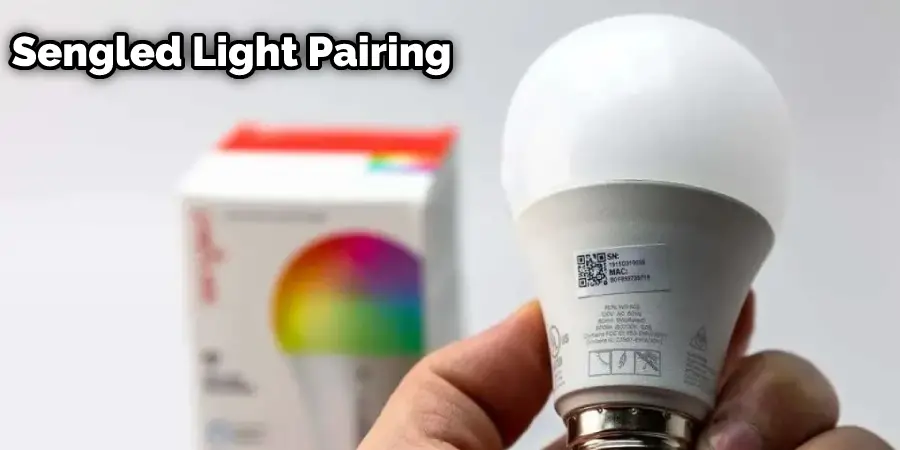
8 Step-By-Step Guide on How to Put Sengled Light in Pairing Mode
Putting your Sengled light in pairing mode is easy, and you can do it with just a few simple steps. Let’s break down how to put your Sengled light in pairing mode:
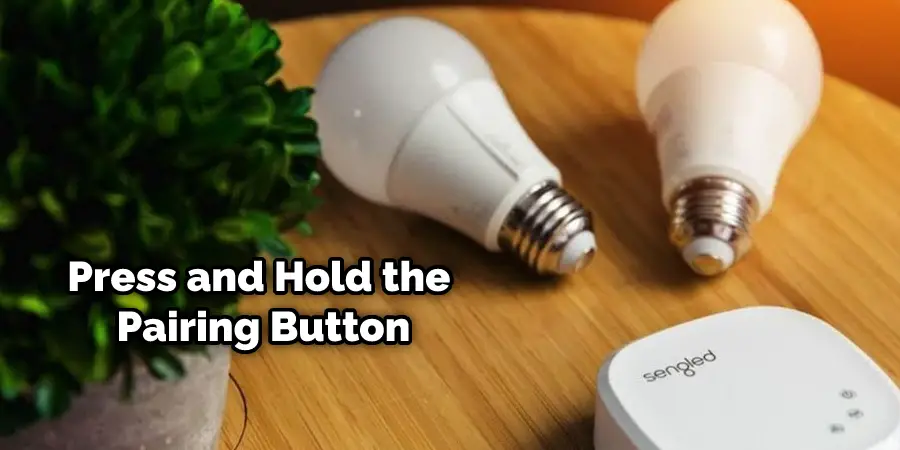
Step 1: Locate the Pairing Button on The Sengled Light:
The pairing button is located on the back of the Sengled light, and it is marked with a blue “P”.
Step 2: Press and Hold the Pairing Button:
Press and hold down the pairing button until the LED indicator light starts blinking blue. This will indicate that the light is in pairing mode.
Step 3: Connect the Sengled Light to Your Network:
Once the light is in pairing mode, you can connect it to your network. You can do this through the Sengled Home app or through your router settings.
Step 4: Add a New Device (If Necessary):
If you are connecting a new device to your Sengled light, such as a smartphone or home automation system, you will need to add the device in the app. Once this is done, the light should be connected.
Step 5: Connect Multiple Lights (If Necessary):
If you want to connect multiple lights in one room, you can do this using a hub system. This will allow you to control multiple lights at once and create the perfect lighting setup for each room.
Step 6: Update the Firmware (If Necessary):
If there is a firmware update available, you can update it through the Sengled Home app. This will ensure that the light is running on the most up-to-date software.
Step 7: Change the Wi-Fi Network (If Necessary):
If you have changed your Wi-Fi network or moved to a new location with a different Wi-Fi network, you will need to put your Sengled light in pairing mode to connect it to the new network.
Step 8: Test Your Sengled Light:
Once you have completed all of these steps, you can test your Sengled light to make sure that everything is working properly. You can do this by using the app or manually testing it with a remote control.
Following these steps will ensure that your Sengled light is set up correctly and connected to all of the necessary devices. This will allow you to use your Sengled light without any problems.
Troubleshooting Tips
If you are having trouble connecting your Sengled light to other devices or networks, try the following steps to troubleshoot the issue:
1. Make Sure that Your Sengled Light Is Powered On:
The first step is to make sure that your Sengled light is powered on. If it is not, then you will need to connect the power cord and turn it on.
2. Reset the Connection:
If the issue persists, try resetting the connection by holding down the pairing button for 10 seconds until the LED indicator is solid blue. This will reset the connection and allow you to connect it again.

3. Check Your Wi-Fi Network Settings:
If your Sengled light is not connecting to a new Wi-Fi network, make sure that your router settings are correct and that your device has access to the internet.
4. Contact Technical Support:
If you are still having trouble connecting your Sengled light, contact technical support for further assistance. They will be able to provide step-by-step instructions on how to connect the light.
Overall, putting a Sengled light in pairing mode is a necessary step to connect it to other devices or networks. Following the steps outlined above will ensure that your light is connected properly and working without any issues. If you are still having trouble connecting your Sengled light, reach out to technical support for more assistance.
Additional Tips and Tricks
Here are some additional tips and tricks for getting the most out of Sengled lights:
Set up Schedules:
Sengled lights can be scheduled to turn on or off at specific times of the day, which can be particularly useful if you want to save energy or create a specific mood or atmosphere. You can use the Sengled Home app or your voice assistants, such as Amazon Alexa or Google Assistant, to set up a schedule.
Automate Your Lights:
You can also automate your Sengled lights to turn on or off based on specific triggers, such as motion detection or the opening and closing of a door. This can help make your home more convenient and secure. To set up automation, you can use the Sengled Home app or IFTTT (If This Then That).
Choose the Right Type of Sengled Light:
Sengled offers a range of smart lights, including bulbs, light strips, and light panels, each with its own unique features and benefits. Consider your needs and preferences when choosing the right type of Sengled light for your home.
Use Sengled Accessories:
Sengled also offers a range of accessories, such as the Sengled Smart Switch and the Sengled Smart Sensor, that can enhance the functionality of your Sengled lights. For example, the Smart Switch allows you to control your lights without using your phone or voice assistant, while the Smart Sensor can detect motion and trigger your lights to turn on or off.
Explore Advanced Features:
Finally, take some time to explore the more advanced features of your Sengled lights, such as color temperature adjustment and scene creation. These features can help you create a truly personalized and immersive lighting experience in your home.
Frequently Asked Questions
Q: How Do I Reset My Sengled Light?
A: To reset your Sengled light, press and hold the power button on the device for five seconds. The light will then enter pairing mode and be ready to connect to another network or device.
Q: What Is the Difference Between a Sengled Bulb and A Sengled Light Strip?
A: A Sengled bulb is a traditional smart lightbulb that can be used as part of your home lighting system. A Sengled light strip is an LED strip that can be used to add accent lighting or create various moods in your space.
Q: Can I Use My Sengled Lights without A Wi-Fi Connection?
A: Yes, you can use your Sengled lights without a Wi-Fi connection. However, some features will require a Wi-Fi or Bluetooth connection in order to function properly.
Q: Can I Control Multiple Sengled Lights with One App?
A: Yes, you can control multiple Sengled lights from the same app. You can group compatible Sengled lights together and control them simultaneously with just a few taps.
Conclusion
Putting Sengled lights into pairing mode is an easy process that takes only a few steps. First, make sure your light is powered on and within range of the router you want to connect it to. Then press and hold the power button for three seconds until its indicator light starts blinking rapidly.
Finally, open up the app or web interface associated with your device and find the list of available devices – select ‘Sengled’ from this list and follow any additional instructions provided by your product’s user manual in order to complete the setup.
With these simple steps, you’ll be able to get started using your new Sengled lighting system right away! Thanks for reading this article about how to put Sengled light in pairing mode.
