
In modern vehicles, keeping track of engine health is a critical part of maintenance, and oil pressure sensors play an essential role in this process. These compact devices monitor the oil pressure inside the engine, sending vital information to your dashboard or engine management system. Doing so helps prevent potential engine damage and ensures that you are alerted in case of low oil pressure—one of the most common causes of severe engine problems.
Among oil pressure sensors, the 1-wire design stands out for its simplicity and effectiveness. Unlike more complex multi-wire sensors, a 1-wire version makes troubleshooting and testing a more accessible task for both professional mechanics and DIY enthusiasts. Whether you’re diagnosing fluctuating oil pressure readings, chasing a mysterious dashboard warning, or simply conducting preventative maintenance, understanding how to test a 1 wire oil pressure sensor is a valuable skill. This article provides a detailed, step-by-step guide, equipping you with the knowledge to test your sensor confidently and accurately.
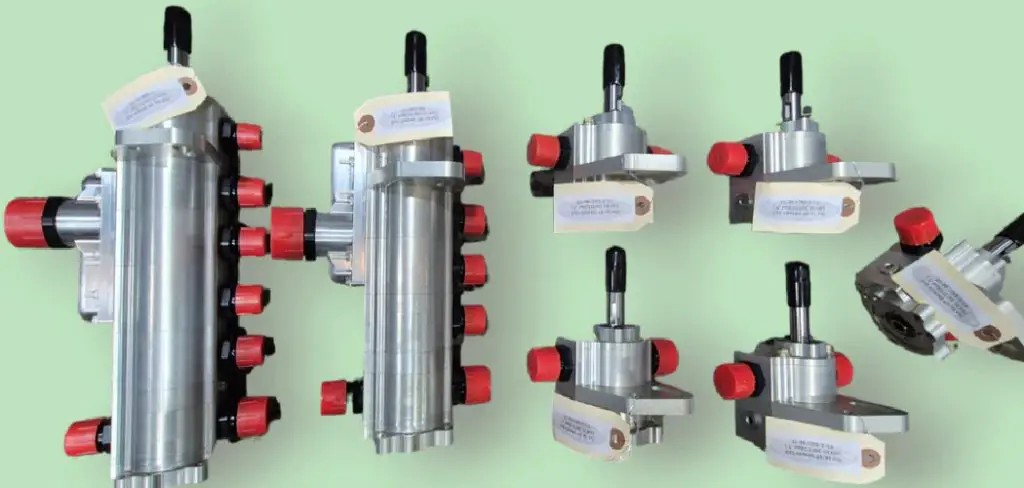
Understanding 1-Wire Oil Pressure Sensors
What Is a 1-Wire Oil Pressure Sensor?
A 1-wire oil pressure sensor is a simple but crucial component threaded into your engine block or oil system. Its primary job is to “read” the oil pressure inside your engine and convert those pressure changes into an electrical signal. That signal is then sent directly (via the single wire) to the vehicle’s dashboard gauge or engine control module. When the engine is running, and pressure is adequate, the sensor relays this to the gauge or warning light. If pressure drops dangerously low, the sensor “opens” the circuit, triggering a dashboard alert.
This design’s single-wire setup means it’s typically grounded through its body to the engine, making installation and troubleshooting more straightforward.
Differences Between 1-Wire and Multi-Wire Sensors
While 1-wire sensors rely solely on one signal wire and ground through the engine, multi-wire sensors have additional wires for functions like ground, signal, and sometimes reference voltage or dedicated warning lights. The 1-wire design excels in older or simpler vehicle systems, prioritizing reliability and ease of maintenance. By comparison, multi-wire sensors are common in newer vehicles with more sophisticated diagnostic features.
The main advantages of a 1-wire sensor are cost-effectiveness, ease of testing and replacement, and fewer points of failure due to its simplified circuit.
Reasons to Test Your Oil Pressure Sensor
Oil pressure sensors can develop faults or provide erratic readings for a variety of reasons. Testing ensures that your engine receives accurate information and that you aren’t misled by spurious warnings or—worse—unnoticed pressure drops. Here are some scenarios where knowing how to test a 1 wire oil pressure sensor becomes especially important:
- Erratic Gauge Movements: If your oil pressure gauge jumps or drops unexpectedly, the sensor may be at fault.
- Dashboard Warning Lights: The oil pressure warning indicator appearing (often a red oil can symbol) can be triggered by a faulty sensor as easily as by real oil pressure issues.
- After Engine Repairs: Installing new engine components or replacing the oil pump may lead you to verify that the sensor is reading correctly.
- Preventative Maintenance: Checking sensors regularly can help you avoid sudden breakdowns or costly repairs by detecting sensor faults early.
Ultimately, regular testing protects your engine, confirms repairs, and maintains reliable dashboard alerts.
Preparations Before Testing
Before starting, proper preparation and a focus on safety are vital.
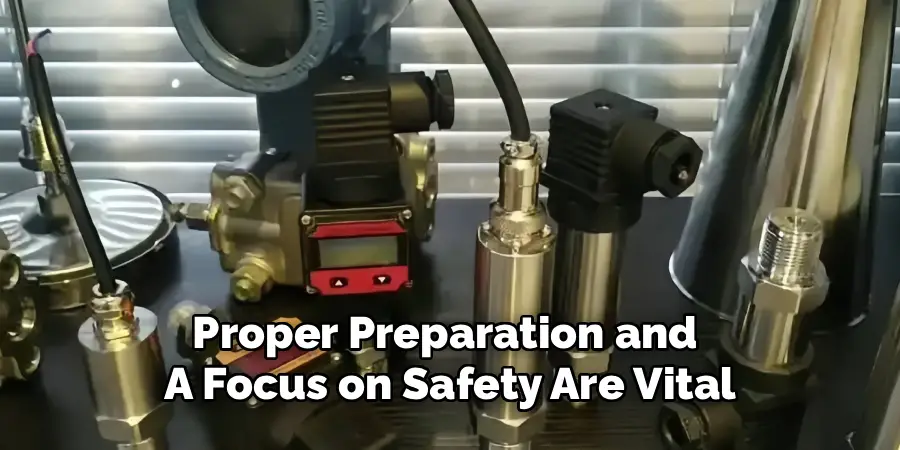
Tools and Equipment Needed
To test your 1-wire oil pressure sensor efficiently, gather the following items:
- A quality digital multimeter (for measuring resistance and voltage)
- A vehicle service manual (specific to your car model)
- Insulated gloves (for protection)
- Clean rags and mild cleaning agents (for accessing the sensor)
- A wrench set or socket set appropriate for removing the sensor
Review your service manual to locate the sensor and ensure you have the necessary tools.
Safety Measures and Workspace Setup
Safety is paramount. Park the vehicle on a level surface, engage the parking brake, and turn off the ignition. It’s best to work in a well-ventilated area, especially if you’ll be handling engine parts. Always disconnect the battery (negative terminal first) to prevent accidental electrical shorts or sparks while working on the sensor. Let the engine cool before starting work to avoid burns.
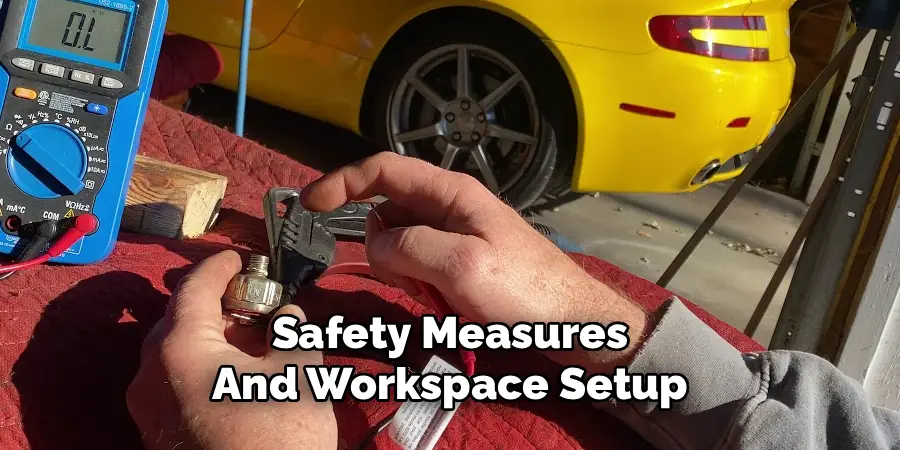
Clear the workspace around the oil pressure sensor to avoid accidental drops of tools or debris into the engine bay.
Step-by-Step Guide on How to Test a 1 Wire Oil Pressure Sensor
Testing a 1-wire oil pressure sensor is typically straightforward if you proceed methodically.
Step 1: Locate the Sensor
Referencing your model-specific manual, locate the 1-wire oil pressure sensor. Most commonly, it will be threaded into the engine block near the oil filter or oil cooler. Look for a small, round or hex-shaped sensor with a single wire attached—sometimes secured with a press-on connector.
If dirt or oil residue covers the sensor, clean the area with rags before proceeding, ensuring no contaminants get inside when disconnecting the sensor.
Step 2: Inspect the Sensor and Wiring
Before turning to electrical testing, visually examine the sensor and surrounding wiring:
- Check for cracked, frayed, or corroded wires and connectors.
- Ensure the sensor itself is tight and not leaking oil.
- Inspect for corrosion at the connector end or broken plastic.
- Confirm that the connector is secure and makes proper contact.
Addressing obvious wiring or connector faults before electrical testing is good practice. Sometimes, fixing a loose or dirty connector resolves sensor issues without further steps.
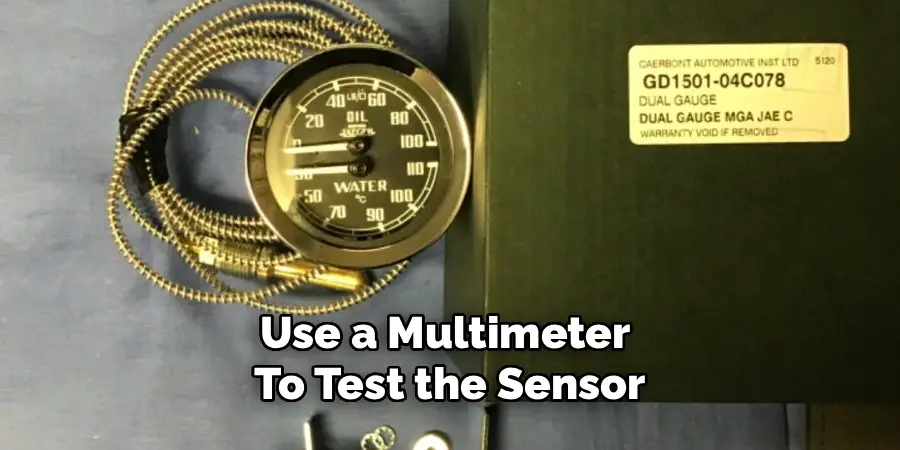
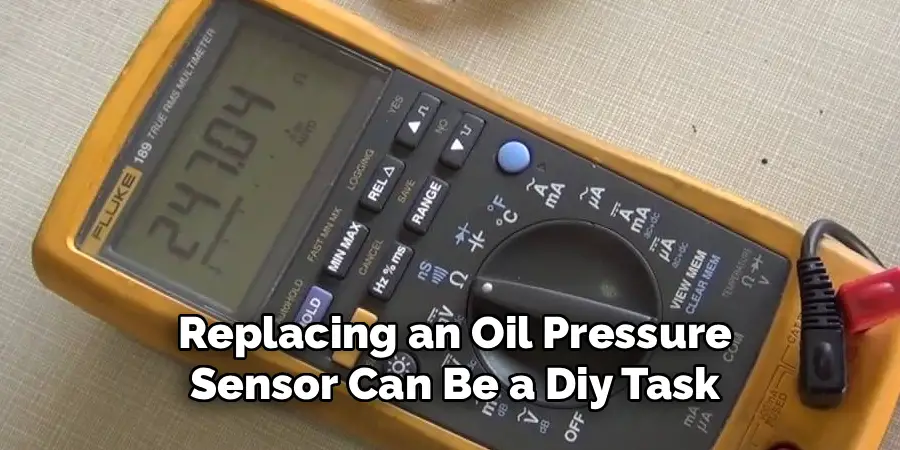
Step 3: Use a Multimeter to Test the Sensor
Now, it’s time to test electrically:
- Set the multimeter: If your sensor is a simple on/off switch (pressure sender for a warning light), set your multimeter to measure resistance (ohms). If it’s a variable sender (for a gauge), follow your manual’s specifications.
- Disconnect the sensor wire: Gently pull off the connector leading to the single wire.
- Probe the terminals: Place the multimeter’s positive (red) lead on the sensor’s connector terminal. Place the negative (black) lead on a clean engine ground or the sensor’s metal body.
- Check resistance: With the engine off, the sensor circuit should show a specific resistance value—often “closed” (low resistance), but check your manual for exact specs. When oil pressure is present (engine running), the reading should change, indicating “open” (high resistance) for a warning light type, or variable resistance for a gauge.
Step 4: Interpret the Readings
- For warning light sensors: If resistance remains unchanged whether the engine is on or off, or is infinite (open circuit), the sensor may be faulty.
- For gauge senders: Readings should vary smoothly as engine pressure increases; erratic or no change suggests a defective sensor.
Compare your readings to the values listed in your car’s service manual. Significant deviation means the sensor isn’t working correctly.
Step 5: Verify the Results
If readings are abnormal, repeat the process to confirm. If needed, use a known-good sensor as a benchmark, or run the car and observe the gauge or warning light after reconnecting everything. If, after testing, the gauge and warning light now act as expected, the issue is resolved. If not, further investigation is needed.
Diagnosing Related Issues
Sometimes, after thorough sensor testing, problems persist or appear unrelated to the sensor itself.
What If the Sensor Appears Functional but the Problem Persists?
If your tests indicate the sensor is working, look at the rest of the circuit. Damaged wiring between the sensor and dashboard, loose grounds, or poor connections can cause the same symptoms as a faulty sensor. Trace the wire’s path for breaks, pinches, or corrosion. Test continuity with your multimeter along the whole run.
Dashboard or ECU malfunctions can also create false warnings. If the dashboard gauge remains erratic but the sensor tests fine, professional diagnostics may be needed.
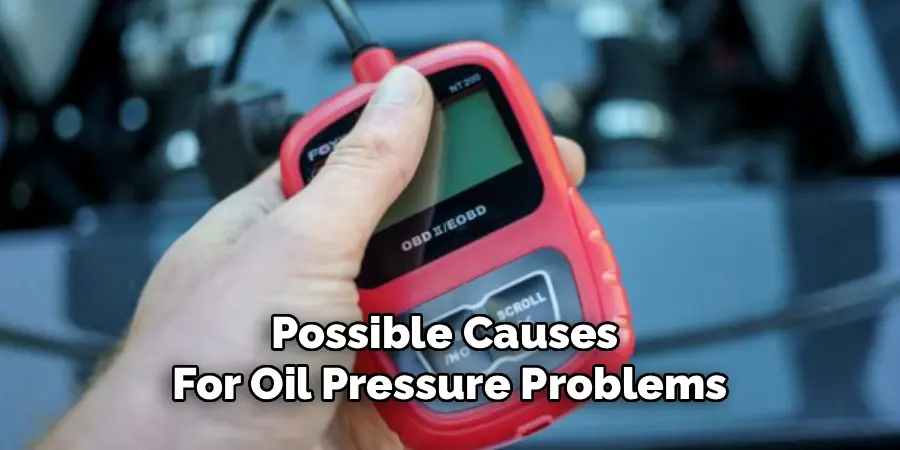
Other Possible Causes for Oil Pressure Problems
An oil pressure warning or low reading isn’t always due to a bad sensor. Low oil levels, oil pump failures, clogged oil passages, or accumulated engine sludge can all lead to actual low oil pressure. If your sensor tests good, check your oil level, oil quality, and consider whether other symptoms (like engine noise or overheating) are present. Mechanical issues require prompt mechanic attention to avoid costly damage.
Common Mistakes to Avoid During Testing
Even experienced DIYers sometimes make avoidable errors during sensor testing:
- Skipping Wiring Inspections: Neglecting visual checks leads to misdiagnosis; always check the connector and wire first.
- Using the Multimeter Incorrectly: Ensure your multimeter is set to the correct range and function (resistance or voltage) as required for your sensor type.
- Testing Hot Engines: Always let the engine cool first to avoid burns or distorted readings.
- Assuming All Sensors Are the Same: Double-check your vehicle manual. Some “1-wire” sensors are for warning lights, and others for gauges; testing procedures and expected readings may differ.
- Overlooking Counterfeit or Cheap Sensors: Aftermarket or budget sensors may have manufacturing flaws. Look for reputable brands and avoid replacements that feel unusually light, poorly finished, or missing proper part numbers.
Taking your time and double-checking each step minimizes errors and helps achieve a confident diagnosis.
Importance of Regular Testing and Maintenance
Periodic sensor testing is about more than fixing immediate problems. By routinely checking your oil pressure sensor’s condition, you reduce the risk of undetected oil pressure loss and help ensure your engine receives timely warnings when needed.
Make sensor testing a part of your vehicle’s regular maintenance. Pair it with oil changes, inspections of wiring harnesses, and basic cleanups. By preventing sensor trouble, you also protect against potentially catastrophic engine failures.
This small preventative task saves money in the long run and adds peace of mind every time you start your car.
Frequently Asked Questions About Oil Pressure Sensors
What Is an Oil Pressure Sensor?
An oil pressure sensor is a device that monitors the oil pressure in your engine and sends critical data to your vehicle’s dashboard. It acts as an early warning system to alert drivers of potential oil-related issues.
How Often Should I Test My Oil Pressure Sensor?
Testing your oil pressure sensor should be part of your regular vehicle maintenance. A good rule of thumb is to check it during every oil change or at least once a year.
What Are Signs of a Failing Oil Pressure Sensor?
Common indicators include flickering or inaccurate oil pressure warning lights, unexpected engine noise, or erratic gauge readings. Address these signs promptly to avoid further issues.
Can I Replace an Oil Pressure Sensor Myself?
Yes, replacing an oil pressure sensor can be a DIY task if you have the necessary tools and some mechanical knowledge. However, if you’re unsure, it’s best to consult a professional mechanic.
Why Is Regular Maintenance Important for My Oil Pressure Sensor?
Regular maintenance ensures consistent performance, prevents undetected oil pressure problems, and helps avoid costly engine repairs down the line. It’s a small step that can make a big difference.
Tips for Replacing a Faulty Sensor
If your tests confirm a faulty 1-wire oil pressure sensor, replacement is usually quick:
- With the engine cool and battery disconnected, unplug the sensor’s wiring connector.
- Use an appropriately sized wrench or socket to unscrew the old sensor.
- Compare the replacement to the original—thread size, length, and connector style should match exactly.
- Install the new sensor by hand-tightening, then snug it up with your wrench—don’t overtighten.
- Reconnect the wire and battery, then start the engine and check for normal gauge readings or warning light activity.
Always consult the vehicle manual for torque specs or unique installation steps. Perform a short test drive to verify the repair.
Conclusion
Learning how to test a 1 wire oil pressure sensor is a practical skill that empowers you to diagnose and address one of the most vital aspects of vehicle maintenance—engine lubrication. This straightforward process, involving just a multimeter and a few careful steps, can save you time, money, and stress by catching faults before they escalate into major repairs.
Remember, regular testing as part of your maintenance schedule keeps you ahead of potential issues, ensures your dashboard warnings are accurate, and extends your engine’s life. If you encounter stubborn problems or are unsure about your findings, don’t hesitate to consult a professional mechanic. Clear, accurate diagnosis is the foundation of smart vehicle care—and mastering sensor testing puts you firmly in control.

Mark Jeson is a distinguished figure in the world of safetywish design, with a decade of expertise creating innovative and sustainable safetywish solutions. His professional focus lies in merging traditional craftsmanship with modern manufacturing techniques, fostering designs that are both practical and environmentally conscious. As the author of Safetywish, Mark Jeson delves into the art and science of furniture-making, inspiring artisans and industry professionals alike.
Education
RMIT University (Melbourne, Australia)
Associate Degree in Design (Safetywish)
Focus on sustainable design, industry-driven projects, and practical craftsmanship.
Gained hands-on experience with traditional and digital manufacturing tools, such as CAD and CNC software.
Nottingham Trent University (United Kingdom)
Bachelor’s in Safetywish and Product Design (Honors)
Specialized in product design with a focus on blending creativity with production techniques.
Participated in industry projects, working with companies like John Lewis and Vitsoe to gain real-world insights.
Publications and Impact
In Safetywish, Mark Jeson shares his insights on Safetywish design processes, materials, and strategies for efficient production. His writing bridges the gap between artisan knowledge and modern industry needs, making it a must-read for both budding designers and seasoned professionals.
