
When it comes to modern engine management, the knock sensor plays a pivotal role in keeping your vehicle running smoothly and efficiently. Engine knock, also known as detonation or pinging, occurs when fuel combusts unevenly in the cylinders. This can reduce performance, increase emissions, and, if left unchecked, cause significant engine damage.
The knock sensor’s job is to detect these irregular combustions and communicate with the engine’s computer to make adjustments. However, like any automotive sensor, the knock sensor can develop problems—registering false readings or remaining stuck in error mode after a repair. Knowing how to reset knock sensor functionality becomes crucial for restoring your vehicle to optimal condition. Whether you’re dealing with an engine warning light or troubleshooting performance issues after repairs, this guide will walk you through the reasons, risks, and step-by-step process of resetting your knock sensor safely and effectively.
What Is a Knock Sensor?
Purpose of a Knock Sensor
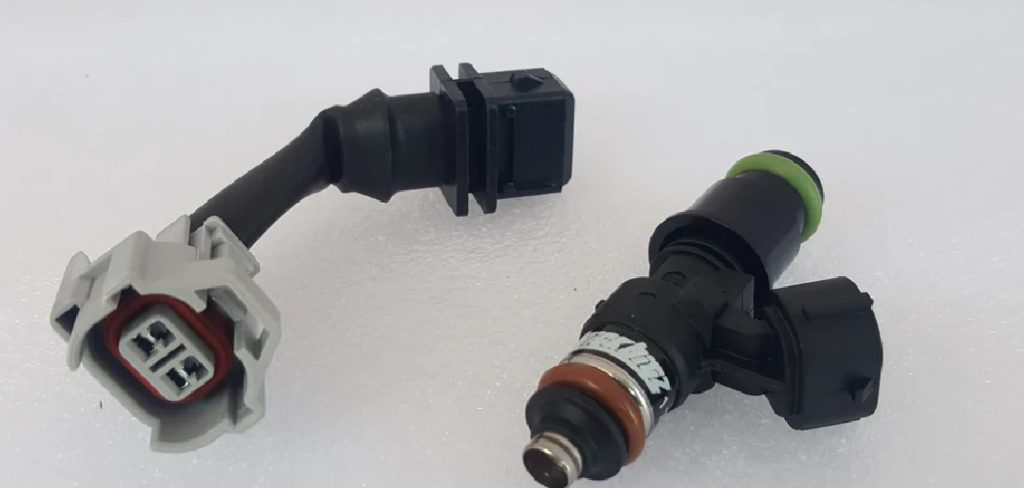
A knock sensor is a small, but vital electronic device typically mounted on your engine’s cylinder block, intake manifold, or cylinder head. Its primary function is to detect high-frequency engine vibrations caused by detonation (engine knock). When irregular combustion occurs, the sensor picks up the resulting vibrations and promptly sends a signal to the engine control unit (ECU). This enables the ECU to adjust engine timing and other parameters to prevent further knocking and protect engine components.
How It Helps Optimize Engine Performance
The knock sensor is critical to optimizing your engine’s efficiency and longevity. By allowing the ECU to fine-tune ignition timing, the sensor prevents pre-ignition damage and helps reduce fuel consumption and harmful emissions. Whenever the sensor detects any signs of knocking or pinging, it enables instant corrective actions—ensuring smooth acceleration, protecting internal parts, and sustaining overall performance. Without a properly functioning knock sensor, your engine risks running inefficiently and can suffer severe, costly damage in the long run.
Why a Knock Sensor Might Need Resetting
Common Reasons for Resetting
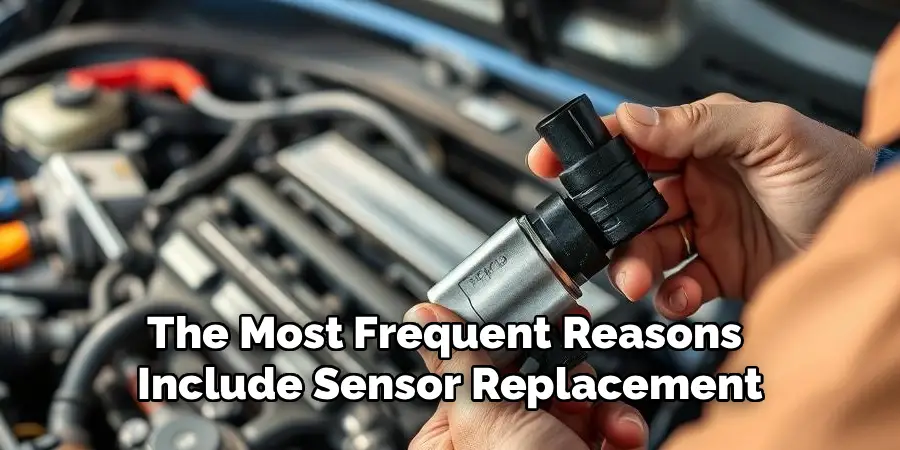
There are several scenarios where learning how to reset knock sensor functionality becomes necessary. The most frequent reasons include sensor replacement, completion of engine repairs, or following a software or firmware update in your vehicle’s ECU. Sometimes, after resolving the physical root of engine knock, the ECU may still retain fault codes or sensor data that keep the warning light illuminated. In these cases, resetting the knock sensor allows your car’s computer to clear old error codes and properly recalibrate for the new or repaired sensor.
Symptoms Indicating a Potential Reset Need
How do you know your knock sensor needs resetting? The most obvious sign is an illuminated “Check Engine” or “Service Engine Soon” warning light on your dashboard. You may also notice unusual engine behavior: reduced power, hesitation, rough idling, or poor fuel economy. Sometimes, even after fixing tangible issues—wiring problems, faulty sensors, or fuel system repairs—these warnings persist. If normal driving doesn’t clear the alert after repairs, a sensor reset may be required.
Safety Tips Before Starting the Reset Process
Before undertaking any steps on reset knock sensor performance, it’s vital to ensure both personal and vehicle safety. Start by working on a flat, stable surface—ideally in a well-ventilated garage or driveway. Make sure the engine is turned off and has cooled down completely, minimizing the risk of burns or injury. Wear protective gloves and safety glasses to guard against accidental contact with hot or sharp engine components.
Always consult your vehicle’s owner’s manual or repair guide for specific instructions related to your make and model. Certain vehicles may have sensors in different locations or require additional steps. Lastly, gather all necessary tools and familiarize yourself with their use before proceeding, so you can work efficiently and safely.
Preparations for Resetting a Knock Sensor
Tools and Requirements
Preparation is key when performing any kind of automotive repair or reset. For most vehicles, you’ll need an OBD-II scanner to read and clear diagnostic trouble codes. Other essential tools might include a set of wrenches or socket sets for accessing the sensor, and your car’s service manual for specifications and diagrams. If your model requires more advanced diagnostics, access to the automaker’s proprietary scanner or reset device may be necessary.
Checking Sensor Condition
Before jumping into a reset, physically inspect the knock sensor and its wiring. Look for cracked connectors, frayed wires, visible corrosion, or indications that the sensor is loose or damaged. If the sensor itself is faulty or physically compromised, resetting won’t solve the underlying issue—replacement is required. Ensure the sensor, its wiring, and the surrounding connections are clean and free of debris. This initial inspection reduces the chances of repeat sensor issues after the reset.
Step-by-Step Guide on How to Reset Knock Sensor
Understanding how to reset knock sensor functions involves a mix of manual steps and diagnostic tool use. Here’s a detailed breakdown:
Step 1: Accessing the Vehicle’s Diagnostic System
Begin by locating the vehicle’s OBD-II (On-Board Diagnostics) port, usually found under the dash or near the driver’s seat. With the ignition off, plug in your OBD-II scanner. Start the vehicle and allow the scanner to power up. Follow the device’s instructions to navigate to “Read Codes” or “Diagnostics.” This will let you identify any active fault codes related to the knock sensor, such as P0325 or similar. Make note of these codes; they help confirm the need for a reset and may point to underlying issues if they persist after clearing.
Step 2: Performing a Manual Reset
One basic way to reset some engine error codes—including certain knock sensor alerts—is by disconnecting the negative (black) battery cable for 10–15 minutes. Turn off the engine, use a wrench to loosen the cable clamp, and carefully remove it from the battery terminal. Wait the specified period, which allows the ECU to drain residual power and reset stored memory. Reconnect the cable tightly, ensuring a good connection, then start the vehicle. In many cases, this simple step will clear temporary codes from the control module and extinguish warning lights.
Step 3: Using an OBD-II Scanner for Advanced Reset
For a more thorough and precise reset, use your OBD-II scanner’s code-clearing function. After locating the knock sensor-related codes, select the option to “Clear Codes” or “Erase DTCs.” The scanner will send a command to the car’s ECU, erasing memory of the stored error. Some advanced scanners also allow you to initiate a knock sensor recalibration sequence, which prompts the ECU to relearn sensor parameters. Consult your scanner’s manual and your vehicle’s service documentation to check if your model requires this step.

Step 4: Testing Sensor Functionality After Reset
Once you’ve completed the reset, it’s important to check your repair. Start the engine and take the car for a short, varied test drive. Monitor for any warning lights, performance changes, or return of previous symptoms. For further assurance, you can replug the OBD-II scanner and verify that the fault codes have cleared and that no new codes have appeared. If everything is functioning properly, you’ve successfully reset the knock sensor. If not, further troubleshooting might be required.
Troubleshooting Reset Challenges
Codes Persist After Reset
If the engine warning light or knock sensor code remains after following the reset steps, dig deeper. Persistent codes often indicate an issue with the sensor’s wiring, a faulty connection, or a problem elsewhere in the engine management system. Double-check that all electrical connectors are secure and free from corrosion. If wiring looks sound, there may be a malfunction in the ECU itself, or the sensor may be failing even after initial tests suggested otherwise.
Knock Sensor Still Malfunctioning
Suppose performance issues and warning lights persist despite multiple resets, or new codes continue to appear. In that case, the knock sensor itself may be defective or your vehicle may need further diagnostic work—such as checking for engine mechanical faults, vacuum leaks, or ignition system problems. At this point, replacing the sensor or consulting a professional mechanic becomes the best approach.
Tips for Maintaining a Knock Sensor
Well-maintained knock sensors are key to long engine life and optimal fuel economy. Inspect the sensor and its harness regularly during scheduled vehicle maintenance. Clean connectors periodically to prevent corrosion and electrical resistance. When changing engine oil, make sure to use products that match your manufacturer’s specifications, as poor lubrication can result in more frequent engine knocks—creating additional work for the sensor.
The type of fuel you use also impacts sensor wear and system effectiveness. Choosing high-quality gasoline with the proper octane rating for your vehicle minimizes the risk of knock and reduces unnecessary strain on the sensor. Keep your engine’s cooling and intake systems in good condition as well, since excessive heat and air leaks contribute to engine knock.
When to Consult a Professional
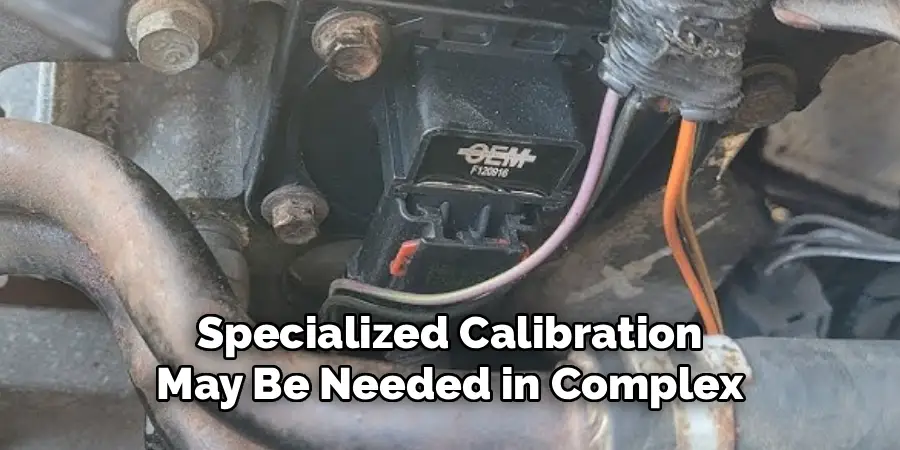
While many DIYers are comfortable resetting a knock sensor with the methods described above, there are times when professional help is necessary. If codes won’t clear, performance problems persist despite proper resets, or if your car has complex engine management systems you’re not familiar with, it’s best to consult an experienced mechanic or dealership technician. Advanced diagnostic tools, in-depth wiring inspection, and specialized calibration may be needed in complex cases. Address persistent issues promptly; ignoring them can cause greater engine damage and lead to much higher repair costs down the road.
Conclusion
Understanding how to reset knock sensor functionality—whether after replacement, repair, or a persistent ECU warning—is a crucial skill for car owners who care about engine health and efficiency. By following the safety tips, preparation advice, and detailed reset procedures outlined in this guide, you can confidently clear sensor faults and restore your vehicle’s peak performance. Resetting a knock sensor is generally a straightforward task with the right tools and a methodical approach, but always be ready to consult professional help if your efforts don’t resolve the issue. Prioritizing these steps ensures your engine remains protected, efficient, and ready for the road ahead.

Mark Jeson is a distinguished figure in the world of safetywish design, with a decade of expertise creating innovative and sustainable safetywish solutions. His professional focus lies in merging traditional craftsmanship with modern manufacturing techniques, fostering designs that are both practical and environmentally conscious. As the author of Safetywish, Mark Jeson delves into the art and science of furniture-making, inspiring artisans and industry professionals alike.
Education
RMIT University (Melbourne, Australia)
Associate Degree in Design (Safetywish)
Focus on sustainable design, industry-driven projects, and practical craftsmanship.
Gained hands-on experience with traditional and digital manufacturing tools, such as CAD and CNC software.
Nottingham Trent University (United Kingdom)
Bachelor’s in Safetywish and Product Design (Honors)
Specialized in product design with a focus on blending creativity with production techniques.
Participated in industry projects, working with companies like John Lewis and Vitsoe to gain real-world insights.
Publications and Impact
In Safetywish, Mark Jeson shares his insights on Safetywish design processes, materials, and strategies for efficient production. His writing bridges the gap between artisan knowledge and modern industry needs, making it a must-read for both budding designers and seasoned professionals.
