
When it comes to maintaining the functionality of your ADT security panel, replacing the battery is an essential task every homeowner should know how to perform. Over time, the battery in your panel will begin to lose its charge, which could lead to interruptions in your security system.
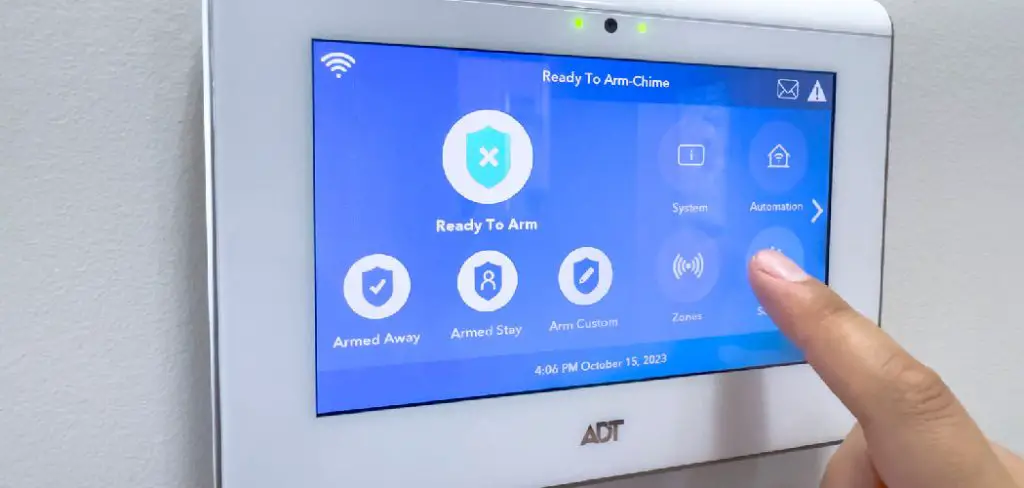
Fortunately, changing the battery is a straightforward process that can be completed with just a few simple tools and steps. This guide will walk you through how to change the battery in my adt security panel, ensuring your system stays operational and reliable.
Why Changing Your ADT Panel Battery is Important
Ensuring your ADT security panel has a fully charged battery is crucial for maintaining the integrity of your home security system. The battery acts as a backup power source, keeping your panel functional during power outages or disruptions. Without a reliable battery, your system could shut down unexpectedly, leaving your home vulnerable to security risks.
Additionally, a depleted battery may cause false alarms or prevent the system from sending alerts to your monitoring service. Regularly checking and replacing the battery helps ensure your security system runs smoothly, providing you with peace of mind and continuous protection.
When Should You Replace it
The battery in your security system typically needs replacement every 3 to 5 years, depending on the type of battery and usage conditions. However, specific signs can indicate that it’s time for a replacement sooner. If you notice frequent low battery warnings, issues with the system performance, or delayed responses, it’s a clear indicator that the battery is weakening.
Additionally, after a prolonged power outage, the battery may become drained or fail to recharge fully. It’s also a good practice to consult the manufacturer’s guidelines or your system manual for recommendations on battery replacement intervals. Regular maintenance checks can help you stay ahead of potential issues and ensure your system consistently operates at peak efficiency.
Tools and Supplies You’ll Need
To successfully replace or maintain the battery for your system, you’ll need to gather the appropriate tools and supplies. Below is a list of commonly required items:
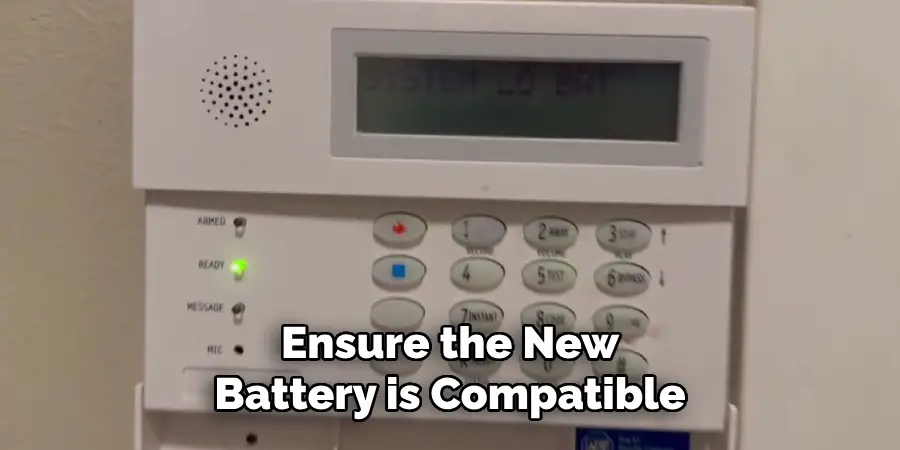
- Replacement Battery: Ensure the new battery is compatible with your system and meets the manufacturer’s specifications.
- Screwdriver Set: Depending on your system, you may need a Phillips or flathead screwdriver to access the battery compartment.
- Anti-Static Wrist Strap: This prevents static electricity from damaging sensitive electronic components during the replacement process.
- Multimeter (Optional): Useful for checking the voltage of the old battery to confirm its condition.
- Gloves: Protect your hands and maintain a secure grip while handling delicate parts.
- Cleaning Supplies: Compressed air, microfiber cloths, or other gentle cleaners to clear out dust and debris from the battery compartment.
Having these tools and supplies ready beforehand can streamline the replacement process and reduce the risk of errors or accidental damage.
10 Methods How to Change the Battery in My Adt Security Panel
1. Identify Your ADT Panel Type and Battery Location
Before attempting any battery replacement, determine what kind of ADT panel you own. There are several types commonly in use:
- Hardwired panels (e.g., Honeywell Vista, Safewatch Pro 3000) with a main control box and backup battery inside.
- Wireless touchscreen panels (e.g., ADT Command, Pulse, or DSC Neo) with internal lithium-ion or sealed packs.
Locate the panel inside your home—often in a closet, utility room, or basement—and consult your ADT user manual or model sticker for exact specifications. Knowing your panel model ensures you choose the right battery type and approach.
2. Put the System into Test or Maintenance Mode
Before opening the panel, place the system into Test Mode by logging into your ADT account via the app or website, or by calling ADT customer service. This will prevent accidental alarm triggers or false dispatches while you’re working on the system.
For panels with touchscreen menus, navigate to Settings > Tools > Enter Master Code > Test Mode (varies by model). Always perform this step to avoid triggering the tamper circuit and causing a call to emergency responders.
3. Power Down the Panel Safely (If Necessary)
In some hardwired systems, it’s safer to fully power down the control panel before changing the battery. Start by unplugging the panel’s transformer (usually located near an outlet in the same closet). Then, open the control box using a flathead screwdriver or key (usually a plastic or metal lock on the door). Disconnect the backup battery terminal leads to cut all power.
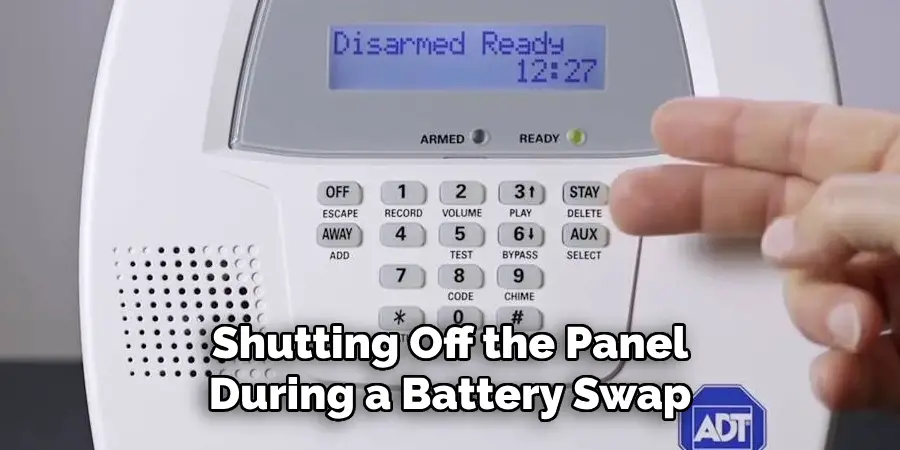
Shutting off the panel during a battery swap reduces the risk of damaging internal components or shorting the battery contacts.
4. Identify and Inspect the Current Battery
Inside most traditional ADT panels, you’ll find a 12-volt sealed lead-acid battery, typically 4 to 8 amp-hours in capacity. These are often black box-shaped units similar to a small UPS battery. Look for any bulging, discoloration, or leaking acid—these are signs that the battery must be replaced immediately.
Take note of the battery’s model number, voltage, and amp rating (e.g., 12V 7Ah). This info is crucial for ordering the correct replacement from a hardware store, electronics supplier, or ADT’s battery shop.
5. Disconnect and Remove the Old Battery
Carefully pull the red and black wire connectors from the battery terminals—red is positive (+), black is negative (–). These connectors may be tight, so gently rock them back and forth rather than yanking. Once disconnected, lift the old battery out of the panel box.
Be sure to dispose of the battery properly—never throw it in the trash. Most hardware or auto parts stores accept sealed lead-acid batteries for recycling.
6. Install the New Battery with Correct Polarity
Take your new battery and connect the black (–) wire to the negative terminal, then the red (+) wire to the positive terminal. The connectors should fit snugly. Ensure the battery is placed securely in the compartment without pinching wires or covering vents.
Incorrect polarity can cause the battery to overheat or damage the circuit board, so double-check before reconnecting the main power.
7. Restore AC Power and System Function
Once the battery is installed, plug the transformer back into the wall outlet to restore power to the panel. In many systems, the panel will automatically run a quick internal check. You should see the touchscreen or keypad illuminate, and messages such as “System Ready” or “Battery Charging” may appear.
If a “Low Battery” warning was previously shown, it may take up to 24 hours for the message to clear as the system verifies the battery condition.
8. For Touchscreen Panels, Use Built-in Battery Removal Steps
On newer ADT Command or Pulse touchscreen panels, the battery is internal and built into the back of the display unit. To change this battery:
- Unscrew or slide open the back cover using a precision screwdriver.
- Disconnect the internal lithium-ion battery pack connector.
- Replace it with an OEM-compatible pack of the same voltage and size.
- Reassemble and power on the panel.
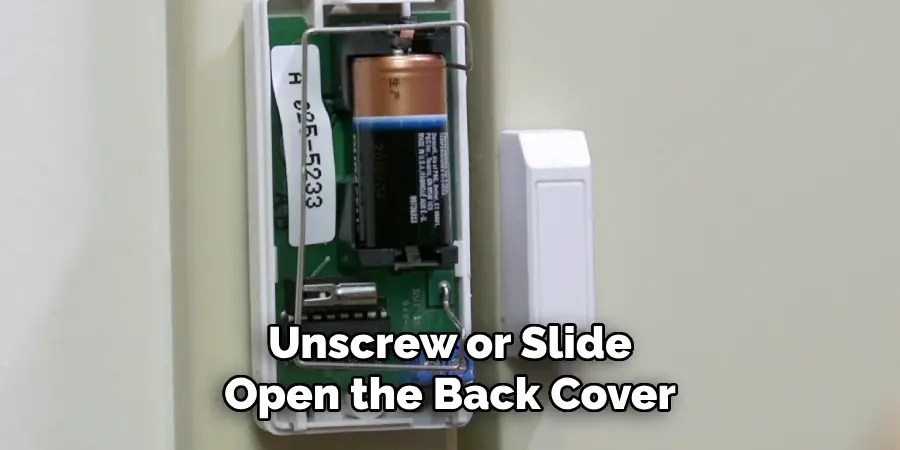
Since these systems often operate on a battery charging algorithm, replacing the battery with a non-OEM pack may result in performance issues.
9. Clear System Errors and Exit Test Mode
After the new battery is installed and the system is functioning, clear any error messages or alerts. This may involve pressing the Status or Reset button on your keypad, or navigating through the touchscreen menus. Also, remember to exit Test Mode on your ADT account or by calling the monitoring center.
If you’re unable to clear a persistent low battery warning after 24 hours, contact ADT support for diagnostic assistance.
10. Test the Battery and Set a Future Maintenance Reminder
Finally, test the system by briefly unplugging the transformer from the outlet to ensure the battery properly supports the panel in a power outage. You should hear a notification tone and see a “Running on Battery” message.
Write the battery replacement date inside the panel door or record it in your phone calendar. Most ADT batteries last 3–5 years, but it’s wise to test the system every 6 months and visually inspect the battery annually.
Safety Considerations
When handling your ADT system’s battery or performing maintenance, it’s essential to prioritize safety. Always ensure the system is disarmed before attempting any work on the panel to avoid false alarms. Use caution when unplugging the transformer from the outlet and avoid touching any exposed wires or terminals.
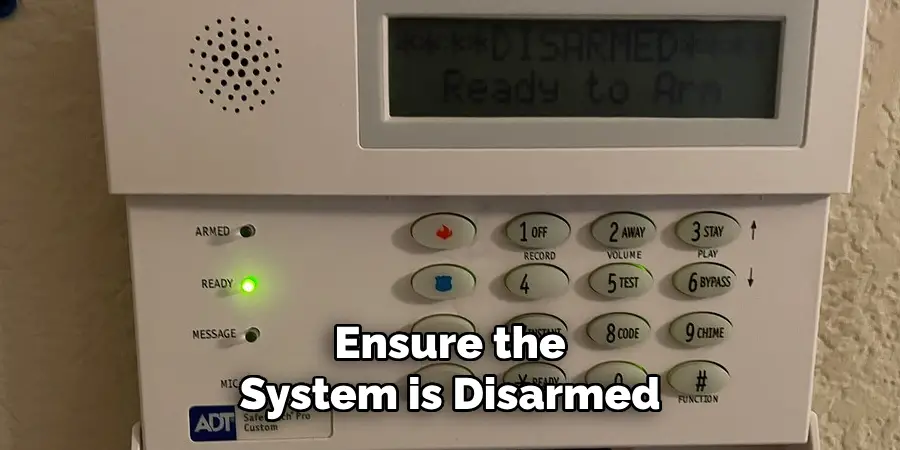
If you notice any signs of battery damage, such as swelling or leaking, do not attempt to handle it—contact a professional for assistance. Additionally, ensure your work area is well-lit and free from any potential hazards to prevent accidents. Always follow the manufacturer’s guidelines and consult the user manual for specific instructions regarding maintenance and battery replacement.
Conclusion
Changing the battery in your ADT security panel is a relatively simple yet essential maintenance task. Whether you’re replacing a standard lead-acid backup battery in a hardwired control panel or swapping an internal lithium-ion pack in a touchscreen unit, following proper procedure ensures continued system reliability and minimizes downtime.
So, there you have it – a quick and easy guide on how to change the battery in my adt security panel.

Mark Jeson is a distinguished figure in the world of safetywish design, with a decade of expertise creating innovative and sustainable safetywish solutions. His professional focus lies in merging traditional craftsmanship with modern manufacturing techniques, fostering designs that are both practical and environmentally conscious. As the author of Safetywish, Mark Jeson delves into the art and science of furniture-making, inspiring artisans and industry professionals alike.
Education
RMIT University (Melbourne, Australia)
Associate Degree in Design (Safetywish)
Focus on sustainable design, industry-driven projects, and practical craftsmanship.
Gained hands-on experience with traditional and digital manufacturing tools, such as CAD and CNC software.
Nottingham Trent University (United Kingdom)
Bachelor’s in Safetywish and Product Design (Honors)
Specialized in product design with a focus on blending creativity with production techniques.
Participated in industry projects, working with companies like John Lewis and Vitsoe to gain real-world insights.
Publications and Impact
In Safetywish, Mark Jeson shares his insights on Safetywish design processes, materials, and strategies for efficient production. His writing bridges the gap between artisan knowledge and modern industry needs, making it a must-read for both budding designers and seasoned professionals.
