
Clear, crisp images are the heart of great photography, but a dirty camera sensor can derail your efforts. Sensor dust or debris causes blemishes and spots on your photos, making post-editing tedious. Learning how to clean your camera sensor is an essential skill for photographers, whether you’re a casual hobbyist or a professional. Cleaning your sensor may seem intimidating at first, but with the right tools and know-how, it’s a straightforward process.
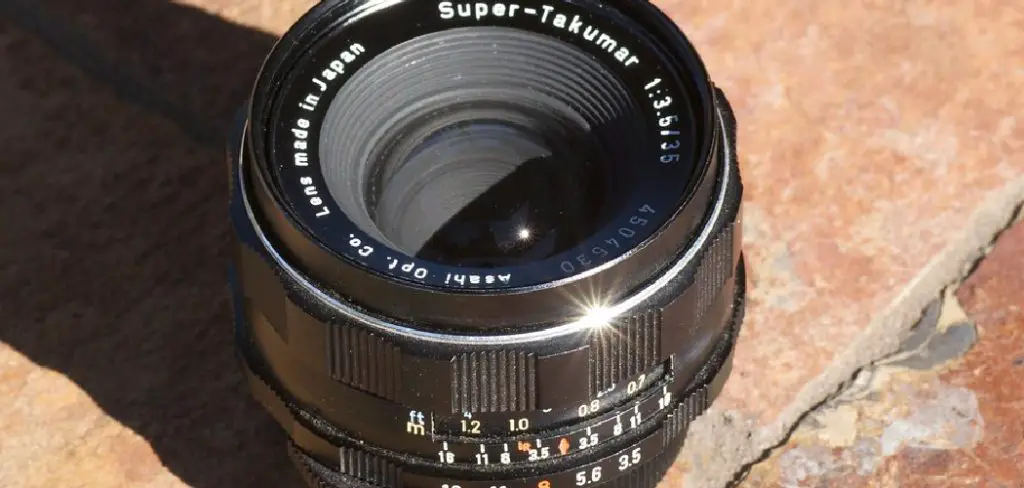
The first step in cleaning your camera sensor is to ensure you are working in a clean, dust-free environment. This minimizes the risk of introducing additional particles during the process. Begin by using a blower, specifically designed for camera sensors, to gently remove loose dust. Hold your camera with the sensor facing downward to allow debris to fall out rather than into the body. Avoid using compressed air, as it can be too strong and may damage sensitive components. If debris persists, consider using a sensor-cleaning swab and a few drops of sensor-cleaning solution to carefully wipe the sensor. Always follow the manufacturer’s recommendations to ensure the safety of your equipment.
This guide will walk you through the essentials of cleaning your camera sensor safely and effectively, ensuring your gear stays in top condition and your images remain flawless. We’ll also highlight why sensor maintenance is critical, answer common questions, and provide practical, step-by-step instructions for beginners.
Why Cleaning Your Camera Sensor Matters
Your camera sensor plays a vital role in capturing light and converting it into the stunning visuals you aim to create. However, even tiny particles of dust or debris can impact image quality. When these particles settle on the sensor, they appear as black spots or smudges, especially in photos taken at smaller apertures.
Ignoring the cleanliness of your sensor can lead to the following problems:
- Compromised Image Quality: Dust spots can ruin the aesthetic of your photos, making post-production time-consuming.
- Damage Over Time: Stubborn residue or debris left unaddressed may cause long-term scratches if not removed properly.
- Higher Costs: Professional sensor cleaning services can be expensive when required frequently.
Regular, proper cleaning not only extends the life of your camera but also ensures your photographs meet the high standards you’re aiming for. A clean sensor allows you to focus on your creative vision, free from distractions like blemishes or artifacts in your shots.
How to Clean Camera Sensor
Keeping your camera sensor clean doesn’t have to be complicated. Below is an easy-to-follow, beginner-friendly 7-step guide on how to clean camera sensor safely and effectively.
Step 1: Gather Your Tools
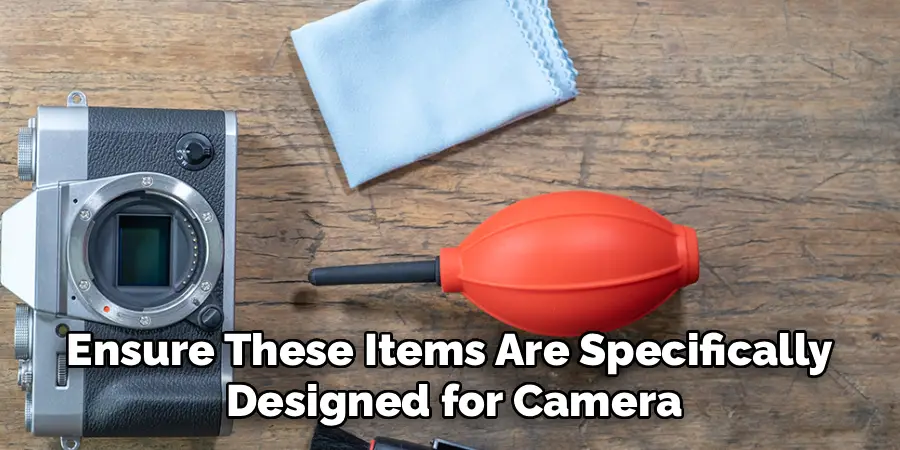
Before starting the cleaning process, ensure you have the right tools to avoid damaging your sensor. Essential items include a sensor cleaning swab, blower bulb, sensor cleaning solution, and a loupe with a light. Also, find a dust-free workspace to carry out the procedure. Ensure these items are specifically designed for camera sensors, as using improper tools can cause irreversible damage.
Step 2: Prepare Your Camera
Switch on your camera and enable the “sensor cleaning mode”—you’ll usually find this in the menu settings. This locks the shutter in the open position, giving you clear access to the sensor. Remove the lens and store it in a safe place away from potential dust sources.
Make sure your camera’s battery is fully charged before proceeding, as a drained battery could cause the shutter to close unexpectedly while cleaning. Some cameras offer battery charge-level warnings to ensure safe sensor cleaning mode operation.
Step 3: Inspect the Sensor
Using your loupe, carefully examine the sensor for dirt, dust, or smudges. A loupe equipped with an LED light will magnify the sensor, helping you pinpoint areas needing more attention. Identifying the specific location of debris ensures you clean efficiently without unnecessarily agitating unaffected areas of the sensor.
Step 4: Use a Blower Bulb
Start with the least invasive cleaning method. Point your camera sensor downward and use the blower bulb to release a few gentle bursts of air. This helps dislodge loose dust particles and reduces the risk of scratching during manual cleaning. Never use canned compressed air, as the propellants can create moisture, which may damage the sensor.
Step 5: Apply Sensor Cleaning Solution
If stubborn smudges or dirt persist after using the blower, use a specialized sensor cleaning solution with a cleaning swab. Lightly dampen the swab with the solution—avoid over-saturating it, as excess liquid can seep into the sensor mechanism. Gently glide the swab across the sensor in one direction, ensuring even coverage.
Step 6: Wipe With Proper Technique
After applying the cleaning solution, flip the swab and repeat the motion with the dry side. This removes residue and finishes the cleaning process. Always use a new swab for each cleaning session to avoid cross-contamination or scratching. Avoid over-pressing the swab onto the sensor; light, even pressure works best.
Step 7: Reassemble and Test Your Camera
Once the sensor is clean, reattach the lens carefully and test the camera by taking photos of a plain, well-lit surface. Inspect the images for any remaining dust spots. If necessary, repeat the cleaning process. Finally, store your camera in a clean, secure place to maintain its condition.
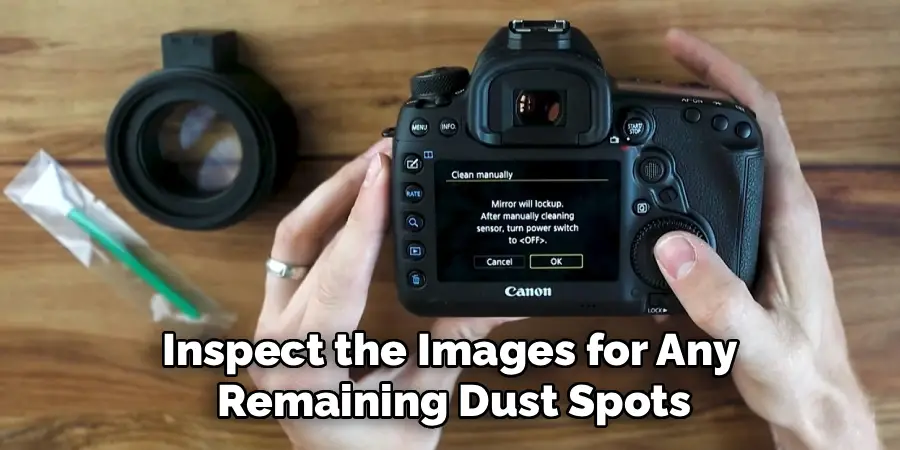
Following these steps ensures your camera sensor remains spotless—ready to deliver sharp, high-quality images.
Risks of Improper Cleaning
Cleaning a camera sensor is a delicate task, and improper cleaning can lead to several risks that may compromise your equipment. Applying too much pressure during the process can damage the sensor or its protective coating, leading to costly repairs or even rendering the camera unusable. Using inappropriate cleaning tools or substances, such as non-approved solvents or rough materials, can leave streaks, scratches, or residue on the sensor. Additionally, neglecting to follow proper techniques might cause dust or debris to spread further into the camera body, worsening the problem. To avoid these risks, always follow manufacturer guidelines, use specialized tools, and ensure a steady, gentle hand during cleaning.
Key Camera Maintenance Tips
Handle with Care: Always hold your camera securely and avoid exposing it to harsh environments or sudden impacts.
Regular Cleaning: Use approved cleaning tools and techniques to keep lenses, sensors, and the camera body free of dust and smudges.
Follow Manufacturer Guidelines: Adhere to the specific maintenance recommendations provided by the camera’s manufacturer.
Protect from Moisture and Dust: Store your camera in a clean, dry environment and use protective covers or cases when not in use.
Check for Updates: Keep your camera’s firmware updated to ensure optimal performance and fix potential software issues.
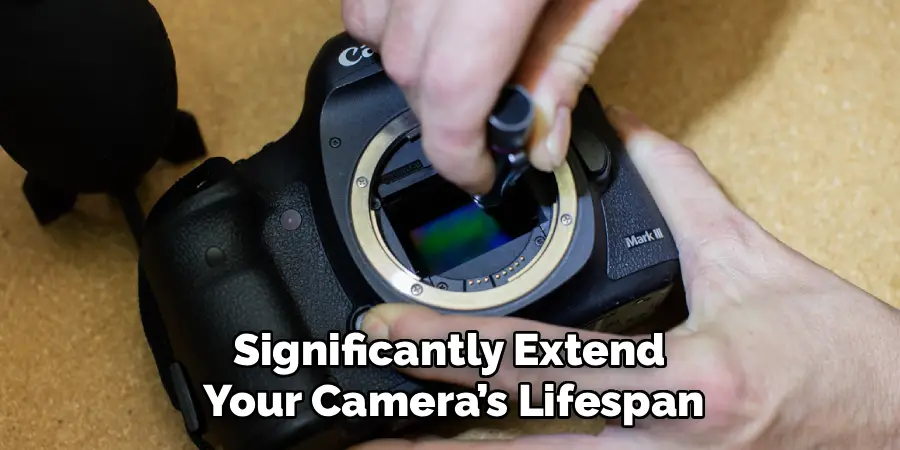
Implementing these tips can significantly extend your camera’s lifespan and maintain its performance quality.
Frequently Asked Question
1. Can I clean my camera sensor myself, or should I hire a professional?
You absolutely can clean your camera sensor yourself, provided you use the correct tools and follow proper techniques. Hiring a professional is an option if you’re uncomfortable handling the task or if your camera has extensive damage or dirt. However, DIY cleaning is cost-effective and an essential skill for photographers.
2. How often should I clean my camera sensor?
The cleaning frequency depends on how and where you use your camera. Photographers working in dusty outdoor environments may need to clean their sensors more frequently than studio shooters. A good rule of thumb is to check your sensor every few months or if you notice spots or smudges in your photos.
3. What tools should I use to clean my camera sensor?
Essential cleaning tools include a blower bulb, sensor cleaning swab, cleaning solution, and magnifying loupe. Always use items specifically designed for camera sensors to avoid damage. Avoid makeshift tools like regular cotton swabs or tissues, as these can cause scratches or leave lint behind.
4. Are there risks involved in cleaning my camera sensor?
While cleaning your sensor, improper techniques or tools can cause scratches or damage. Always use high-quality, sensor-specific products and follow step-by-step instructions. If you’re unsure or noticing significant residue, seek professional help to avoid further issues.
5. Can compressed air be used to clean the sensor?
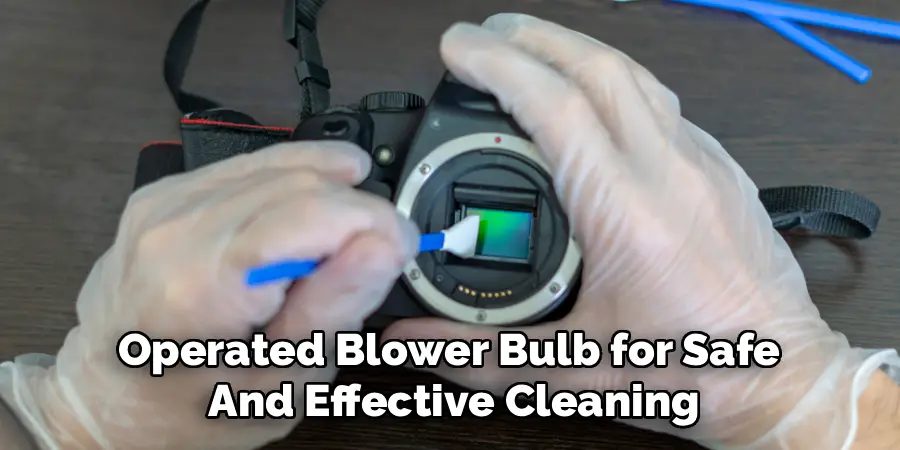
No, avoid using canned compressed air on your camera sensor. The high-pressure propellant can cause condensation on the sensor, leading to moisture damage. Instead, opt for a hand-operated blower bulb for safe and effective cleaning.
Conclusion
Keeping your camera sensor clean is crucial for maintaining image quality and extending the lifespan of your equipment. By mastering the steps on how to clean camera sensor, you’ll save time, avoid costly professional services, and ensure your photos are always spotless.
Regular maintenance of your camera not only keeps your sensor clean but also preserves the overall functionality of your equipment. Always store your camera in a dry, dust-free environment and use protective gear such as lens caps and camera bags. These simple practices can go a long way in preventing unnecessary wear and tear, ensuring your camera performs optimally for years to come.
Proper maintenance doesn’t just enhance your creativity; it safeguards your investment in your photography gear. Don’t hesitate to make sensor cleaning a regular part of your routine. Take action today to ensure your camera performs flawlessly and delivers exceptional image quality every time.

Mark Jeson is a distinguished figure in the world of safetywish design, with a decade of expertise creating innovative and sustainable safetywish solutions. His professional focus lies in merging traditional craftsmanship with modern manufacturing techniques, fostering designs that are both practical and environmentally conscious. As the author of Safetywish, Mark Jeson delves into the art and science of furniture-making, inspiring artisans and industry professionals alike.
Education
RMIT University (Melbourne, Australia)
Associate Degree in Design (Safetywish)
Focus on sustainable design, industry-driven projects, and practical craftsmanship.
Gained hands-on experience with traditional and digital manufacturing tools, such as CAD and CNC software.
Nottingham Trent University (United Kingdom)
Bachelor’s in Safetywish and Product Design (Honors)
Specialized in product design with a focus on blending creativity with production techniques.
Participated in industry projects, working with companies like John Lewis and Vitsoe to gain real-world insights.
Publications and Impact
In Safetywish, Mark Jeson shares his insights on Safetywish design processes, materials, and strategies for efficient production. His writing bridges the gap between artisan knowledge and modern industry needs, making it a must-read for both budding designers and seasoned professionals.
