
Smart doorbells have revolutionized home security, offering homeowners peace of mind through real-time alerts and video monitoring capabilities. The Arlo doorbell stands out as a premium choice, providing crystal-clear video quality, two-way audio, and seamless integration with existing smart home ecosystems.
However, many users find themselves frustrated during the initial setup process, particularly when establishing a stable wireless connection. Learning how to connect arlo doorbell to wifi is essential for unlocking your device’s full potential and ensuring reliable operation.
The connection process might seem daunting at first, especially for those new to smart home technology. Common challenges include network compatibility issues, app navigation confusion, and troubleshooting connectivity problems that can arise during installation.
Why Connecting Your Arlo Doorbell to WiFi Matters
Proper wireless connectivity is the foundation of your Arlo doorbell’s functionality, enabling critical features like live streaming, motion alerts, and cloud storage access. Without a stable connection, your investment becomes merely an expensive traditional doorbell, losing all smart capabilities that justify its premium price point. Additionally, reliable network integration ensures seamless communication with other Arlo devices and third-party smart home platforms, creating a comprehensive security ecosystem. Understanding the setup process also empowers you to troubleshoot future connectivity issues independently, saving time and avoiding unnecessary technical support calls.
This comprehensive guide eliminates the guesswork by providing clear, step-by-step instructions that work for users of all technical skill levels. Whether you’re upgrading from a traditional doorbell or adding to your existing Arlo security system, these proven methods will help you establish a rock-solid wireless connection quickly and efficiently.
Step-by-Step Guide: How to Connect Arlo Doorbell to WiFi
Step 1: Download and Install the Arlo App
Begin your setup journey by downloading the official Arlo app from your device’s app store, ensuring you select the authentic application developed by Arlo Technologies. The app serves as your primary interface for device management, offering intuitive controls for configuration and ongoing monitoring.
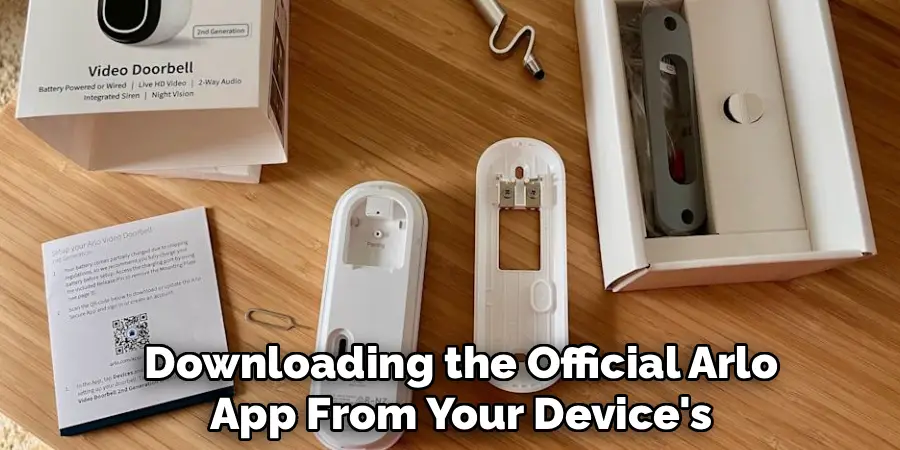
Create a new Arlo account or sign into your existing one, providing accurate contact information for security notifications and account recovery purposes. Verify your email address through the confirmation link sent to your inbox, as this step is required for full account activation. Take a moment to familiarize yourself with the app’s layout and navigation, as you’ll be using various sections throughout the setup process and for ongoing device management.
Step 2: Prepare Your Network Settings and Router Information
Gather essential network information before starting the pairing process, including your WiFi network name and password, which you’ll need during device configuration. Ensure your wireless router operates on a 2.4GHz frequency band, as Arlo doorbells require this specific frequency for optimal performance and connectivity stability. Check that your internet connection provides adequate upload speed, typically at least 1-2 Mbps per camera for smooth video streaming and reliable notifications.
Position yourself within reasonable range of your wireless router during setup to ensure strong signal strength and minimize potential connectivity interruptions. Document your network credentials clearly to avoid typing errors during the configuration process, as incorrect passwords are a common cause of setup failures.
Step 3: Power On Your Arlo Doorbell Device
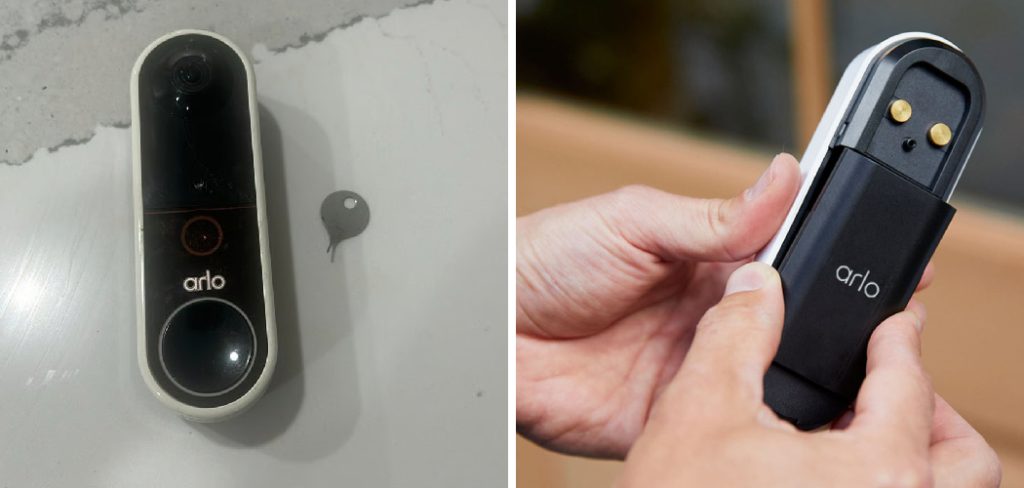
Remove your Arlo doorbell from its packaging and locate the power button, typically positioned on the side or back of the unit depending on your specific model. Press and hold the power button for approximately 10-15 seconds until you observe the LED status light beginning to flash, indicating the device has entered pairing mode successfully. The LED will cycle through different colors during the startup sequence, with each color representing different operational states.
Allow the device to complete its initialization process, which may take up to two minutes depending on your model and firmware version. Keep the doorbell close to your smartphone during this phase to facilitate the initial connection process and ensure optimal signal strength for pairing.
Step 4: Add Your Device Through the Arlo App Interface
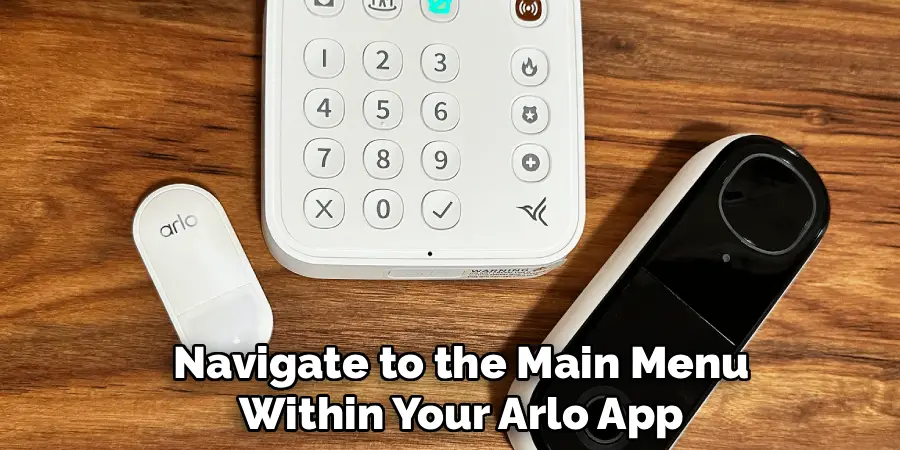
Navigate to the main menu within your Arlo app and select the “Add Device” option, which typically appears as a plus sign or similar icon in the interface. Choose “Doorbell” from the list of available device types, then select your specific Arlo doorbell model from the comprehensive list provided.
The app will display detailed instructions specific to your device model, including any special considerations or requirements for your particular unit. Follow the on-screen prompts carefully, as each step builds upon the previous one and skipping steps can result in connection failures. Allow the app to access your location services and camera permissions when prompted, as these are necessary for proper device functionality and setup completion.
Step 5: Scan the QR Code for Device Identification
Locate the unique QR code printed on your Arlo doorbell, typically found on a label attached to the device or inside the battery compartment area. Use your smartphone’s camera through the Arlo app to scan this code, holding your device steady and ensuring adequate lighting for clear code recognition. The QR code contains important device-specific information that enables the app to identify your exact model and configure appropriate settings automatically.
If the initial scan fails, clean the QR code surface and adjust your distance and angle until the app successfully recognizes and processes the code. This step establishes a secure connection between your specific device and your Arlo account, ensuring proper authentication and device management capabilities.
Step 6: Configure Your Wireless Network Connection
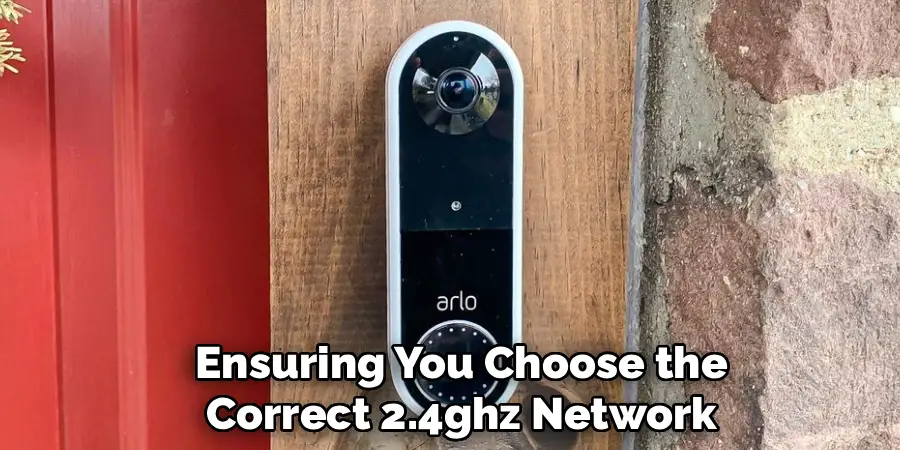
Select your home WiFi network from the list of available networks detected by the app, ensuring you choose the correct 2.4GHz network if you have both 2.4GHz and 5GHz bands available. Enter your network password carefully, double-checking each character to avoid authentication failures that would require restarting the entire process. The app will attempt to establish a connection between your doorbell and wireless router, displaying progress indicators and status messages throughout the process.
Wait patiently during this phase, as network authentication and initial synchronization can take several minutes depending on your internet speed and network congestion. Avoid interrupting the process or switching apps, as this can cause the connection attempt to fail and require restarting from the beginning.
Step 7: Complete Initial Setup and Test Connectivity
Once the wireless connection is established, the app will guide you through final configuration steps including location naming, notification preferences, and basic security settings. Test your connection by accessing the live video feed within the app, ensuring both video and audio quality meet your expectations and requirements.
Configure motion detection sensitivity and alert zones according to your specific monitoring needs and environmental factors around your doorbell location. Verify that push notifications are working correctly by triggering motion detection through movement in front of the device. Complete any firmware updates that appear during setup, as these often include important security patches and performance improvements that enhance overall device functionality.
Mount Your Doorbell
With the wireless connection confirmed and working properly, proceed to mount your Arlo doorbell in its permanent location using the provided mounting hardware and following manufacturer guidelines. Ensure the mounting position provides adequate WiFi signal strength by checking the connection quality through the app’s device settings or network status indicators. Test all features from the mounted position, including motion detection, two-way audio communication, and video recording quality during different lighting conditions.
Adjust camera angles and motion zones if necessary to optimize coverage and minimize false alerts from passing traffic or environmental movements. Document your final settings and create a backup of your configuration to facilitate easy restoration if future troubleshooting becomes necessary.
Frequently Asked Questions (FAQ)
What Should I Do If My Arlo Doorbell Won’t Connect to WiFi?
First, verify that your router broadcasts on 2.4GHz frequency, as Arlo doorbells don’t support 5GHz networks. Check your network password for accuracy and ensure your internet connection is stable. Try moving closer to your router during setup to improve signal strength. If problems persist, restart both your doorbell and router, then attempt the connection process again. Sometimes, temporarily disabling router security features like MAC address filtering can help establish the initial connection.
Can I Connect Multiple Arlo Doorbells to the Same Network?
Yes, you can connect multiple Arlo doorbells to the same WiFi network, with each device requiring its own setup process through the Arlo app. Each doorbell will appear as a separate device in your account, allowing individual management of settings, recordings, and notifications. Ensure your internet bandwidth can support multiple video streams simultaneously, typically requiring 1-2 Mbps upload speed per device. Consider network capacity limitations and router performance when planning multiple device installations.
How Do I Know If My Router Is Compatible?
Arlo doorbells require 2.4GHz WiFi networks with WPA2 security protocols for optimal compatibility and security. Most modern routers support these requirements, but older devices may need firmware updates or replacement. Check your router’s documentation or manufacturer website to verify compatibility specifications. Your network should provide stable internet connectivity with sufficient upload bandwidth for video streaming. Consider upgrading older routers if you experience frequent disconnections or poor video quality.
Why Does My Doorbell Keep Disconnecting from WiFi?
Frequent disconnections often result from poor signal strength, network interference, or power management issues. Check the WiFi signal strength indicator in your Arlo app and consider relocating your router or adding a WiFi extender if needed. Interference from other electronic devices, metal objects, or competing networks can cause stability problems. Ensure your doorbell has adequate power supply, as low battery levels can cause connectivity issues. Regular firmware updates can also resolve known connectivity bugs and improve overall stability.
What Security Features Should I Enable After Connection?
After establishing your WiFi connection, enable two-factor authentication on your Arlo account for enhanced security protection. Configure strong, unique passwords and review privacy settings to control data sharing and access permissions. Set up secure sharing options for family members while limiting access to essential functions only. Enable encryption for video recordings and consider local storage options for sensitive footage. Regular security audits and password updates help maintain long-term account protection and prevent unauthorized access to your doorbell system.
Conclusion
Successfully learning how to connect arlo doorbell to wifi transforms your home security setup from a basic doorbell into a comprehensive monitoring solution that provides peace of mind and enhanced protection. The process, while initially seeming complex, becomes straightforward when approached systematically with proper preparation and patience.
With your Arlo doorbell now connected and fully operational, you can enjoy the convenience of remote monitoring, instant alerts, and the security benefits that come with professional-grade home surveillance technology at your fingertips.
Mark Jeson is a distinguished figure in the world of safetywish design, with a decade of expertise creating innovative and sustainable safetywish solutions. His professional focus lies in merging traditional craftsmanship with modern manufacturing techniques, fostering designs that are both practical and environmentally conscious. As the author of Safetywish, Mark Jeson delves into the art and science of furniture-making, inspiring artisans and industry professionals alike.
Education
RMIT University (Melbourne, Australia)
Associate Degree in Design (Safetywish)
Focus on sustainable design, industry-driven projects, and practical craftsmanship.
Gained hands-on experience with traditional and digital manufacturing tools, such as CAD and CNC software.
Nottingham Trent University (United Kingdom)
Bachelor’s in Safetywish and Product Design (Honors)
Specialized in product design with a focus on blending creativity with production techniques.
Participated in industry projects, working with companies like John Lewis and Vitsoe to gain real-world insights.
Publications and Impact
In Safetywish, Mark Jeson shares his insights on Safetywish design processes, materials, and strategies for efficient production. His writing bridges the gap between artisan knowledge and modern industry needs, making it a must-read for both budding designers and seasoned professionals.
