
Your car’s hood latch sensor is a small but surprisingly consequential component of your vehicle’s safety and diagnostic system. When it starts misbehaving, it can trigger warning lights, set off false alarms, or interfere with engine performance in ways that range from mildly annoying to genuinely disruptive. Disabling it isn’t something most mechanics would recommend as a permanent fix—and for good reason—but there are situations where temporarily bypassing the sensor makes practical sense.
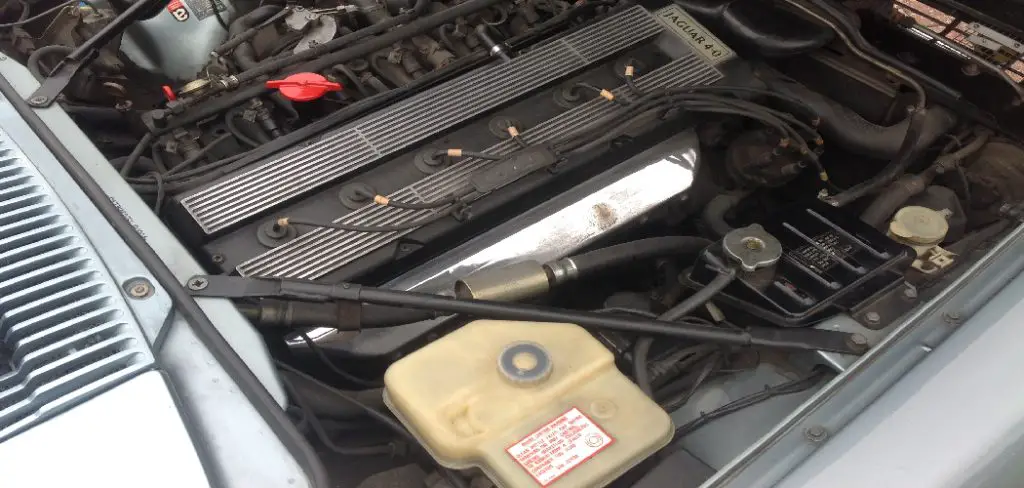
This guide on how to disable hood latch sensor walks you through the process clearly, step by step, so you can handle it safely without second-guessing yourself.
What Is a Hood Latch Sensor?
The hood latch sensor is an electronic component that monitors whether your vehicle’s hood is fully closed and latched. It sends a signal to the car’s onboard computer—the ECU—confirming the hood’s position. When the hood is properly shut, the sensor completes a circuit. When it’s open, or when the sensor itself fails, that circuit breaks, and a warning signal appears on your dashboard.
Modern vehicles rely on this sensor for several functions: activating alarm systems, enabling or disabling certain engine operations, and flagging potential safety concerns before they escalate. A faulty sensor can illuminate your check engine light, trigger your car alarm at inconvenient times, or subtly affect vehicle performance. Understanding how the sensor works is the foundation for understanding why someone might want to disable it—and how to do it without causing more problems than you solve.
Why Would Someone Disable the Hood Latch Sensor?
There are a few legitimate reasons a car owner might consider this. The most common scenario is a malfunctioning sensor generating false alarms or persistent warning lights despite the hood being firmly shut. Corrosion and physical damage are frequent culprits, and in the short term, replacement may not be immediately feasible—whether due to cost, parts availability, or simply needing the vehicle operational in the meantime.
Some owners also disable the sensor temporarily during engine repairs or modifications that require the hood to stay open for extended periods. In older vehicles, particularly, a worn-out sensor can produce intermittent electrical faults that are more disruptive than simply bypassing the component while a proper fix is arranged. Whatever the reason, it’s worth approaching the process methodically—and restoring full function as soon as circumstances allow.
7 Simple Steps on How to Disable Hood Latch Sensor
Step 1: Gather the Necessary Tools
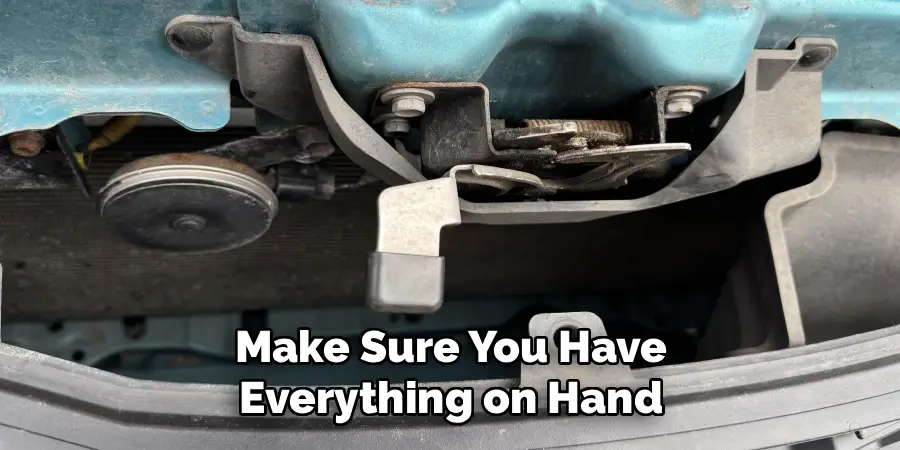
Before you begin, make sure you have everything on hand. You’ll typically need a flathead screwdriver, a multimeter, electrical tape, wire connectors, and safety gloves. Having the right tools ready from the start saves time and reduces the chance of accidental damage to nearby components while you’re searching mid-task.
Step 2: Disconnect the Car Battery
This step isn’t optional. Before touching any electrical component, disconnect the negative terminal of your car battery. Skipping this creates real risk—electric shock, accidental short circuits, and in some vehicles, unintended airbag deployment. Once disconnected, let the vehicle sit for at least five minutes before proceeding. That brief wait matters.
Step 3: Locate the Hood Latch Sensor
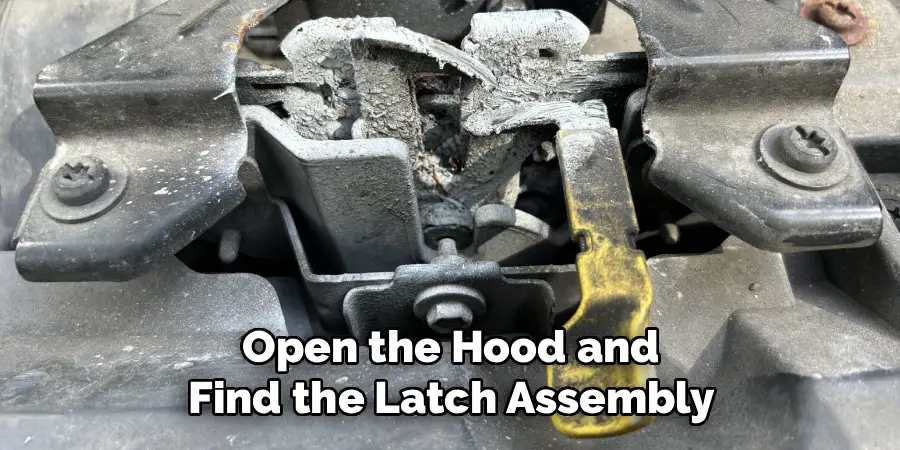
Open the hood and find the latch assembly, which in most vehicles sits at the front-center of the engine bay. The sensor itself is a small device attached to or near the latch mechanism, connected by a wiring harness. Sensor placement varies by make and model, so if you’re having trouble identifying it, your vehicle’s service manual is the most reliable reference point.
Step 4: Inspect the Sensor and Wiring
Before disconnecting anything, take a close look at the sensor and its surroundings. Check for visible corrosion, physical damage, or frayed wiring. Use your multimeter to test continuity. This step may seem like a formality, but it serves a real purpose: confirming the sensor is actually the source of the problem, rather than a loose connector or damaged wire somewhere else in the circuit.
Step 5: Disconnect the Sensor’s Wiring Harness
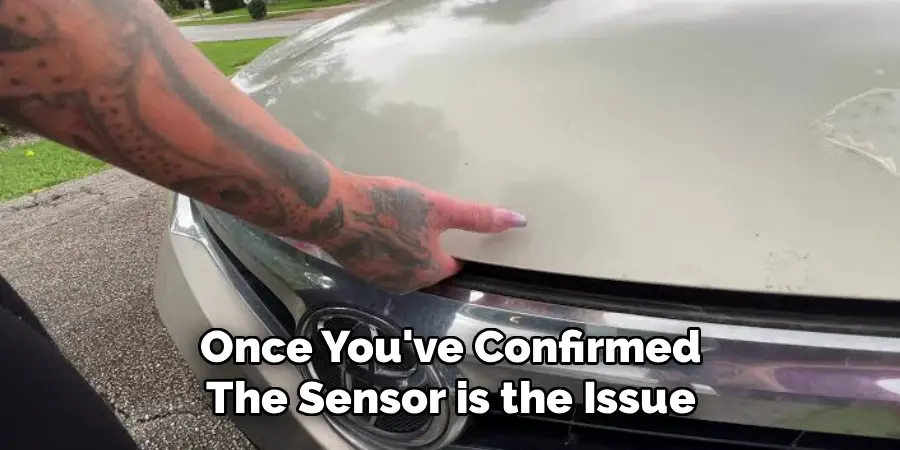
Once you’ve confirmed the sensor is the issue, carefully unplug the wiring harness connector. Press the release tab and ease the connector free—no yanking. Pulling too hard can damage the connector itself or disturb nearby components, turning a simple job into a more complicated one.
Step 6: Bypass or Tape Off the Connector
At this point, you have two options. You can use a wire connector to bridge the two wires in the harness, which effectively completes the circuit and tells the ECU the hood is closed. Alternatively, wrap the open connector securely with electrical tape to shield it from moisture and debris. The bridging method tends to be more effective at suppressing dashboard warning lights, since it actively simulates a closed-hood signal rather than simply leaving the circuit open.
Step 7: Reconnect the Battery and Test
With the sensor disabled, reconnect the battery and start the engine. Monitor the dashboard for any hood latch-related warning lights. If the bypass worked as intended, they should be gone. A short test drive will help confirm everything is functioning as expected before you consider the job done.
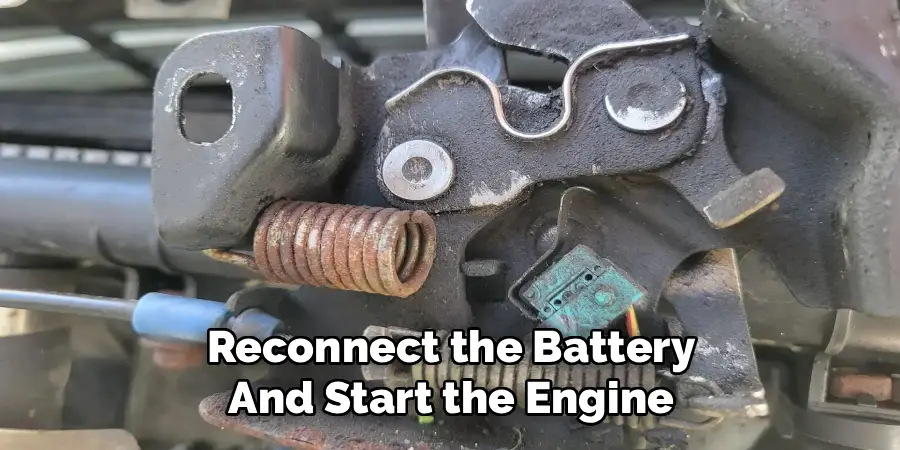
Following these steps on how to disable hood latch sensor should get you back on the road with a functioning hood latch without having to replace any components.
Common Mistakes to Avoid
Skipping the battery disconnection step is by far the most frequent error—and the consequences can go well beyond a minor inconvenience. Electrical shorts are a real risk, and in certain vehicles, live electrical work near the engine bay can trigger airbag deployment unexpectedly.
Misidentifying the hood latch sensor is another common pitfall. There are multiple small sensors and connectors in the engine bay, and tampering with the wrong one can create new problems entirely. Cross-referencing your vehicle’s service manual before touching anything isn’t being overly cautious—it’s just sensible.
Rushing through the wiring steps can also cause long-term headaches. Poorly secured connections and inadequate insulation leave the door open for short circuits, moisture intrusion, and intermittent electrical faults. Take your time, use quality materials, and verify every connection before wrapping up.
When Should You Seek Professional Repair?
Disabling the sensor should be understood as a stopgap, not a solution. The right long-term course of action is replacement, and that job may warrant professional attention when it involves complex wiring, integrated alarm systems, or vehicles still under warranty. Attempting advanced electrical repairs without proper training can void warranty coverage or cause damage that costs significantly more to fix than the original sensor would have.
You should also contact a qualified mechanic if new warning lights appear after disabling the sensor, or if your alarm system behaves erratically following the procedure. A certified technician has access to diagnostic equipment that can identify the root cause quickly and restore your vehicle’s safety systems properly—something that’s difficult to replicate with consumer-grade tools.
Preventive Maintenance Tips
Keeping the hood latch sensor in good working order largely comes down to periodic attention. Every few months, check the sensor and its wiring for signs of corrosion, moisture damage, or general wear. Applying a light coat of dielectric grease to the connector can help prevent corrosion, particularly in humid climates or coastal areas where salt air accelerates the process.
The hood latch mechanism itself also benefits from occasional cleaning. Accumulated dirt and grime can affect how securely the hood closes, which places unnecessary stress on the sensor over time. Catching these small issues early tends to be far less expensive than addressing a full sensor failure or the electrical problems that can follow from one.
Frequently Asked Questions
Is It Legal to Disable a Hood Latch Sensor?
In most regions, disabling a hood latch sensor is not illegal for personal vehicle use, as it generally falls outside emissions and roadworthiness regulations. That said, it may affect your vehicle’s compliance with manufacturer standards and could have implications for warranty coverage. Checking local regulations and consulting your vehicle’s manual before making any modifications is always advisable.
Will Disabling the Hood Latch Sensor Trigger a Check Engine Light?
It can, depending on the vehicle. Some cars are programmed to flag a warning when the hood latch sensor circuit is open or incomplete. Bridging the connector wires—as described in Step 6—can prevent this by sending a continuous “hood closed” signal to the ECU, effectively keeping the dashboard clear.
How Much Does It Cost to Replace a Hood Latch Sensor Professionally?
Professional replacement typically ranges from $100 to $300, depending on the vehicle and local labor rates. The sensor component itself is usually inexpensive—often between $20 and $50—but labor costs vary considerably. Getting quotes from two or three mechanics before committing gives you a clearer picture of what’s reasonable in your area.
How Long Does It Take to Disable the Hood Latch Sensor?
For someone with basic mechanical familiarity, the process outlined above takes roughly 30 to 60 minutes. First-timers should allow a bit more time to locate the sensor and consult the service manual without feeling rushed.
Can Disabling the Sensor Affect Other Vehicle Systems?
Potentially. Some vehicles tie the hood latch sensor into broader alarm or engine management systems. Bridging the connector correctly reduces this risk, but if unexpected behavior appears after the procedure—new warning lights, alarm irregularities, or changes in engine behavior—a mechanic should assess the situation before you continue driving.
Final Thoughts on Disabling Your Hood Latch Sensor
Done carefully and with the right preparation, disabling a hood latch sensor is a manageable task for most car owners. The steps on how to disable hood latch sensor outlined here are designed to walk you through the process without leaving room for the kind of shortcuts that cause problems down the road.
That said, the word “temporary” carries real weight here. A functioning hood latch sensor contributes to your vehicle’s safety and diagnostic integrity in ways that aren’t always obvious until something goes wrong. Replacing a faulty sensor as soon as circumstances allow is always the better path—and if the repair feels beyond your comfort level at any stage, a professional mechanic can handle it efficiently and give you confidence that your vehicle’s systems are back in proper working order.

Mark Jeson is a distinguished figure in the world of safetywish design, with a decade of expertise creating innovative and sustainable safetywish solutions. His professional focus lies in merging traditional craftsmanship with modern manufacturing techniques, fostering designs that are both practical and environmentally conscious. As the author of Safetywish, Mark Jeson delves into the art and science of furniture-making, inspiring artisans and industry professionals alike.
Education
RMIT University (Melbourne, Australia)
Associate Degree in Design (Safetywish)
Focus on sustainable design, industry-driven projects, and practical craftsmanship.
Gained hands-on experience with traditional and digital manufacturing tools, such as CAD and CNC software.
Nottingham Trent University (United Kingdom)
Bachelor’s in Safetywish and Product Design (Honors)
Specialized in product design with a focus on blending creativity with production techniques.
Participated in industry projects, working with companies like John Lewis and Vitsoe to gain real-world insights.
Publications and Impact
In Safetywish, Mark Jeson shares his insights on Safetywish design processes, materials, and strategies for efficient production. His writing bridges the gap between artisan knowledge and modern industry needs, making it a must-read for both budding designers and seasoned professionals.
