
When your furnace suddenly stops working or fails to ignite, the culprit might be something as simple as a dirty or faulty flame sensor. Learning how to fix a flame sensor on a furnace is a crucial skill for homeowners, especially during colder months when heating is essential. This small component plays a vital role in ensuring your furnace operates safely and efficiently. It detects whether the furnace burner is functioning properly and, if not, shuts down the system to prevent gas buildup.
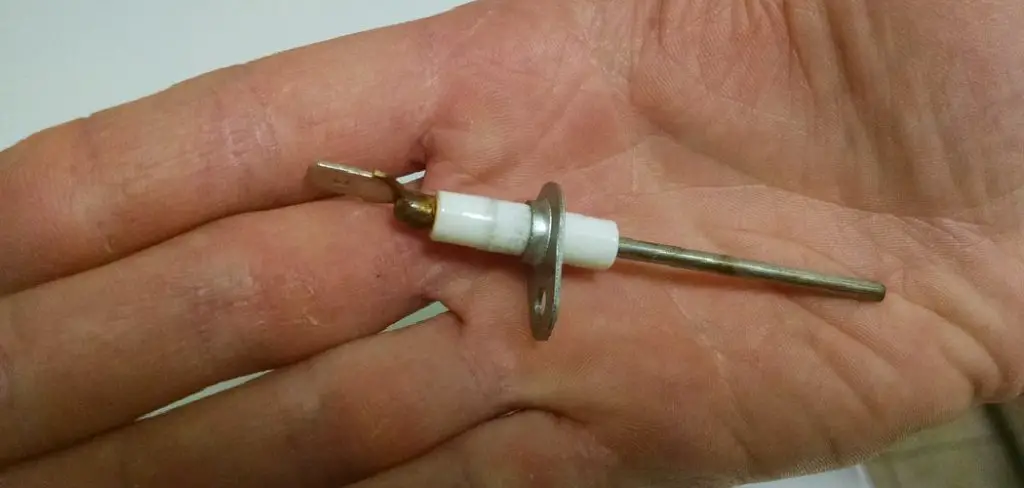
To fix a faulty flame sensor, the first step is to turn off the furnace and ensure your safety by cutting power to the unit. Locate the flame sensor, which is usually a thin, metal rod near the burner assembly. Carefully remove it by unscrewing or loosening its mounting bracket. Next, use fine-grit sandpaper or a soft cloth to gently clean the sensor, removing any soot or residue buildup.
Once cleaned, reattach the flame sensor and restore power to the furnace. Test the system to confirm that it ignites and runs correctly. If the issue persists, the flame sensor may need to be replaced entirely. Always consult your furnace’s manual for specific instructions or contact a professional for assistance if needed.
This guide will walk you through understanding, diagnosing, and dealing with flame sensor issues. Don’t worry—it’s simpler than you might think. With some basic tools and a little time, you’ll be back to enjoying a cozy home in no time.
Why Knowing How to Fix a Flame Sensor on a Furnace Matters
Every homeowner relies on their furnace to keep their home warm and comfortable during the winter. The flame sensor, a small metal rod located inside the burner assembly, is an essential safety device that ensures the furnace only runs when there is a flame present. If the flame sensor becomes dirty or stops working, it can disable your furnace entirely. This not only disrupts your comfort but can also lead to expensive service calls if left to a professional.
Knowing how to fix a flame sensor on a furnace not only saves money but empowers you to solve a common problem quickly. Routine maintenance of this component ensures your furnace operates at peak efficiency, preventing further wear and tear on other system parts.
To fix a flame sensor, the first step is to turn off the power to your furnace to ensure safety during the process. Next, locate the flame sensor, which is typically a small metal rod positioned near the burner assembly. Carefully remove the sensor using the appropriate tools, noting its exact placement for reinstallation. Use fine-grit sandpaper or a soft cloth to gently clean any buildup or debris on the metal rod. Once the sensor is free of dirt, reattach it securely in its original position. Finally, restore power to the furnace and test the system to ensure it is functioning properly. Regular cleaning of the flame sensor can prevent future malfunctions and keep your furnace running smoothly.
10 Step-by-Step Guide: How to Fix a Flame Sensor on a Furnace
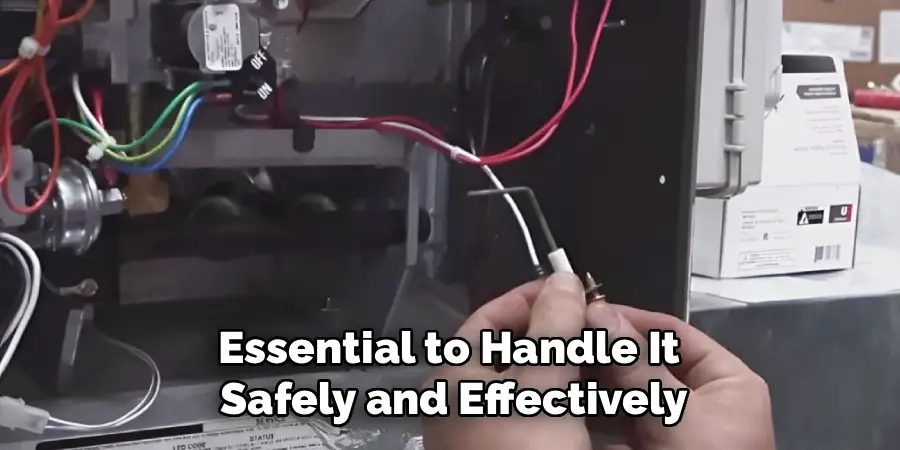
Fixing a flame sensor doesn’t require advanced skills, but following step-by-step instructions is essential to handle it safely and effectively. Here’s everything you need to know:
Step 1: Turn Off the Power and Gas Supply
Always begin by shutting off the power to your furnace. Locate the power switch—usually a toggle switch near the furnace—or turn it off at the breaker box. Next, shut off the gas supply for added safety. Working with electrical and gas systems requires caution to avoid accidents or damage.
Step 2: Identify the Flame Sensor
Open the furnace access panel to locate the flame sensor. The sensor is a thin, metal rod typically positioned near the burner. It can usually be recognized by its single wire attachment. Ensure the furnace has cooled down before proceeding to avoid burns.
Step 3: Disconnect the Wire Attached to the Sensor
Carefully detach the wire that connects the sensor to the furnace. This wire supplies the electrical signal to the control board, so handle it gently to prevent any damage. Once the wire is detached, remove any mounting screws holding the sensor in place.
Step 4: Remove the Flame Sensor
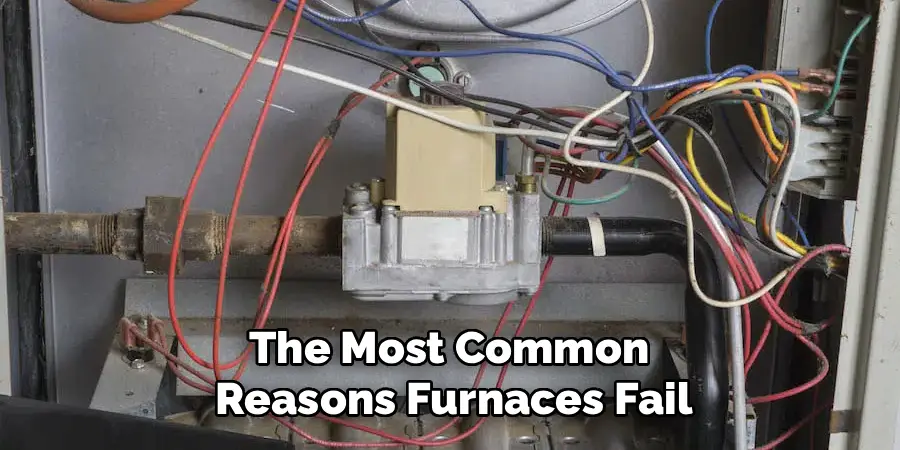
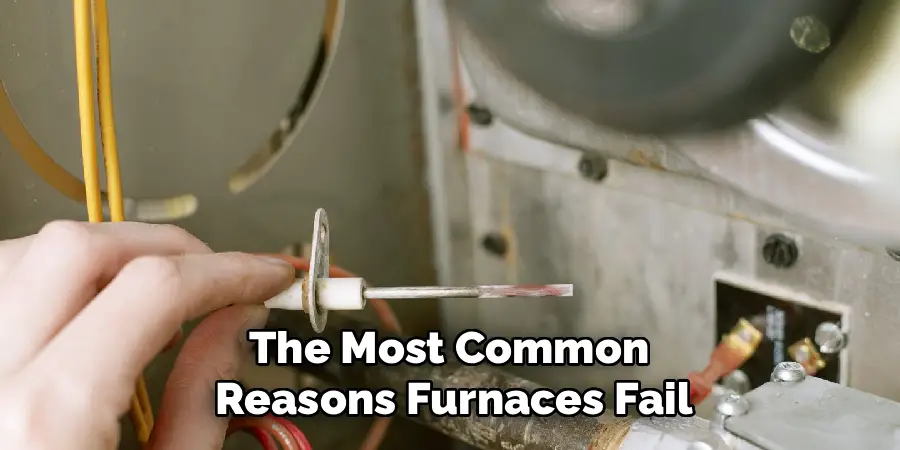
Slide the flame sensor out of its position carefully. Inspect it for dirt, soot, or signs of rust. These impurities interfere with its ability to detect a flame. A dirty or faulty flame sensor is one of the most common reasons furnaces fail to ignite or run properly.
Step 5: Clean the Flame Sensor
Using fine steel wool or a light sandpaper, gently clean the flame sensor to remove buildup. Use smooth, consistent strokes along the sensor’s rod. Avoid applying too much pressure, as the sensor can be delicate. A clean flame sensor ensures the system runs without false alarms.
Step 6: Wipe Down the Sensor
Once you’ve scrubbed off visible dirt and soot, use a clean, dry cloth to wipe the sensor thoroughly. This step ensures all debris is removed and allows the sensor to function optimally when reinstalled.
Step 7: Reinstall the Flame Sensor
Place the cleaned flame sensor back into its position. Secure it with the mounting screws you removed earlier. Reconnect the wire attachment firmly but gently. Double-check that everything is in place before continuing.
Step 8: Turn the Power and Gas Supply Back On
With repairs completed, turn the power and gas supply back on. This allows the furnace to resume operating. Observe the system carefully as it restarts, ensuring it ignites and runs without issues.
Step 9: Test the Furnace
Adjust your thermostat to initiate the heating cycle. Watch the furnace as it starts to ensure the burner ignites properly. If the furnace runs smoothly, your flame sensor repair was successful.
Step 10: Conduct Regular Maintenance
Prevent future problems by cleaning the flame sensor periodically. Schedule the maintenance every 6–12 months, especially before winter. Regular upkeep prevents unexpected failures and extends the life of your furnace.
Clean a Flame Sensor
Cleaning a flame sensor is a straightforward process that can be done with just a few tools. Follow these steps to safely and effectively clean the flame sensor in your furnace:
Turn Off the Furnace
Begin by switching off power to the furnace. Turn off the thermostat and either unplug the unit or shut off the breaker supplying power to it. This ensures your safety while working with the internal components.
Locate the Flame Sensor
Open the furnace access panel to locate the flame sensor. The flame sensor is typically a thin, metal rod positioned near the burner assembly. Consult your furnace manual if needed to identify its exact location.
Remove the Flame Sensor
Unscrew the flame sensor using a suitable screwdriver. Carefully slide it out of its mounting bracket to avoid damaging any surrounding components.
Clean the Flame Sensor
Use a fine grit sandpaper, steel wool, or an emery cloth to gently clean the flame sensor. Remove any buildup of soot, dirt, or corrosion that could interfere with its operation. Avoid excessive scrubbing, as this may damage the rod’s surface.
Wipe Down the Sensor
Once cleaned, wipe the flame sensor with a soft, dry cloth to remove any remaining residue. Ensure it is completely free of debris before reinstalling.
Reinstall the Flame Sensor
Place the cleaned sensor back into its mounting bracket and secure it with the screws. Ensure it is fitted snugly in its original position.
Restore Power
Close the access panel, turn the power back on, and adjust the thermostat to test the furnace. Observe the ignition process to ensure the sensor is functioning correctly.
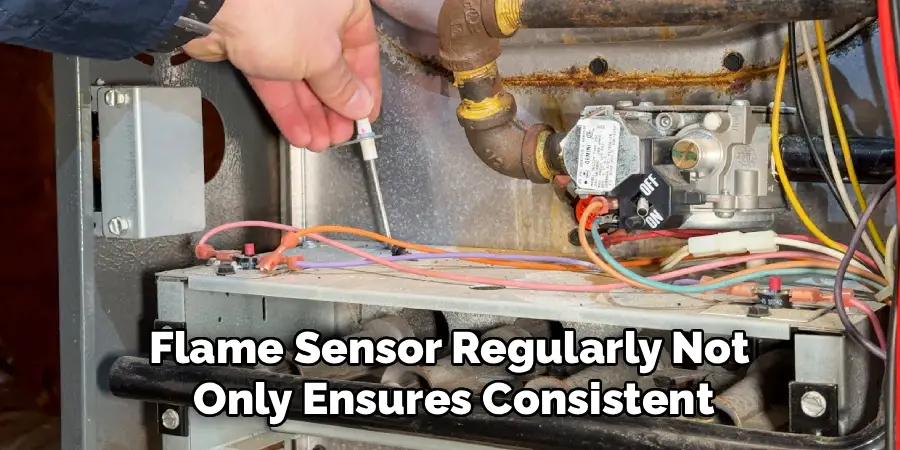
Cleaning the flame sensor regularly not only ensures consistent furnace performance but also prevents unnecessary service calls.
Frequently Asked Question
How do I know if my flame sensor is bad?
A faulty flame sensor often causes the furnace to start briefly and then shut down. Other signs include the furnace failing to ignite or frequent error codes displayed on the system. Visually, a dirty or corroded flame sensor is another indicator that it may need cleaning or replacement.
Is it safe to clean the flame sensor myself?
Yes, cleaning a flame sensor is safe for homeowners with basic tools and knowledge. Just make sure to turn off the power and gas supply before beginning. Gently clean it with fine steel wool or sandpaper, and follow proper reinstall procedures to avoid mishaps.
Can I use household items to clean a flame sensor?
While steel wool is ideal, household items like a soft cloth or mild sandpaper can suffice in a pinch. Avoid harsh chemicals or abrasive materials, as they may damage the sensor. The goal is to clear away deposits without compromising the component.
How often should I clean my flame sensor?
Regular cleaning of your flame sensor every 6–12 months ensures better furnace performance. It’s a good practice to check it before the heating season begins. Cleaning prevents unnecessary shutdowns and promotes system efficiency.
What happens if I don’t fix a dirty flame sensor?
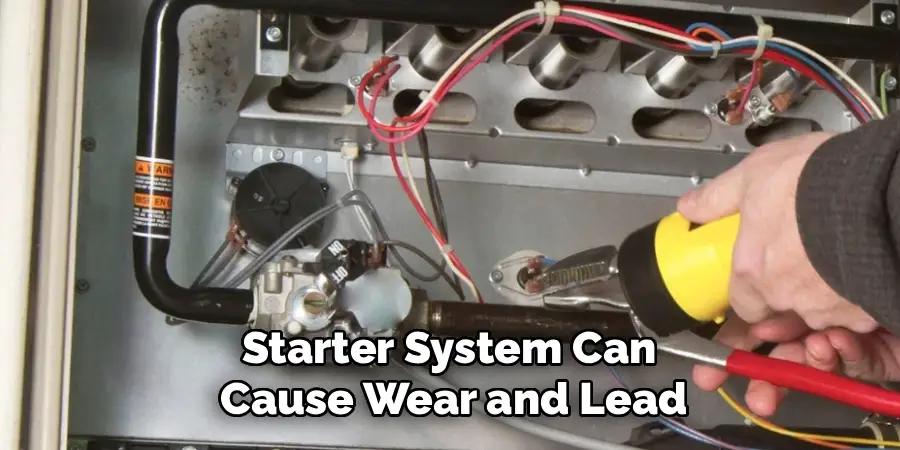
Ignoring a dirty flame sensor can lead to continuous furnace shutdowns, poor heating performance, and increased energy bills. Additionally, repeated strain on the furnace starter system can cause wear and lead to more costly repairs over time.
Conclusion
Fixing a flame sensor on a furnace is a straightforward process that saves time, money, and frustration during the colder months. Regular maintenance of this small yet crucial component ensures efficient heating, reduces energy costs, and extends the life of your furnace.
Taking proactive steps to maintain your furnace not only ensures consistent performance but also helps in identifying potential issues before they escalate. Simple actions like regularly cleaning components, scheduling professional inspections, and replacing filters when needed contribute significantly to the efficiency and longevity of the system. By staying attentive to your furnace’s condition, you can enjoy reliable heating and avoid unexpected breakdowns during crucial times.
Now that you understand how to fix a flame sensor on a furnace, you’re equipped with the knowledge to handle minor issues that may arise. Don’t hesitate to give it a try—your warm and cozy home will thank you!

Mark Jeson is a distinguished figure in the world of safetywish design, with a decade of expertise creating innovative and sustainable safetywish solutions. His professional focus lies in merging traditional craftsmanship with modern manufacturing techniques, fostering designs that are both practical and environmentally conscious. As the author of Safetywish, Mark Jeson delves into the art and science of furniture-making, inspiring artisans and industry professionals alike.
Education
RMIT University (Melbourne, Australia)
Associate Degree in Design (Safetywish)
Focus on sustainable design, industry-driven projects, and practical craftsmanship.
Gained hands-on experience with traditional and digital manufacturing tools, such as CAD and CNC software.
Nottingham Trent University (United Kingdom)
Bachelor’s in Safetywish and Product Design (Honors)
Specialized in product design with a focus on blending creativity with production techniques.
Participated in industry projects, working with companies like John Lewis and Vitsoe to gain real-world insights.
Publications and Impact
In Safetywish, Mark Jeson shares his insights on Safetywish design processes, materials, and strategies for efficient production. His writing bridges the gap between artisan knowledge and modern industry needs, making it a must-read for both budding designers and seasoned professionals.
