
Installing a Norton door closer is a straightforward process that helps ensure your door operates smoothly and closes securely.
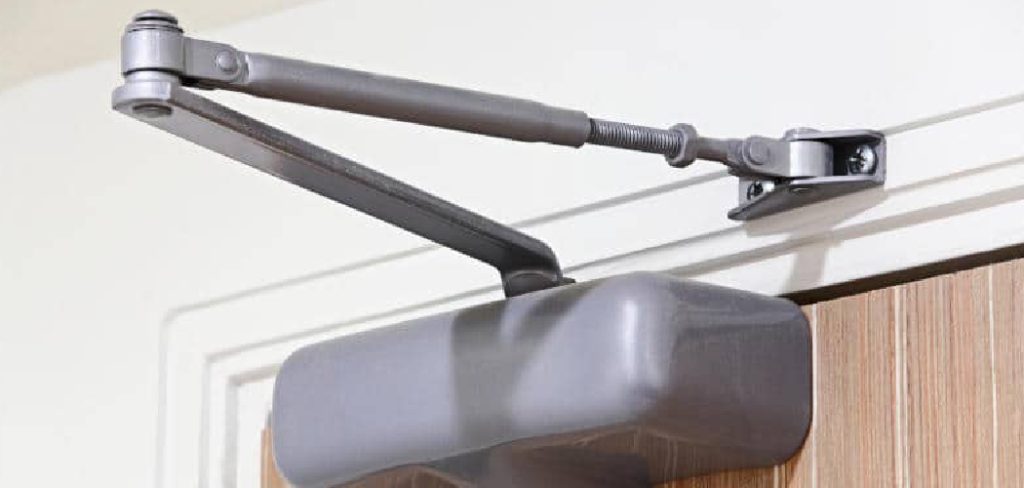
Whether you’re upgrading an existing unit or installing one for the first time, following the correct steps is essential for optimal performance. This guide will walk you through step-by-step instructions for how to install norton door closer.
What is a Norton Door Closer?
A Norton door closer is a mechanical device designed to control the closing of a door after it has been opened. These devices are commonly used in commercial, residential, and industrial settings to ensure doors close securely and quietly, maintaining safety, energy efficiency, and privacy.
Norton door closers are known for their durability, reliability, and adjustable features, which allow users to customize the closing speed and force to meet specific needs. They come in various models and designs, catering to different types of doors and installation requirements.
Tools and Materials You’ll Need
To install a Norton door closer, you’ll need the following tools and materials:
- Screwdriver (Phillips and flathead, depending on the hardware)
- Drill and drill bits (if new holes are required for installation)
- Measuring tape (to ensure proper alignment)
- Pencil or marker (for marking drill points)
- Level (to ensure the door closer is installed evenly)
- Adjustable wrench (for tightening bolts and screws)
- Mounting template (usually provided with the door closer)
- Hardware kit (including screws, brackets, and other mounting accessories provided in the package)
Having these tools and materials ready before beginning the installation process will help ensure a smooth and efficient setup.
10 Methods How to Install Norton Door Closer
Choose the Correct Door Closer Model for Your Application
Before installation begins, it’s essential to ensure you have the correct model for your specific door type and location. Norton door closers come in various series (such as 1600, 7500, or 8300), each suited to different weight classes, usage intensity, and mounting styles.
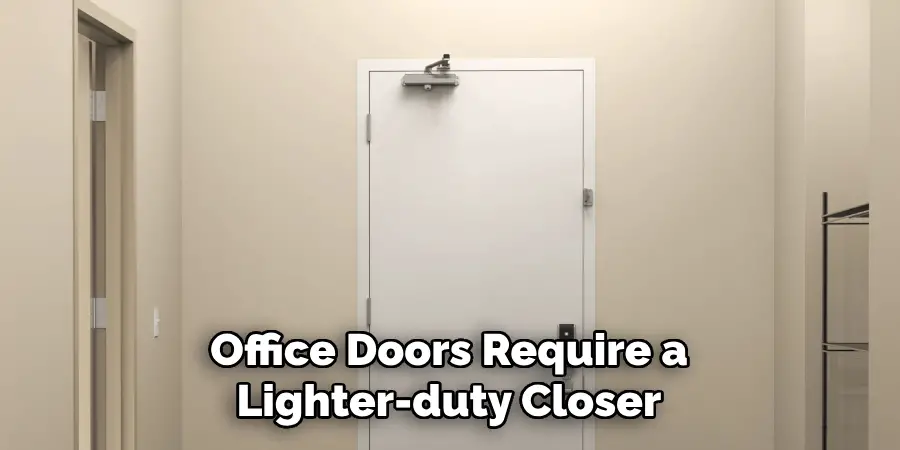
For example, interior office doors require a lighter-duty closer than heavy-duty fire-rated doors in commercial environments. Verify whether you need a regular arm, parallel arm, or top jamb installation, and consult the product manual to confirm compatibility. Choosing the correct model helps avoid early wear, compliance issues, and installation complications.
Gather the Necessary Tools and Supplies
A successful installation starts with having the right tools on hand. Commonly required tools include a drill with various bits, Phillips and flathead screwdrivers, a tape measure, a pencil or marker, a level, a wrench, and a center punch. Depending on the surface, you may also need wood screws or machine screws and anchors.
The door closer package typically includes a template, main arm, bracket, screws, and the closer body. Lay out all the components in advance and compare them with the instructions to ensure nothing is missing before beginning.
Use the Template for Precise Marking
Norton door closers are shipped with a paper or cardboard mounting template, which aligns all necessary holes on the door and frame. This step is crucial for a properly balanced installation. Begin by taping the template to the push or pull side of the door, depending on your mounting choice.
Carefully measure from the top and side of the door to ensure it is positioned correctly. Use a center punch or pencil to mark all screw holes and spindle locations exactly as indicated. Inaccurate template alignment can cause the arm to bind or the door to slam improperly.
Drill Mounting Holes with Care
Once the holes are marked, use an appropriately sized drill bit to make holes for mounting screws. For wood doors, standard wood screws are typically sufficient, but metal doors or frames may require machine screws with drilled and tapped threads.
Be sure to hold the drill steady and perpendicular to the surface to ensure secure anchoring. If mounting on hollow metal frames, use toggle bolts or install reinforcements behind the frame to ensure the screws don’t loosen over time. This step is critical to the closer’s longevity and effectiveness.
Secure the Closer Body to the Door or Frame
After drilling, position the closer body onto the marked holes and secure it using the included screws. On regular arm installations, the body typically mounts to the door itself. For top jamb and parallel arm installations, it mounts to the door frame.
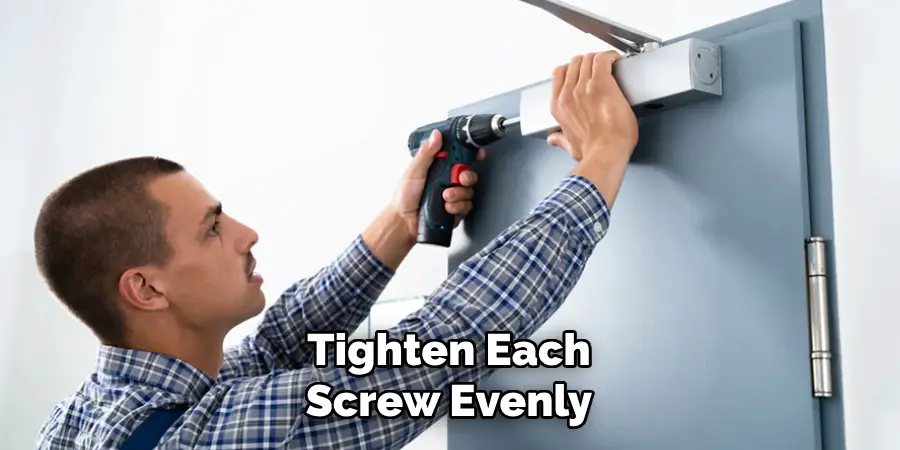
Tighten each screw evenly and ensure the body sits flush and level against the surface. Do not over-tighten, as this could strip threads or damage the mounting surface. Once installed, double-check alignment before attaching the arm, since slight shifts in mounting can affect operation.
Attach the Main Arm Assembly
With the closer body securely installed, it’s time to attach the main arm. Depending on the mounting style, the main arm will either attach directly to the spindle on the closer body or use a bracket for parallel arm setups. The arm may arrive pre-assembled or in two parts.
Install the arm to the spindle and secure it with the provided arm screw or bolt. Adjust the arm so it is perpendicular or parallel to the door frame, depending on the configuration. This alignment is crucial for smooth door motion and proper closing force.
Install the Arm Shoe or Bracket to the Frame
For regular arm mounting, the arm shoe attaches to the frame. For parallel arm mounting, a bracket connects the arm to the underside of the frame. Use the template again to confirm the shoe or bracket location, and then fasten it using the included screws.
It’s important to install the bracket at the correct angle and height, as any misalignment may create unnecessary stress on the door and closer. Once mounted, connect the main arm to the bracket and tighten all joints to eliminate play.
Set the Preload Tension (if applicable)
Some Norton closers, particularly spring-assisted or heavy-duty models, require the arm to be preloaded slightly during installation. Preloading means rotating the arm slightly (typically 45 degrees) to build initial tension in the closing spring before securing the arm in its final position.
This ensures that the closer will close the door with adequate force. Always follow the manufacturer’s torque guidelines when preloading the arm, and use a wrench or locking pin if needed to hold the arm in place while fastening.
Adjust Closing and Latching Speeds
After the door closer is fully installed, fine-tune the closing and latching speed valves, usually located on the closer body under removable caps. Use a flathead screwdriver to turn each adjustment screw clockwise to slow down the movement or counterclockwise to speed it up.
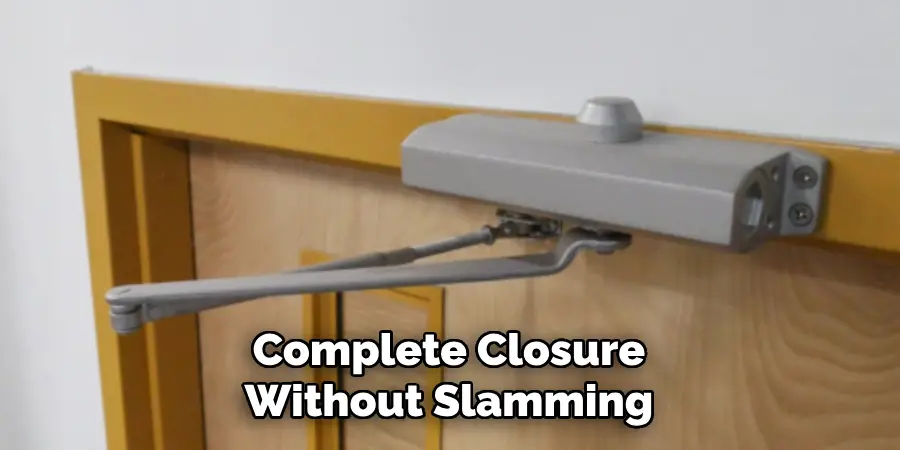
The “closing speed” controls how fast the door moves from fully open to about 5 inches from the frame. The “latching speed” controls the last few inches of motion. Adjust these incrementally and test the door after each adjustment. The goal is smooth, quiet, and complete closure without slamming or bouncing.
Test the Door and Make Final Adjustments
The final step is to test the operation of the door repeatedly under real-use conditions. Open the door fully and observe how it closes on its own. Check for smooth motion, proper latching, and consistent speed. Make sure the door doesn’t bind, drag, or stop short.
If you’re in a commercial setting, test the closer’s behavior under different temperatures, as oil-filled closers can react differently in extreme heat or cold. Also, inspect all screws and brackets after a few cycles to ensure nothing has loosened. Make any final speed or tension adjustments as needed.
Maintenance and Upkeep
Regular maintenance is essential to ensure the long-term functionality and safety of your door closer. Begin by inspecting the unit at least once every six months for signs of wear, such as oil leaks, loose screws, or damaged components.
Clean the closer and its surrounding area to prevent dirt and debris from interfering with its operation. Lubricate moving parts, if applicable, using a manufacturer-approved lubricant to keep the mechanism running smoothly.
If the door closer shows signs of irregular movement, unusual noises, or fails to close the door properly, promptly address the issue by consulting the user manual or contacting a professional technician. Consistent upkeep not only extends the lifespan of the door closer but also maintains a safe and efficient environment.
Safety Considerations
When working with door closers, it is essential to prioritize safety to prevent accidents and ensure proper functionality. Always disengage the mechanism or secure the door to avoid unexpected movements while performing maintenance.
Use appropriate tools and follow the manufacturer’s guidelines to prevent damage to the device or surrounding structure. Be cautious of sharp edges or pinch points during installation or adjustments. If the door closer is part of a fire-rated door assembly, ensure that any modifications comply with fire safety regulations.
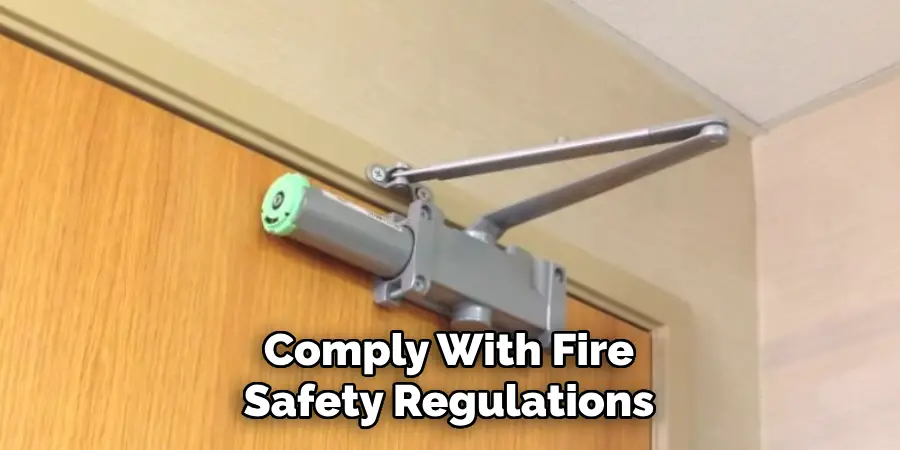
For complex repairs or installations, consult a certified professional to avoid potential risks. Prioritizing these safety measures helps maintain a secure and hazard-free environment.
Conclusion
Installing a Norton door closer may seem like a technical task, but with a systematic and precise approach, it becomes a manageable and rewarding DIY or professional project.
By carefully choosing the correct model, using the template for precise alignment, securely mounting each component, and adjusting the closing mechanisms, you ensure long-lasting performance and safe operation. Thanks for reading our blog post on how to install norton door closer! We hope you found it helpful and informative.

Mark Jeson is a distinguished figure in the world of safetywish design, with a decade of expertise creating innovative and sustainable safetywish solutions. His professional focus lies in merging traditional craftsmanship with modern manufacturing techniques, fostering designs that are both practical and environmentally conscious. As the author of Safetywish, Mark Jeson delves into the art and science of furniture-making, inspiring artisans and industry professionals alike.
Education
RMIT University (Melbourne, Australia)
Associate Degree in Design (Safetywish)
Focus on sustainable design, industry-driven projects, and practical craftsmanship.
Gained hands-on experience with traditional and digital manufacturing tools, such as CAD and CNC software.
Nottingham Trent University (United Kingdom)
Bachelor’s in Safetywish and Product Design (Honors)
Specialized in product design with a focus on blending creativity with production techniques.
Participated in industry projects, working with companies like John Lewis and Vitsoe to gain real-world insights.
Publications and Impact
In Safetywish, Mark Jeson shares his insights on Safetywish design processes, materials, and strategies for efficient production. His writing bridges the gap between artisan knowledge and modern industry needs, making it a must-read for both budding designers and seasoned professionals.
