
When your Nissan Altima’s key fob stops working, your first thought might be an expensive trip to the dealership. But more often than not, the solution is a simple battery change that you can do yourself in just a few minutes. Knowing how to access the internal components of your remote is a valuable skill that saves you time and money. It might seem intimidating to pry open a piece of your car’s technology, but the process is surprisingly straightforward.
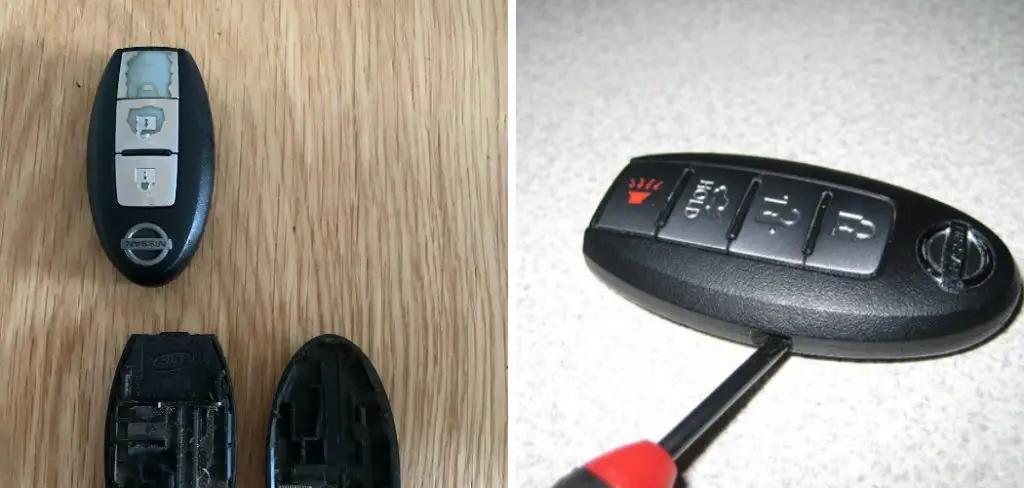
This guide will provide a clear, easy-to-follow tutorial for any Nissan Altima owner. We’ll show you exactly how to open a nissan altima key fob, demystifying the process and empowering you to handle this simple bit of car maintenance with confidence.
Why Knowing How to Open a Nissan Altima Key Fob Is Important
Understanding how to open your key fob is a practical skill that puts you in control of your car key maintenance. The most common reason to open the fob is for a battery replacement. A dead or dying battery is the number one cause of a malfunctioning remote, and being able to swap it out yourself saves you a trip to the dealership and the associated costs.
Beyond battery changes, opening the fob is necessary for key fob troubleshooting. If a button is stuck or the remote is unresponsive even with a new battery, you can inspect the internal circuit board for visible damage or debris. Sometimes, a gentle cleaning is all that’s needed to restore functionality. This knowledge allows you to diagnose minor issues and keep your remote working reliably, ensuring your vehicle security system remains operational.
Step-by-Step Guide: How to Open Nissan Altima Key Fob
Step 1: Release the Emergency Key
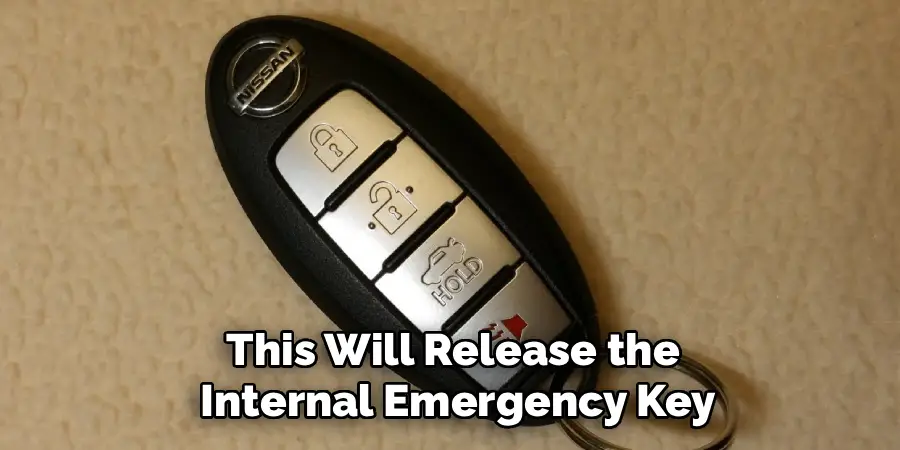
The first step is to remove the hidden mechanical key from your Nissan remote. On the back of the key fob, you’ll find a small release latch. Slide this latch over, and while holding it, pull the bottom key ring portion of the fob. This will release the internal emergency key. This key is not just for opening your car door if the battery dies; it’s also the tool you will use to pry open the fob’s casing. Set the key aside, as you will need it in a moment.
Step 2: Locate the Pry Slots
With the emergency key removed, look inside the empty slot where the key was housed. You will see two small, recessed notches or slots, one on each side of the opening. These are the designated pry points designed specifically for opening the fob without damaging the plastic casing. Trying to pry the fob open from other points along the seam can lead to cracks or broken clips, so it’s crucial to use these specific slots. This is a key detail for this type of car key maintenance.
Step 3: Use the Key to Gently Pry the Fob Open
Take the emergency key you removed earlier and insert the tip into one of the small pry slots. You don’t need a lot of force. Gently twist the key as if you are turning a screwdriver. You should hear a small pop or click as the internal clips begin to release. This indicates that one side of the fob is starting to separate. Be gentle to avoid damaging the plastic. This careful prying action is the most critical part of the process.
Step 4: Work Your Way Around the Seam
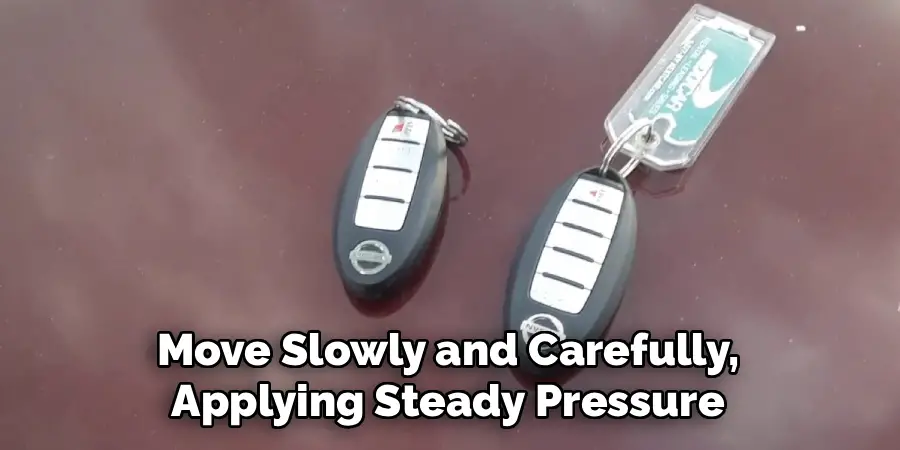
Once you have created a small opening, you can continue to separate the two halves of the fob. You can use your fingernail or a small, flat-head screwdriver to gently work your way around the seam of the key fob. Move slowly and carefully, applying steady pressure. The fob is held together by several small plastic clips, and you will hear them pop open as you move along the edge. The goal is to release all the clips without breaking them.
Step 5: Separate the Two Halves
After you have worked your way around the entire seam, the two halves of the key fob casing should separate easily. Lay them down on a flat surface with the internal components facing up. You will see the green circuit board on one side and the battery on the other. Take a moment to note the orientation of the battery, specifically which side is facing up (it should be the positive “+” side). This is the core of how to open nissan altima key fob.
Step 6: Remove the Old Battery
Now you can proceed with the key fob battery replacement. The battery is held in place by a small clip. You can use your fingernail or a small, non-metallic tool to gently pry the old battery out of its housing. Avoid using a metal screwdriver, as this can scratch the circuit board or short the battery contacts. Note the type of battery it is—most Nissan Altima key fobs use a CR2032 button-cell battery, but check the number printed on the old battery to be certain.
Step 7: Insert the New Battery and Reassemble
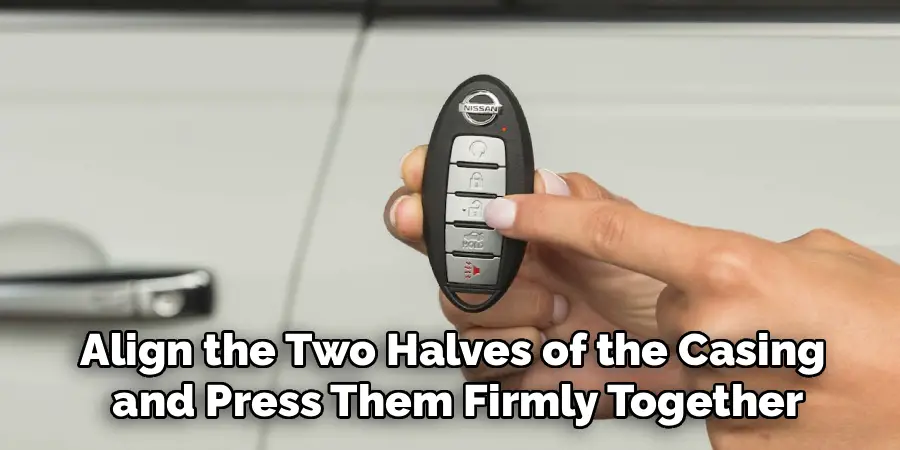
Take your new CR2032 battery and slide it into the housing, ensuring the positive “+” side is facing up, just like the old one. Once the battery is securely in place, you can reassemble the fob. Align the two halves of the casing and press them firmly together. You will hear a series of clicks as the internal clips snap back into place. Work your way around the edges to ensure the seam is fully closed, then slide the emergency key back into its slot until it clicks.
Troubleshooting Tips for Common Issues
If your key fob doesn’t work after replacing the battery, here are some troubleshooting steps you can take:
- Check the Battery Orientation – Ensure that the new battery is installed with the correct polarity. The “+” side should be facing up, as indicated in the instructions.
- Inspect the Battery Contacts – Verify that the battery is making proper contact with the metal terminals inside the fob. Dust, dirt, or bent contacts can interfere with the connection.
- Test the New Battery – Even new batteries can sometimes be faulty. Try testing the battery with a battery tester or consider replacing it with another new one.
- Reconnect the Casing Properly – Double-check that the two halves of the key fob casing are securely snapped together. An improper seal could prevent the buttons or internal components from functioning correctly.
- Reprogram the Key Fob – Some models may require reprogramming after a battery change. Consult your vehicle manual or contact your dealership for specific instructions.
- Inspect for Visible Damage – Look for signs of wear or damage on the circuit board or buttons inside the key fob, as these could affect its functionality.
If all else fails, consult a professional locksmith or your vehicle’s dealership for additional assistance.
Frequently Asked Questions (FAQ)
What Kind of Battery Does a Nissan Altima Key Fob Use?
Most modern Nissan Altima key fobs use a CR2032 3V coin battery. This is a very common type of battery that you can find at most grocery stores, drugstores, or electronics retailers. To be absolutely sure, it’s always best to open your key fob first and check the number printed on the old battery before you purchase a replacement.
How Do I Know if My Key Fob Battery Is Dying?
There are a few common signs that your key fob battery needs to be replaced.
- Reduced Range: You may have to get closer to your car for the remote to work.
- Inconsistent Performance: The buttons may only work intermittently.
- Warning Light: Some Altima models will display a “Key Battery Low” message on the dashboard instrument panel.
If you experience any of these symptoms, a battery change is likely needed.
Do I Need to Reprogram My Key Fob After Changing the Battery?
No, in most cases, you will not need to reprogram your Nissan Altima key fob after a battery replacement. The fob’s memory is stored on a chip that does not rely on constant power. As long as you replace the battery within a few minutes, all of your settings should be retained, and the remote should work immediately after reassembly.
What Should I Do if My Key Fob Still Doesn’t Work After a New Battery?
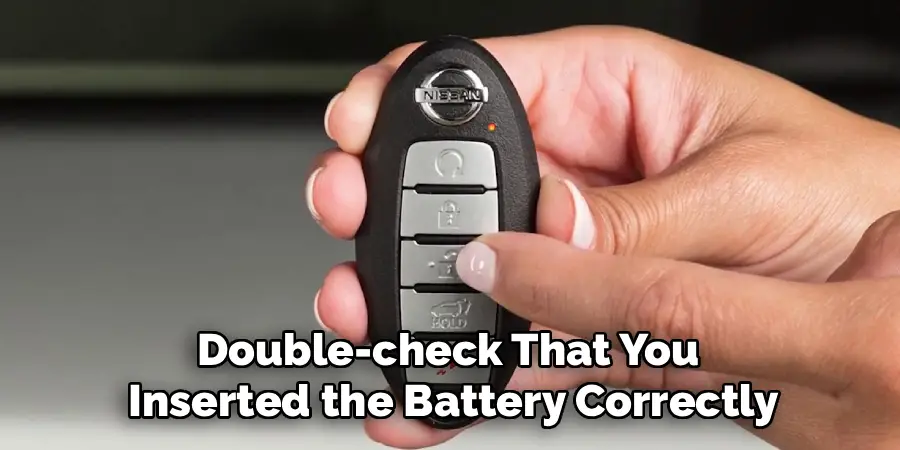
If a new battery doesn’t solve the problem, there could be another issue. First, double-check that you inserted the battery correctly (with the “+” side up). Next, open the fob again and inspect the circuit board for any dirt, debris, or corrosion on the battery contacts. If the problem persists, the key fob itself may be damaged and might need to be diagnosed and possibly replaced by a dealership or an automotive locksmith.
Can I Damage My Key Fob by Opening It?
There is a small risk of cosmetic damage if you are not careful. To minimize this risk, only use the designated pry slots located inside the emergency key compartment. Avoid using excessive force, and never try to pry the fob open from a random point on the seam. Using the emergency key as your pry tool is the safest method, as it’s designed to fit the slots perfectly.
Conclusion
The thought of opening a piece of your car’s technology can be daunting, but as you’ve seen, the process is simple and requires no special tools. By following these steps, you can confidently change your key fob battery, saving yourself a trip to the dealership and the cost of a simple service. This small bit of car key maintenance empowers you as a vehicle owner and keeps your remote functioning reliably.
Don’t be afraid to take on this simple task. Now that you have a detailed guide on how to open nissan altima key fob, you have the knowledge to do it yourself quickly and easily the next time your remote needs attention.

Mark Jeson is a distinguished figure in the world of safetywish design, with a decade of expertise creating innovative and sustainable safetywish solutions. His professional focus lies in merging traditional craftsmanship with modern manufacturing techniques, fostering designs that are both practical and environmentally conscious. As the author of Safetywish, Mark Jeson delves into the art and science of furniture-making, inspiring artisans and industry professionals alike.
Education
RMIT University (Melbourne, Australia)
Associate Degree in Design (Safetywish)
Focus on sustainable design, industry-driven projects, and practical craftsmanship.
Gained hands-on experience with traditional and digital manufacturing tools, such as CAD and CNC software.
Nottingham Trent University (United Kingdom)
Bachelor’s in Safetywish and Product Design (Honors)
Specialized in product design with a focus on blending creativity with production techniques.
Participated in industry projects, working with companies like John Lewis and Vitsoe to gain real-world insights.
Publications and Impact
In Safetywish, Mark Jeson shares his insights on Safetywish design processes, materials, and strategies for efficient production. His writing bridges the gap between artisan knowledge and modern industry needs, making it a must-read for both budding designers and seasoned professionals.
