
Are you tired of having to get out of your car or forgetting to close the garage door? With a Genie garage door opener remote, you can easily open and close your garage door from the comfort of your car.
Programming a Genie garage door opener remote is a straightforward process that enables you to conveniently control your garage door with just the press of a button. Whether you’re replacing an old remote, adding a new one, or reprogramming after a battery change, understanding how to properly program your Genie remote is essential.

This guide on how to program genie garage door opener remote will walk you through the necessary steps to ensure your remote pairs seamlessly with your garage door opener, providing a reliable and efficient solution for everyday use. Follow along to learn how to get your Genie remote up and running in no time.
What Are the Benefits of Programming Your Genie Remote
Programming your Genie remote has numerous benefits that can greatly improve your garage door opening experience. Some of these benefits include:
- Convenience: By programming your remote, you can easily open and close your garage door without having to manually operate it or use a separate device.
- Security: Most Genie remotes come with advanced security features such as rolling code technology, which constantly changes the access code to prevent unauthorized entry into your home.
- Multiple Opener Compatibility: With a programmed remote, you can control multiple Genie garage door openers, making it easier to manage different doors in one location.
- Personalization: Many Genie remotes have programmable buttons that allow you to set specific garage door openers or other devices, such as lights or security systems, to them for quick access.
- Easy Installation: Genie remotes are designed for easy installation and can usually be programmed in just a few simple steps. Some models even come with pre-programmed options for popular brands of garage door openers.
What Will You Need?
- Genie remote control
- A ladder (if needed)
- Garage door opener manual (for specific instructions, if necessary)
Once you have these items ready, you can begin programming your Genie remote.
10 Easy Steps on How to Program Genie Garage Door Opener Remote
Step 1. Clear the Opener Memory
To ensure successful programming, the first step is to clear the memory of your garage door opener. This step is essential if the opener has been paired with older remote controls or devices, as it prevents interference or conflicts with the new remote. Locate the “Learn” button on your garage door opener, which is typically found on the back or side panel of the unit.
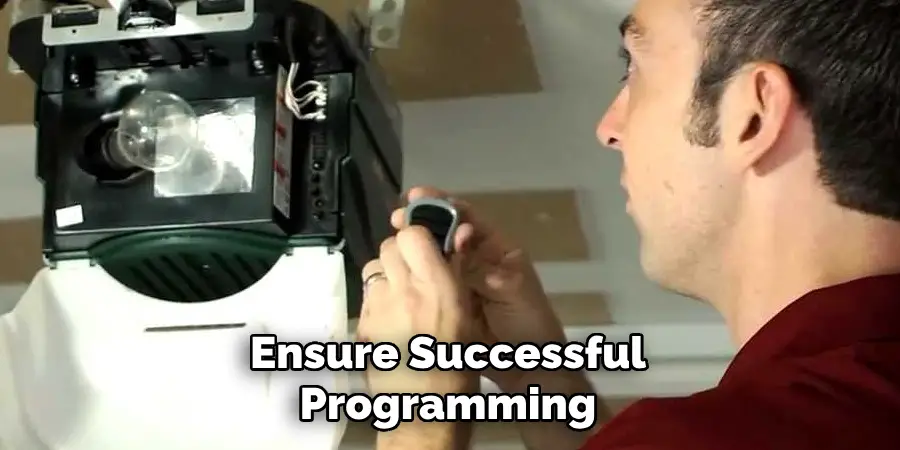
Press and hold the “Learn” button for approximately 10 seconds or until the indicator light on the opener turns off, signaling that the memory has been cleared. Once completed, your opener is ready to accept the new programming for the Genie remote control.
Step 2. Locate the Learn/Program Button
The Learn/Program button is an essential component for syncing your Genie remote control with your garage door opener. It is typically a small, square, or circular button located on the back or side of the opener unit. Often, it is labeled as “Learn,” “Program,” or may be accompanied by an LED indicator to guide the process.
Some units may have a cover or panel that needs to be opened to access the button. Refer to your garage door opener’s manual if you are having difficulty locating it, as its precise placement can vary depending on the model and manufacturer. Identifying this button is a crucial step to ensure a successful programming process for your Genie remote control.
Step 3. Press and Hold the Learn/Program Button
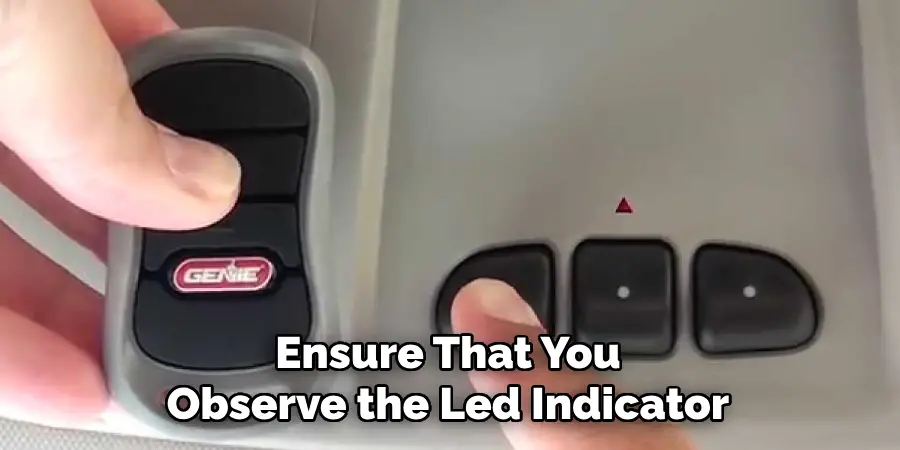
Once you have located the Learn or Program button on your garage door opener, press and hold it until the LED indicator next to the button lights up or begins to blink. This indicates that the opener is now in programming mode and ready to accept the signal from your Genie remote control. Be sure to hold the button only as long as necessary, as holding it for an extended time may reset other settings on your garage door opener.
Step 4. Press the Remote Button
Stand within a reasonable range of the garage door opener and press the button on your Genie remote control that you wish to program. Hold the button for a few seconds until the LED indicator on the garage door opener flashes or turns off, signaling that the programming is complete. If the light does not respond, repeat the step to ensure proper synchronization. Avoid pressing multiple buttons at once during this process.
Step 5. Wait for Confirmation
Ensure that you observe the LED indicator or the garage door opener’s light as it will typically flash or turn on to confirm successful programming. This confirmation indicates that the remote control is now synced with the garage door opener. If no light or indicator shows, double-check the process and repeat the previous steps as needed. Make sure the device is within range and properly powered.
Step 6. Test the Remote
Press the button on the remote control that you just programmed to test its functionality. Stand a safe distance from the garage door and observe whether the door opens or closes as expected. If the door responds correctly, the programming process is complete, and your remote is ready to use. If the garage door does not respond, repeat the programming steps or consult the user manual for troubleshooting tips.
Step 7. Reprogram Additional Buttons
If your garage door remote has additional buttons that you wish to program for other doors or functions, repeat the programming process for each button. Begin by selecting the button you would like to program and follow the same steps outlined earlier, starting with the garage door opener’s “Learn” button. Ensure you test each button after programming to confirm it operates the intended door or function correctly. If you encounter any issues, refer to the user manual for guidance or troubleshooting.
Step 8. Secure the Remote
To ensure the remote is safely secured and functioning as intended, place it in a reliable location, such as a key holder or a dedicated compartment in your vehicle. Avoid leaving the remote in places exposed to extreme temperatures, direct sunlight, or moisture, as these conditions could damage its electronics. Keeping the remote in an easily accessible yet secure spot helps prevent misplacement and ensures it is always ready for use when needed.
Step 9. Consult the Manual for Advanced Features
Refer to the user manual provided with your device to explore its advanced features and functionalities. The manual often contains detailed instructions on programming options, troubleshooting tips, and additional capabilities that enhance the usability of your remote.
Understanding these advanced features can help you customize your device to better fit your needs and troubleshoot potential issues effectively. If you cannot locate a physical copy of the manual, consider visiting the manufacturer’s website for a digital version or contacting customer support for assistance.
Step 10. Perform Regular Checks
Performing regular checks on your remote control is essential to ensure its continued functionality and longevity. Inspect the device for any physical damage, such as cracks or loose buttons, and replace batteries as needed to maintain reliable performance.
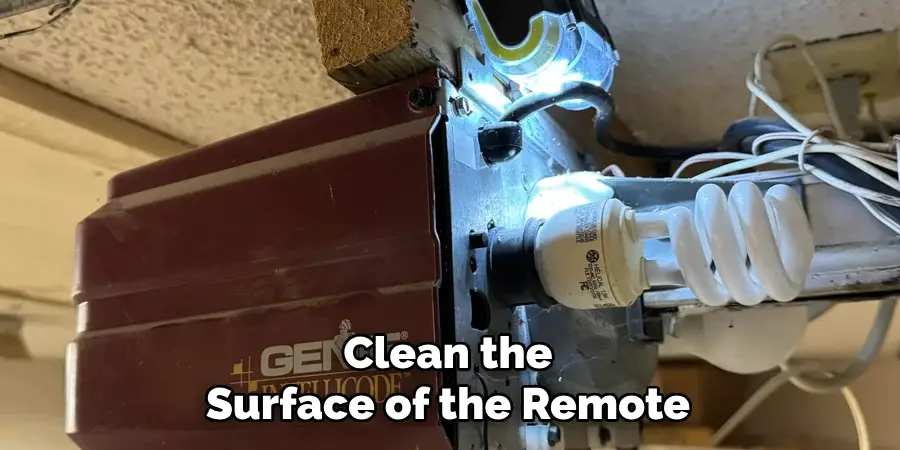
Clean the surface of the remote and remove any dirt or debris that may obstruct the buttons or sensors. Additionally, test all functions periodically to confirm that the remote is operating as expected. Regular maintenance can prevent minor issues from escalating into larger problems, helping you get the most out of your remote.
By following these simple steps, you can successfully program your Genie garage door opener remote and enjoy convenient access to your garage.
5 Things You Should Avoid
- Skipping the User Manual
Avoid neglecting the user manual that comes with your Genie garage door opener and remote. The manual contains specific instructions tailored to your model, which can prevent errors during the programming process.
- Using Incorrect Buttons
Do not press random buttons on the remote or the garage door motor unit. Each button has a specific function, and incorrect usage may reset or disrupt previously programmed settings.
- Programming in Poor Lighting
Avoid programming your remote in areas with low visibility. Poor lighting can cause you to miss crucial visual indicators like flashing lights on the motor unit that show successful programming.
- Ignoring Obstructions During Setup
Make sure there are no physical obstructions (like a parked car or clutter) between the remote and the garage door motor during programming. Interference may disrupt the communication signal, leading to failed programming attempts.
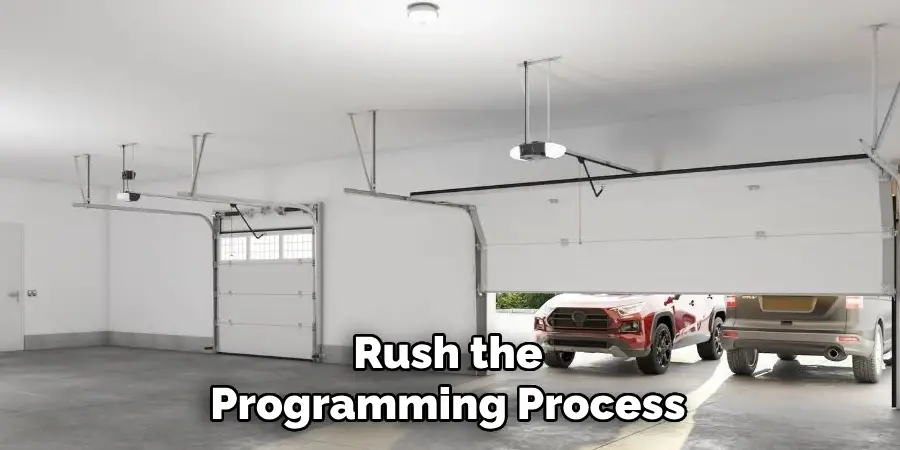
- Rushing Through the Process
Don’t try to rush the programming process. Skipping steps or not following the proper sequence can lead to errors, requiring you to start over. Take your time to carefully follow the instructions for a successful setup.
Conclusion
How to program genie garage door opener remote can be straightforward as long as you follow the steps carefully and avoid common pitfalls.
Ensure you have the correct remote, clear space for signal reception, and verify that the programming buttons are functional. Take the necessary time to read the instructions thoroughly, and do not rush the process. By addressing potential issues, such as interference or compatibility, and adhering to the outlined steps, you can achieve a successful and seamless setup for your remote.
With proper attention, your garage door opener remote will be ready to use in no time.
Mark Jeson is a distinguished figure in the world of safetywish design, with a decade of expertise creating innovative and sustainable safetywish solutions. His professional focus lies in merging traditional craftsmanship with modern manufacturing techniques, fostering designs that are both practical and environmentally conscious. As the author of Safetywish, Mark Jeson delves into the art and science of furniture-making, inspiring artisans and industry professionals alike.
Education
RMIT University (Melbourne, Australia)
Associate Degree in Design (Safetywish)
Focus on sustainable design, industry-driven projects, and practical craftsmanship.
Gained hands-on experience with traditional and digital manufacturing tools, such as CAD and CNC software.
Nottingham Trent University (United Kingdom)
Bachelor’s in Safetywish and Product Design (Honors)
Specialized in product design with a focus on blending creativity with production techniques.
Participated in industry projects, working with companies like John Lewis and Vitsoe to gain real-world insights.
Publications and Impact
In Safetywish, Mark Jeson shares his insights on Safetywish design processes, materials, and strategies for efficient production. His writing bridges the gap between artisan knowledge and modern industry needs, making it a must-read for both budding designers and seasoned professionals.
